How to Perfect layered curl Hair Without a Trip to the Salon
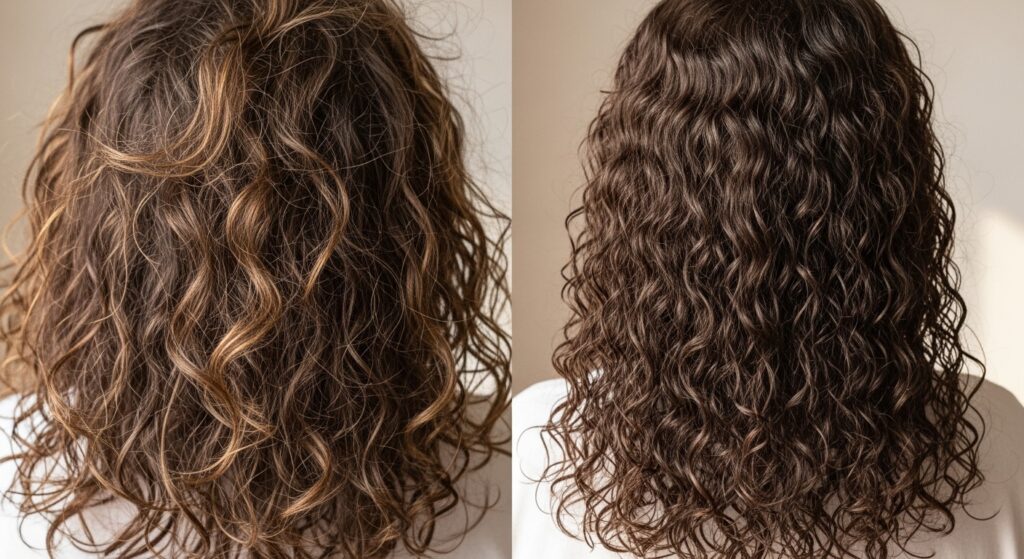
There’s a special kind of magic to layered curly hair. When done right, the layers create a symphony of volume, shape, and movement that frames the face beautifully and lets each curl spring to life with its own unique character. But let’s be honest—achieving that perfect, bouncy, frizz-free definition often feels like a quest that ends at the salon door. What if you could capture that magic in your own bathroom?
The good news is that you absolutely can. Perfecting layered curls isn’t about having a secret gene or spending a fortune; it’s about understanding your hair’s needs and mastering a few key techniques. This comprehensive guide is your roadmap. We’re diving deep into the methods, products, and little-known tricks that will help you enhance your natural texture, define those gorgeous layers, and say goodbye to salon dependency for good.
Why Layers are a Curly Hair’s Best Friend
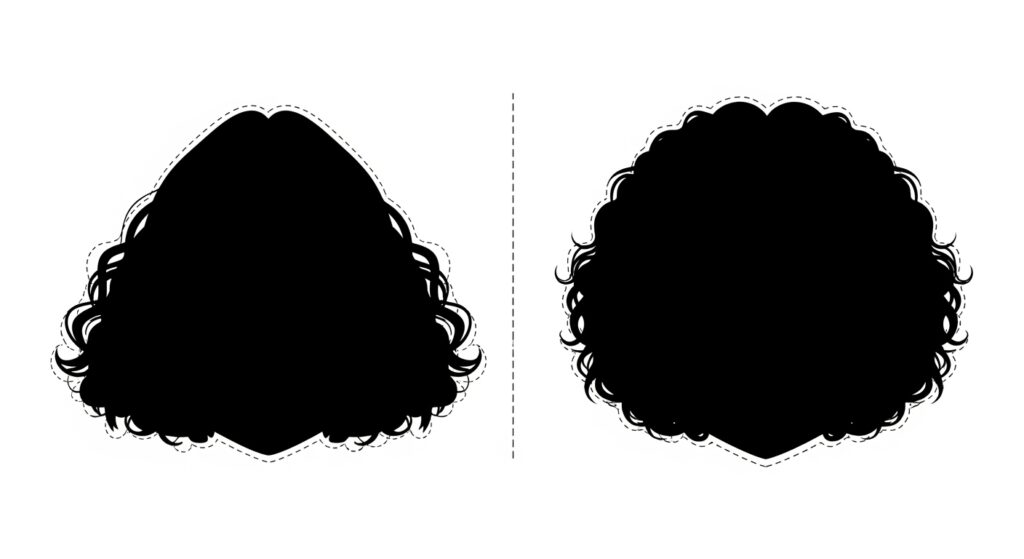
Before we jump into the “how,” it’s important to understand the “why.” Layers are not just a stylistic choice for curly hair; they are a functional one. Unlike straight hair, which falls uniformly, curls coil and spiral, taking up more vertical space. This can lead to a triangular shape—wide at the bottom and flat on top—if the hair is all one length.
Strategic layering solves this by removing weight from specific areas. This allows the shorter curls on top to spring up, creating much-needed volume at the crown. Meanwhile, the longer layers beneath provide body and shape. The result is a balanced, rounded silhouette that enhances your natural curl pattern from root to tip. Layers also help in reducing overall bulk and can make thick, dense hair more manageable and lightweight.
Building Your At-Home Curly Hair Toolkit
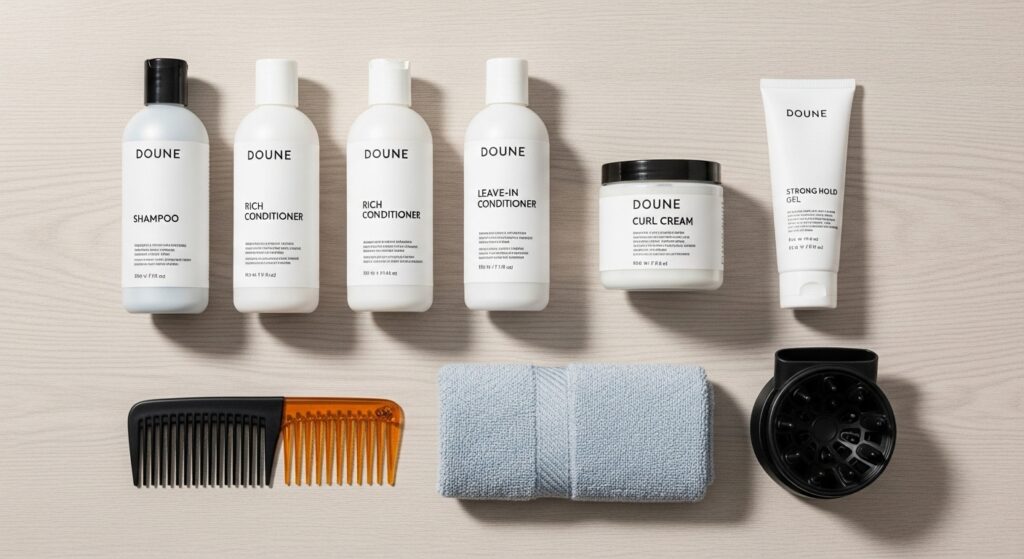
You don’t need a salon’s worth of products, but having the right fundamentals is non-negotiable. The goal is to find products that provide moisture, hold, and definition without weighing your layers down.
Shampoo & Conditioner: Start with a hydrating, sulfate-free shampoo. Curly hair is naturally dry, and sulfates can strip away essential oils. Your conditioner should be rich and creamy, designed to detangle and provide intense moisture. Once a week, consider a deep conditioning treatment to replenish any lost moisture and keep your curls supple.
Leave-In Conditioner: This is your curl’s best friend. A good leave-in conditioner acts as a primer, providing a base layer of hydration, sealing the cuticle, and protecting your hair from styling stress. It helps combat frizz before it even begins.
Curl Cream or Mousse: This is your definition product. Curl creams are great for providing moisture and a soft, touchable hold, ideal for looser curl patterns or those seeking a more natural look. Mousses are lighter and excel at creating volume at the root, making them perfect for fine curly hair that gets weighed down easily.
Gel: Don’t fear the gel! A high-hold gel is the secret to long-lasting definition and a frizz-free cast. It locks your curls in place as they dry, preserving the shape of each layer. The trick is to apply it to very wet hair and, once completely dry, to “scrunch out the crunch” to reveal soft, defined curls.
Tools: A wide-tooth comb for detangling, a spray bottle filled with water for re-wetting, a microfiber towel or old cotton t-shirt for plopping (regular towels cause frizz!), and a diffuser attachment for your hairdryer.
The Step-by-Step Styling Ritual for Perfect Layered Curls
This process, often called the “Curly Girl Method” by enthusiasts, is designed to maximize definition and minimize frizz. Consistency is key.
Step 1: Cleanse and Condition with Care. Wash your hair with your sulfate-free shampoo, focusing on the scalp. When you condition, use a generous amount and detangle your hair in the shower with your fingers or a wide-tooth comb, starting from the ends and working up to the roots. This is the safest time to detangle without causing breakage.
Step 2: The Squish to Condish Revolution. This technique is a game-changer. After applying your conditioner, lean your head to the side and cup water in your hands, then “squish” it upwards into your hair. You’ll hear a squishing sound. This helps the conditioner penetrate and encourages your curl clumps to form. Rinse out most, but not all, of the conditioner for extra moisture.
Step 3: Style on Soaking Wet Hair. Do not towel-dry your hair yet. With your hair still dripping wet, section it. Apply your leave-in conditioner first, raking it through to ensure even coverage. Follow with your curl cream or mousse, using a praying hands motion (smoothing the product down the hair shaft between flat palms) to encourage clumping. Finally, glaze your gel over each section and scrunch it upwards towards your scalp.
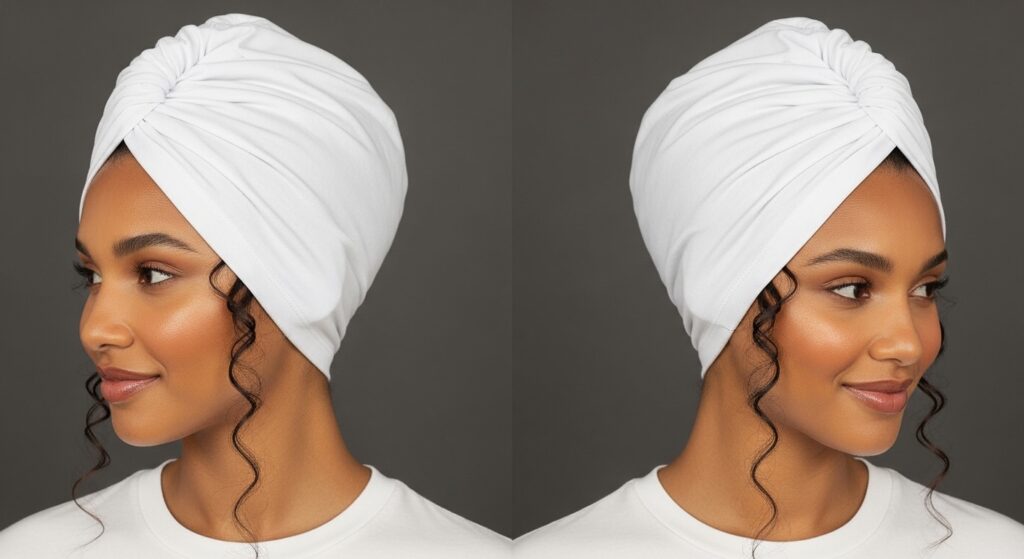
Step 4: Plop for Perfect Set. Lay your microfiber towel or cotton t-shirt flat. Lean forward and place your hair in the center of the fabric. Fold the bottom up over your neck, then the sides over your hair, and tie the ends at the nape of your neck. Leave it for 15-30 minutes. This soaks up excess water while allowing your curls to set in their clumped formation without being disturbed.
Drying Techniques That Define, Don’t Destroy
How you dry your hair is just as important as how you style it. The wrong technique can undo all your hard work.
Air Drying: This is the most gentle method. After plopping, simply let your hair down and allow it to dry naturally. The downside? It can take a long time and may lead to stretched roots if your hair is heavy. To combat this, use a clip at the root for volume while it dries.
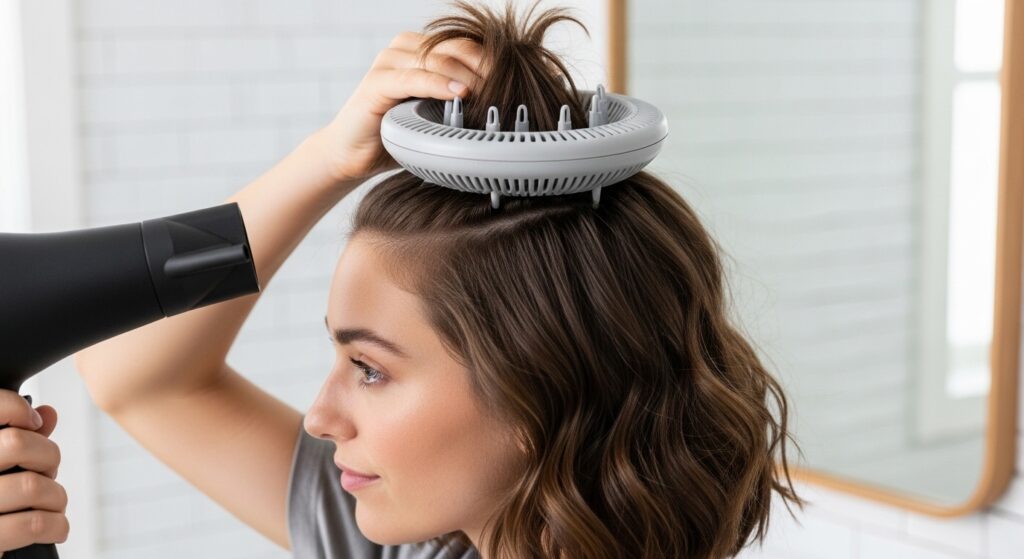
Diffusing: This is the secret weapon for voluminous, defined layers. Attach your diffuser to your hairdryer. With the dryer on a low heat and low speed setting, cup a section of your hair in the diffuser bowl and bring it up to your scalp. Hold it there for a few minutes, then move to the next section. Do not move the diffuser around—this causes frizz. Let it sit. This method, called “hover diffusing,” encourages root lift and sets the curl pattern without disturbance. Once your hair is about 90% dry, you can switch to cool air to lock in the shape.
The Final Touch: Scrunch Out the Crunch. Once your hair is completely, 100% dry, you will be left with a hard, gel cast. This is a good thing! It means your curls are set. Now, take a small amount of hair oil or serum on your palms, rub them together, and gently scrunch your hair upwards. Break the cast until your hair feels soft and mobile, but still holds its defined shape. This is the moment your salon-perfect layers come to life.
Overnight Care and Next-Day Refreshes
Preserving your style overnight is crucial for maintaining those perfect layers day after day.
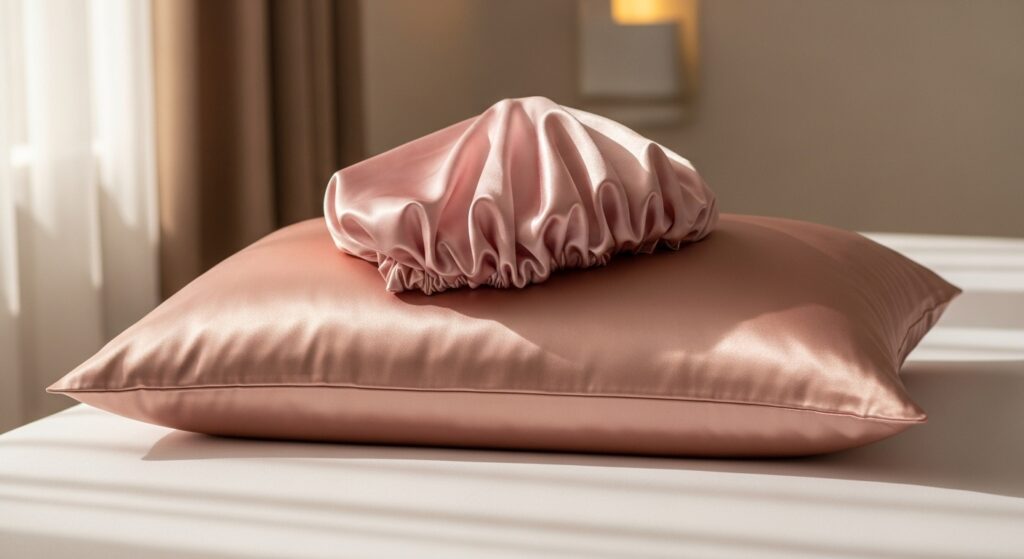
The best way to protect your curls while you sleep is with a satin or silk pillowcase and/or a satin bonnet or scarf. These materials create less friction than cotton, preventing frizz and helping your curls retain their shape.
On day two and three, you likely won’t need to start from scratch. To refresh your layers, start by flipping your head over and fluffing your roots. Mix water with a little leave-in conditioner in a spray bottle and mist your hair lightly—you want to dampen it, not soak it. Then, gently scrunch your curls from the bottom up. If some sections have fallen, you can finger-coil them back into shape. A light pass with the diffuser can help set the refresh.
Troubleshooting Common Layered Curl Problems
Problem: Frizzy Layers
Solution: Frizz is a sign of dryness. Ensure you’re using enough leave-in conditioner and applying your stylers to soaking wet hair. The water helps seal the cuticle. Also, never rub your hair with a regular towel.
Problem: Flat Roots with Curly Ends
Solution: This is often a styling issue. When applying products, focus on raking and scrunching to ensure even distribution from root to tip. During diffusing, pay extra attention to lifting the roots with the diffuser bowl. You can also try root clipping while air drying.
Problem: My Layers Look Choppy or Uneven
Solution: This might be a cut issue, but you can style around it. When applying gel, make sure to glaze it over larger, uniform sections to encourage them to dry as cohesive clumps. Avoid separating your curls too much while they are wet.
Problem: My Hair Feels Heavy and Greasy
Solution: You might be using products that are too heavy for your hair type. If you have fine curls, opt for lightweight leave-ins, mousses, and gels. Clarify your hair with a sulfate shampoo once a month to remove product buildup.
Embrace Your Unique Curl Pattern
Perfecting your layered curls at home is a journey of experimentation and self-discovery. It’s about learning to listen to what your hair needs—more moisture, less product, a different technique. What works for one person may not work for you, and that’s perfectly okay. The true goal is not to achieve someone else’s curl pattern, but to elevate your own.
With this guide, you have the blueprint. You have the knowledge to build your routine, troubleshoot issues, and showcase the beautiful, voluminous, and defined layers you’ve been dreaming of. So put down the salon appointment book, embrace the process, and get ready to fall in love with your curls all over again. Your best hair day is waiting for you, right at home.