How to Perfect modern pixie Hair Without a Trip to the Salon
There’s a special kind of magic to a modern pixie cut. It’s a statement of confidence, a celebration of bone structure, and a liberating leap into low-maintenance style. At least, that’s the theory. In reality, anyone who has ever rocked short hair knows the dreaded “in-between” phase hits fast, and the shape can go from chic to shaggy in what feels like seconds. The frequent salon appointments to maintain that perfect silhouette can be both time-consuming and expensive.
But what if you could become the master of your own modern pixie? What if you could extend the life of your cut, refresh your style, and maintain that salon-sharp look from the comfort of your bathroom? It’s entirely possible. With the right techniques, tools, and a dash of courage, you can keep your pixie perfect on your own terms. This guide is your comprehensive roadmap to doing just that.
Understanding Your Pixie’s Architecture
Before you pick up a pair of scissors or a dollop of product, you need to become a student of your own hair. A modern pixie isn’t just short hair; it’s a carefully constructed shape with distinct sections that work together. The key areas are:
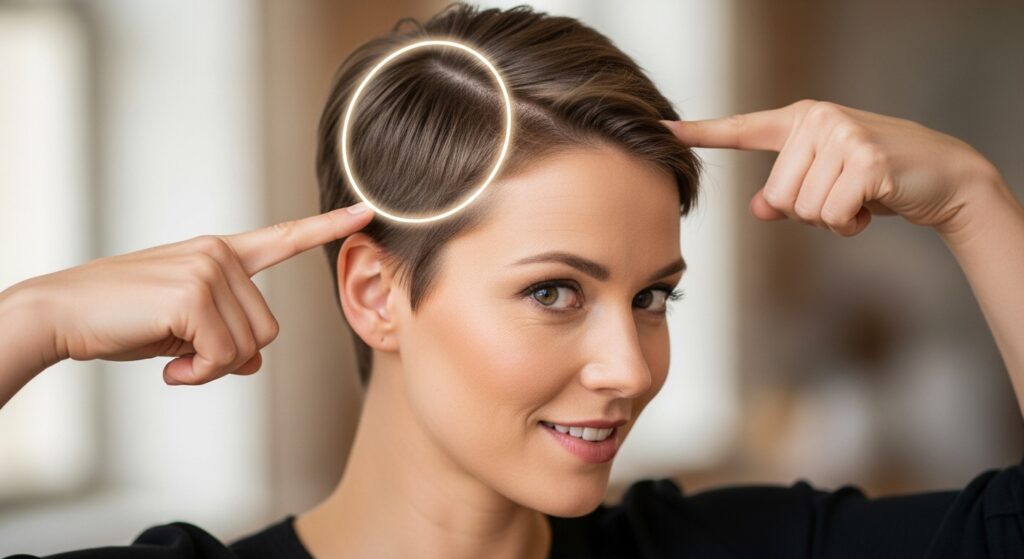
The Crown: This is the top section of your hair, from your forehead back to the point where your head begins to curve down. This area often has the most length and is crucial for creating volume and texture.
The Sides: Typically the shortest part of the cut, the sides frame your face and connect to the back. They can be buzzed, tapered, or left slightly longer for a softer look.
The Nape: The hair at the very back of your neck. A clean, well-defined nape is what makes a pixie look intentional and fresh, rather than just grown-out.
The Fringe/Bangs: The piece-de-resistance of many a pixie. Your fringe can be wispy, blunt, side-swept, or textured, and it’s the primary feature that frames your eyes and face.
Understanding this map is the first step to maintaining it. When you style or trim, you’re not just working with “short hair”—you’re working on these specific, interconnected zones.
The At-Home Maintenance Trim: A Steady Hand and Sharp Scissors
The thought of cutting your own hair can be daunting, but for a pixie, you’re often just cleaning up lines and maintaining a shape, not performing a major transformation. The goal is to extend the life of your professional cut, not replace it entirely.
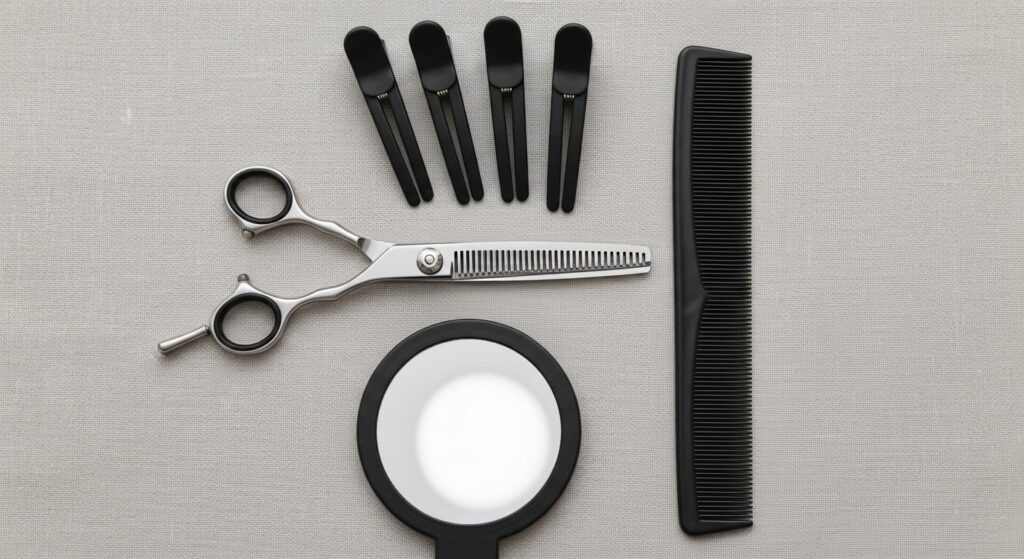
Tools You’ll Need: Invest in a pair of professional hairdressing shears (not kitchen scissors!). You’ll also need a fine-tooth comb, hair clips to section your hair, and a two-way mirror or a hand mirror to see the back of your head.
Trimming the Nape and Sides: This is the easiest place to start. Using your clippers or shears, carefully clean up the hair at the nape of your neck and around your ears. If you use clippers, select a guard that matches the length you want. For scissor-trimming, use your comb to lift the hair and trim any stragglers that fall below your main hairline. The key is to follow the existing shape your stylist created.
Texturizing the Top: Instead of cutting straight across, use a point-cutting technique. Take small vertical sections of hair from the crown and, with the tips of your shears, snip into the ends at an angle. This creates movement, removes bulk, and prevents that dreaded “helmet head” look. Less is more. You can always take more off, but you can’t put it back.
Refreshing the Fringe: Style your bangs as you normally would first. This ensures you’re cutting them at their true length. Then, with your shears held vertically, make small, upward snips into the ends. This creates a soft, feathery finish that’s forgiving and modern.
Mastering the Art of Styling: Products and Techniques
Styling is where your pixie truly comes to life. The right products and techniques can elevate your cut from “just woke up” to “red carpet ready.”
Start with a Clean Slate: Always begin with towel-dried hair. For volume, apply a volumizing mousse or root-lifting spray directly to the roots, lifting them with your fingers as you blow-dry.
The Power of the Blow-Dryer: Use a nozzle attachment on your dryer to concentrate the airflow. Direct the air down the hair shaft to smooth the cuticle. For maximum volume at the crown, flip your head upside down and dry the roots until they are about 80% dry. Then, flip back up and use a round brush to lift the top sections while you finish drying.
Product Cocktailing for the Perfect Finish: Modern pixies thrive on texture and separation.
Pomade or Wax: Ideal for defining pieces, slicking down flyaways, and creating a piece-y, separated look. Rub a tiny amount between your fingers and palms to warm it up, then gently scrunch and twist sections of hair.
Texturizing Spray: Your secret weapon. Spritz this onto dry hair, focusing on the mid-lengths and ends, to build grit, body, and that perfectly imperfect “lived-in” texture.
Sea Salt Spray: Fantastic for creating a tousled, beachy wave effect, even on shorter hair. It adds body and a subtle, effortless texture.
Strong-Hold Hairspray: Use this as a final step to lock your style in place without making it look stiff or crunchy. A light mist from a distance is all you need.
Conquering Common Pixie Problems
Even the most perfect pixie can have bad days. Here’s how to troubleshoot the most common issues.
The “Morning After” Flatness: Don’t reach for the shampoo! Instead, sprinkle a little dry shampoo at your roots. Not only will it absorb oil, but it will also provide instant grit and volume. Use your fingers to fluff and lift the roots back to life.
Unruly Cowlicks: A cowlick is simply hair growing in a different direction. The trick is to work with it, not against it. While blow-drying, direct the hair in the direction you want it to lay, using a brush to train it. Once dry, use a strong-hold pomade to keep it in place.
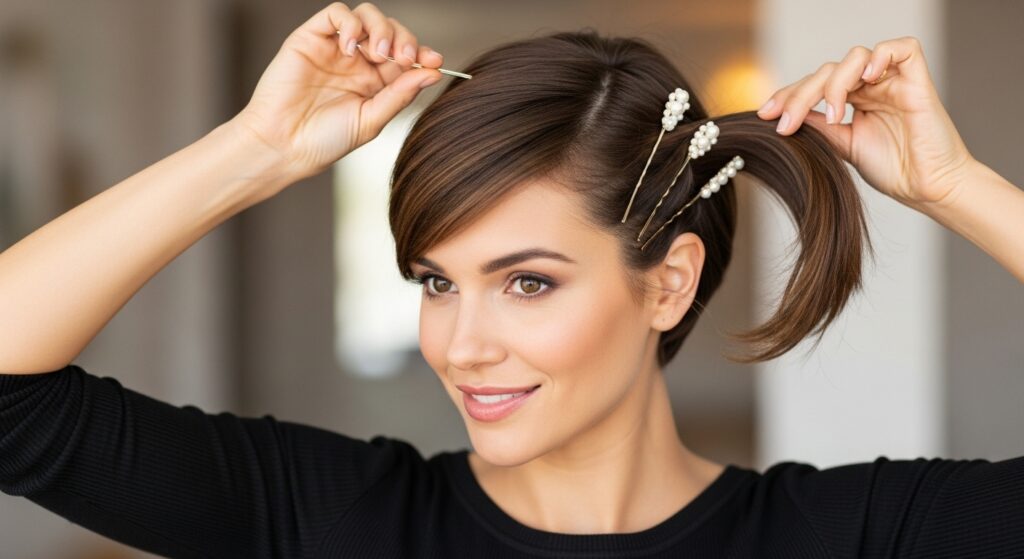
The Awkward Grow-Out Phase: This is inevitable, but manageable. As your hair grows, focus on keeping the nape and sides neatly trimmed to maintain a sharp shape. Use accessories like chic headbands, decorative bobby pins, or pretty ear cuffs to distract from the awkward lengths on top and add a stylish touch.
Bedhead: Sometimes, your pillow creates a fantastic, textured style. Other times, it’s a disaster. If your hair is sticking up in all the wrong places, dampen your hands with water and a tiny bit of conditioner or styling cream and smooth them over the problem areas to reset the style without a full wash.
Beyond the Cut: Healthy Hair is the Best Accessory
A stunning pixie cut relies on the health of your hair. With less length to hide behind, every strand is on display.
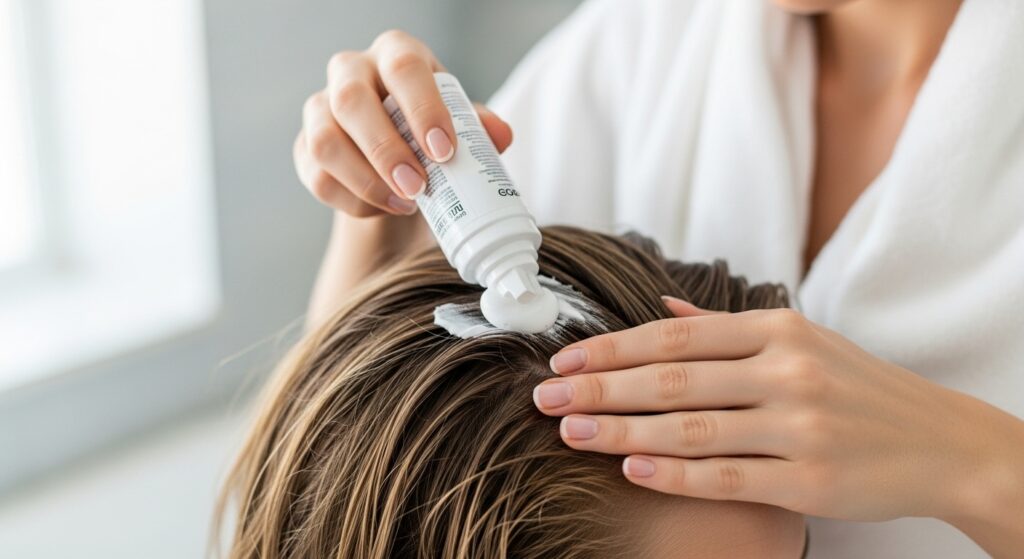
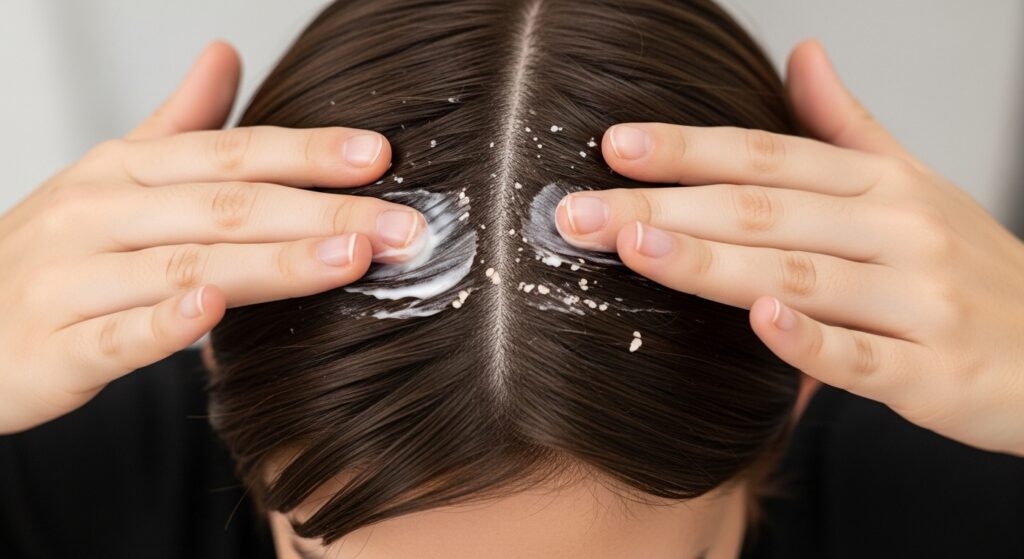
Scalp Care is Hair Care: A healthy scalp is the foundation for healthy hair. Incorporate a scalp scrub or a treatment serum into your routine once a week to exfoliate and stimulate blood flow, promoting stronger, healthier growth.
Condition Strategically: You still need conditioner, but avoid applying it to your roots, which can weigh hair down. Focus the product on the mid-lengths and ends of your hair—yes, even on a pixie, you have them!
Heat Protection is Non-Negotiable: Because you’re likely using heat tools frequently and on hair that is close to your scalp, a heat protectant spray is essential to prevent damage and dryness.
Regular Trims are Still Key: While this guide teaches you to extend time between salon visits, don’t abandon them completely. A professional touch-up every 8-12 weeks will reset your shape and allow a stylist to address any issues you can’t see.
Embrace Your Inner Stylist
Mastering your modern pixie at home is an empowering journey. It’s about understanding the unique architecture of your cut, learning a few key maintenance techniques, and knowing which products can bring your vision to life. It demystifies the process and gives you complete control over your look every single day.
So, arm yourself with sharp shears, a good texturizing spray, and a confident attitude. Your perfect pixie isn’t dependent on a salon chair—it’s waiting for you to create it, right in your own bathroom. Your signature short hair, perfected by you.