How to Perfect natural bun Hair Without a Trip to the Salon
There’s something undeniably elegant and effortlessly chic about a natural bun. It’s a timeless hairstyle that can take you from a casual day at home to a formal evening event. But for those of us with curly, coily, or textured hair, the idea of achieving a sleek, polished, or perfectly voluminous bun can feel like a task reserved for salon professionals. The thought of battling frizz, achieving the right shape, and making it last all day can be daunting.
What if we told you that the secret to a flawless natural bun is already in your bathroom cabinet and your skill set? You don’t need a costly appointment or an arsenal of expensive products. With the right techniques and a little know-how, you can master this classic look in the comfort of your own home. This comprehensive guide is designed to walk you through every step, ensuring your next natural bun is nothing short of perfection.
Why the Natural Bun is Your New Go-To Hairstyle
Before we dive into the how, let’s talk about the why. The natural bun isn’t just a hairstyle; it’s a versatile tool in your beauty arsenal. First and foremost, it’s incredibly protective. By gathering your hair at the crown or nape of your neck, you minimize manipulation, which reduces breakage and split ends. This allows your hair to retain length and maintain its health over time.
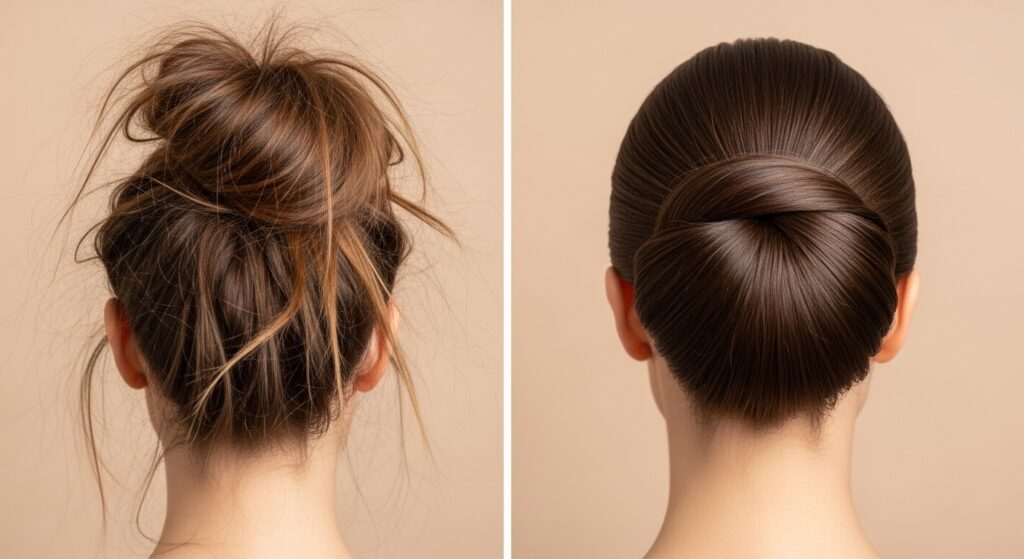
Beyond protection, it’s a style of pure convenience. On days when you’re short on time or your hair isn’t cooperating, a bun is your best friend. It’s also remarkably adaptable. A low, sleek bun radiates sophistication for the office, while a high, voluminous top knot can be playful and modern. Whether your texture is loose waves, tight coils, or something beautifully in between, the natural bun celebrates your hair’s inherent pattern and volume.

Prepping Your Hair: The Foundation of a Flawless Bun
You cannot build a castle on sand, and you cannot build a perfect bun on unprepared hair. The key to a bun that looks good and holds up lies in the preparation. This step is non-negotiable, especially for natural hair, which thrives on moisture.
Start with hair that is either freshly washed or refreshed. If your hair is dry, consider lightly dampening it with a spray bottle; the added moisture will help with manageability and curl definition. Next, apply a leave-in conditioner to ensure your strands are hydrated and soft. Follow this with a styling product that offers hold. A defining cream or a light-hold gel works wonders. For a sleek look, a stronger-hold gel or edge control is your best bet. The goal is to create a hair canvas that is supple, defined, and ready to be shaped.
Pro Tip: If you’re aiming for a sleek bun, gently blow-dry your hair on a low heat setting with a tension method (using a brush to stretch the hair) or do a simple banding technique the night before to stretch your curls slightly. This makes the hair easier to smooth back.
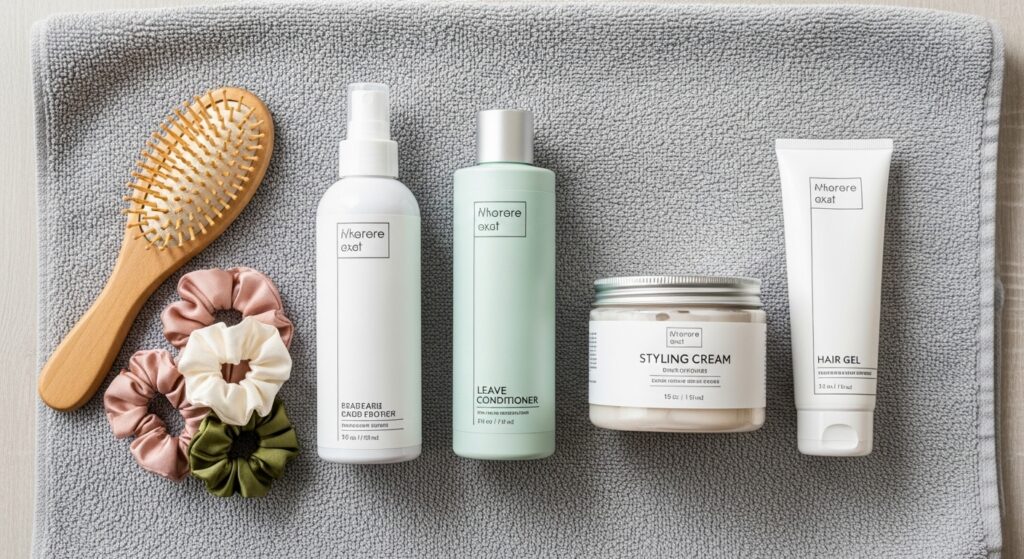
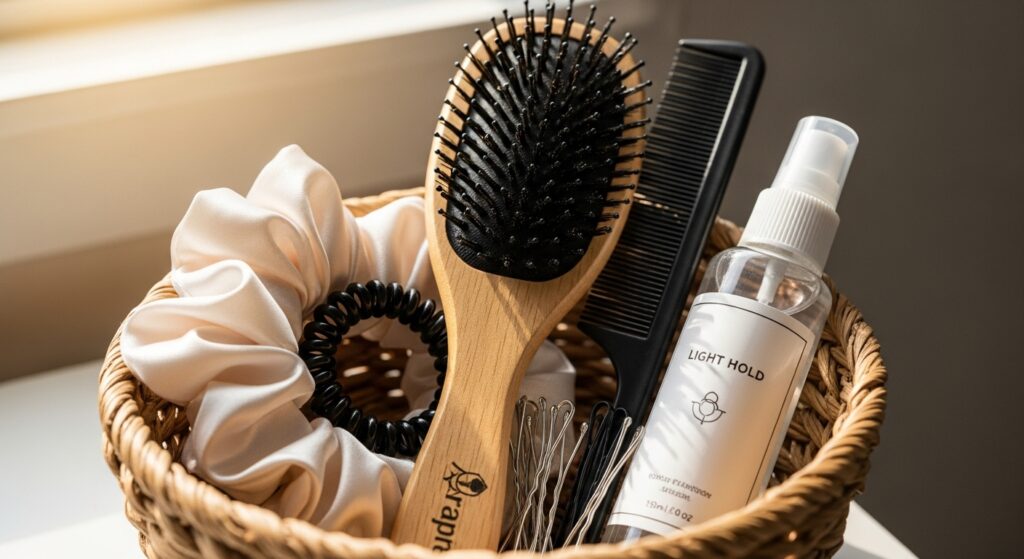
Essential Tools for Your At-Home Bun Kit
You don’t need much, but the right tools make all the difference. Ditch the regular elastic bands that can snag and break your hair. Instead, opt for coil-free hair ties, satin scrunchies, or even a simple hair clip. These are gentler on your strands and prevent unnecessary stress.
A good, sturdy hairbrush is crucial. A boar bristle brush is excellent for smoothing and distributing natural oils, while a tension brush or a paddle brush is ideal for sleek styles. Don’t forget a rat-tail comb for creating clean parts and taming flyaways. Finally, you’ll need bobby pins that match your hair color for securing loose ends. For extra hold and shine, have a light-hold hairspray or a shine serum on hand.
Step-by-Step: The Classic Sleek Low Bun
This is the quintessential elegant bun, perfect for job interviews, weddings, or any time you want to look polished and put-together.
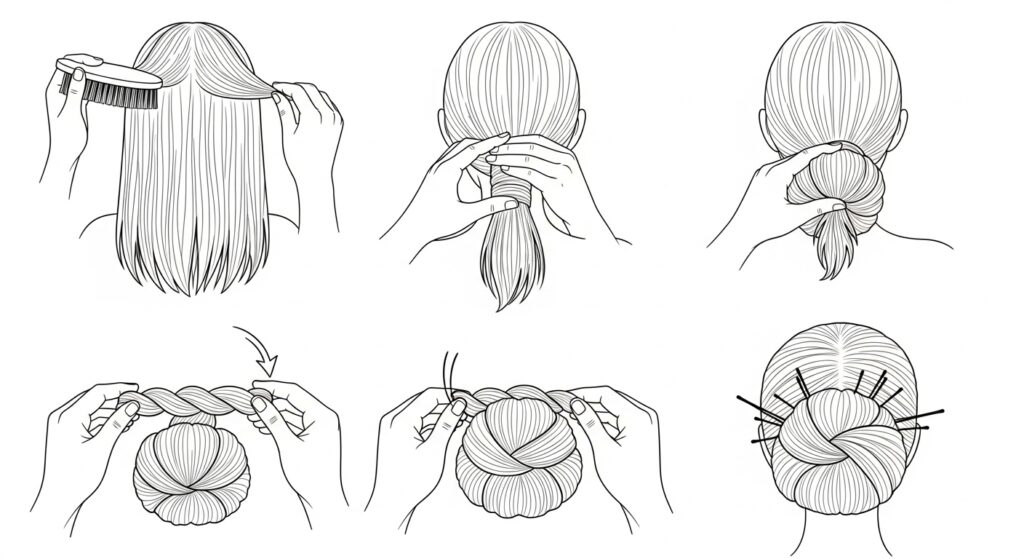
Step 1: Begin by brushing your hair thoroughly to remove any tangles. Gather your hair at the nape of your neck as if you’re making a low ponytail. Use your hands to smooth down the sides and top for a sleek look.
Step 2: Secure your hair with a coil-free hair tie. Don’t pull the hair all the way through on the last loop; instead, create a loop, leaving the ends out. This forms the base of your bun.
Step 3: Take the remaining tail of hair and wrap it around the base of the ponytail. As you wrap, try to spread the hair evenly to create a uniform bun shape.
Step 4: Once the hair is wrapped, use bobby pins to secure the end of the tail underneath the bun. Slide the pins in facing downwards so they are hidden. Use additional pins around the perimeter of the bun to secure any loose sections and ensure it feels firm.
Step 5: Use the tail of your rat-tail comb or a toothbrush sprayed with a light hold product to smooth down any baby hairs or flyaways. Apply a small amount of edge control for a glass-like finish around your hairline.
Step-by-Step: The Voluminous High Top Knot
This bun is fun, youthful, and shows off the beautiful volume of your natural hair. It’s perfect for a day out or when you want to add a little drama to your look.
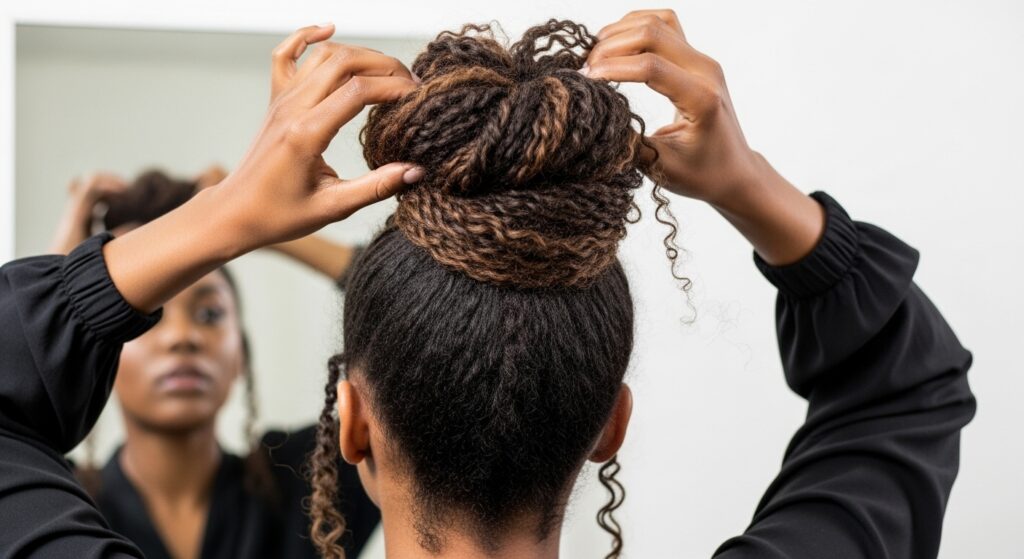
Step 1: Flip your head over and gather all your hair at the crown of your head. This maximizes volume. Secure it tightly with a satin scrunchie. The scrunchie provides a better grip and adds to the aesthetic.
Step 2: Instead of pulling your hair completely through the scrunchie on the last loop, pull it only halfway through, creating a “pineapple” ponytail. The ends of your hair should be fanning out at the top.
Step 3: Now, take the fanning ends and start wrapping them around the base of the ponytail. Don’t wrap too tightly; you want to maintain that volume.
Step 4: Once wrapped, use your fingers to gently pull apart the sections of the bun to create even more fullness and a rounded shape. This is where you play and personalize the size of your knot.
Step 5: Secure the bun with 3-4 bobby pins, weaving them through the scrunchie and into the bun. For extra hold and to define any curls that are popping out, you can lightly spritz with a water-and-conditoner mix and scrunch.
Adding Flair: Creative Variations on the Natural Bun
Once you’ve mastered the basics, it’s time to get creative. A simple bun can be transformed into a statement piece with a few easy tweaks.
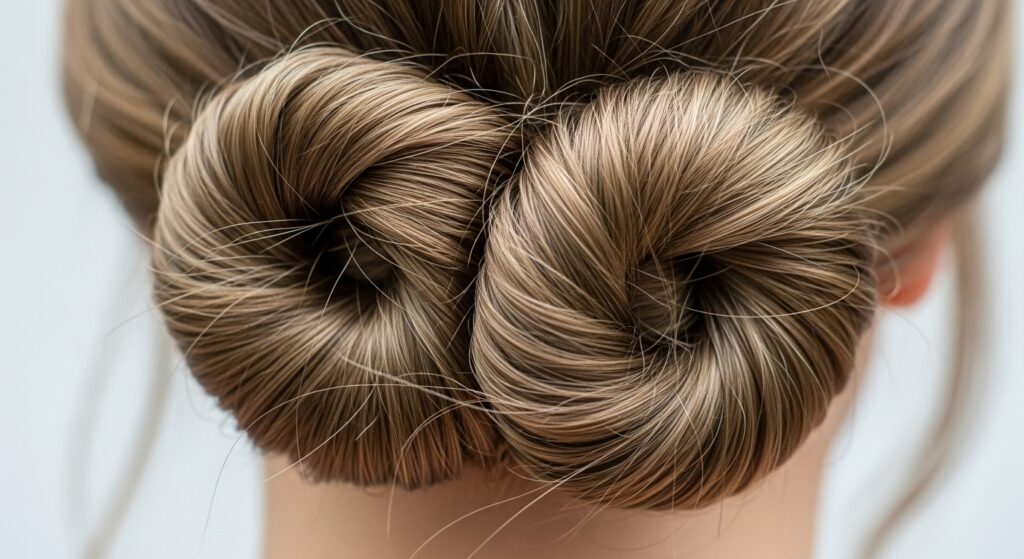
Try a Twisted or Braided Bun. Instead of gathering all your hair at once, create two or three large twists or braids on the way to your ponytail. Then, wrap those braids around the base to form your bun. This adds incredible texture and visual interest.
The Puff Bun is another gorgeous option. Create a high ponytail but leave a significant amount of hair out after the last loop of your tie. Then, gently push the ponytail forward through the center, from the front, to create a puff on top and a bun at the base. It’s a two-in-one look that is uniquely beautiful.
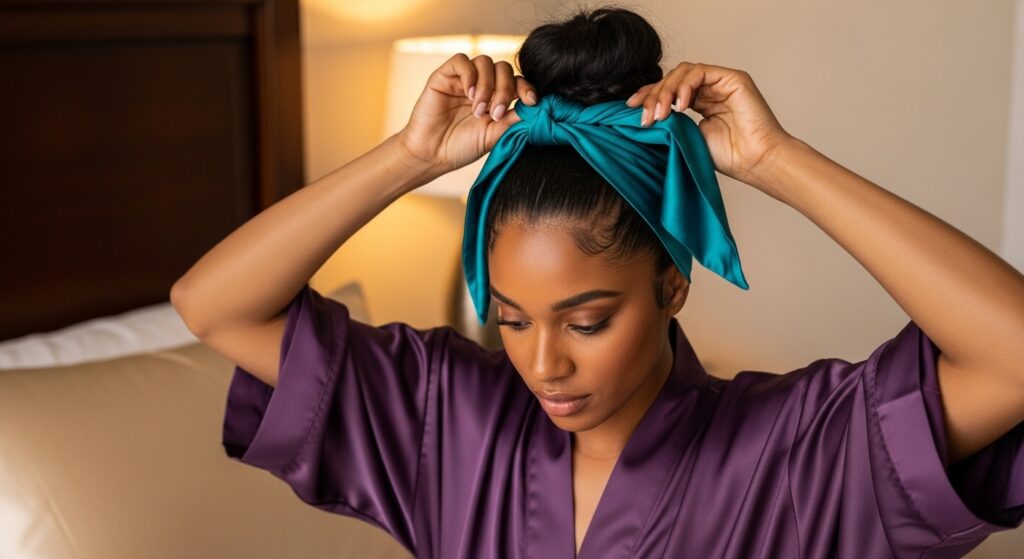
Don’t forget accessories. A colorful silk scarf wrapped around the base of your bun, or decorative hair pins strategically placed, can elevate your bun from simple to stunning in seconds.
Troubleshooting Common Bun Problems
Even with the best techniques, sometimes things don’t go as planned. Here’s how to solve the most common bun dilemmas.
Problem: The Bun is Lopsided or Flat. Solution: When gathering your hair, make sure you are positioning the ponytail exactly where you want the center of the bun to be. Use your fingers to fluff and shape the bun after it’s pinned, pulling gently on the sides to create a symmetrical, round shape.
Problem: Flyaways and Frizz. Solution: This often comes down to prep. Ensure your hair is well-moisturized before styling. Using a tiny amount of gel, pomade, or even a toothbrush with a bit of hairspray can lay those flyaways to rest. A satin scarf pressed over your head for a few minutes after styling can also work miracles.
Problem: The Bun Won’t Stay Secured. Solution: You might not be using enough bobby pins, or you might be using them incorrectly. Always criss-cross bobby pins when inserting them for a stronger hold. If you have very thick or heavy hair, consider making two ponytails—one on top of the other—to distribute the weight before wrapping your bun.
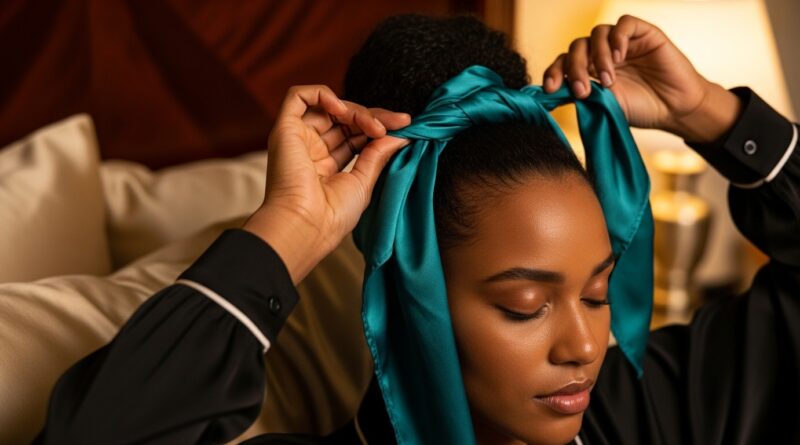
Nighttime Care: Making Your Bun Last
You’ve created a masterpiece; why not make it last for two or even three days? The secret lies in your nighttime routine. Simply wrapping your hair in a satin or silk scarf is the best way to preserve your style. If the bun is too bulky, you can sleep on a satin pillowcase instead. In the morning, you might need to re-pin a few loose pieces or refresh the edges with a dab of water and edge control, but the core of your bun will remain intact, saving you precious time.
Embrace Your Beautiful Buns
Mastering the art of the natural bun at home is more than just a hair hack; it’s a form of self-care and a celebration of your natural texture. It empowers you to create a beautiful, protective style on your own terms, without spending a fortune or dedicating hours in a salon chair. Remember, practice makes perfect. Your first attempt might not be exactly what you envisioned, but with each try, you’ll learn more about what works for your unique hair.