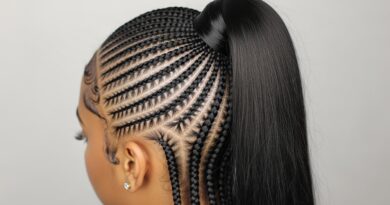
How to Perfect natural pixie Hair Without a Trip to the Salon
There’s something undeniably liberating about a pixie cut. It’s a statement of confidence, a celebration of bone structure, and a declaration that you’re ready to simplify your routine. But as any pixie-wearer knows, the “wash-and-go” myth can sometimes feel more like a “wash-and-figure-out-what-this-is-doing” reality. Growing out roots, losing shape, and battling flatness or frizz can have you longing for the salon chair weekly.
What if you could master your mini-mane from the comfort of your own bathroom? The good news is that with a few key techniques and the right approach, you can keep your natural pixie looking sharp, textured, and perfectly you without constant professional intervention. This guide is your roadmap to becoming the at-home expert of your own short hair.
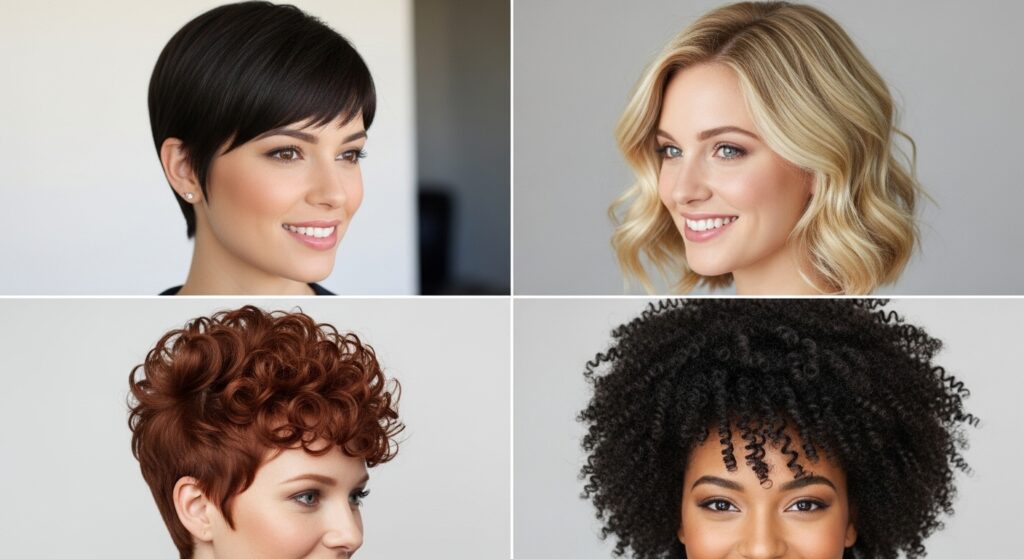
Embrace Your Natural Texture: The Foundation of a Great Pixie
The first and most crucial step to perfecting your pixie is to work with your natural hair texture, not against it. A style that fights your hair’s inherent wave, curl, or straightness will always be an uphill battle.
If you have straight hair, your focus will be on creating volume and piece-y texture. If your hair is wavy or curly, your goal is to define those patterns, enhance your curls, and control frizz. For those with coily or kinky hair, the pixie is a stunning canvas for showcasing tight curls and volume, requiring hydration and shape definition above all.
Start by observing how your hair behaves as it air-dries after a wash. Does it flip out? curl softly at the ends? lie flat? This is your hair’s default setting. Your styling strategy should be built upon enhancing this natural state, which will make your daily routine faster and more effective.
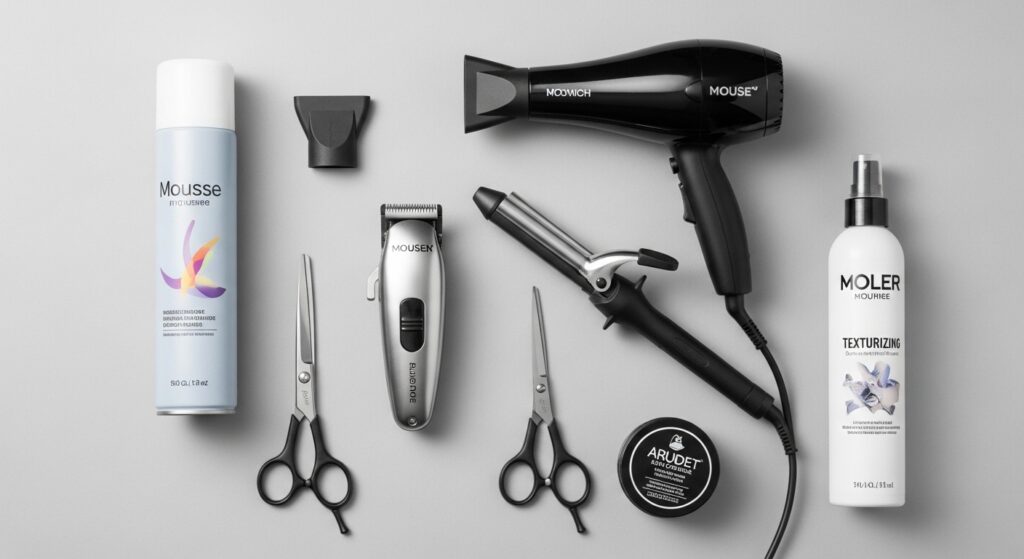
The At-Home Maintenance Toolkit: Your New Best Friends
You don’t need a salon full of equipment, but a few strategic tools will revolutionize your pixie game.
Invest in Quality Clippers or Trimmers: For maintaining the nape of your neck and cleaning up sideburns, a good pair of clippers with guards is a game-changer. It allows for tidy-ups between cuts.
The Right Scissors are Non-Negotiable: Never, ever use kitchen or paper scissors on your hair. Invest in a pair of sharp, professional hair-cutting scissors for occasional snips to split ends or overgrown bangs.
Styling Tools: A versatile, narrow-nozzle blow dryer is essential. A flat iron with rounded edges can create sleek looks or soft waves, while a small-barrel curling iron (like a 1/2 inch) is perfect for adding texture and piece-y definition.
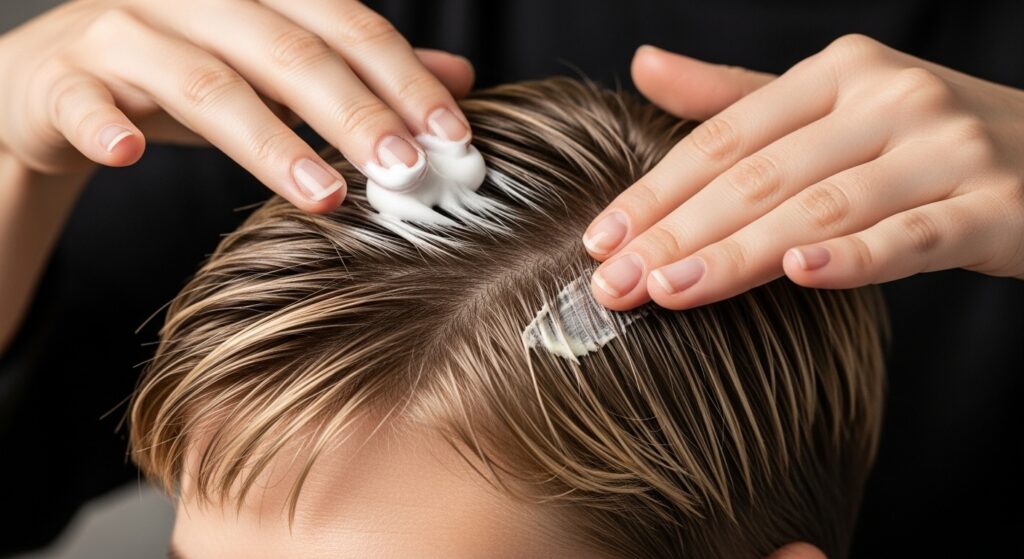
Product Arsenal: Your products will do the heavy lifting. You’ll need a reliable volumizing mousse or root-lifting spray, a texturizing spray or paste, a light-hold hairspray, and for curly hair, a defining cream or gel. Less is often more with short hair, so start with a small amount and build up.
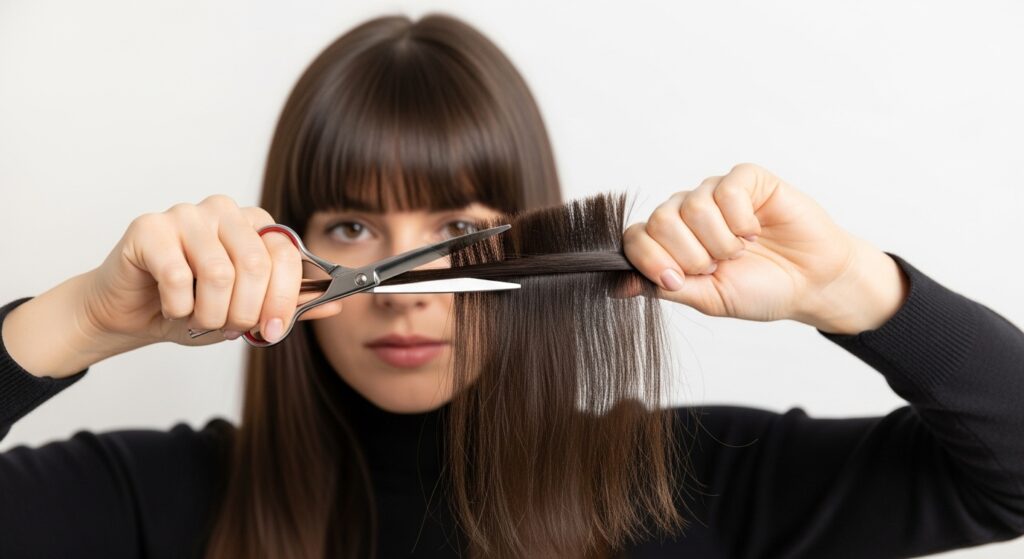
Mastering the Art of the At-Home Trim & Tidy-Up
While a full shape-up is best left to professionals, you can easily maintain the clean lines of your pixie between appointments.
Trimming the Nape and Sides: Using your clippers with an appropriate guard (start with a longer one—you can always go shorter), carefully trim the hair at the nape of your neck and around your ears. Go slowly against the direction of hair growth, using a second mirror to check your work. The goal is neatness, not a full redesign.
Bang Maintenance: This is where your shears come in. On dry, styled hair, only trim the very ends of your bangs. A pro-tip is to point the scissors vertically and make small, upward snips into the ends of your bangs instead of cutting straight across. This creates a softer, more blended, and less harsh line that is far more forgiving of small mistakes.
Remember: The golden rule of at-home trimming is conservatism. You can always take more off later, but you can’t put it back.
Styling Secrets for a Salon-Worthy Finish Every Day
This is where the magic happens. A great pixie style is all about dimension and movement.
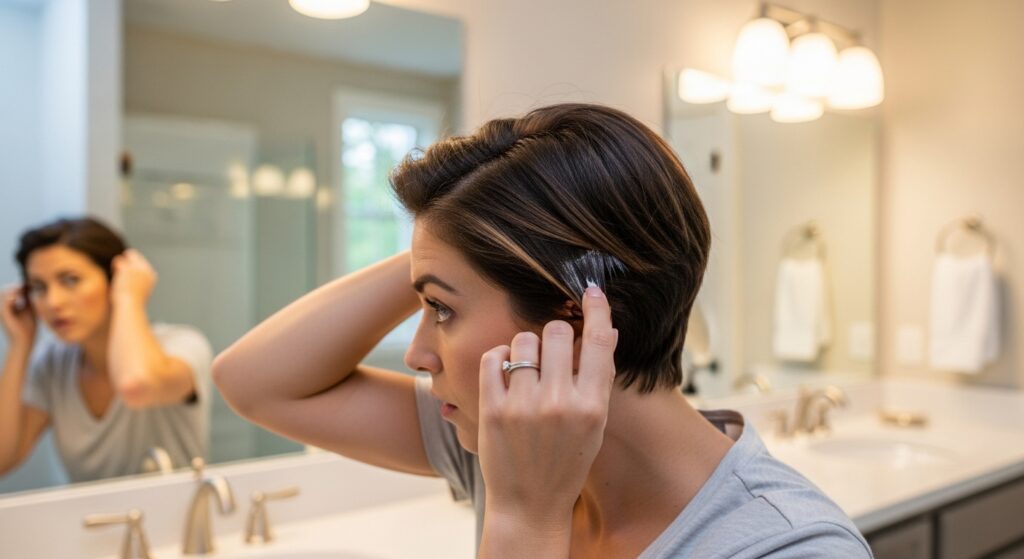
1. The Volumizing Blow-Dry: Start with towel-dried hair. Apply a root-lifting spray or mousse at the crown. Using your fingers and a blow dryer with a concentrator nozzle, lift sections at the roots as you dry. Tilt your head forward to dry the underlayers first for maximum lift. For straight hair, use a round brush to lift the roots as you dry. For curls, simply diffuse dry to maintain bounce.
2. Creating Texture and Separation: Once your hair is dry, the real fun begins. Rub a small amount of texturizing paste or wax between your palms and fingers. Then, gently pinch, twist, and separate random sections of hair throughout your pixie. Focus on the ends and the areas around your crown and face. This breaks up any uniformity and creates that coveted “lived-in,” piece-y look.
3. The Power of the “Piece-Y” Bang: Use the tip of your flat iron to gently bend the ends of your bangs in different directions—some forward, some to the side. This prevents them from looking like a solid, heavy block and adds a ton of personality.
4. The Final Lock: Hold your masterpiece in place with a light-hold, flexible hairspray. Hold the can at least 10 inches away and mist lightly to avoid crunchiness.
Conquering Common Pixie Problems
Even the most perfect pixies have their off days. Here’s how to troubleshoot.
The “Flat Crown”: This is the arch-nemesis of the pixie. To combat it, try a dry texturizing spray at the roots for instant grit and lift. You can also backcomb the underlayers at the crown very gently for hidden volume.
Bedhead & Morning Mess: Don’t immediately reach for the shampoo. Often, a spritz of water or a light-hold spray can reactivate yesterday’s product. Redistribute the product with your fingers and reshape. For stubborn sections, use a small flat iron to smooth or re-curl.
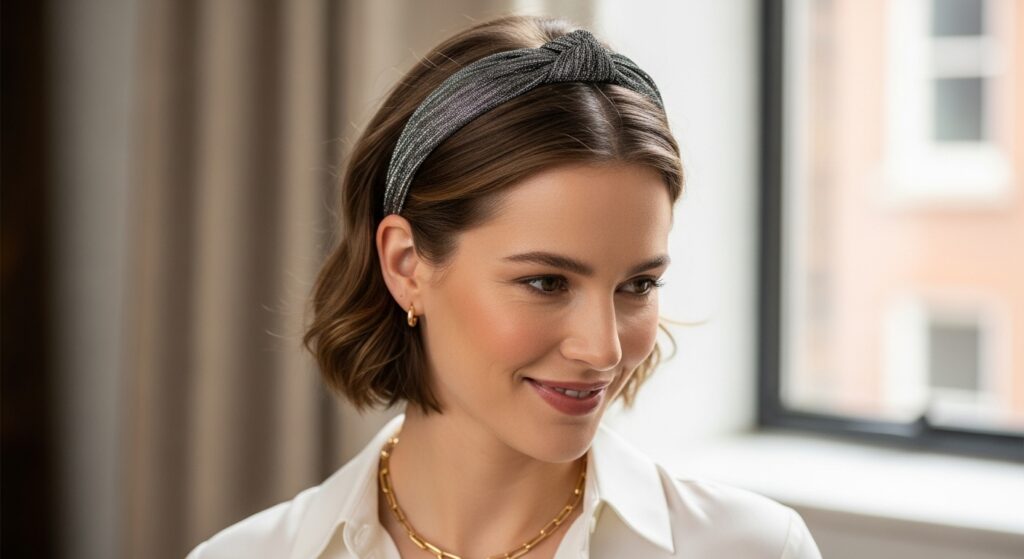
The Awkward Grow-Out Phase: This is inevitable. Use accessories to your advantage! Cute headbands, stylish clips, and bandanas can tame unruly sections and make the grow-out process look intentional and fashionable. Experiment with pinning one side back or creating a mini pompadour with the front section.
Frizz and Flyaways: A tiny drop of serum rubbed between your palms and smoothed over the surface of your hair can work wonders. For a more natural approach, lightly run a clean, soft toothbrush or a mascara wand sprayed with hairspray over flyaways to tame them.
Product Deep Dive: What to Use and When
Understanding your products is key. Here’s a quick guide:
Mousse & Root Lifters: Applied to wet or damp hair before blow-drying. They add body, hold, and volume from the root.
Texturizing Paste/Wax/Salt Spray: Applied to dry hair. These are your finishing products for creating separation, a matte finish, and that “undone” texture. Paste and wax offer more hold, while salt spray gives a beachy, piece-y effect.
Hairspray: Your final seal. Opt for a “flexible hold” or “working spray” that allows for movement without being stiff.
Defining Cream & Gel (for Curly Hair): Applied to soaking wet hair using a scrunching motion. This enhances curl pattern, reduces frizz, and provides a cast that you can later “scrunch out” for soft, defined curls.
Your Pixie, Your Rules: Confidence is the Best Accessory
Ultimately, the most important element of your pixie cut is your attitude. This bold cut is an expression of you. Don’t be afraid to play, to have a bad hair day, or to let it look a little messy. The beauty of the pixie is its versatility and its ability to highlight your face and your spirit.
With these tips and tricks in your back pocket, you are now empowered to take full control of your short hair. You can extend the life of your salon cut, save time and money, and walk out the door every day feeling incredible. Your perfect, natural, salon-free pixie is not just a possibility—it’s waiting for you in your own mirror.