How to Perfect retro hairstyle Hair Without a Trip to the Salon
There’s a certain magic to retro hairstyles. They whisper of glamorous Hollywood starlets, rebellious rock ‘n’ roll icons, and an era where hair was an art form. But for many of us, the thought of recreating those intricate victory rolls, soft pin-up waves, or sleek finger waves at home feels daunting, like a secret only a salon stylist could unlock. What if we told you that you could achieve that head-turning, time-traveling hair without ever booking an appointment?
The Foundation: Prepping Your Hair for a Vintage Transformation
You cannot build a cathedral on sand, and you cannot build a lasting retro ‘do on unprepared hair. The foundation is everything. Vintage styles demand volume, hold, and texture, which starts with how you treat your hair before you even pick up a styling tool.
First, avoid washing your hair the same day you plan to style it. Day-old hair has natural oils that provide grip and texture, making it much more receptive to setting and holding a shape. If your hair is freshly washed and slippery, it will fight you every step of the way. If you must wash, use a volumizing shampoo and conditioner, and avoid heavy, smoothing products that can weigh hair down.
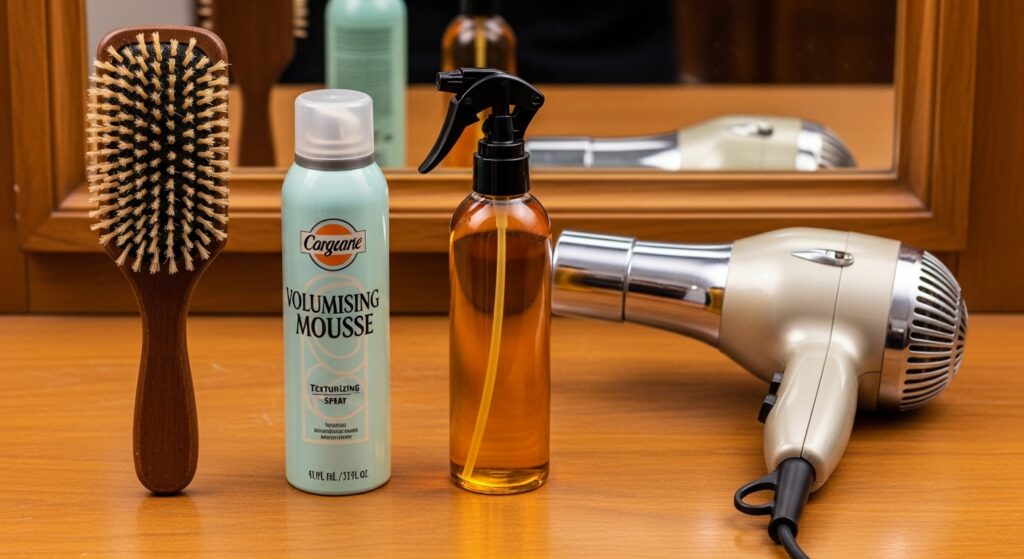
The next non-negotiable step is thoroughly drying your hair. Attempting to set or curl damp hair that isn’t bone dry will result in a frizzy, undefined mess that won’t hold its shape. Blow-dry your hair completely, using a round brush to lift the roots and create as much volume as possible. Once dry, you can add a light-hold mousse or a texturizing spray at the roots for extra oomph.
Your Vintage Hair Toolkit: Essential Weapons for Styling
You don’t need a salon full of expensive equipment, but you do need a few key items to achieve authentic retro looks. Forget the modern curling wands for a moment; the real magic happens with classic tools.
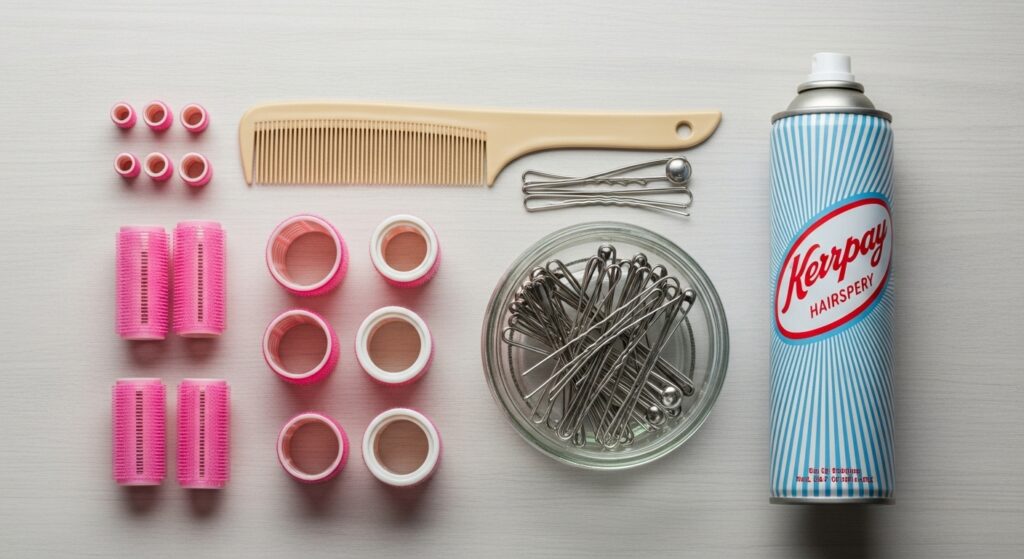
Rollers are your best friend. For large, soft waves, you’ll want velcro or magnetic rollers. For tighter, more defined curls and volume, nothing beats good old-fashioned foam or sponge rollers. Pin curls are the most versatile and authentic tool of all, requiring only bobby pins and your fingers to create a custom set of waves.
A rattail comb is indispensable for creating clean parts, teasing hair, and neatly sectioning strands. You will also need a generous supply of durable bobby pins and hairpins (the U-shaped kind). For styles that require a sleek look, a strong-hold hairspray and a boar bristle brush are essential. Finally, invest in a good heat protectant spray if you plan to use any hot tools for touch-ups.
Mastering the Classics: Step-by-Step Retro Hairstyles
Now for the main event. Let’s break down three of the most iconic retro hairstyles that you can achieve at home.
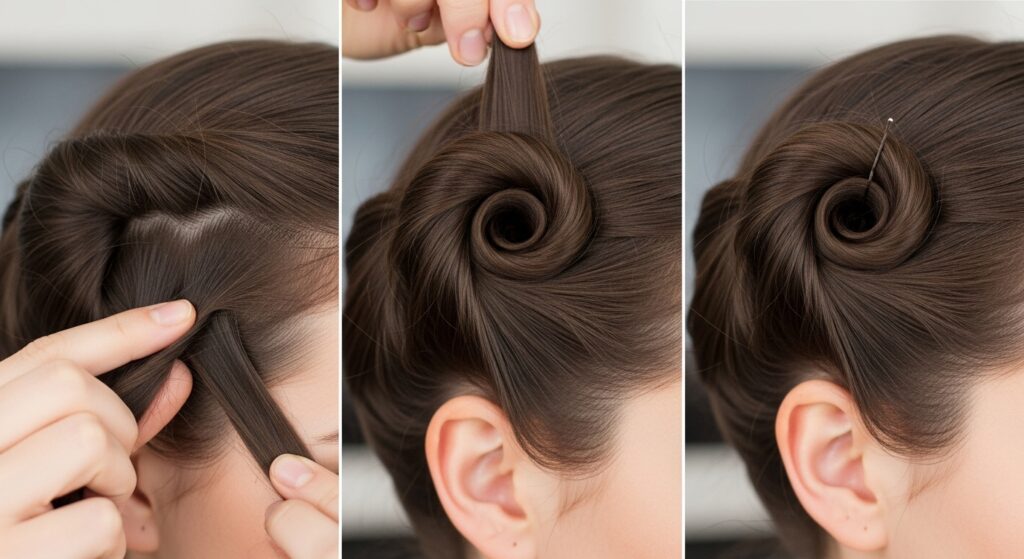
The Iconic Victory Roll
This 1940s symbol of optimism and style seems complex, but it’s all about the technique. Start with styled or day-old hair.
Step 1: Take a section of hair from the front of your head, about the width of your forehead’s temple-to-temple area. Tease the roots lightly for support.
Step 2: Hold the section out away from your head. Now, twist the hair backwards, rolling it under itself and towards your head. Imagine you are wrapping the hair around two fingers to create the initial “roll.”
Step 3: As you roll, tuck the ends under to create a neat, cylindrical shape. The goal is to have the roll sit on top of your head, not dangle down.
Step 4: This is the crucial part. Secure the roll in place by pushing several bobby pins vertically through the base of the roll and into the hair beneath. Use more pins than you think you need! Criss-cross them for maximum hold.
Step 5: Repeat on the other side. You can leave the rest of your hair down in soft waves or style it into an updo. Finish with a firm mist of hairspray.
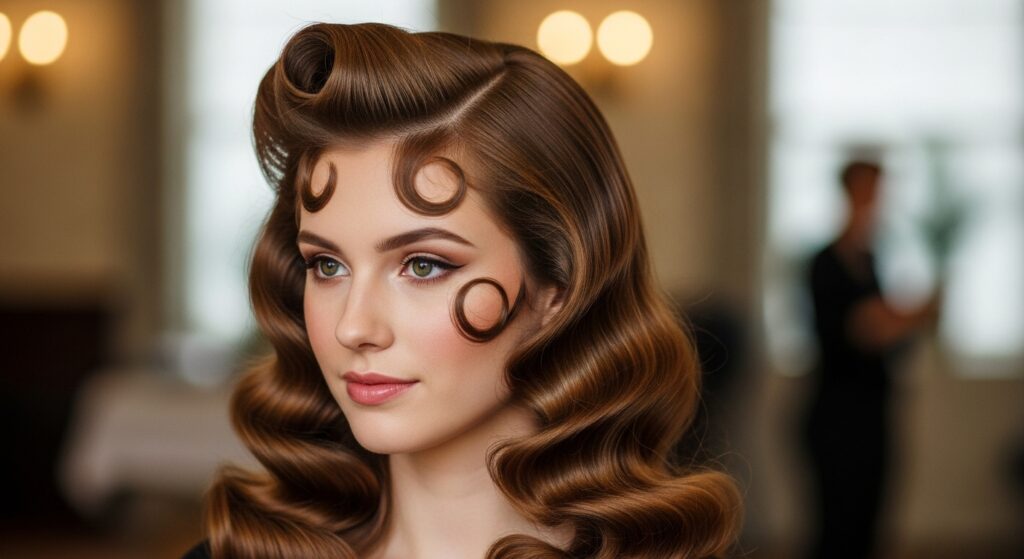
Soft Pin-Up Waves
These are the beautiful, cascading waves seen on icons like Veronica Lake and Rita Hayworth. The best way to achieve them is with a wet set using rollers or pin curls.
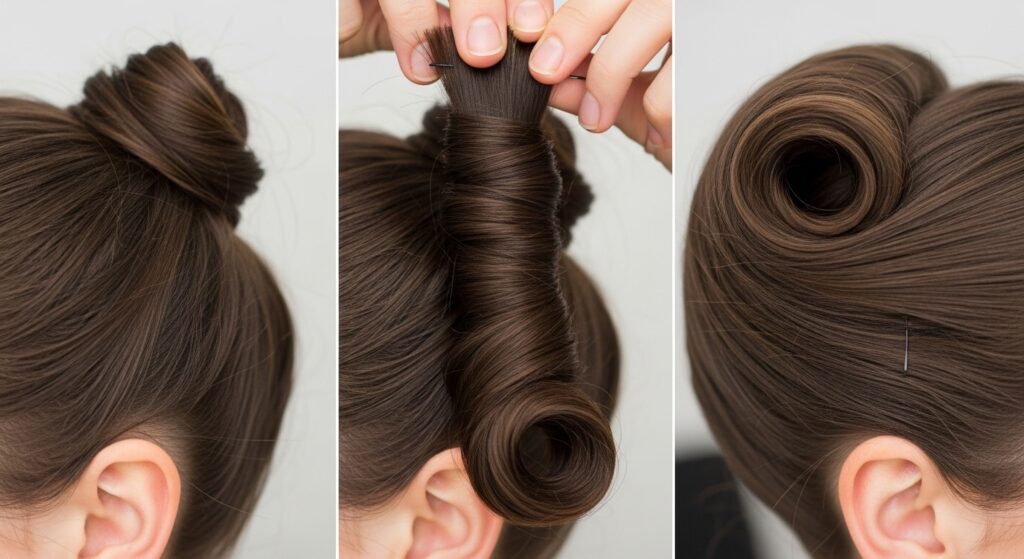
Method 1: The Roller Set After prepping your hair, section it neatly. Wrap 1-2 inch sections of hair around large rollers, rolling downwards and away from your face for a classic look. Secure the rollers and leave them in for several hours, or even overnight, until your hair is completely dry. Gently remove the rollers, do not brush them out. Instead, use your fingers to separate the waves and shape them. Finish by smoothing the top layer with a brush, being careful not to pull out the wave pattern.
Method 2: The Pin Curl Set This method offers more control over the wave direction. Take a small section of damp, styled hair and comb it smooth. Wrap it around your finger to form a flat, spiral curl against your scalp. Slip your finger out and secure the curl flat to your head with two bobby pins in a cross formation. Continue this all over your head, making sure all curls are facing the same direction for a uniform wave pattern. Once dry, carefully unpin and gently finger-comb the waves into place.
The Sleek 1920s Finger Wave
This art deco-inspired style is all about precision and control. It works best on hair that is damp with setting lotion or a strong-hold mousse.
Step 1: Part your hair as desired. Using a rattail comb, create a deep side part. Starting at the part, take a one-inch section of hair at the front.
Step 2: With the teeth of the comb, push the section of hair into a “C” shape against your scalp. Use your other hand to pinch the crest of the wave formed by the comb.
Step 3: Hold the wave in place with your fingers or a double-prong wave clip. Move down the section of hair slightly, and now comb in the opposite direction to form the next “S” shape of the wave, pinching and clipping again.
Step 4: Continue this process down the length of the section. Repeat all over your head. Allow your hair to dry completely with the clips in place. Once dry, remove the clips, and do not brush. Use a light mist of hairspray to set the waves permanently.

Finishing Touches: The Secrets to a Polished, Long-Lasting Look
What separates an amateur attempt from a professional-looking finish are the final details. Vintage hair isn’t meant to be overly touchable or messy; it’s meant to be a statement.
Teasing for Volume: Lightly backcombing (teasing) the hair at the crown and roots is essential for that classic retro volume. Take small sections, hold them straight up, and gently brush the hair downwards towards the scalp a few times. Smooth the top layer over the teased section for that polished, “beehive” foundation.
The Power of Hairspray: Don’t be shy with it! Hold the can about 10-12 inches away from your head and mist your style evenly. For extra hold on specific pieces like victory rolls, you can spray a little directly onto your hands and smooth it over the surface to tame flyaways.
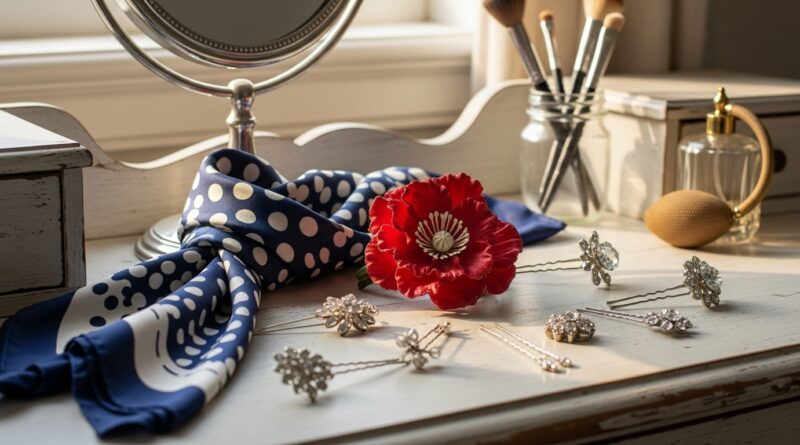
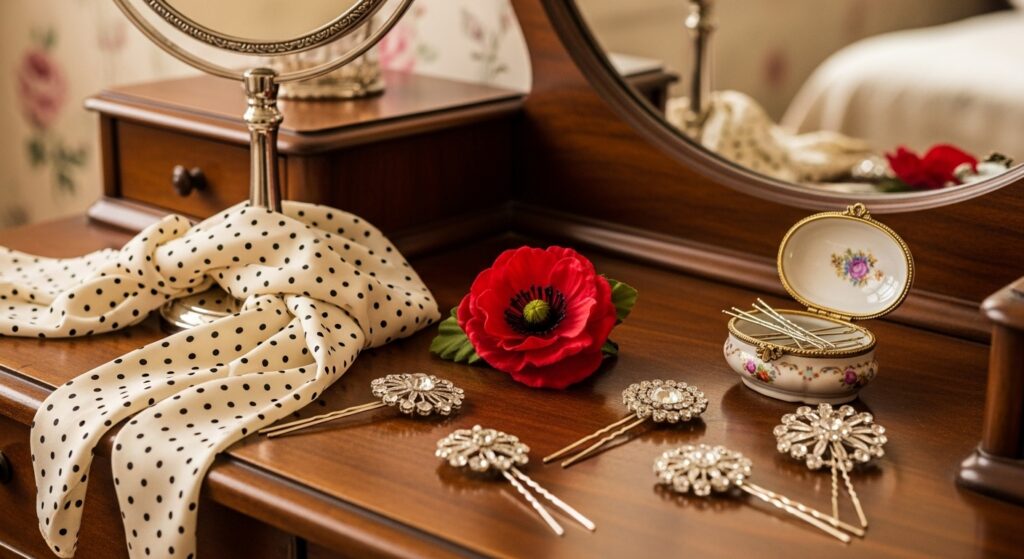
Accessorize Authentically: No retro look is complete without the right accessories. A silk scarf tied like a headband, a classic flower clip, or decorative hairpins can elevate your style and hide any minor imperfections in your styling.
Troubleshooting Common Retro Hair Problems
Even experts have bad hair days. Here’s how to solve the most common vintage hair woes.
Problem: “My victory rolls won’t stay up!”
Solution: This almost always comes down to pinning. You must pin into the base of the roll and anchor it firmly to the thicker hair beneath. Use more bobby pins than you think is necessary, and make sure they are criss-crossed for a secure grip. Teasing the hair section before rolling also provides more texture for the pins to hold onto.
Problem: “My waves fall flat after an hour.”
Solution: This is a foundation issue. Ensure your hair is not freshly washed. Use a setting lotion or a mousse before you set your hair. Most importantly, the set must be 100% dry before you take it down. If you take rollers out while your hair is even slightly damp, the style will not last.
Problem: “I have lots of flyaways and my hair doesn’t look sleek.”
Solution: A small amount of hair wax or pomade applied sparingly to your fingertips can be smoothed over the surface of your hair to tame flyaways. A boar bristle brush is also excellent for smoothing the top layer without disturbing the set underneath.
Embrace Your Inner Vintage Vixen
Perfecting retro hairstyles is a journey, not a destination. Your first attempt might not be picture-perfect, and that’s okay. The key is to practice, be patient with yourself, and enjoy the process of connecting with a timeless art form. Each wave you set and each roll you pin is a nod to the generations of women who mastered these styles before us, all without a trip to the salon.
So, put on some big band music or classic rock ‘n’ roll, lay out your tools, and give it a try. With this guide in hand, you have everything you need to unlock the secrets of vintage hair and make a stunning style all your own. Now go on and rock that retro ‘do with confidence.