How to Perfect retro lob Hair Without a Trip to the Salon
The lob, or long bob, is a timeless cut. But have you met its more glamorous, scene-stealing cousin? Enter the retro lob—a style that marries the modern, manageable length of a lob with the undeniable drama and polish of vintage Hollywood waves. Think Veronica Lake’s peek-a-boo curls, Grace Kelly’s elegant flips, or the buoyant volume of the 60s, all resting gracefully on your shoulders.
For many, achieving this level of polished perfection feels like a task reserved for salon professionals. But what if you could unlock the secrets at home? The good news is that with the right techniques and a bit of practice, you can become the architect of your own vintage-inspired glamour. This guide will walk you through, step-by-step, exactly how to perfect your retro lob without ever leaving your bathroom. Get ready to turn back time and turn heads.
What Exactly is a Retro Lob?
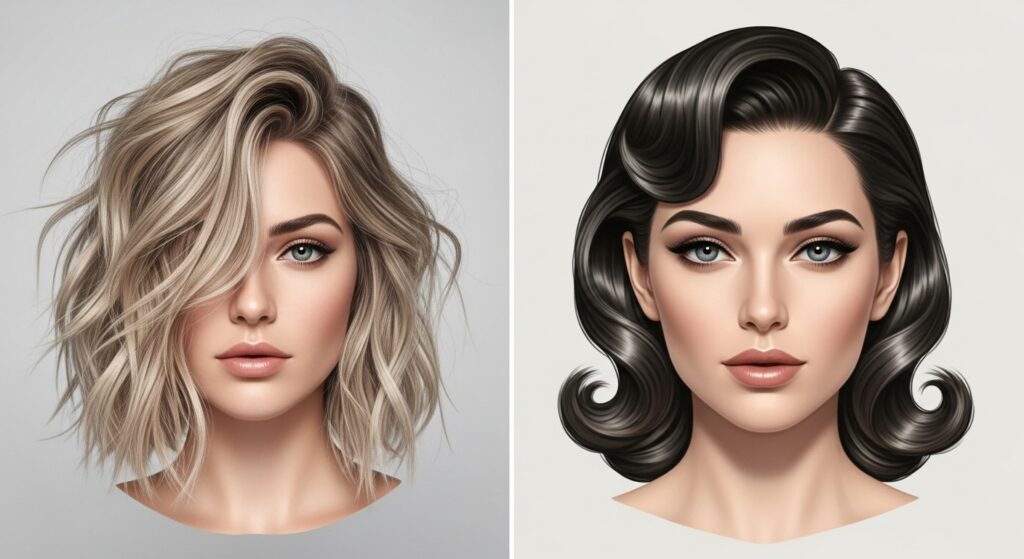
Before we dive into the styling, let’s define our dream ‘do. A retro lob isn’t just a wavy lob. It’s a specific aesthetic that borrows key elements from mid-20th-century hairstyling. The hallmarks include strong, defined waves or curls that are often set in a consistent pattern, unlike the beachy, chaotic waves of a modern style. You’ll also see immense volume at the crown, a signature of vintage styling that lifts the hair away from the scalp for a luxurious effect.
Another key feature is the polished finish. Retro styles are known for their sleekness, with not a flyaway in sight. This is often achieved with strategic pinning, setting, and the use of finishing products. Finally, look for structured ends—whether they’re flipped outward, rolled under into a neat curve, or formed into a perfect “C” shape. The modern lob might be tousled, but the retro lob is deliberate and precise.
The Essential Toolkit for Your At-Home Vintage Salon
You don’t need a salon full of equipment, but a few key tools will make all the difference. Ditch the idea that you can achieve this look with just a flat iron; vintage hair requires a bit more finesse.
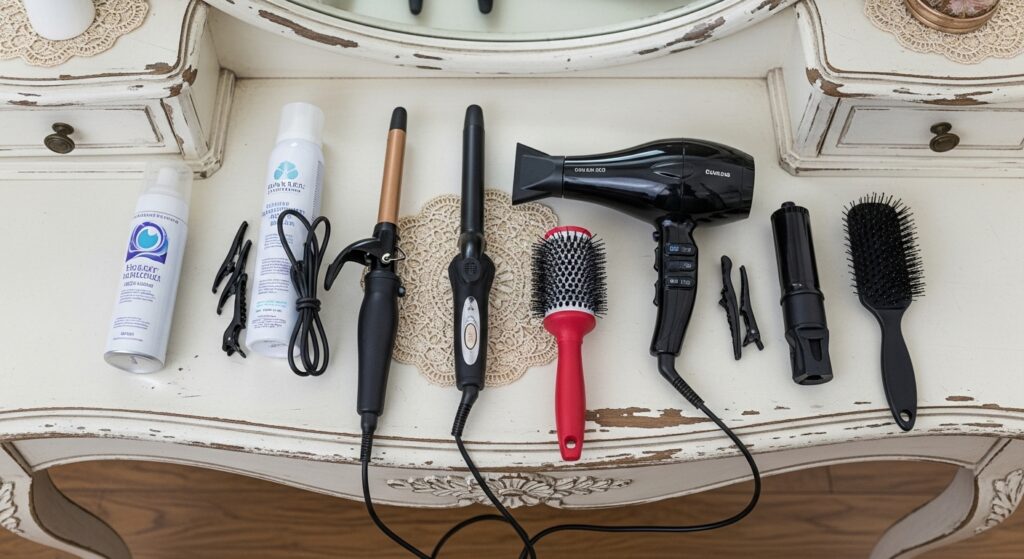
Heat Styling Essentials: A high-quality 1-inch curling iron or wand is your best friend. A clamp-less wand often gives more natural-looking waves. For more authentic, long-lasting sets, consider hot rollers or a marcel iron if you’re feeling advanced. A reliable blow dryer with a concentrator nozzle is non-negotiable for pre-styling.
Products Are Your Secret Weapon: Start with a heat protectant spray—vintage styling involves heat, and you must protect your hair. A volumizing mousse or root-lifting spray applied to damp hair will create the foundational lift you need. For hold, a strong-hold hairspray and a light-hold styling cream for smoothing are crucial. Don’t forget a boar bristle brush for smoothing and polishing.
The Extras: Have a stock of duckbill clips for sectioning and setting, velcro rollers for adding extra bounce, and U-pins or bobby pins for securing your set.
Step 1: The Foundation – Prepping and Blow-Drying for Maximum Volume
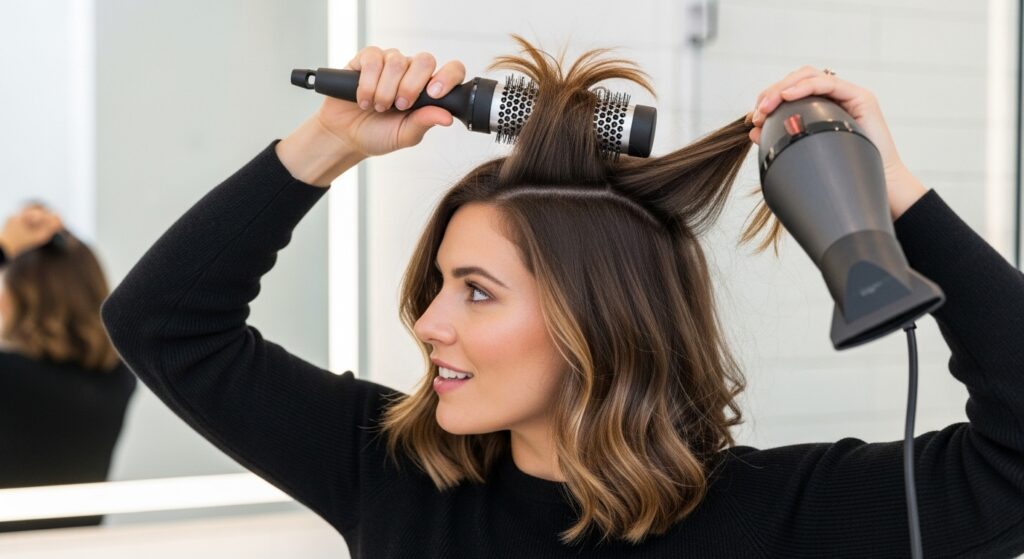
Perfect retro hair starts in the shower. After washing, towel-dry your hair and gently detangle. Apply your heat protectant, followed by a golf-ball-sized amount of volumizing mousse, focusing on the roots. Flip your head upside down and use your fingers to rough-dry your hair until it’s about 80% dry. This initial upside-down drying instantly creates volume.
Now, flip back up and use your blow dryer with the concentrator nozzle. Using a round brush, start at the roots of a section and pull the hair up and away from your head, directing the heat from the roots to the ends. This technique, called over-directing, is the secret to that iconic crown volume. Work section by section until your hair is smooth, dry, and full of body. The goal is a smooth, bouncy base, not a perfectly sleek blowout.
Step 2: The Main Event – Creating Your Vintage Waves
This is where the magic happens. Ensure your hair is completely cool and dry from the blowout. Divide your hair into manageable sections, clipping the top half away. Start with the bottom layer at the nape of your neck.
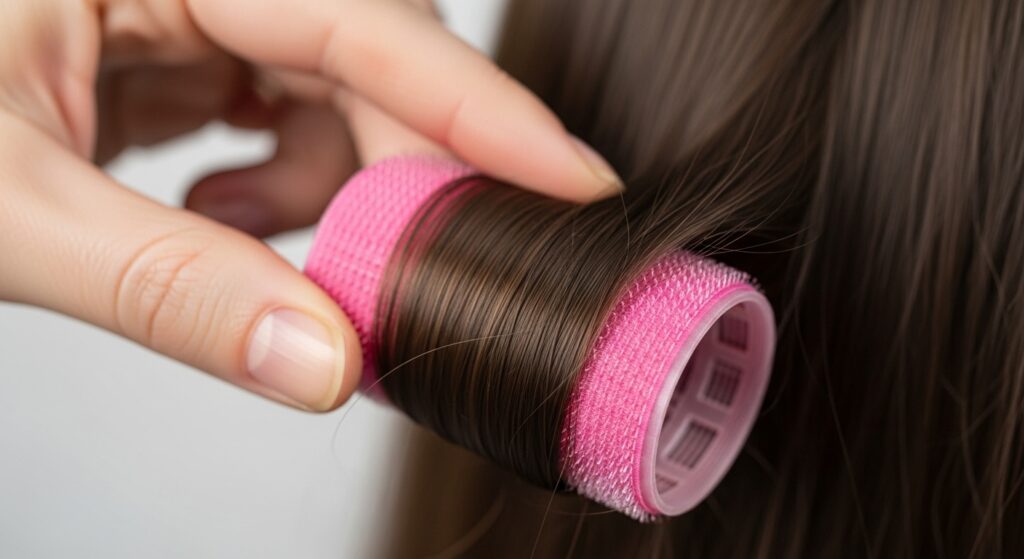
Take a one-to-two-inch section of hair. For classic, uniform waves, wrap the hair away from your face around the curling wand, holding it vertically. Hold for 8-10 seconds, then gently release. Do not shake the curl out! Instead, carefully place the hot curl into a velcro roller or gently coil it and pin it against your head with a duckbill clip. This allows the curl to set and cool completely in its formed shape, which is the key to longevity and definition.
Continue this process all around your head, working from the bottom layers to the top. Remember to alternate the direction of your curls (one section away from your face, the next toward your face) for a more natural, blended wave pattern. For a more dramatic, 40s-style look, curl all sections away from your face.
Step 3: The Art of the Set – Letting It All Cool
This is the step most people skip, and it’s the very reason their curls fall out. You must let your hair cool completely in its set shape. Leave all the clips or rollers in for at least 15-20 minutes, or until your hair is completely cool to the touch. If you’re not in a rush, letting it set for longer is even better. This process allows the hydrogen bonds in your hair, which were broken by the heat, to reform in the new, curled shape. This creates a much more resilient and long-lasting wave.
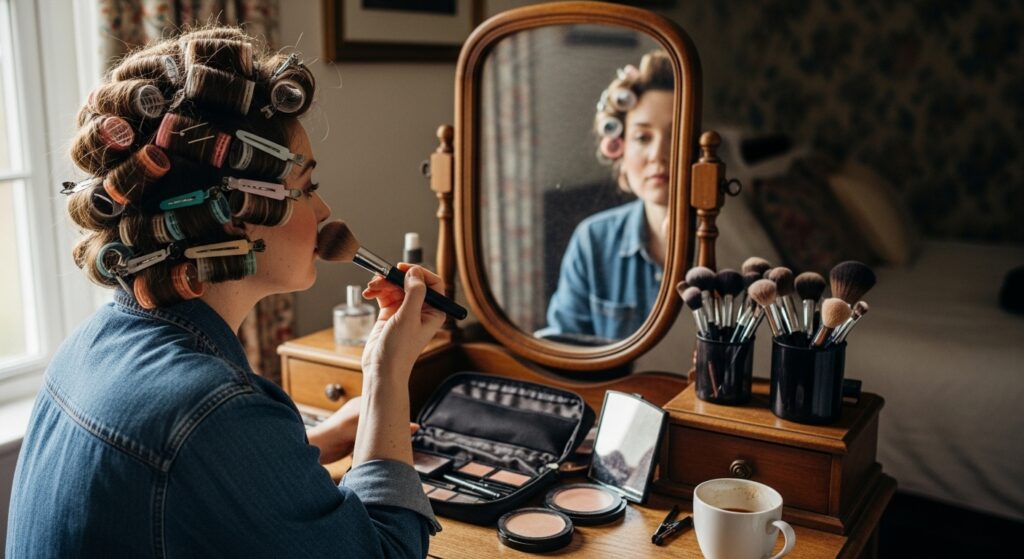
Use this time to do your makeup, choose your outfit, or simply enjoy a cup of tea. Patience is a virtue, especially in vintage styling.
Step 4: The Grand Reveal – Brushing Out and Shaping
Now for the fun part. Once your hair is completely cool, gently remove all the clips and rollers. You’ll be greeted with a head of very defined, sometimes tight, curls. Don’t panic! This is exactly what you want.
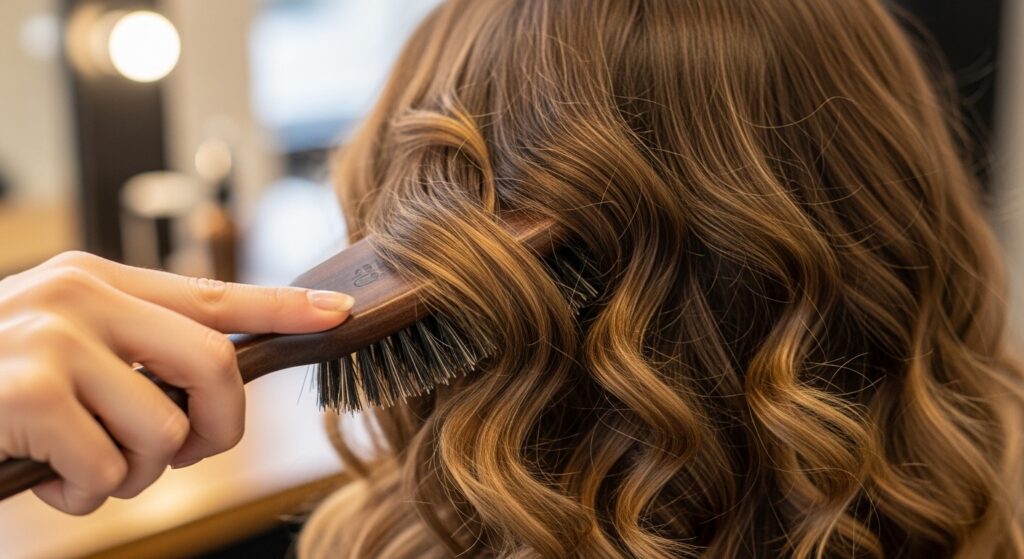
Take your boar bristle brush and gently, gently brush through the curls. Start from the ends and work your way up to break up the curls into soft, unified waves. You’re not trying to brush them straight; you’re blending them together. Use your hands to shape the waves, pushing them into place. See how the volume at the crown is already incredible? That’s the result of your careful blow-dry and setting.
Focus on the ends. For a classic retro flip, use your brush to gently curve the ends under or outward. For a more Veronica Lake-style wave, you can use a U-pin to strategically secure a deep wave just behind your ear.
Step 5: The Final Touch – Polishing and Locking It In
Once you’re happy with the shape, it’s time for the final polish. Take a very small amount of light-hold styling cream and rub it between your palms. Gently smooth it over the surface of your hair, particularly on the top layers, to tame any flyaways and create that signature sleek, glossy finish.
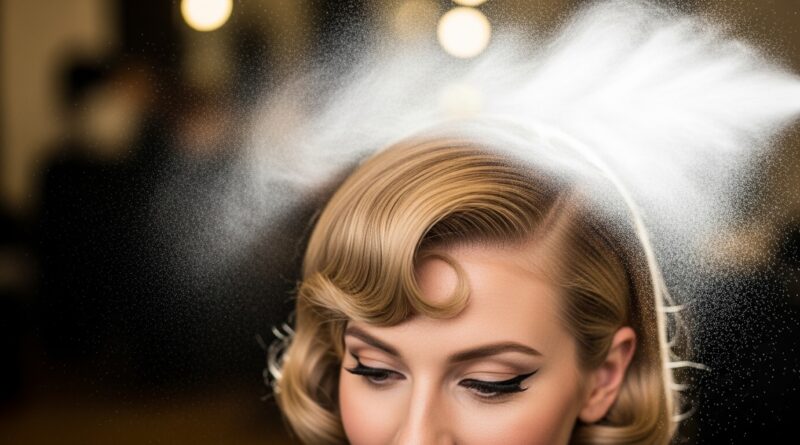
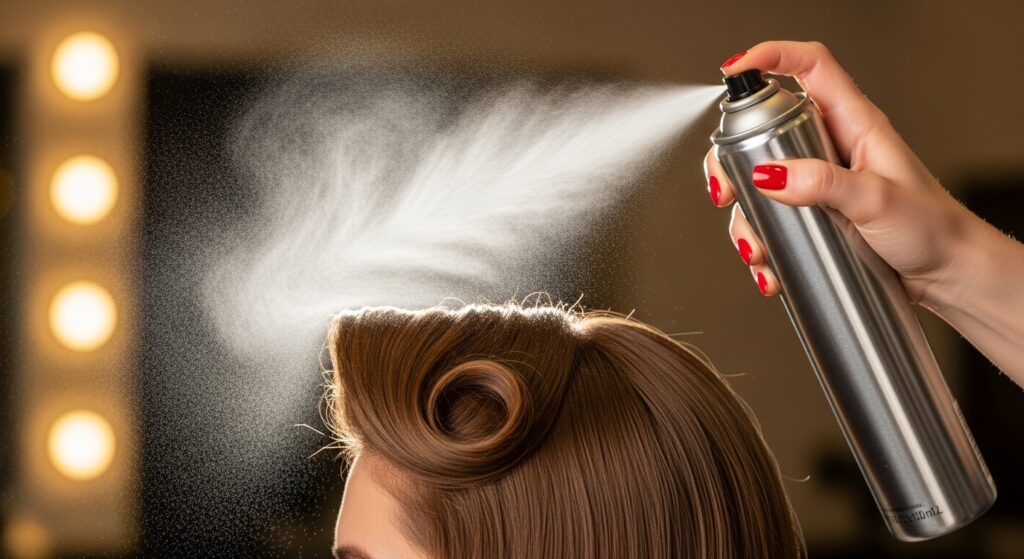
Finally, hold your can of strong-hold hairspray about 10 inches away from your head and give it a few light, misting sprays. Don’t drench your hair—you want to lock the style in place without making it look stiff or crunchy. Pay special attention to the roots at the crown to maintain that volume and the ends to hold their shape.
Troubleshooting Common Retro Lob Woes
“My waves fall flat within an hour!” This is almost always due to skipping the cool-down setting time or not using a strong-enough pre-styling product. Ensure your hair is 100% cool before brushing out, and don’t be shy with that mousse at the roots.
“My hair looks too ‘perfect’ and costumey.” The brush-out is key. Be more vigorous with your brushing to create a softer wave. You can also try using a larger barrel curling iron for looser waves or gently running your fingers through your hair after brushing to break up the pattern slightly.
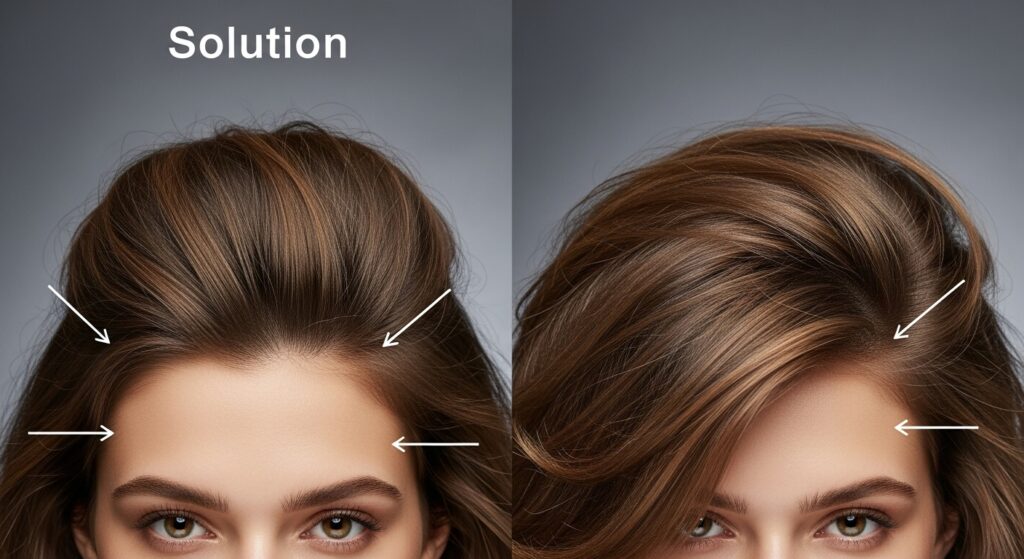
“I can’t get enough volume at the crown.” Revisit your blow-dry technique. Truly focusing on lifting the roots with a round brush is essential. Once your style is set, you can also gently backcomb (tease) the hair at the crown for an extra boost, then smooth the top layer over it.
Embrace Your Inner Silver Screen Star
Mastering the retro lob at home is an empowering skill. It’s not about having a hairstylist on speed dial; it’s about understanding the principles of vintage styling—volume, setting, and polish. It might take one or two tries to get it exactly right, but the process is half the fun. Each wave you create is a nod to the glamour of a bygone era, reimagined for your modern life.
So, clear some space at your vanity, gather your tools, and put on your favorite old Hollywood film for inspiration. With this guide in hand, you have everything you need to perfect a stunning, salon-worthy retro lob all by yourself. Now, go on and shine.