How to Perfect sleek braid Hair Without a Trip to the Salon
There’s something undeniably chic about a sleek braid. It’s the hairstyle that effortlessly bridges the gap between a polished professional look and an elegant evening ‘do. But for many of us, achieving that smooth, frizz-free, perfectly tensioned braid feels like a secret only salon stylists possess. You’ve likely attempted it yourself, only to be met with flyaways, uneven sections, or a braid that somehow looks messy just minutes after you’ve finished.
What if we told you that the secret to a flawless sleek braid isn’t a magical potion or years of cosmetology school, but a combination of the right technique, a few key products, and a little insider knowledge? You can absolutely skip the salon appointment and master this look in the comfort of your own bathroom. This comprehensive guide will walk you through every step, from prepping your hair to the final sealing touch, ensuring your next braid is nothing short of perfection.
The Foundation: Why Preparation is Everything
You wouldn’t paint a masterpiece on a dirty, uneven canvas, and the same principle applies to braiding. The single most important factor in achieving a sleek braid is the preparation of your hair. Starting with freshly washed hair is actually a common mistake; hair that is too clean can be slippery and lack the texture needed for a secure hold. Ideally, you want to braid on day-old hair or hair that has been lightly misted with dry shampoo. This provides a slight grit that helps with grip and control.
The real game-changer, however, is your pre-styling product routine. Before you even think about sectioning, you need to create a smooth, manageable base. Begin by applying a heat protectant spray if you plan to use hot tools. Then, the star of the show: a strong-hold styling gel or a smoothing cream. Work the product through your hair, paying close attention to the front and crown areas where flyaways are most prevalent. The goal is to coat the hair strands to weigh them down slightly and provide a unified, smooth surface to work with.
Essential Tools of the Trade
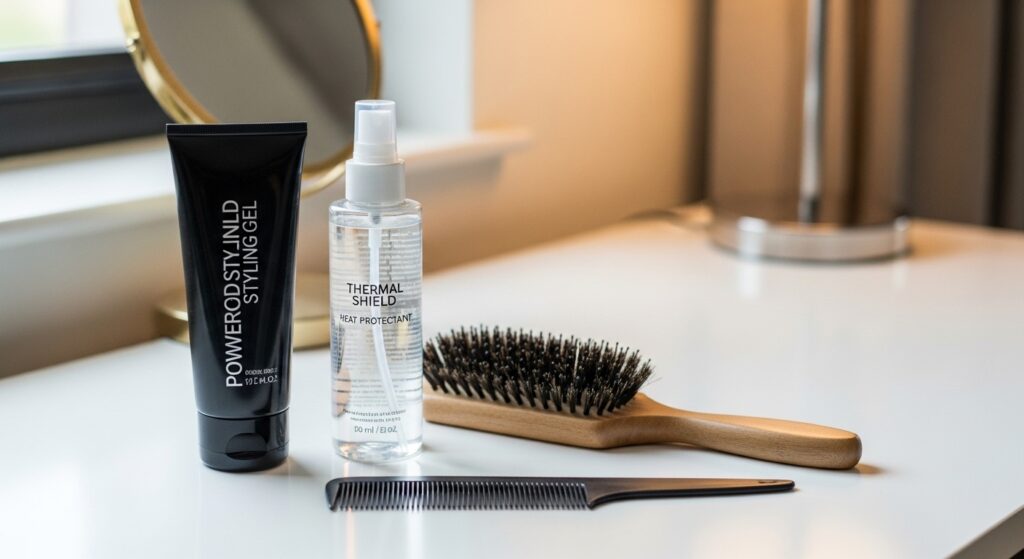
Having the right tools at your fingertips will make the process infinitely smoother. You don’t need a salon-full of equipment, just a few key items:
A Fine-Tooth Comb: This is non-negotiable. A fine-tooth comb is your best friend for creating sharp, clean parts and for smoothing down smaller sections of hair. It allows for precision that a wide-tooth comb or brush simply cannot achieve.
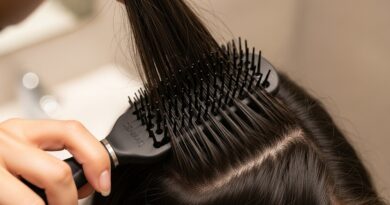
A Boar Bristle Brush or Tension Brush: For the broad strokes of smoothing, a good brush is essential. A boar bristle brush is excellent for distributing natural oils and smoothing the hair cuticle, while a classic tension brush (like the ones often used by stylists) provides excellent control and tension as you brush.
Strong-Hold Hairspray or Edge Control: You will need this for taming those stubborn baby hairs and sealing the final look. A light-hold hairspray won’t cut it; opt for a firm-hold formula.
Clear Elastics: To maintain the sleek, polished look, use a clear or matte elastic that blends seamlessly with your hair color. Avoid thick, colored bands that can disrupt the visual flow of the braid.
Hair Clips: Sectioning clips are invaluable for keeping the rest of your hair out of the way while you focus on one part at a time.

The Step-by-Step Guide to a Perfect Sleek Braid
Now for the main event. Follow these steps meticulously for a braid that looks like it was done by a pro.
Step 1: Create a Flawless Part
Using the tail of your fine-tooth comb, create a clean, straight part. Whether you prefer a middle part or a deep side part, take your time with this step. A crisp part immediately elevates the entire hairstyle. Once your part is defined, mist a light-hold hairspray directly onto the part line and use the fine-tooth comb to press it down. This helps to set the hair and prevent immediate flyaways.
Step 2: The Initial Smoothing
Apply a small amount of your chosen gel or smoothing cream along your hairline and part. Using your tension brush or boar bristle brush, brush all of your hair back into a low ponytail at your desired height (nape of the neck for a classic look, higher for a more dramatic effect). Do not secure it with an elastic yet. Brush until the front and top are completely smooth, with no bumps or ridges.
Step 3: Secure the Base
Once the top section is perfectly smooth, secure it into a very loose, low ponytail with a clear elastic. The key word here is loose. You don’t want to create any tension at the base just yet, as this can cause bumps later. This ponytail is simply to hold the smoothed section in place while you work on the braid itself.
Step 4: Divide and Conquer
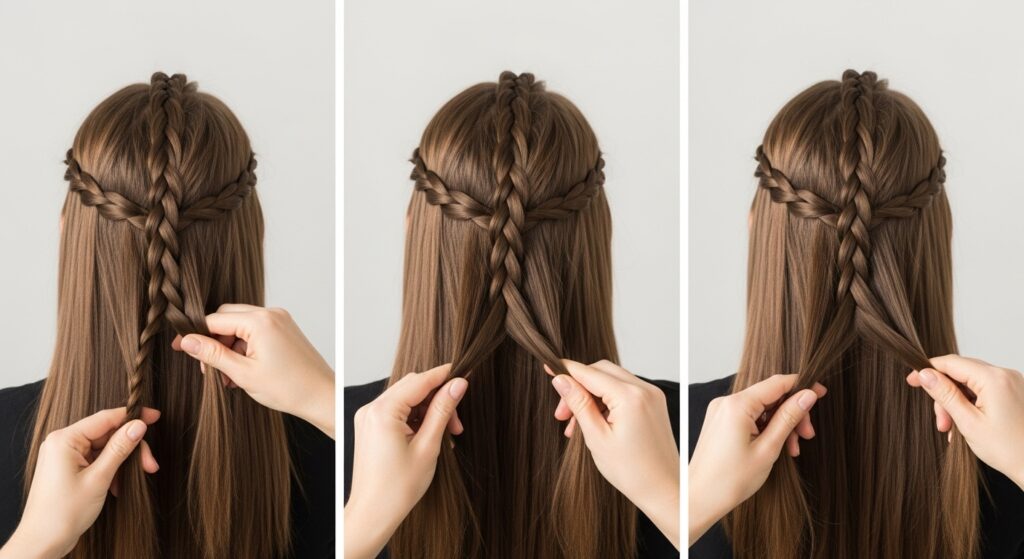
Release a small section of hair from the ponytail to begin your braid. A three-strand braid is a classic starting point. Divide this section into three equal parts. As you begin to braid, focus on maintaining even tension. Pull each strand firmly but not tightly enough to cause discomfort or create bumps in the ponytail base above.
Step 5: Incorporating the Ponytail
After one or two initial crosses of the braid, you will begin to incorporate the rest of the ponytail. On the next cross, instead of using just the hair from the original braiding section, grab a small, thin subsection from the ponytail and combine it with the braiding strand. Continue this process, alternating sides, adding a new thin subsection from the ponytail to each braiding strand as you cross it over. This is the technique for a classic Dutch or French braid, which creates that beautiful, integrated look.
Step 6: Braid to the End
Continue braiding, incorporating all the hair from the ponytail, until you reach the ends of your hair. Secure the end with a clear elastic.
Pro Tips for Ultimate Sleekness and Hold
This is where you go from good to flawless.
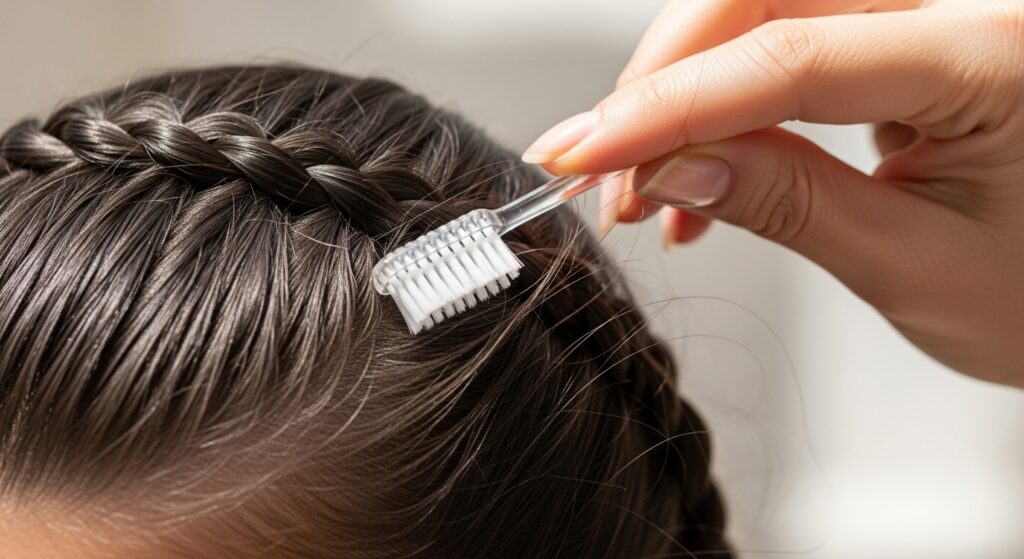
Tame Flyaways with a Toothbrush: For those tiny, wispy flyaways that refuse to lay down, take a clean, soft-bristled toothbrush (or a spoolie brush) and spray it lightly with strong-hold hairspray. Gently brush the flyaways down onto the larger hair section. The small bristles offer precision that a big brush cannot.
The Tension Trick: As you braid, try to pull the strands outwards slightly as you cross them over, rather than just pulling down. This helps to maintain a consistent tightness and smooths the braid from within.
Seal with Serum or Hairspray: Once your braid is complete, rub a tiny drop of hair serum or shine spray between your palms and gently glide them over the surface of the braid. This will add a gorgeous salon-like shine and help seal down any remaining microscopic flyaways. For ultimate hold, you can also mist the entire braid with a light coat of firm-hold hairspray.
Loosen the Ponytail Base: Remember that loose ponytail? Now is the time to address it. Very carefully, slide your fingers under the base of the ponytail (where the elastic is) and gently tug to loosen it slightly. This creates a subtle, effortless look and prevents that dreaded “pull” at the temples. You can also gently pull apart the loops of the braid to make it look fuller and softer.
Troubleshooting Common Sleek Braid Problems
Problem: My braid is bumpy and uneven.
Solution: This is almost always a tension issue. Practice maintaining consistent pressure on each strand as you braid. Also, ensure the subsections you are adding from the ponytail are small and even.
Problem: I have flyaways everywhere.
Solution: Revisit your prep work. You likely did not use enough product or the right type of product. Don’t be afraid to use a firm-hold gel, and remember the toothbrush trick for fine-tuning.
Problem: The braid feels too tight and gives me a headache.
Solution: Braid with a gentler hand. The goal is smoothness, not extreme tightness. Remember to loosen the base of the ponytail once you’re finished to relieve immediate tension.
Problem: The braid looks thin and stringy.
Solution: When you pull the braid apart to volumize it, be strategic. Pull from the sides of each “bump” in the braid, rather than just tugging it downward. This creates width without compromising the structure.
Conclusion: Your Salon-Worthy Braid Awaits
Mastering the perfect sleek braid is a skill that pays dividends in time, money, and confidence. It might take one or two practice runs to get the tension and technique just right, but the process itself is a rewarding one. By investing in the right prep work, using the proper tools, and following these detailed steps, you have everything you need to create a stunning, polished braid that will turn heads and earn compliments.
So, clear a space at your vanity, gather your tools, and embrace your inner hairstylist. That flawless, frizz-free, Instagram-worthy sleek braid is no longer a salon fantasy—it’s a reality waiting to be created by you.