How to Perfect wavy shag Hair Without a Trip to the Salon
Is there any haircut that screams effortless cool quite like the wavy shag? It’s the ultimate blend of rock-and-roll edge and soft, touchable texture. But if you’ve recently taken the plunge or are working with grown-out layers, you might be facing a common dilemma: how do you keep that perfect, piece-y shape and voluminous wave without weekly salon appointments?
The good news is that mastering the wavy shag is entirely within your reach. It’s less about complex techniques and more about understanding the right products and a few key moves. This guide will walk you through the entire process, from wash day to refresh day, so you can achieve that perfectly imperfect, salon-worthy shag from the comfort of your own bathroom.
Understanding the Anatomy of a Wavy Shag
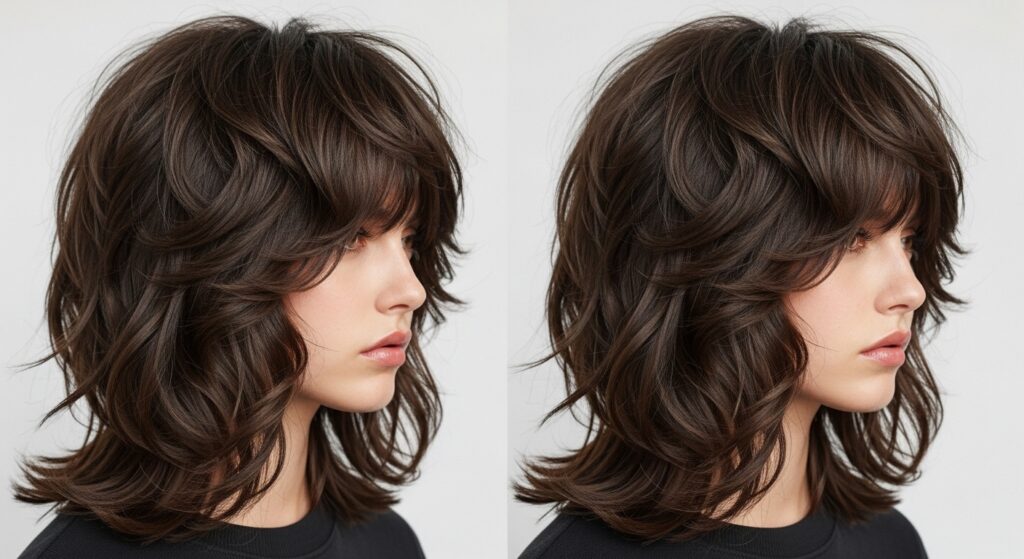
Before we dive into styling, it’s crucial to understand what makes a wavy shag so special. Unlike uniform curls or pin-straight bobs, the shag is all about disconnected layers, texture, and movement. The shorter layers around the crown create volume and frame the face, while the longer layers below provide weight and shape. The “wavy” element introduces a soft, bendy texture that prevents the cut from looking too geometric or harsh.
Your goal when styling isn’t to create perfect, uniform waves. Instead, you’re aiming for a lived-in, dynamic texture where each layer moves independently. This mindset shift is the first and most important step to nailing the look. Embrace the chaos and the piece-y, separated ends—that’s where the magic happens.
The Foundation: Wash Day Rituals for Maximum Texture
Perfect styling starts in the shower. The products you use and how you treat your hair when it’s wet set the stage for everything that follows. For a wavy shag, you need to build a base of body and texture without weighing your hair down.
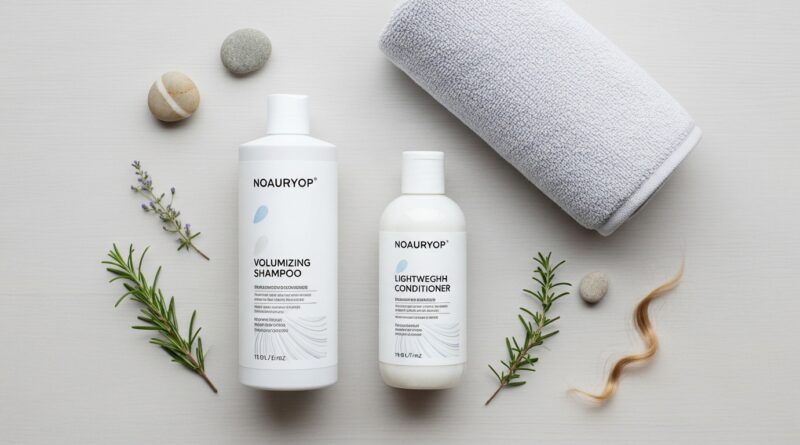
Start with a volumizing or texturizing shampoo and conditioner. Look for formulas that mention “body,” “volume,” or “texture” on the bottle. Avoid heavy, moisturizing creams that can flatten your roots. When applying conditioner, focus primarily on your mid-lengths and ends. Applying it to your roots can sabotage the volume you’re trying to build.
After your shower, gently squeeze out excess water with a microfiber towel or an old cotton t-shirt. Rubbing with a regular towel can create frizz and break up your wave pattern before you’ve even started. Your hair should be damp, not dripping wet, for the next step.

The Product Powerhouse: What to Use and Where
This is where the magic begins. Choosing the right products is non-negotiable for achieving that piece-y, hold-without-being-crunchy finish.
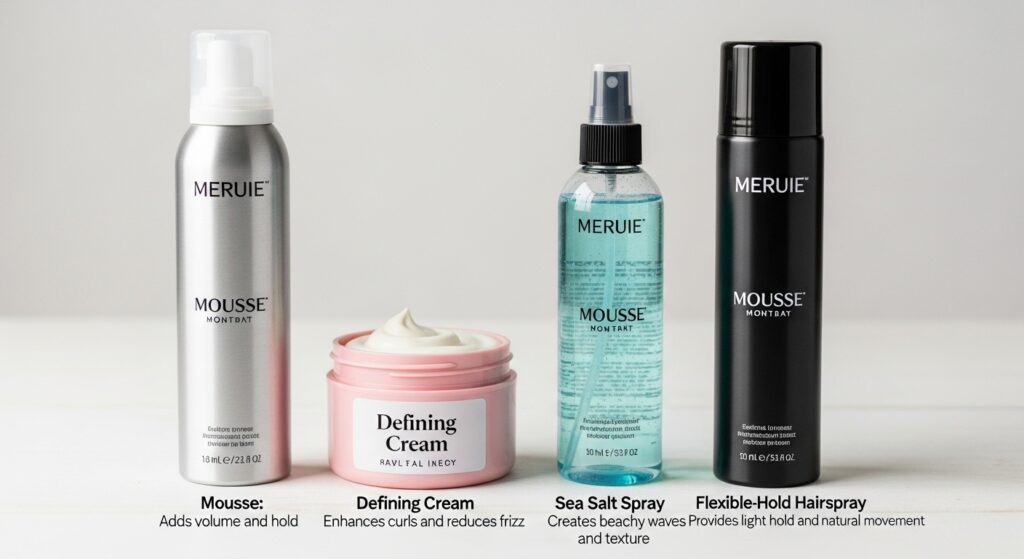
1. A Lightweight Mousse or Volumizing Spray: This is your root lifter. Apply a golf-ball-sized amount of mousse or a few spritzes of spray directly to your roots, lifting them at the crown as you work it in. This creates the foundational volume the shag is famous for.
2. A Defining Cream or Sea Salt Spray: For the lengths of your hair, you need a product that encourages wave formation and separation. A defining cream offers more hydration and control, while a sea salt spray provides a grittier, more beachy texture. Scrunch this product into your hair from the ends up to encourage your natural wave pattern.
3. A Flexible-Hold Hairspray or Texturizing Spray: You’ll use this at the end to lock everything in. The key word is flexible. You don’t want a helmet head. A light texturizing spray is perfect for adding that final touch of separation and grit to the ends.
The Signature Styling Technique: Diffusing for Defined Volume
While air-drying is an option, diffusing is the secret weapon for a wavy shag. It maximizes volume, enhances your wave pattern, and speeds up the process dramatically.
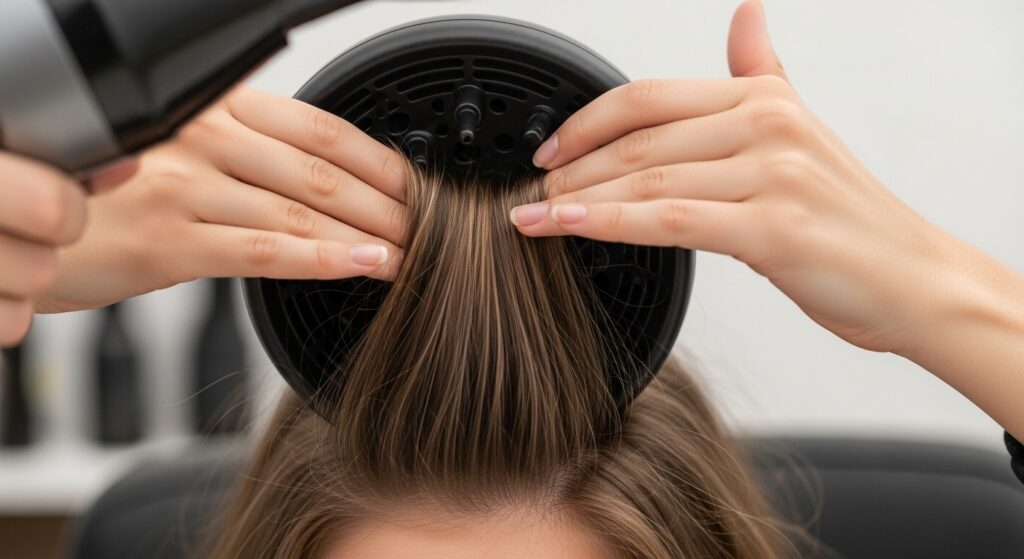
First, do not disturb your waves! This is the golden rule. After applying your products, flip your head upside down. Place sections of your hair into the diffuser bowl, then gently bring it up to your scalp. Turn the dryer on to a medium heat and speed setting. Hold it in place for a few minutes, then move to a new section. You are “hovering” or “pixie” diffusing, not constantly moving the dryer around.
Once your roots are about 80% dry, you can flip your head back up and gently diffuse the ends on a cool setting to set the shape. The goal is to get your roots completely dry while the ends are still slightly damp. This prevents you from blowing out all your beautiful texture.
The Art of the Refresh: Reviving Your Shag on Day 2 and 3
One of the best things about a wavy shag? It often looks even better on the second day. Your natural oils have distributed, and the products have settled, creating a softer, more lived-in texture. Here’s how to bring it back to life without washing.
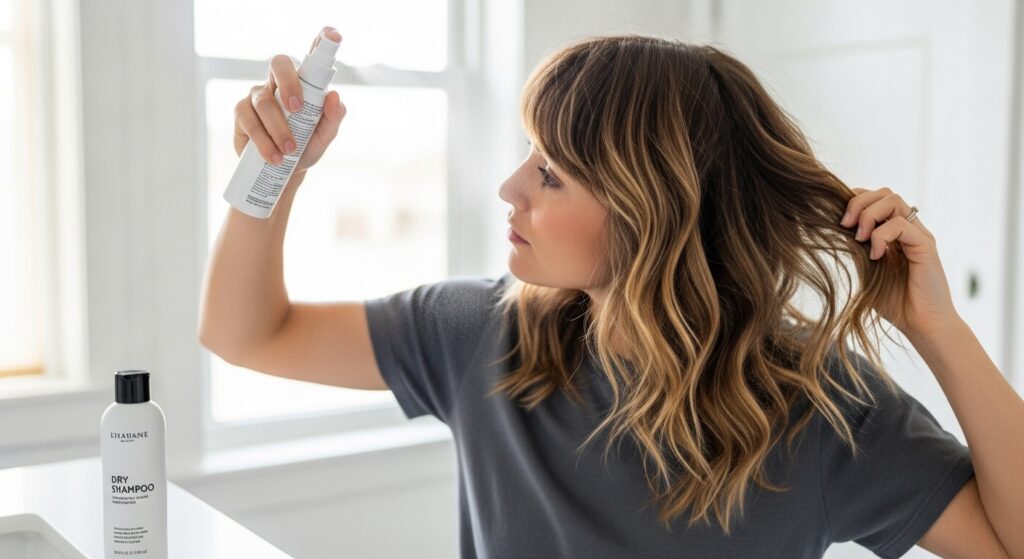
Start by flipping your head over and gently massaging your roots to loosen any flattened areas. If your volume is lacking, a dry shampoo is your best friend. It will absorb oil and add instant grit and lift at the roots. Spray it strategically at the crown and part line.
For the waves themselves, mix a small amount of texturizing spray or leave-in conditioner with water in a spray bottle. Lightly mist your hair all over, then scrunch from the bottom to reactivate the product and wave pattern. Use your fingers to break up any clumps and redefine your face-framing layers. If you have a few stubbornly flat pieces, use a curling wand on a low setting to add a quick bend only to those sections.
Advanced Tips and Tricks for a Flawless Finish
To truly elevate your at-home shag, incorporate these pro tips.
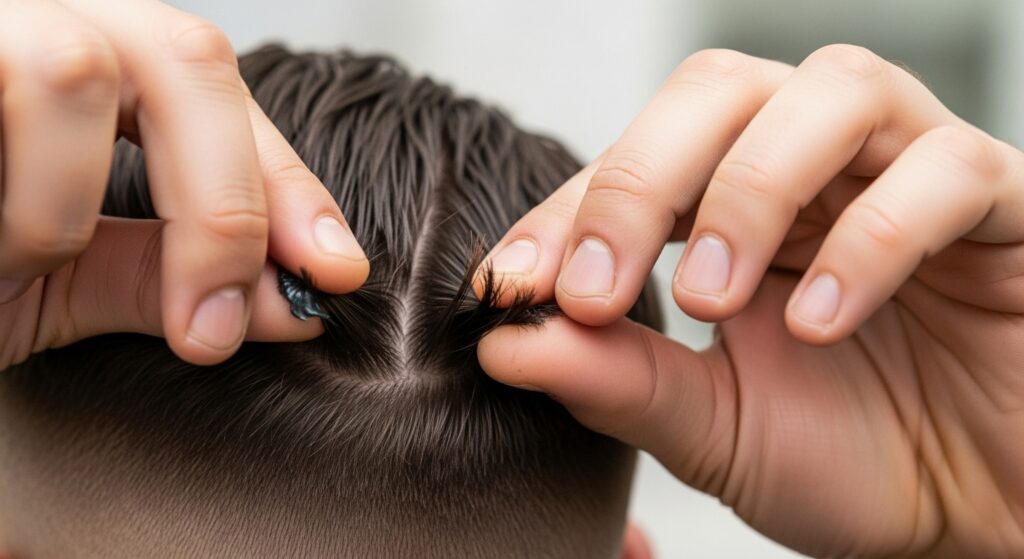
Create Piece-Y Ends: Once your hair is completely dry, take a tiny drop of hair serum or pomade on your fingertips. Rub your fingers together, then gently twist and pull on the very ends of your longest layers and face-framing pieces. This separates them and gives that cool, “lived-in” effect.
Master the “Bend” in Your Bangs: If your shag has curtain bangs or a fringe, use a round brush while blow-drying. Direct the hair slightly to the side and roll the brush under, holding it for a few seconds with the heat. This creates the signature soft bend that blends seamlessly into the rest of your layers.
Embrace a Little Frizz: A perfectly smooth shag can sometimes fall flat. A little strategic frizz or flyaways at the crown actually adds to the texture and rock-and-roll vibe of the cut. Don’t feel the need to slick every single hair into place.
Common Mistakes to Avoid
Even with the best intentions, it’s easy to make a few missteps. Steer clear of these common pitfalls.
Overloading with Product: More is not always better. Heavy products or using too much of them will weigh down your layers, making your hair look greasy and flat instead of bouncy and textured. Start with a small amount; you can always add more.
Brushing After Styling: Once your hair is dry and styled, put the brush down! Brushing will break up your waves and create a poofy, undefined look. If you need to detangle, do it in the shower with conditioner in your hair, or use only your fingers once it’s dry.
Using a Brush While Diffusing: While a Denman brush can be great for defining curls during styling, for the classic shag, you want a more organic, less-perfect wave. Scrunching with your hands and letting the hair dry in its natural clumps delivers the perfect result.
Conclusion: Your Signature Shag Awaits
Perfecting your wavy shag at home is a journey of experimentation and embracing your hair’s natural texture. It’s about learning which products make your layers sing and which techniques bring out the most volume. Forget the pressure of achieving a perfectly uniform look. The true beauty of the shag lies in its effortless, lived-in, and uniquely you vibe.
With this guide, you have all the tools you need. So, turn up your favorite music, channel your inner rock star, and transform your bathroom into your personal salon. Your best shag day is just a styling session away.