How to Trim Split Ends at Home Safely
How to Trim Split Ends at Home Safely
Split ends are the bane of every hair enthusiast’s existence. They make your hair look frizzy, dull, and unhealthy—no matter how much you condition or style it. While regular salon visits can help, sometimes you need a quick fix at home. The good news? Trimming split ends yourself is easier than you think—if you know the right techniques.
In this guide, we’ll walk you through step-by-step instructions on how to safely trim split ends at home, the best tools to use, and how to prevent them in the future. Say goodbye to damaged strands and hello to healthier, smoother hair!

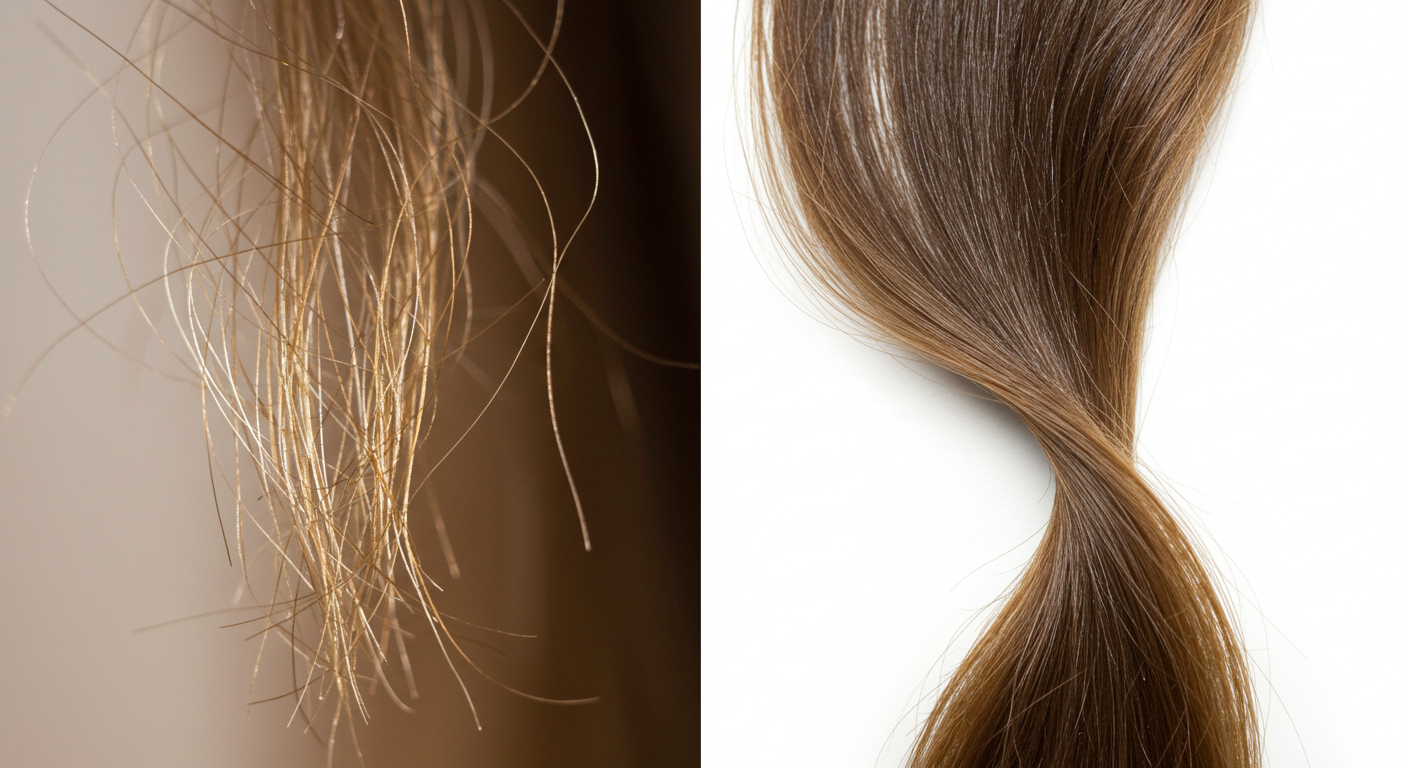
Why You Should Trim Split Ends Regularly
Split ends occur when the protective outer layer of your hair (the cuticle) wears away, causing the inner fibers to fray. This can happen due to heat styling, chemical treatments, rough brushing, or environmental damage. Once a strand splits, the damage travels upward if left untreated, leading to more breakage.
Regular trims help:
- Prevent further damage – Cutting split ends stops them from splitting higher up the hair shaft.
- Improve hair texture – Trimming removes dry, brittle ends, making hair smoother.
- Boost shine – Healthy ends reflect light better, giving your hair a glossy finish.
- Encourage growth – While trimming doesn’t make hair grow faster, it reduces breakage, helping retain length.
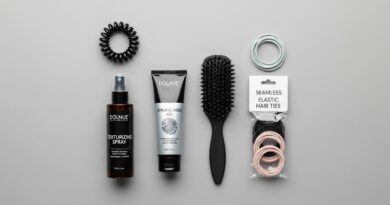
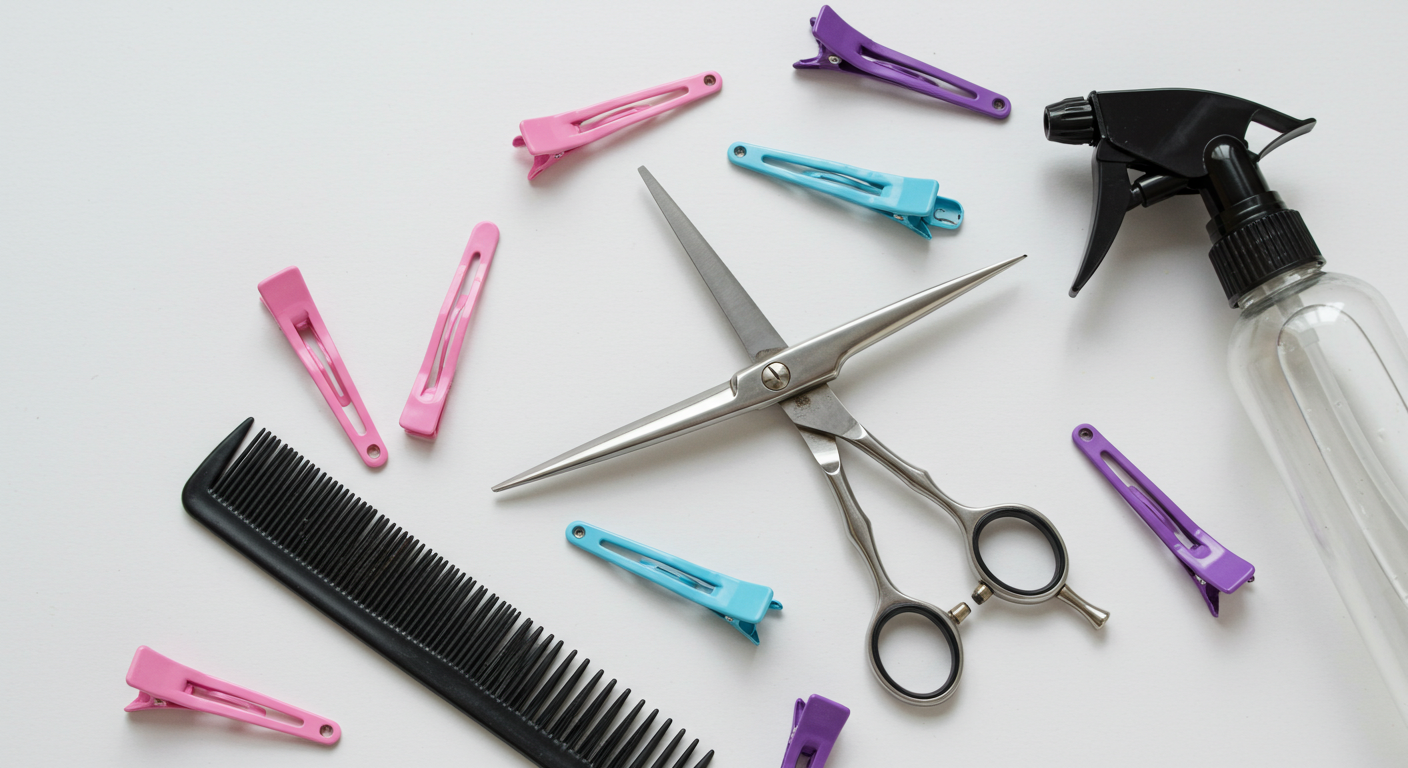
Tools You’ll Need for Trimming Split Ends at Home
Before you start snipping, gather these essential tools:
- Sharp hair shears – Never use regular scissors; they can cause more damage.
- Fine-tooth comb – Helps isolate small sections of hair.
- Clips – To section hair neatly.
- Good lighting – Natural light or a bright lamp helps spot split ends.
- Spray bottle with water – Lightly damp hair is easier to cut evenly.
Pro Tip: Invest in professional-grade shears for cleaner cuts. Dull scissors can crush hair, leading to more splits.
Step-by-Step Guide to Trimming Split Ends
Follow these steps for a salon-worthy trim at home:
1. Wash and Detangle Your Hair
Start with clean, dry (or slightly damp) hair. Gently detangle using a wide-tooth comb to avoid unnecessary breakage.
2. Section Your Hair
Divide hair into 4-6 sections using clips. Work on one section at a time for precision.
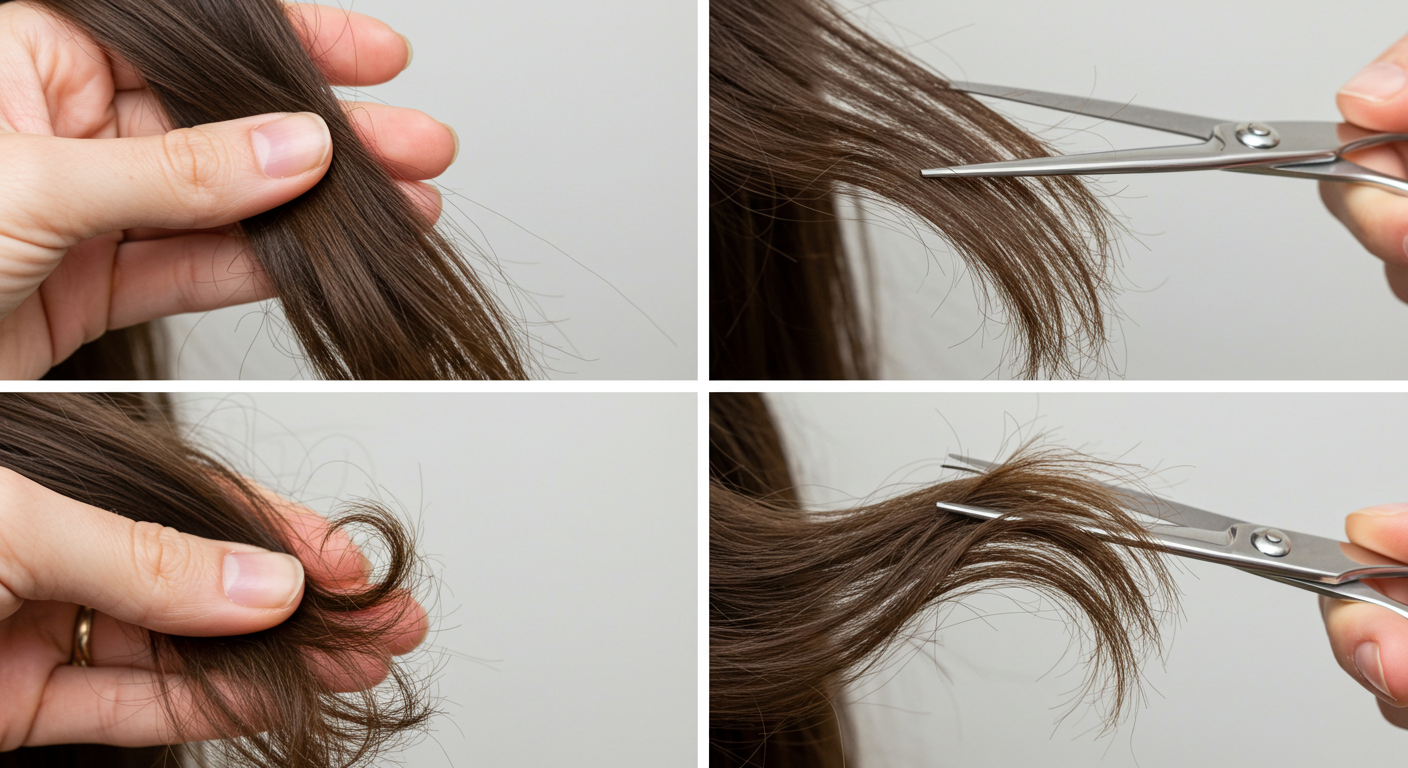
3. Twist Small Strands
Take a small subsection (about ½ inch wide) and twist it tightly. Split ends will stick out from the twist.
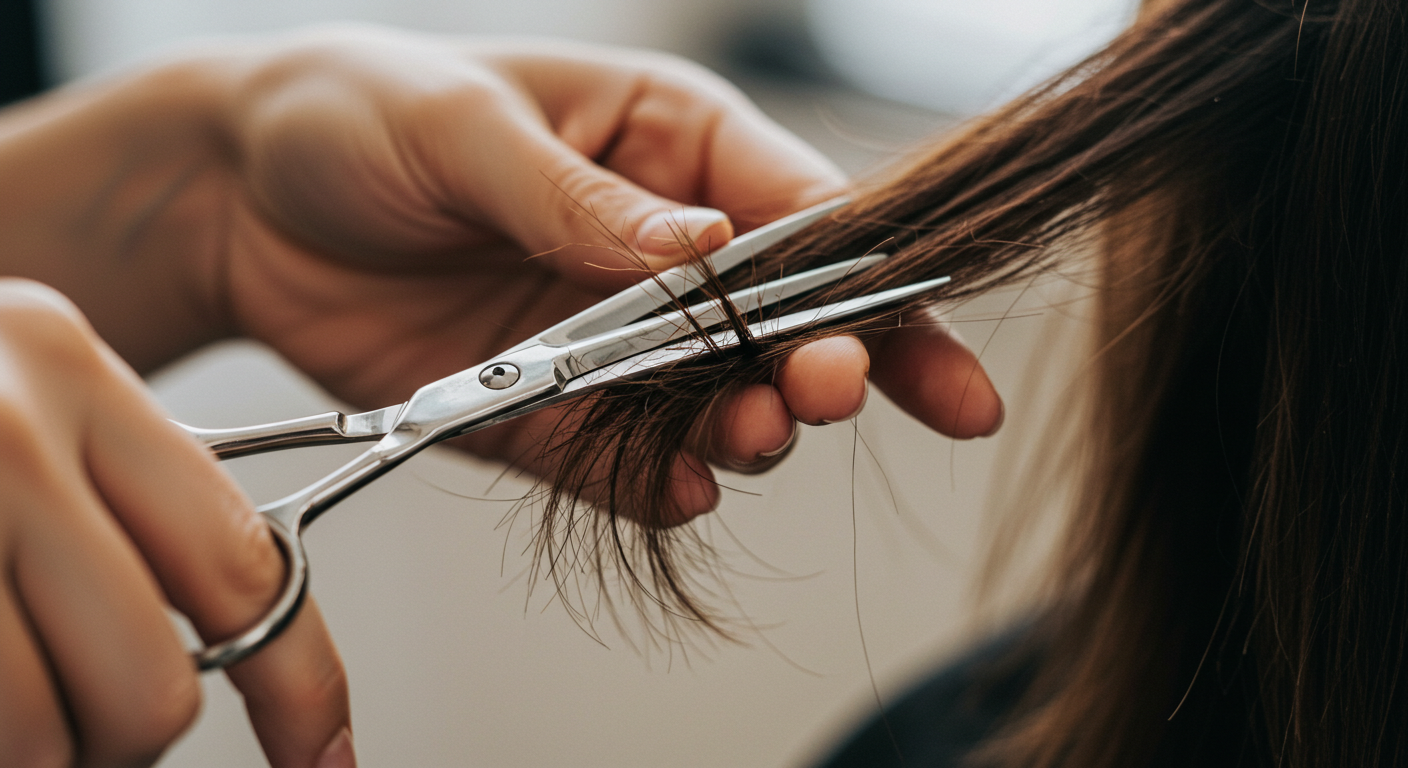
4. Trim the Splits
Using sharp shears, carefully snip the frayed ends sticking out from the twist. Cut only the damaged parts—no more than ¼ inch.
5. Repeat
Work through all sections, checking for splits. Take your time—rushing can lead to uneven cuts.
Alternative Method: The Search-and-Destroy Technique
If you want to preserve length and only remove visible splits, try this method:
- Comb through dry hair under bright light.
- Identify individual split ends (they look white or frayed).
- Trim each split just above the damaged part.
This takes longer but minimizes hair loss.
How Often Should You Trim Split Ends?
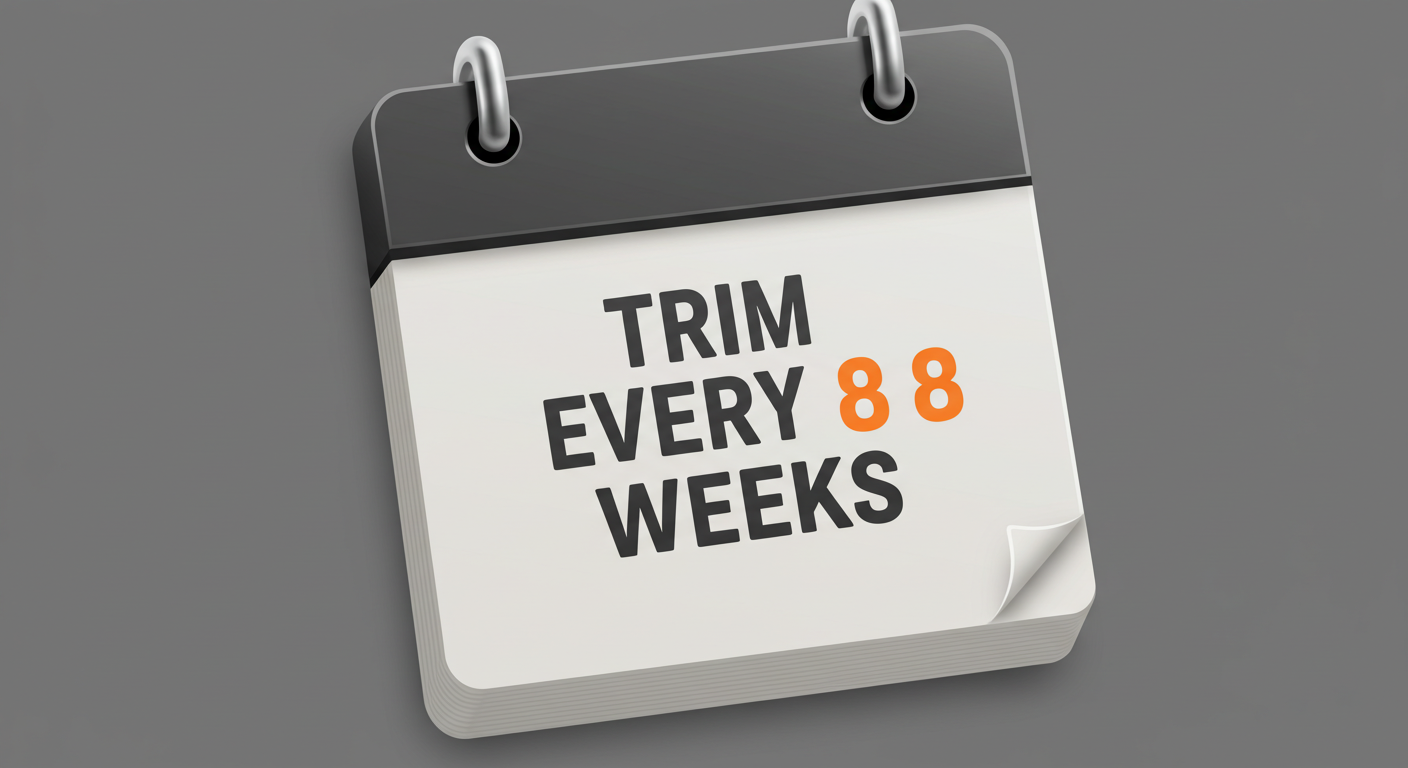
The frequency depends on your hair type and damage level:
- Every 6-8 weeks – For chemically treated or heat-styled hair.
- Every 10-12 weeks – For healthy hair with minimal damage.
- Monthly – If you’re growing out damage and need frequent micro-trims.
Tip: If your ends feel rough or look frayed before your scheduled trim, don’t wait!
How to Prevent Split Ends in the Future
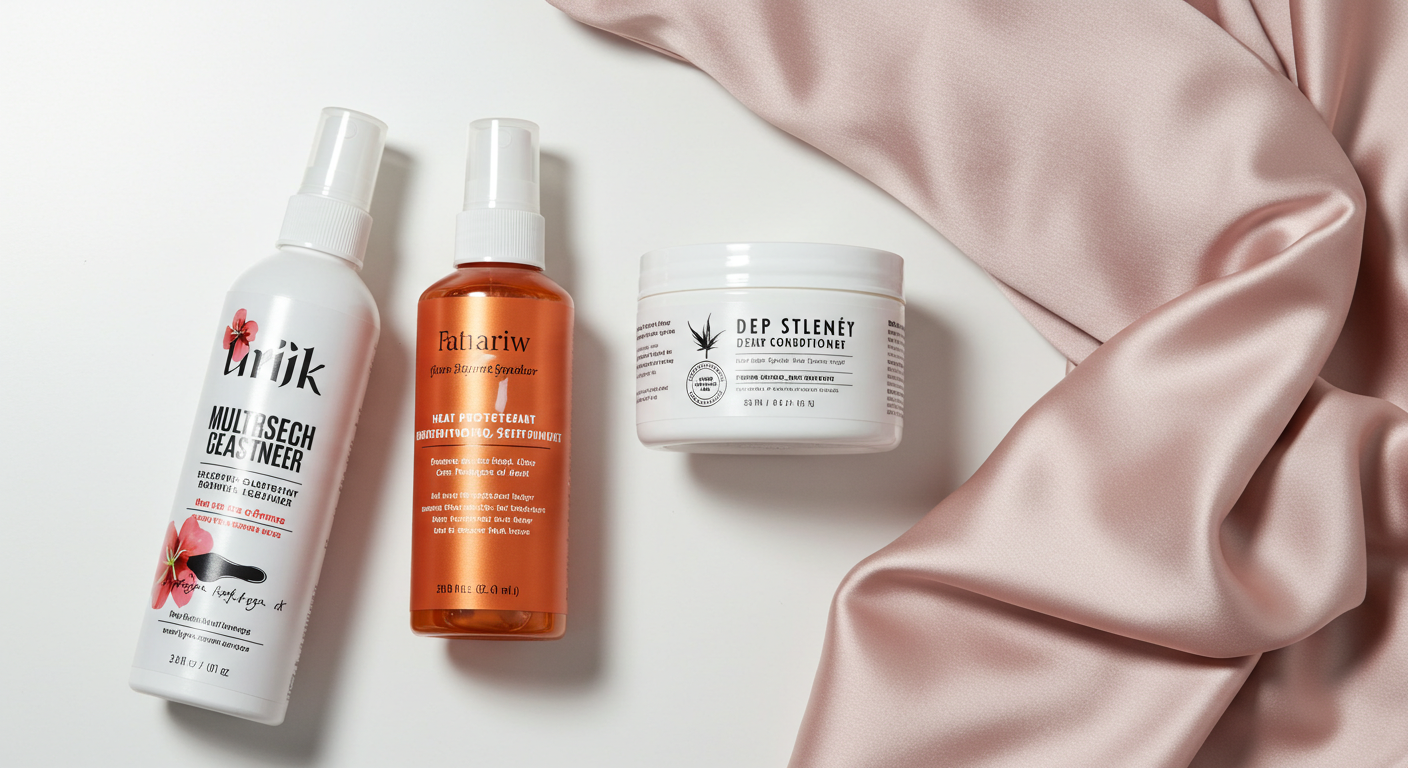
Trimming helps, but prevention is key. Follow these tips:
- Use heat protectant before styling.
- Limit heat tools and opt for air-drying when possible.
- Sleep on silk/satin pillowcases to reduce friction.
- Deep condition weekly to keep hair moisturized.
- Brush gently starting from the ends.
Final Thoughts
Trimming split ends at home is a simple yet effective way to maintain healthy hair between salon visits. With the right tools, techniques, and patience, you can keep your ends looking fresh and prevent further damage. Remember, consistency is key—regular trims and proper hair care will give you the smooth, shiny locks you deserve!
Ready to try it? Grab your shears and give your hair the TLC it needs.