How to Upgrade Your angled wave Hair in Just Minutes
You know the look. That gorgeous, face-framing, angled wave hair that cascades over your shoulders with effortless, textured movement. It’s a style that’s both chic and modern, but sometimes, even the best cuts can fall flat. Maybe your waves have lost their definition, the ends are looking a bit frizzy, or the overall shape just doesn’t have the wow factor it once did. The good news? You don’t need a salon appointment or hours of your time to bring it back to life.
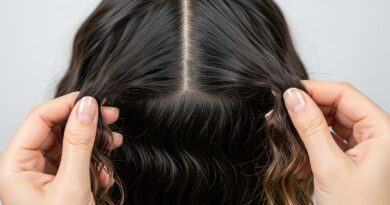
Understanding Your Angled Wave Canvas
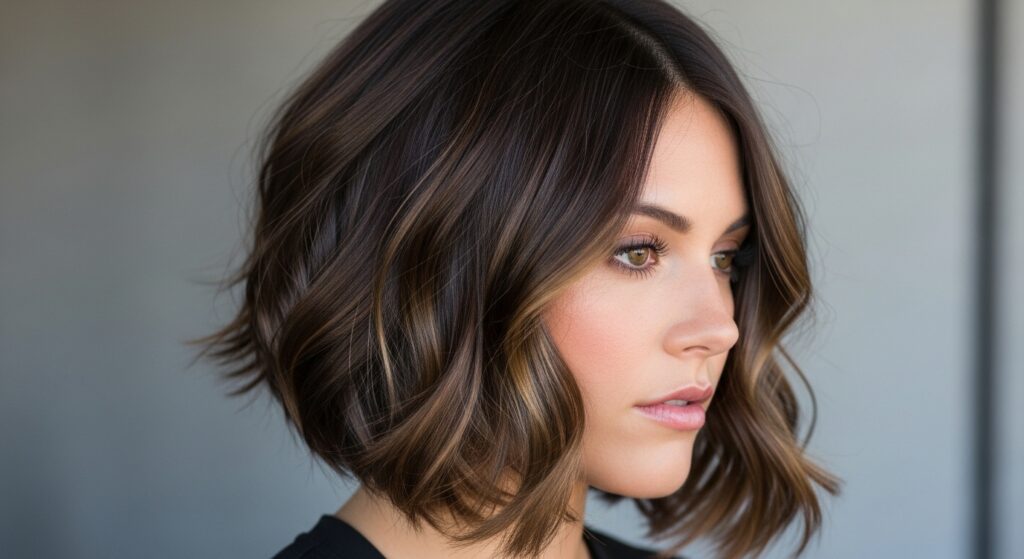
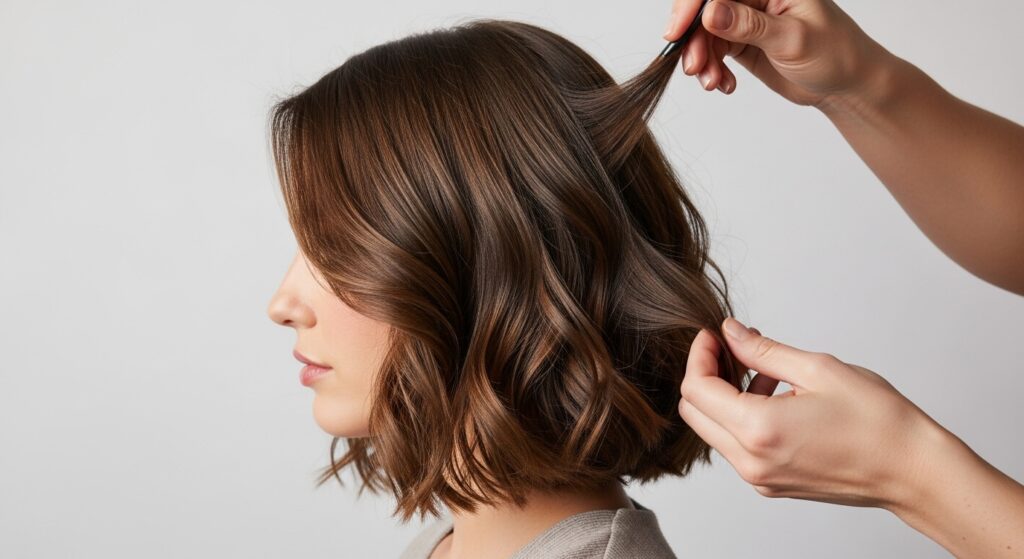
Before we jump into the styling, it’s crucial to understand what makes angled wave hair so special. This cut is a masterclass in shape. The shorter front pieces gradually angle down to longer lengths in the back, creating a dynamic silhouette that naturally draws attention to your face. When you add waves into this mix, you’re enhancing that movement and creating a soft, romantic texture that counterbalances the sharpness of the angle.
The key to a successful upgrade is working with the cut, not against it. Your goal is to emphasize the built-in shape, enhance the texture of the waves, and ensure the entire style looks intentional and polished. Whether your hair is fine and straight or thick and naturally wavy, the techniques we’ll cover can be tailored to give you that perfect, salon-quality finish.
The 5-Minute Refresh: Reigniting Day-Old Waves
Let’s start with the most common scenario: your hair looked amazing yesterday, but today the waves are limp and the shape has lost its oomph. This is your go-to, five-minute rescue routine.
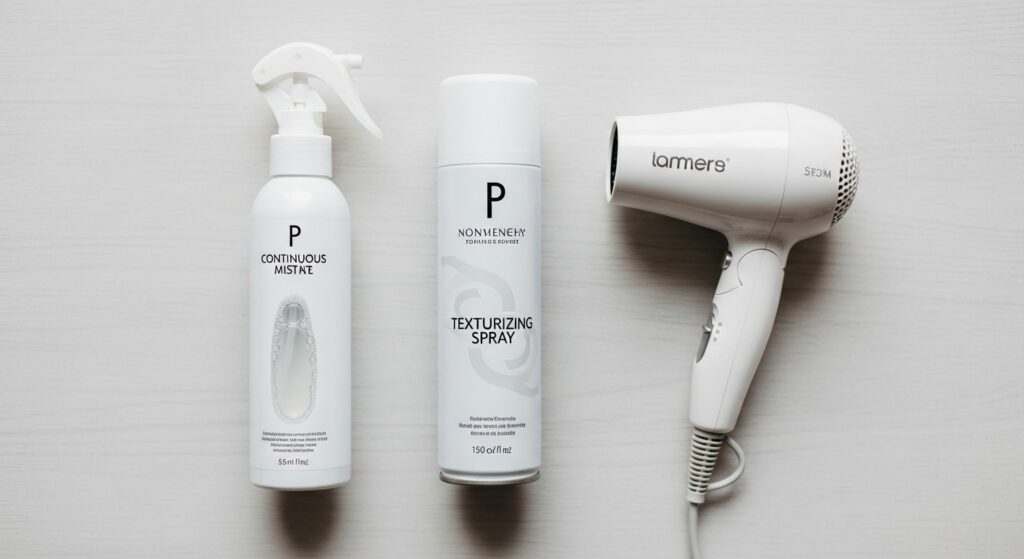
First, do not saturate your hair with water. Instead, mix a lightweight texturizing spray or a sea salt spray with a bit of water in a continuous spray bottle. Lightly mist your hair from mid-lengths to ends. The goal is to dampen it just enough to reactivate the styling products already in your hair without making it wet and starting from scratch.
Next, focus on the roots. Flip your head over and gently massage your scalp with your fingertips to create instant volume. As you flip back, use your fingers to scrunch the waves back into shape. If you have a few particularly stubborn sections, wrap them around your finger and hold for a few seconds to redefine the curve. Finally, hit the roots with a quick blast of cool air from your hairdryer to set the volume, and you’re done!
The Power of the Right Products: Your Styling Allies
Upgrading your angled waves is infinitely easier when you have the right products in your arsenal. The wrong product can weigh hair down, create crunch, or fight against the natural movement you’re trying to achieve. Here’s a breakdown of what you need:
Texture Spray: This is your best friend. A good texture spray adds grit, body, and hold without stiffness. It’s perfect for reviving waves and giving hair that coveted “lived-in” feel. Spritz it onto dry hair at the roots for lift and on the ends for separation.
Sea Salt Spray: Ideal for creating that beachy, piece-y wave definition. It works best on damp hair but can also be used on dry hair for a touch of texture. It helps to enhance your hair’s natural wave pattern.
A Lightweight Mousse: Applied to damp hair before styling, a mousse provides foundational volume and hold. It helps your waves last longer without sacrificing bounce or movement.
Flexible Hold Hairspray: Skip the super-hold, helmet-head formulas. A flexible hold hairspray allows your hair to move while keeping frizz at bay and locking your style in place.
Mastering the Tools: Curling Wands and Irons for Perfect Waves
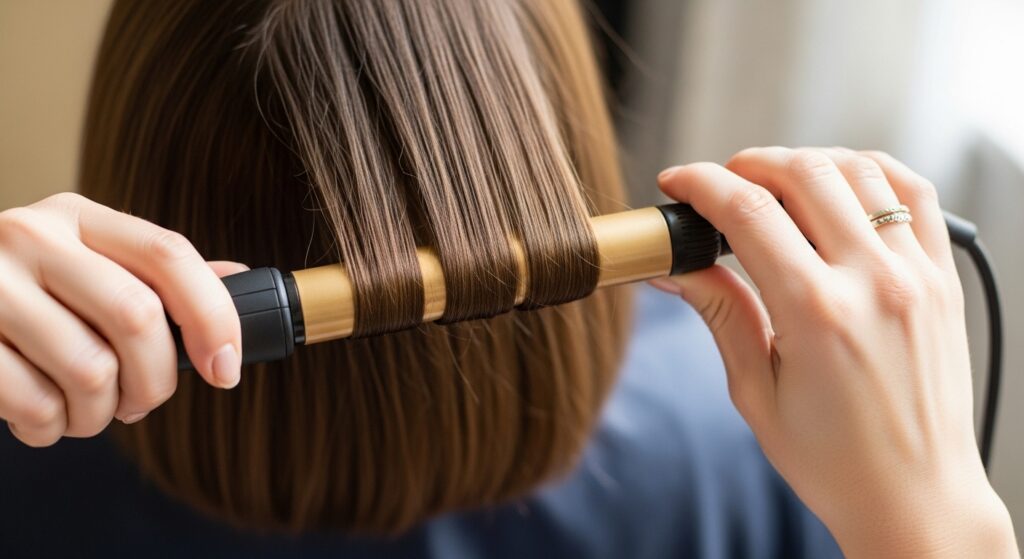
If you’re starting with straight hair or need a more dramatic transformation, a curling wand is your secret weapon. The key to natural-looking waves on an angled cut is variety in direction and size.
Start with a 1 to 1.25-inch barrel curling iron or wand. Section your hair, but don’t be too precise. Take small, horizontal sections from the bottom layer first. Wrap the hair away from your face on one side and toward your face on the other—this creates a natural, frame-flattering effect. Don’t hold the curl for too long; 5-8 seconds is often enough. As you release the curl, don’t pull it apart immediately; let it cool for a moment set in its shape.
For the most natural result, alternate the direction of your curls randomly and don’t curl all the way to the roots, especially on the shorter front pieces. This prevents a dated, “perfectly curled” look and instead gives you that effortless, wavy texture that works so beautifully with an angled cut.
Finger Coiling: The No-Heat Wonder
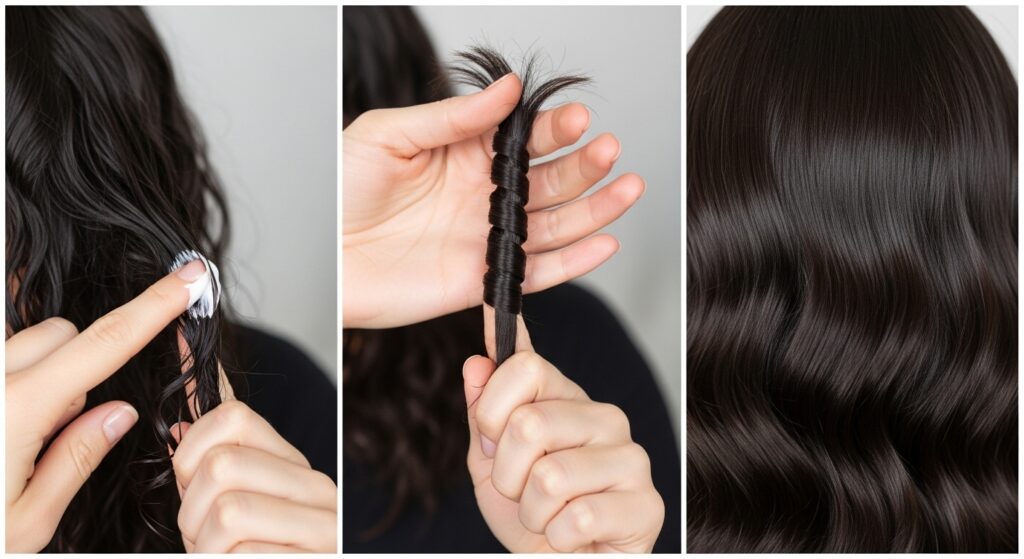
Don’t want to use heat? The finger coiling method is a fantastic way to define your waves and encourage your natural texture. This technique works best on damp hair that has been treated with a curl-enhancing cream or mousse.
Take a small section of hair and twist it around your index finger, from the root to the end. Once it’s coiled, gently squeeze the coil with your other hand to set it. Repeat this process all over your head, focusing on the sections where you want the most wave definition. You can then either let your hair air dry for a more natural look or use a diffuser attachment on your hairdryer to speed up the process while enhancing volume. Once your hair is completely dry, gently scrunch your hair to break the cast of the product and separate the coils into soft, touchable waves.
The Final Touch: Perfecting the Shape and Taming Frizz
You’ve created beautiful waves, but the upgrade isn’t complete without the finishing touches. This final step is what separates a good style from a great one.
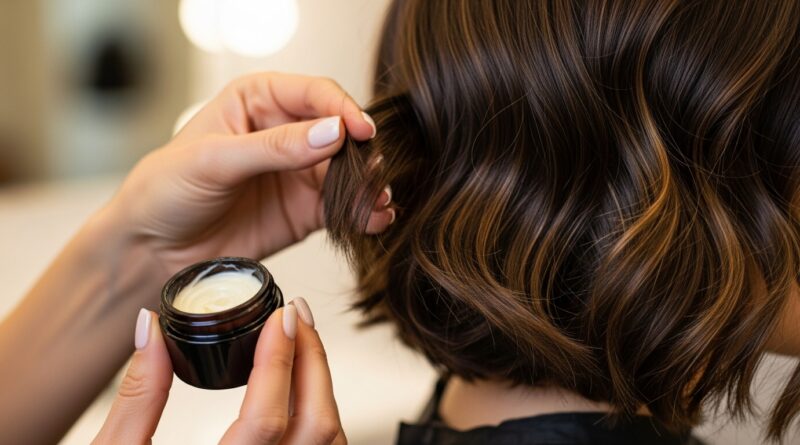
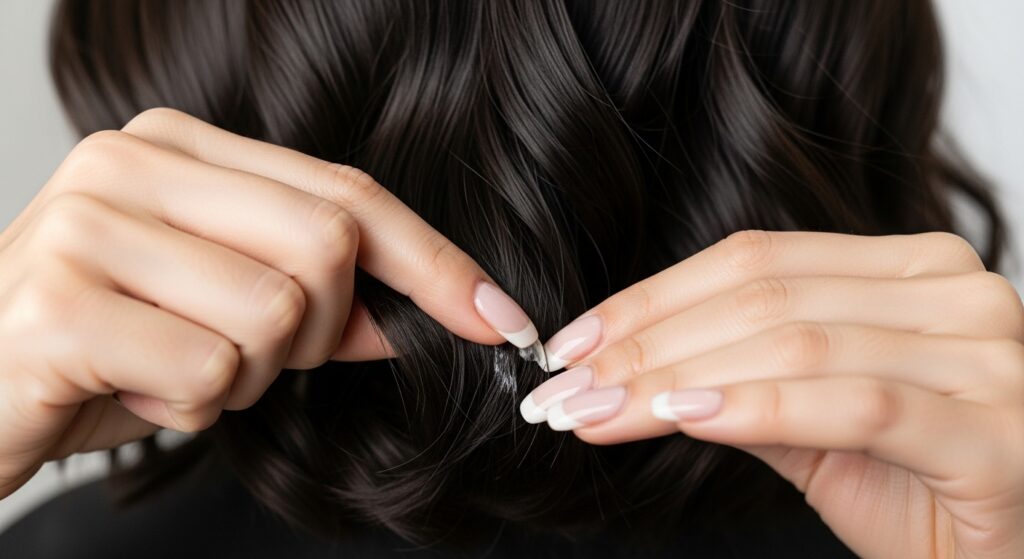
Run your fingers through your hair to gently separate the waves and create a more effortless look. If you used a strong-hold product, this is when you “scrunch out the crunch” to leave behind soft, defined waves. Next, take a step back and look at the overall shape of your angled cut. Use a small amount of pomade or wax on your fingertips to smooth any flyaways around the shorter, face-framing layers and to define the ends. This adds polish and ensures the sharp, beautiful line of your cut is visible.
Finally, a light mist of shine spray or flexible hold hairspray will lock everything in place, add a healthy gleam, and combat any lingering frizz. This final spray gives your entire style a cohesive, professional finish.
Maintaining Your Upgraded Look All Day
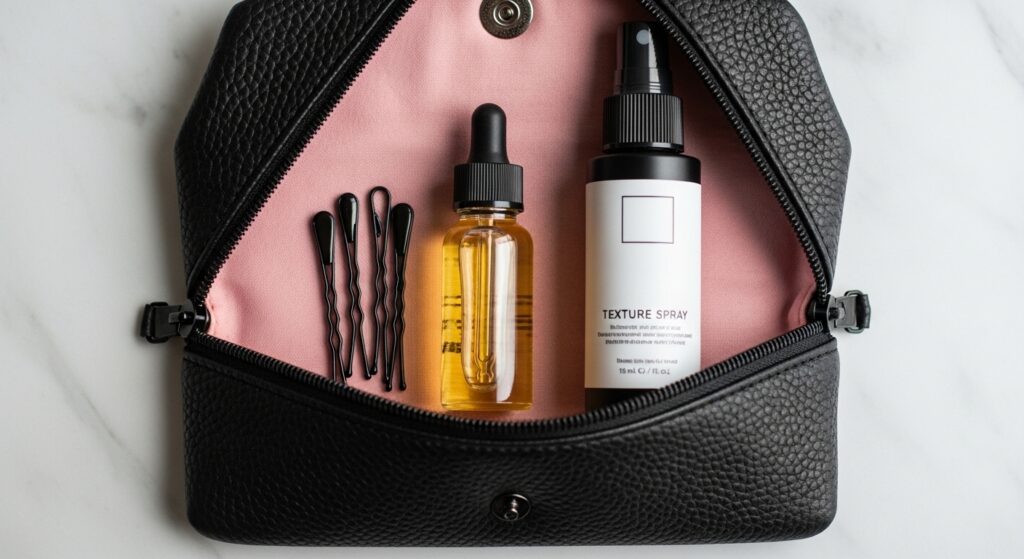
You’ve spent minutes creating this gorgeous look, so let’s make it last. To maintain your upgraded angled waves throughout the day, consider carrying a travel-sized texture spray for a quick pick-me-up. If you’re battling humidity, a light serum or anti-frizz oil patted on the mid-lengths and ends can work wonders without deflating your volume.
For those with particularly stubborn hair, a few bobby pins can be a lifesaver. If one side of your angled cut falls flat, gently pull up a small section at the crown and secure it underneath with a pin for an instant volume boost that’s completely hidden. Remember, the beauty of wavy hair is its movement and slight imperfection, so don’t stress if a wave falls out of place—it just adds to the effortless charm.
Conclusion: Your New Go-To Hair Routine
Upgrading your angled wave hair doesn’t have to be a time-consuming chore. With these quick techniques, the right product knowledge, and a little practice, you can achieve a stunning, head-turning look in the same amount of time it takes to brew your morning coffee. The true secret lies in embracing the natural shape of your cut and using strategic methods to enhance, define, and polish.