How to Upgrade Your choppy shag Hair in Just Minutes
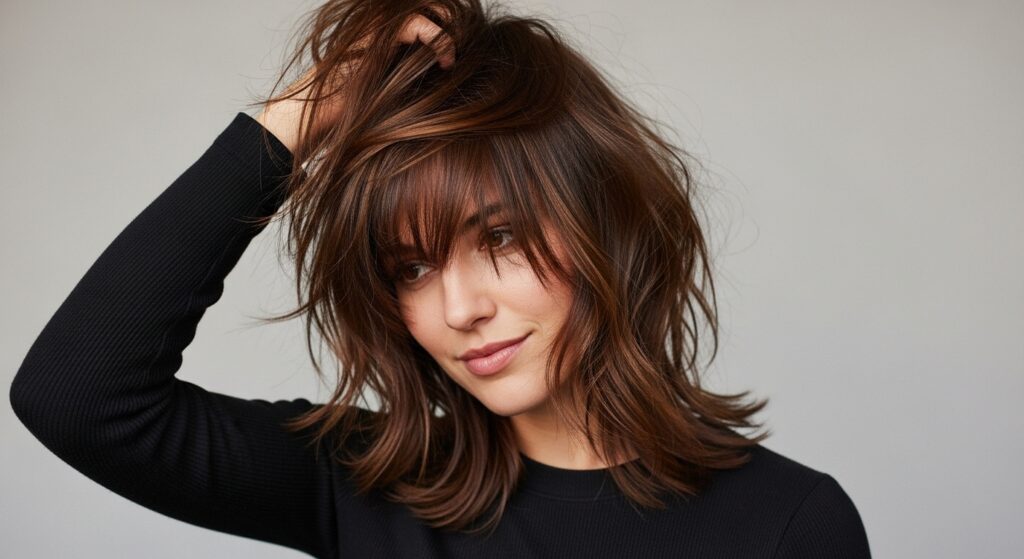
So, you took the plunge. You got the choppy shag haircut of your dreams—a masterful blend of texture, layers, and undeniable cool-girl energy. But some days, that dream ‘do can look a little more… meh than magnificent. Maybe it’s fallen flat, the layers are looking more unruly than intentional, or you’re just stuck in a styling rut. We’ve all been there.
The good news? The choppy shag is one of the most versatile and forgiving cuts out there. You don’t need a salon appointment or hours in front of the mirror to bring it back to life. With a few key techniques and the right products, you can elevate your shag from choppy to champion in just minutes. This guide is your secret weapon for unlocking the full potential of your haircut, ensuring you get that effortless, lived-in texture every single day.
Why the Choppy Shag is a Styling Dream
Before we dive into the how-to, let’s appreciate the why. The choppy shag is engineered for modern, low-maintenance glamour. Its signature features—disconnected layers, heavy texture, and often a fringe—are what make it so quick to style. Unlike a blunt bob or sleek long hair that requires precision, a shag thrives on a bit of mess. The goal isn’t perfection; it’s personality. The layers create natural movement and volume, meaning you’re already starting with a fantastic foundation. Your mission is simply to enhance what’s already there.
The 5-Minute Volume Boost: Your Secret Weapon
Flat hair is the arch-nemesis of a great shag. The key to instant volume lies at the roots. Forget laborious backcombing that damages your hair. The modern method is all about strategic lifting.
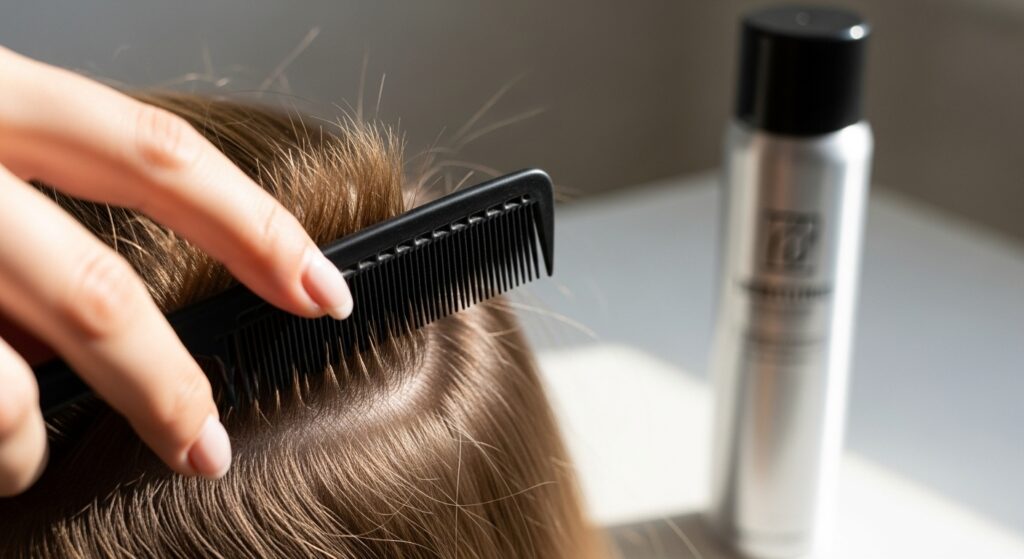
Step 1: The Root Lift. Start with dry or mostly dry hair. Section off the top layer of your hair, from your part back to your crown. Using a fine-tooth comb, gently tease the hair at the roots of this section by inserting the comb and pushing it towards your scalp in small, gentle motions. You only need to do this for the hair underneath; the top layer will smooth over it.
Step 2: The Texturizing Spray. Before you let that top layer down, spritz a light-hold texturizing or volumizing spray directly onto the roots you’ve just lifted. This will give the volume something to grip onto and last all day.
Step 3: The “Ploof”. Gently release the top section of hair. Don’t brush it out! Instead, use your fingertips to loosely arrange the hair over the teased base. Then, flip your head upside down and give the roots at the crown a gentle shake. Flip back up, and voilà—instant, touchable volume that doesn’t look stiff or overdone.
Mastering Texture: The Art of the “Lived-In” Look
Volume is one thing; that coveted piecey, textured finish is another. This is where your styling products become your best friends. The goal is to define the layers and ends without making your hair look crunchy or greasy.
The Sea Salt Spray Method: Perfect for wavy or straight hair that needs a bit of grit. Spray a sea salt spray generously through the mid-lengths and ends of damp or dry hair. Then, scrunch your hair upwards towards your scalp with your hands. This encourages natural wave patterns and gives that beachy, separated texture that makes a shag so dynamic.
The Texturizing Cream Technique: For thicker or frizz-prone hair, a texturizing cream is a miracle worker. Rub a small amount (start with a dime-sized portion) between your palms and then rake your fingers through your hair, focusing on the layers and ends. This will define the choppy pieces, control flyaways, and add a soft, touchable texture.
Pro Tip: For an even more defined look, take small, random sections of hair and twist them lightly before scrunching. This creates irregular, effortless-looking waves that complement the cut’s asymmetry.

Taming the Fringe and Face-Framing Layers
The fringe and the layers that frame your face are the focal point of your shag. Getting these right is non-negotiable. The good news is, it takes seconds.
If you have a curly or wavy shag, use a small, round brush (about 1 inch in diameter) while blow-drying to smooth and shape your fringe and face-framing pieces. Direct the airflow downward to minimize frizz and create a soft curve.
For a straighter, piecey look, use a flat iron with a light touch. Take small sections of your fringe and face-framing layers. Instead of clamping and pulling straight down, give the iron a slight bend at the ends as you pull it through. This creates a subtle, lived-in flip or bend rather than a harsh, straight line.
Remember: The fringe shouldn’t be perfect. A few stray pieces or a slightly uneven look add to the shag’s charm. Use a tiny dab of styling wax or pomade on your fingertips to separate and define the individual pieces of your fringe, giving it that cool, artistic finish.

The Power of the Part: Switching It Up in Seconds
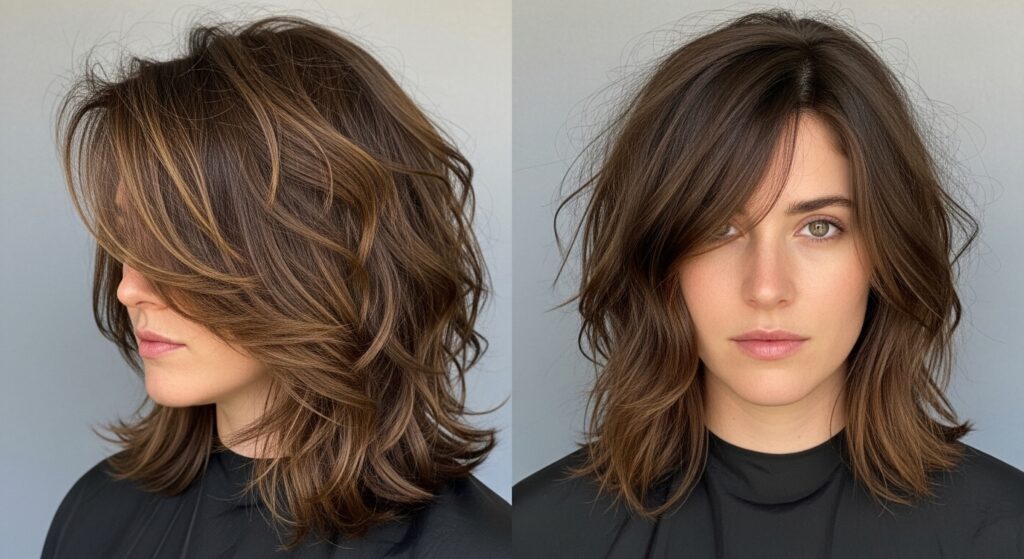
One of the fastest ways to completely change the look of your shag without any tools is to change your part. A deep side part can add dramatic volume and make your layers cascade in a new, eye-catching way. A center part can give a more balanced, modern feel, showcasing the symmetry (or intentional asymmetry) of your cut.
Simply use the end of a comb or your fingertips to create a new part. Because of the shag’s multiple layers, a new part will instantly redistribute volume and texture, making it look like you’ve put in way more effort than you actually did. Don’t be afraid to play with a zig-zag part for even more volume and a slightly edgier look.
Accessorize for an Instant Upgrade
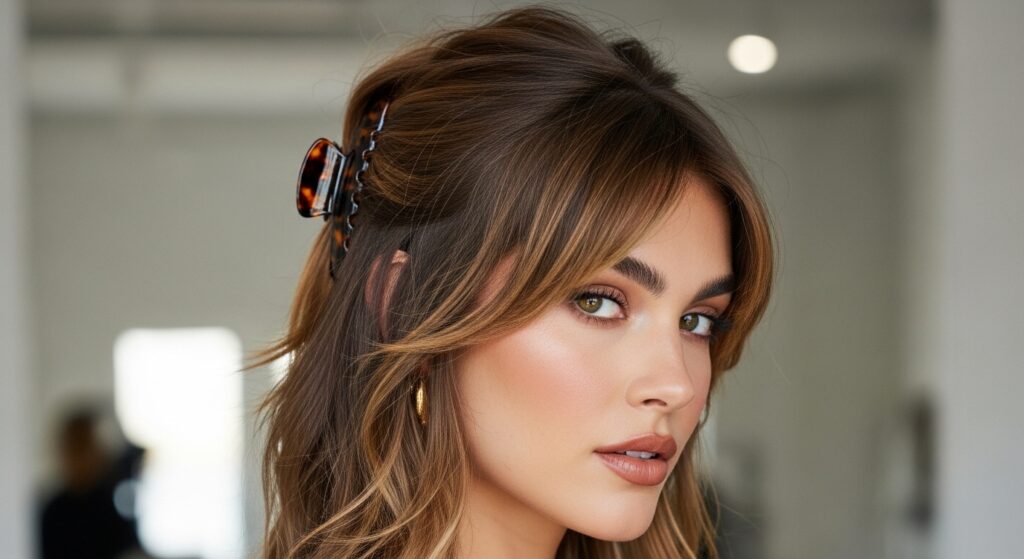
When you’re truly in a rush, accessories are your get-out-of-jail-free card. The shag cut looks incredible with a variety of hair accessories that can hide a multitude of sins (like second-day roots or less-than-perfect texture).
Statement Claw Clips: Don’t just pull your hair back. Gather the top section of your hair at the crown and secure it loosely with a large, decorative claw clip. This creates an instant updo that’s both chic and effortless, allowing your shorter layers and fringe to fall beautifully around your face.
Thin, Delicate Headbands: A thin, fabric or metal headband can push your hair away from your face and add a touch of boho or retro flair, perfectly complementing the shag’s vintage roots.
Bandanas and Scarves: Tie a silk scarf around your head, letting the ends mix with your layers, or use it as a headband. This adds a pop of color and pattern while containing any unruly pieces.
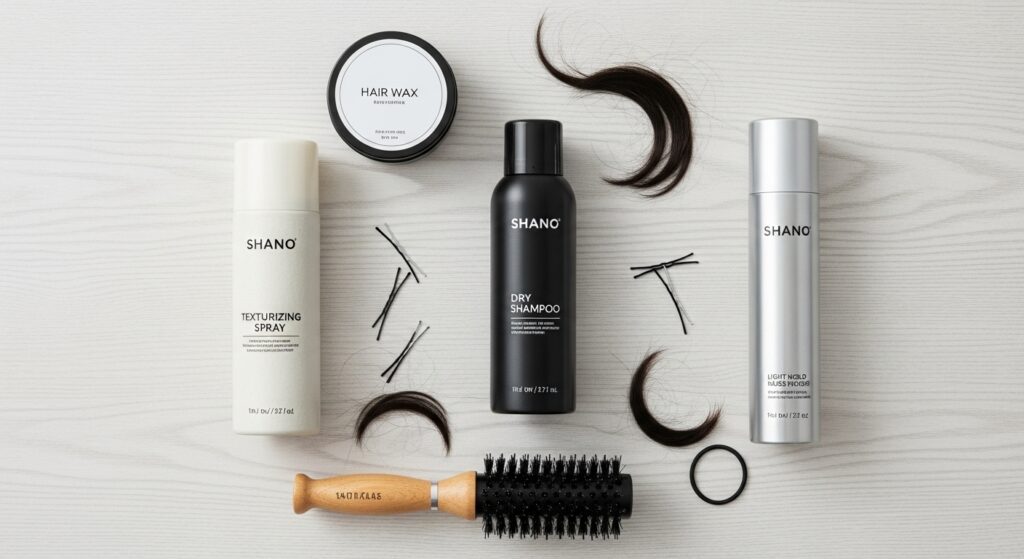
Your Quick-Start Shag Styling Kit
To execute these minute-long miracles, you need a few key products in your arsenal. You don’t need a lot, just the right ones.
Volumizing Dry Shampoo: For absorbing oil and adding grit and lift at the roots on day-two (or three) hair.
Texturizing Spray: The holy grail for creating that piecey, beachy texture without stiffness.
A Light-Hold Hairspray: For locking in volume and texture without making your hair feel like a helmet. A flexible-hold formula is ideal.
Styling Wax or Pomade: Perfect for taming flyaways and defining the ends of your fringe and shorter layers with precision.
A Small Round Brush: Essential for styling your fringe and face-framing pieces with control.
Embrace the Ease of Your Choppy Shag
The beauty of the choppy shag haircut is its inherent effortlessness. It’s designed to look better as the day goes on, as you run your hands through it, and as it settles into its natural shape. By mastering these few quick techniques—the root lift, the texture scrunch, the fringe flick, and the strategic accessory—you’re not fighting your hair’s natural tendencies; you’re enhancing them.
So the next time your shag feels a little off, don’t despair. In just a few minutes, you can inject volume, define texture, and completely transform your look. Remember, a little chaos is part of the plan. Now go forth and rock that magnificent, choppy shag with confidence.