How to Upgrade Your layered hair Hair in Just Minutes
So, you took the plunge and got a gorgeous layered haircut. For a while, it was everything—full of movement, body, and effortless style. But now, maybe it’s feeling a bit… flat. A little uninspired. Or perhaps you’re stuck in a styling rut, cycling through the same two looks day after day.
The good news? You don’t need a trip back to the salon or a drastic new cut to fall in love with your hair all over again. Layered hair is incredibly versatile; it’s a canvas waiting for your creative touch. The secret to an instant upgrade isn’t a magic potion (though good products help!), it’s knowing a few clever techniques that work with your layers to create maximum impact with minimal effort.
1. The Magic of Texture: Say Goodbye to Flatness
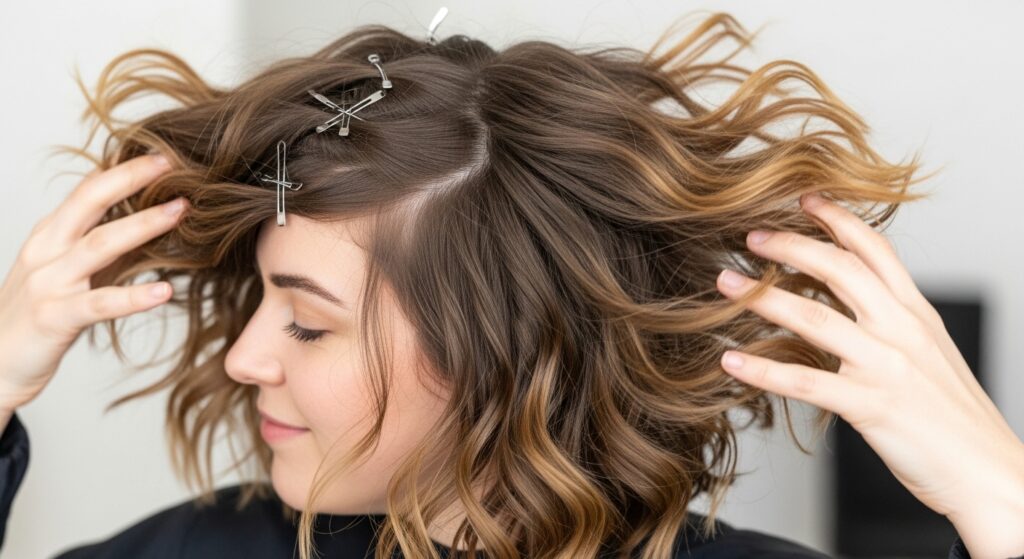
The number one superpower of layered hair is its ability to hold texture beautifully. If your hair is looking limp or one-dimensional, adding texture is your fastest route to a voluminous, modern look. The goal is to create separation and piecey-ness between the layers, making each one stand out.
Start with a texturizing spray or a sea salt spray on damp or dry hair. These products are your best friends, designed to add grit and hold without weighing hair down. For a more targeted approach, try twisting and pinning small sections. Take a one-inch section of hair, twist it loosely, and then pin it flat against your scalp. Do this all over your head, hit it with your hairdryer on a warm setting for 60-90 seconds, let it cool, and then unpin. You’ll be left with a head full of soft, natural-looking waves and incredible volume at the roots.
Another game-changer is the humble texturizing powder. Sprinkle a tiny amount directly onto your roots and massage it in. This invisible product creates instant lift and grip, giving your layers the foundation they need to stand up and be noticed.
2. Master the Art of the “Lived-In” Wave
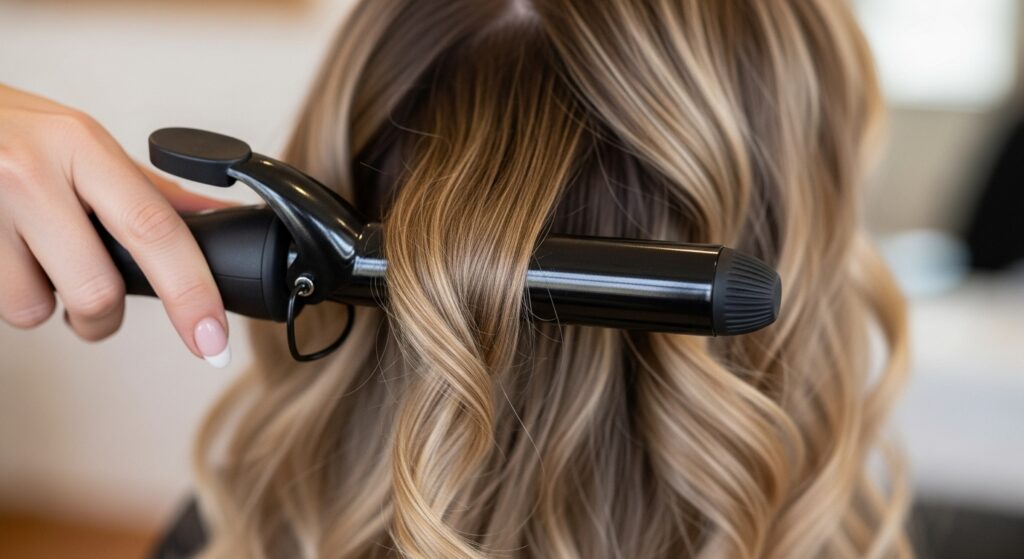
Forget perfectly uniform curls. The most flattering and easy-to-achieve style for layered hair is the “lived-in” wave. This style enhances the different lengths of your layers, creating a soft, romantic, and effortlessly cool effect.
The fastest tool for this job is a curling wand with a barrel that’s 1 to 1.5 inches in diameter. The key technique here is to alternate the direction of your curls. Curl one section away from your face, and the next toward your face. This creates natural-looking movement and prevents your hair from looking like a solid, helmet-like wave. Don’t hold the curl for too long—just a quick 5-10 second clamp is often enough.
Once all your hair is waved, do not brush it out! This is the most common mistake. Instead, run your fingers gently through the waves to separate them. Then, take a light-hold hairspray and spritz it from a distance, scrunching the waves slightly with your hands as you do. This will set the style while keeping it soft and touchable.
3. Root Lift: The 2-Minute Volume Boost
Flat roots can make even the most beautiful layers fall flat. Achieving volume at your crown instantly lifts your entire face and allows your layers to cascade beautifully. This is a two-minute fix that delivers dramatic results.
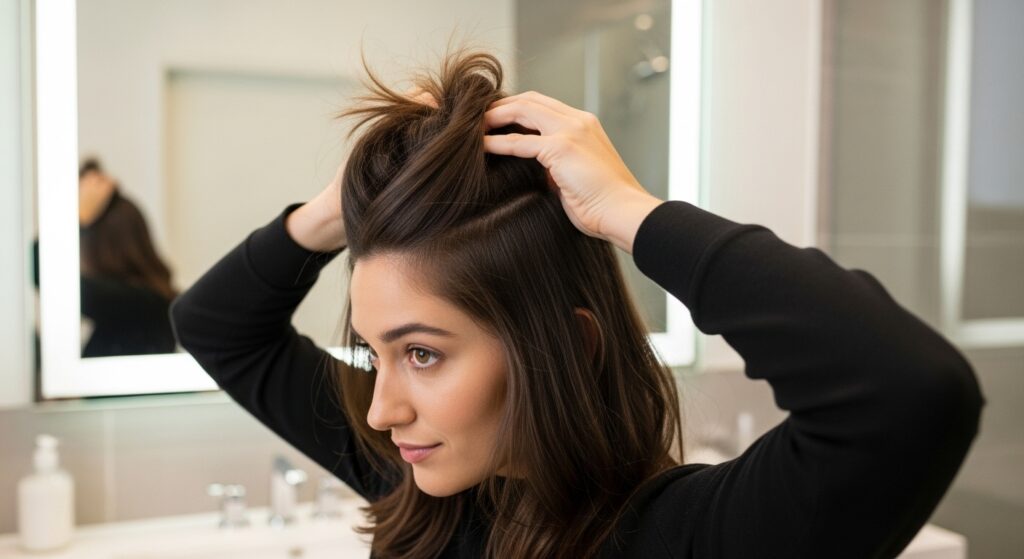
Begin with dry hair. Flip your head upside down and spray a volumizing spray directly at your roots. While you’re still upside down, gently massage your scalp with your fingertips to create some lift. Now, here’s the pro trick: instead of flipping back up immediately, gather the hair at the crown into a loose, high ponytail on the very top of your head. Use a soft coil hair tie to avoid creases.
Leave this “top knot” for a minute or two while you do your makeup or finish getting dressed. When you take it down, gently shake your roots with your fingers. You’ll be met with incredible, lasting volume that makes your layers look fuller and more dynamic instantly.
4. Accessorize Like a Pro: Instant Glamour
Never underestimate the power of accessories. A well-chosen hair accessory can elevate a simple layered style into something special in seconds. The beauty of layers is that they create a textured, often wispy frame that accessories can cling to and complement perfectly.
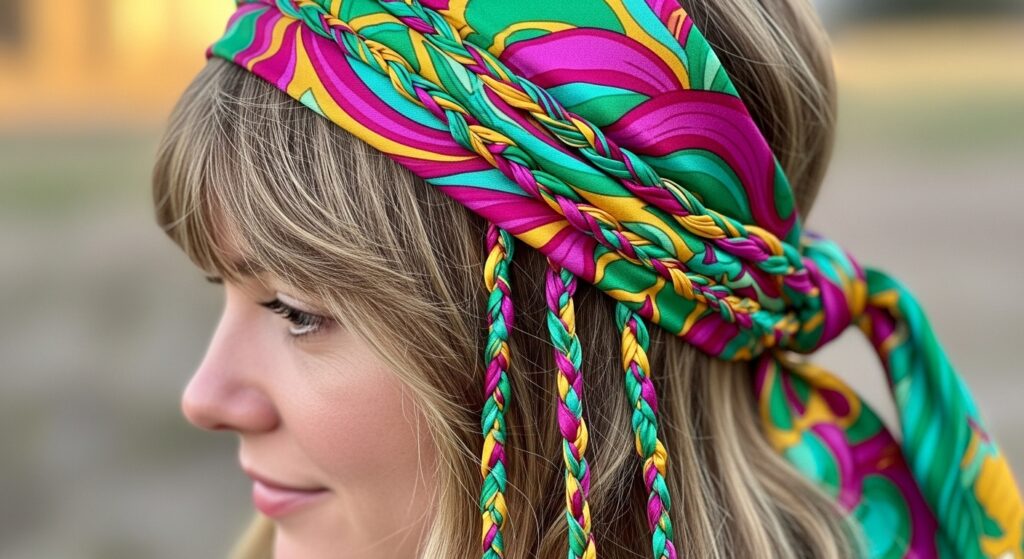
Silk Scarves & Bandanas: Fold a slender silk scarf into a headband and tie it at the crown of your head, letting the ends flow back with your layers. This adds a pop of color and a touch of boho-chic elegance.
Statement Claws & Clips: The 90s are back, and we’re here for it. Instead of slicking all your hair back, use a large claw clip to create a half-up, half-down style. Gently twist the section you’re gathering back and loosely clip it, allowing your shorter layers and face-framing pieces to fall free. This looks intentional, stylish, and takes literally 30 seconds.
Decorative Pins: Scatter a few small, decorative pins on one side of your head, tucking them into your layers. This is a subtle yet stunning way to add sparkle and interest for an evening out.
5. The Perfect Part & Face-Framing Layers
Sometimes, the simplest change makes the biggest difference. If you always wear a center part, try a deep side part. If you’re loyal to your side part, experiment with a center part. Shifting your part instantly changes the way light hits your hair and redistributes volume, giving your layers a whole new life.
To maximize this effect, focus on your face-framing layers. Use a round brush and your blow-dryer to curve these front sections away from your face, creating a soft, flattering “C” shape. If you have a flat iron, you can also use it to add a slight outward flip to these ends. This small detail opens up your face, highlights your bone structure, and makes your entire haircut look more polished and intentional.

6. The Braid & Wave Hack for Overnight Style
What if you could style your hair while you sleep? With layered hair, you absolutely can. This is the ultimate time-saver for achieving beautiful, no-heat waves.
On damp (not soaking wet) hair, apply a light mousse or curl-enhancing cream. Then, create two loose braids, one on each side of your head. The key is to keep them loose; tight braids will create crimps instead of soft waves. Secure the ends with a soft tie and go to sleep. In the morning, unravel the braids, shake your hair out, and marvel at the perfectly tousled, layered waves you’ve created with zero heat.
For a more pronounced wave, try a rope braid (where you twist two sections of hair around each other before braiding). This technique creates a more uniform, wave-like pattern that looks incredible in layered hair.

7. The Finishing Touches: Polish and Shine
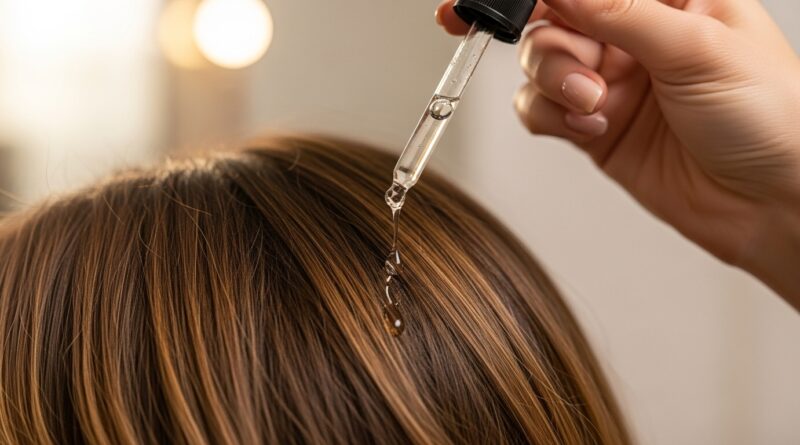
The final step to any great hair day is the polish. For layered hair, this means defining the ends and adding shine without sacrificing volume.
Take a tiny amount of hair serum or a light oil (like argan or marula oil) and rub it only between your palms. Then, gently scrunch and smooth it over the ends of your hair, avoiding the roots at all costs. This will tame any frizz or flyaways at the tips of your layers, making your hair look healthy and salon-fresh.
Finally, give your head a gentle shake from side to side. This allows the layers to fall into their most natural, flattering position. Take a step back, give yourself a smile in the mirror, and walk out the door with a hairstyle that looks like you spent an hour on it, when it really only took you minutes.

Your Layered Hair, Reimagined
Your layered haircut is a gift that keeps on giving—you just need to know how to unwrap its full potential. By focusing on texture, volume, and a few strategic styling tricks, you can completely transform your look without a major time commitment. These techniques are designed to be fast, effective, and easy enough for anyone to master.
The next time you look in the mirror and feel that styling fatigue coming on, don’t despair. Pick one of these methods and give it a try. In just a few minutes, you can upgrade your layered hair from simple to stunning, and rediscover the joy of a truly great hair day.

