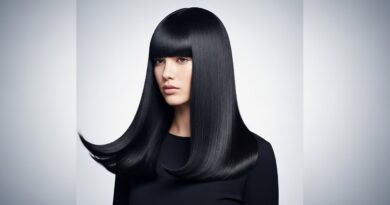
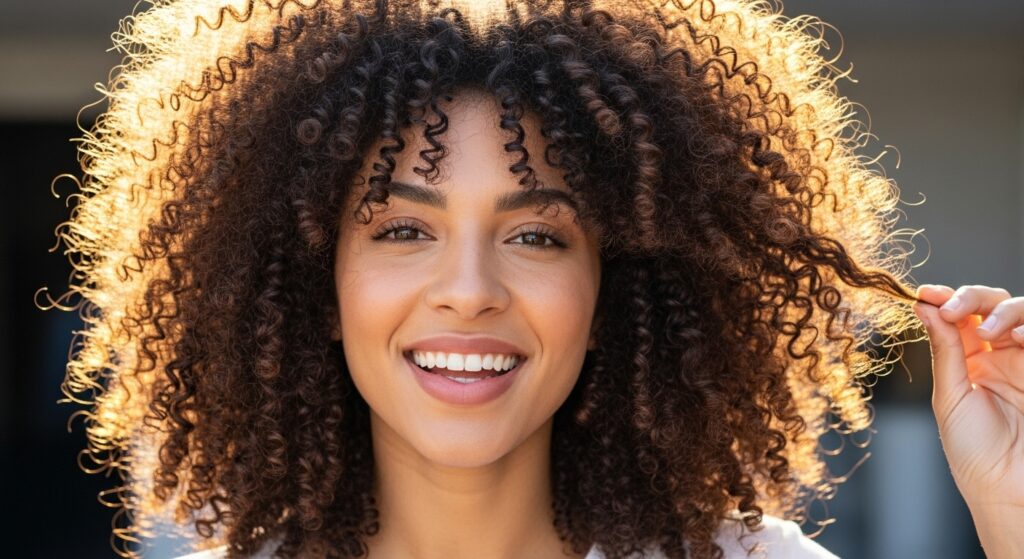
How to Upgrade Your modern curl Hair in Just Minutes
Let’s be real. Loving your natural curls is a journey, and sometimes that journey hits a plateau. You’ve mastered the basic co-wash and gel cast, but your hair feels… predictable. You’re craving more definition, more volume, more wow. The good news? You don’t need a complete routine overhaul or hours of free time to see a dramatic difference. Upgrading your modern curl hair can be surprisingly quick and incredibly satisfying.
This guide is all about those minute-miracles—the small tweaks, clever techniques, and product pivots that can transform your curls from “meh” to magnificent in the time it takes to brew a cup of coffee. Get ready to fall in love with your curls all over again.
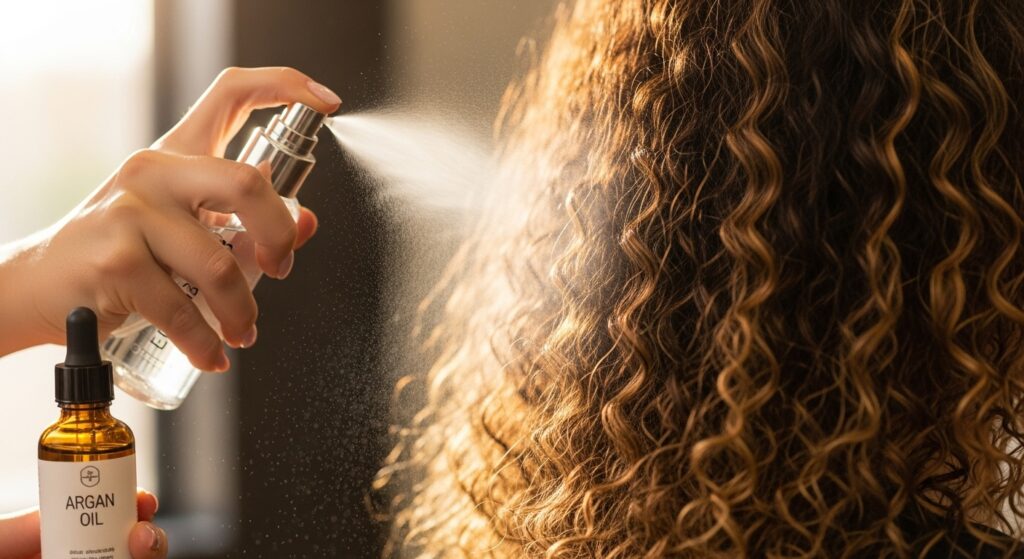
Minute 1-2: The Reset Refresh with a Targeted Spritz
Is your second or third-day hair looking a little limp or frizzy? Before you reach for more product, the real upgrade might be a quick reset. Instead of drenching your hair, which can weigh it down, mix a cocktail of water and a lightweight leave-in conditioner or curl refresher in a spray bottle. The key is to spray until damp, not soaking wet.
Here’s the pro move: Add a drop or two of a lightweight oil (like argan or jojoba) to your spray bottle. This helps to re-activate the stylers already in your hair while simultaneously combating frizz and adding shine. As you spray, focus on the mid-lengths and ends, where hydration is needed most, and gently scrunch from the bottom up to re-encourage your curl pattern.
Minute 3-4: The Game-Changing Application Flip
If your curls are lacking definition or clumping, your application technique might be the culprit. The “praying hands” method is a classic for a reason, but for an instant upgrade, try roping and scrunching. After applying your leave-in conditioner or curl cream, take a small section of hair and gently smooth the product over it using your thumb and forefinger, as if you’re sliding down a rope.
This “roping” motion helps to evenly coat each curl strand and encourages them to clump together beautifully. Follow this immediately with a gentle scrunch to set the shape. This two-step process takes seconds per section but creates noticeably more defined, uniform curls without the need for additional product.

Minute 5-6: The Volume-Boosting Root Lift
Flat roots are the arch-nemesis of a great curl day. For an instant volume upgrade, you need to get strategic at your crown. While your hair is still damp (or after you’ve refreshed it), lean forward and flip your hair upside down. Use your fingertips to gently massage and lift your roots away from your scalp. This physically creates space at the base of your hair.
For a more lasting effect, use small sectioning clips. Take vertical sections of hair at the crown and along your part, lift them straight up, and secure the roots with a clip. Let your hair air dry or diffuse with the clips in, removing them once your hair is completely dry. This takes mere minutes but results in a voluminous, salon-worthy lift that lasts all day.

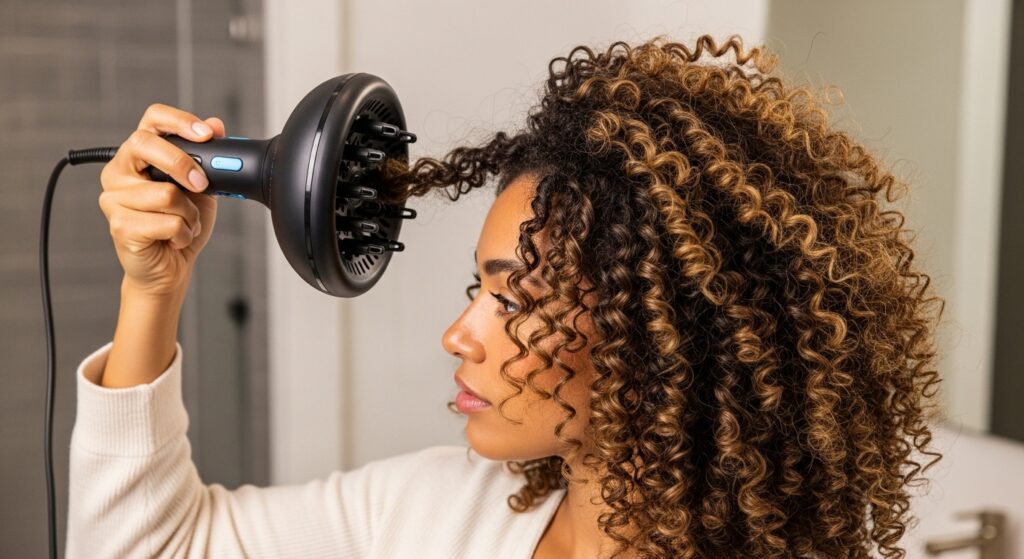
Minute 7-8: The “Hover” Diffusing Technique
If you diffuse, how you do it can make or break your curl pattern. Plopping the diffuser bowl directly onto your hair and scrunching can create frizz and disrupt your carefully formed clumps. The upgrade? The Hover Diffusing method.
Turn your diffuser on to a medium heat and medium speed setting. Instead of touching your hair with the diffuser, simply “hover” it around your head, focusing on the roots and the areas that take the longest to dry. This sets the cast and dries the roots without disturbing the curl formation. Once your cast is 80% set, you can then gently cup sections of your hair with the diffuser to finish drying. This technique preserves definition and minimizes frizz for a sleeker, more polished look.
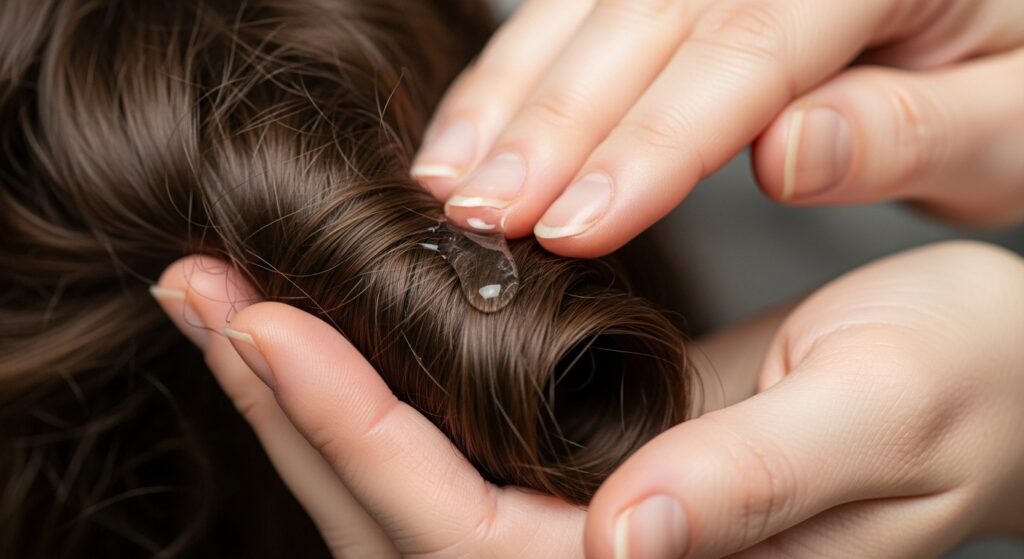
Minute 9-10: The Strategic “SOTC” & Shine Seal
The final, most crucial step to upgrading your modern curls is the “Scrunch Out The Crunch.” But we’re going to do it with intention. Once your hair is 100% completely dry and you have a hard cast, it’s time to break the seal. Don’t just scrunch wildly. Start by gently gliding your hands over the top layer of your hair to break the cast there first, preventing frizz.
Then, take a pea-sized amount of a lightweight serum or oil and emulsify it between your palms. Instead of applying it all over, gently smooth it over the outer layer of your hair and the ends. This is your shine seal. Now, tilt your head to the side and scrunch upwards to break the cast on the underside. Repeat on the other side. This methodical approach ensures you get soft, touchable curls without sacrificing definition or creating a fuzzy halo.
Bonus Upgrades: Beyond the 10-Minute Routine
While the above steps can transform your look in minutes, consider these slightly more involved (but still quick) upgrades for your next wash day.
The Pre-Poo Oil Treatment: Before you even step into the shower, spend 5 minutes massaging a lightweight pre-shampoo oil into your dry hair, focusing on the ends. This creates a protective barrier, preventing your shampoo from stripping your hair of its natural oils, leading to shinier, healthier-looking curls from the very start.
The Micro-Plop for Better Absorption: After applying your stylers in the shower, use a microfiber towel or a cotton t-shirt to gently “micro-plop.” This isn’t the full head-wrap of traditional plopping. Instead, gently scrunch sections of your hair with the towel to remove excess water and product. This helps your curls clump better and can actually reduce drying time.

Embrace the Quick Curl Glow-Up
Upgrading your modern curl hair doesn’t have to be a time-consuming chore. It’s about working smarter, not harder. By incorporating just one or two of these quick techniques into your routine, you can elevate your curls from simple to stunning. Remember, your curl journey is unique, so feel free to experiment and find which minute-miracles work best for you. Your most defined, voluminous, and head-turning curls are just a few minutes away.