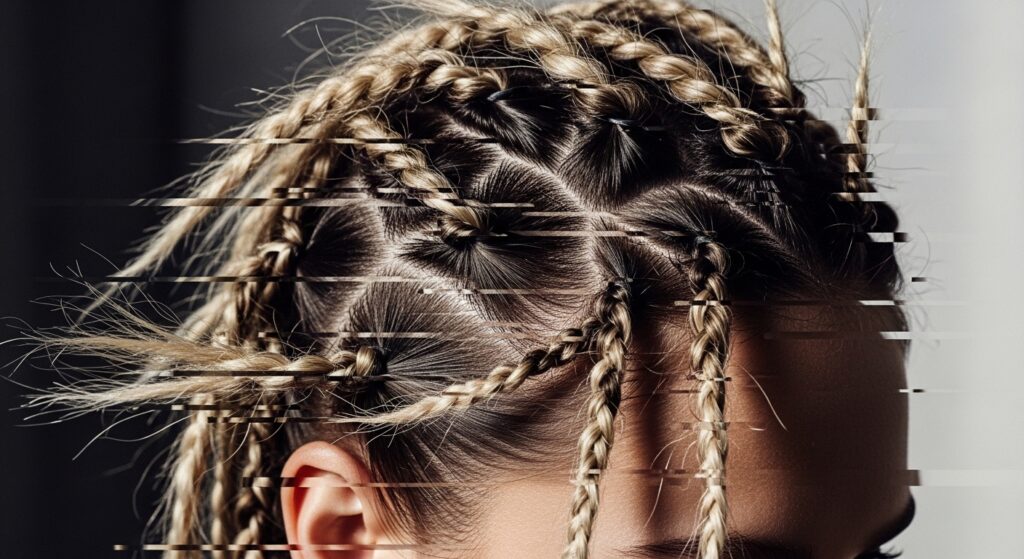
Illusion 25 Wrap-Around Twists Mimicking Headbands Without Any Tools
Okay, let’s be real for a second. How many times have you seen a gorgeous, intricate hairstyle online, gotten all excited to try it, and then realized you need three different tools you don’t own and about two hours you definitely don’t have? I’ve been there more times than I can count. That’s why I’m obsessed with this next trick.
It’s called the Illusion 25 Wrap-Around Twists. The name sounds fancy, but I promise it’s the simplest, most genius way to look like you spent serious time on your hair. The best part? You use zero tools. No curling iron, no flat iron, not even a hair tie.
All you need is your own hair and about five minutes. This style gives you that perfect “headband” look without actually wearing one. It’s romantic, it’s elegant, and it works on almost every hair type and length. It’s the ultimate cheat code for looking put-together instantly.
Think of this as your secret weapon for busy mornings, last-minute plans, or just wanting to feel a little extra without the effort. Let’s dive in and I’ll show you exactly how it’s done.
What Are Illusion 25 Wrap-Around Twists?
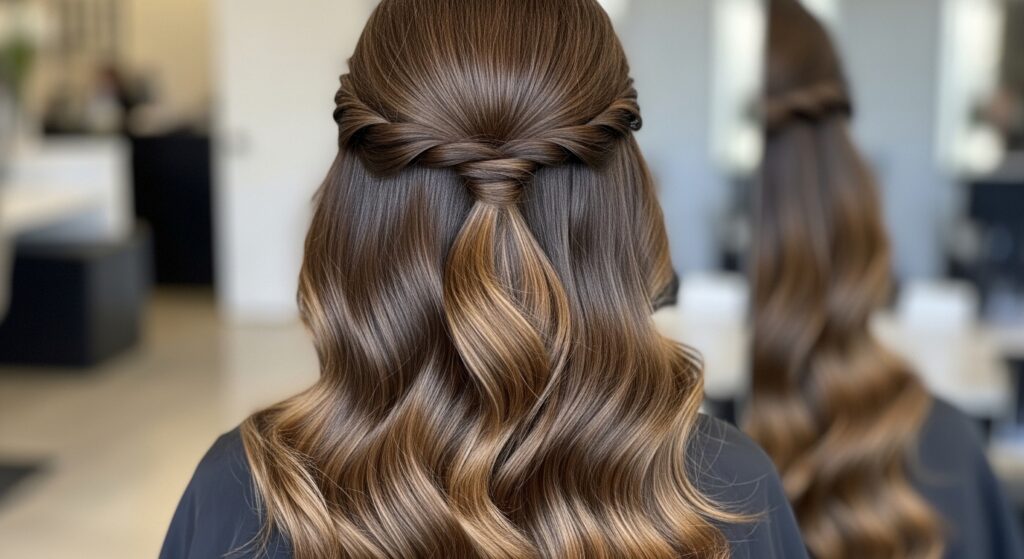
Let’s break down the name, because it tells you everything. “Illusion” is the key word here. The style creates the beautiful illusion of a thick, braided headband wrapped around the crown of your head. But it’s not a headband at all—it’s just two sections of your own hair twisted and pinned.
The “25” simply refers to the approximate number of seconds it takes to do each twist once you get the hang of it. And “Wrap-Around” describes the motion: you’re taking hair from one side, twisting it across your head, and securing it on the other side.
This technique is a game-changer. It lifts the hair at your roots for instant volume, frames your face beautifully, and keeps hair out of your eyes in the most elegant way possible. It’s a perfect blend of old money hair simplicity and romantic detail.
Why This Hairstyle is a Total Game-Changer
In a world of complicated tutorials, this style stands out for its pure simplicity. First, it’s universally flattering. Whether you have a quiet luxury bob or hair down to your waist, the principle is the same and it always looks chic.
Second, it causes zero damage. Since we’re not using heat or tight elastics, you’re giving your hair a break while still looking amazing. It’s a fantastic protective style that minimizes breakage and friction.
Finally, it’s incredibly versatile. You can make it sleek and polished for a meeting, or slightly messy and romantic for a weekend coffee date. It adapts to your vibe instantly, making it a true staple in your style arsenal.

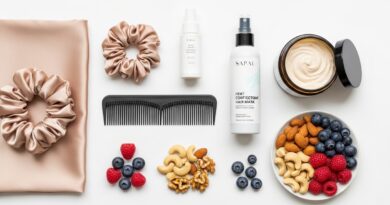
What You’ll Need to Get Started
Gathering your supplies will take about 30 seconds. Seriously, that’s it. You likely have everything already. The beauty of a no-tool hairstyle is the minimal prep.
- Your Hair: Clean or day-old hair both work great. Slightly textured hair holds the style a bit better.
- Hair Clips or Pins: About 4-6 bobby pins or small snap clips. Clear or matching your hair color is best for the illusion.
- Optional: A light-hold hairspray or texturizing spray for extra hold and flyaways.
That’s truly the entire list. No fancy brushes, no weird gadgets. Just the basics. See? I told you this was easy.

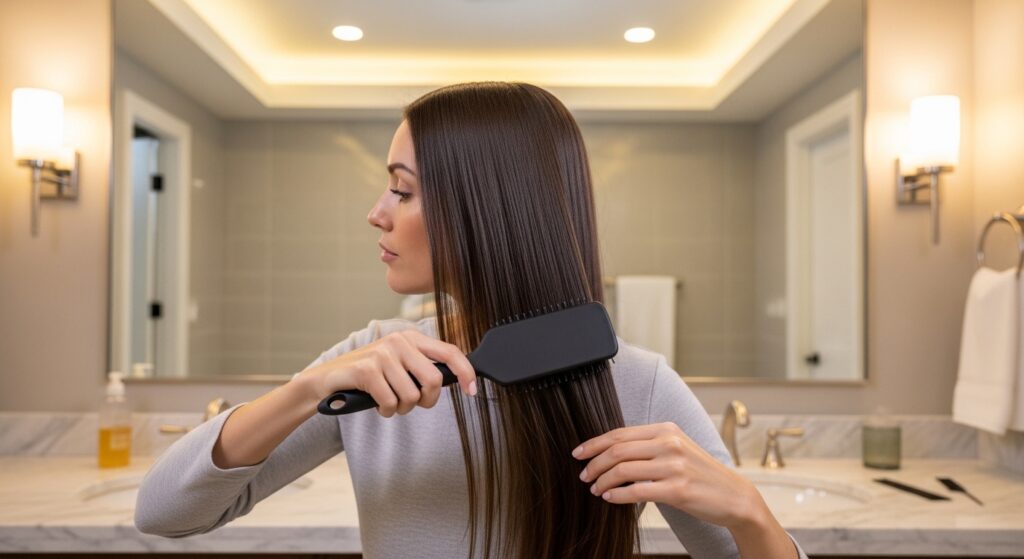
Step 1: Prep Your Hair Properly
Don’t skip this step! Good prep is what makes the style last all day and look polished. Start by brushing your hair thoroughly to remove any tangles. We want smooth sections to work with.
If your hair is very silky or freshly washed, add a tiny bit of texturizing spray or dry shampoo at your roots. This gives your hair some “grip” so the twists and pins hold securely without slipping.
You can leave your hair straight, or if you want a more romantic look, prep with loose waves. The twists will look gorgeous over any base texture. The goal is just manageable, tangle-free hair.
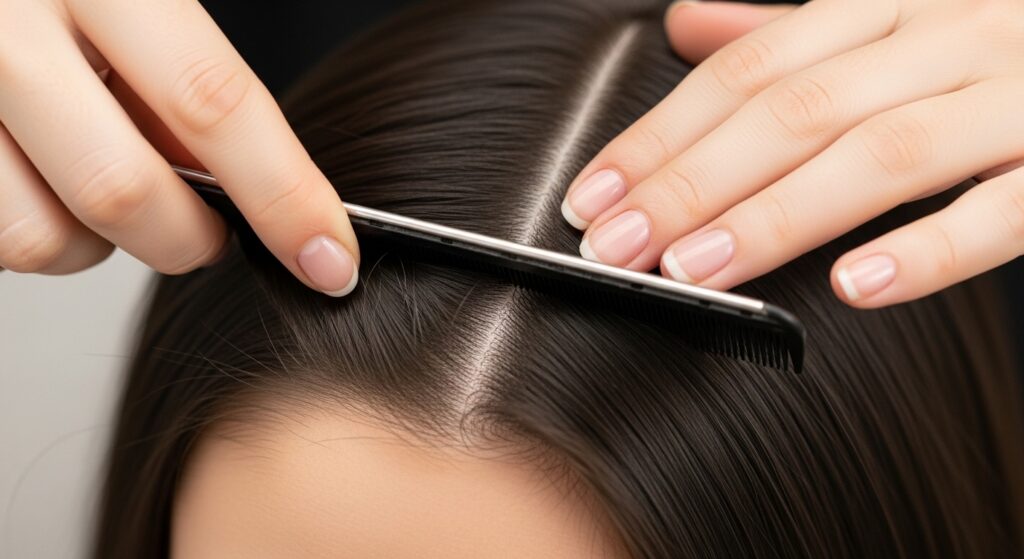
Step 2: Find Your Perfect Part
This style works with any part, but it looks different with each one. A deep side part will give a dramatic, asymmetrical lob kind of vibe. A middle part creates a balanced, classic look that’s very in line with 2026 hairstyles trends.
Use the end of a comb or your finger to create a clean, sharp part. This defined line is part of the illusion—it makes the finished style look intentional and sleek. Don’t worry about it being perfectly straight; a little softness is fine.
Once your part is set, gently brush all your hair away from the part line so it’s smooth. You’re creating a clean canvas for your first twist.
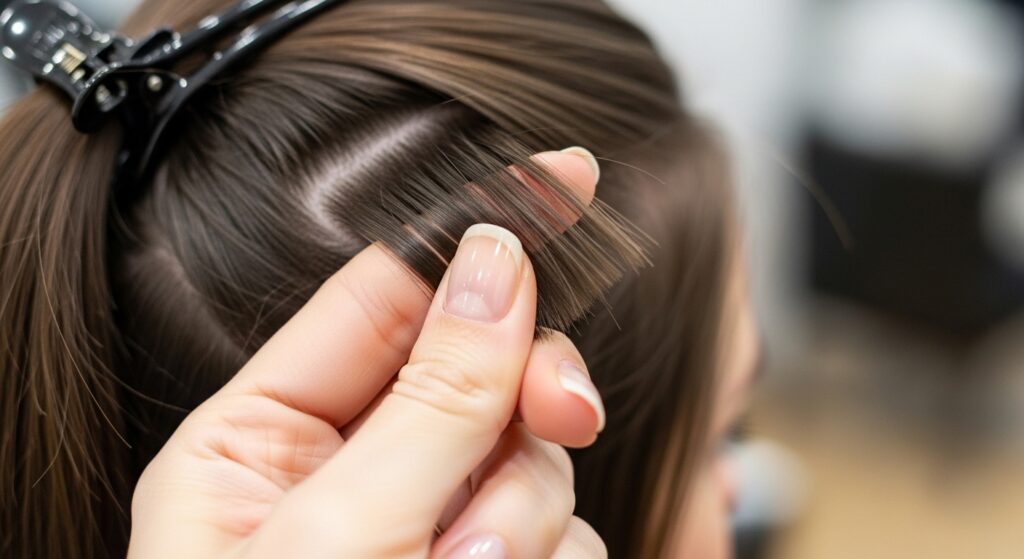
Step 3: Section the First Piece of Hair
Now, we create the first “headband” strand. On one side of your part, right at the front of your hairline near your temple, grab a section of hair. This section should be about 1 to 1.5 inches wide.
Imagine drawing a diagonal line back from your temple toward the crown of your head. That’s the section you’re isolating. It’s not a huge chunk of hair—just a manageable, face-framing piece.
Use a clip to temporarily hold the rest of your hair on that side out of the way. This keeps things neat and prevents you from accidentally grabbing extra hair into your twist.
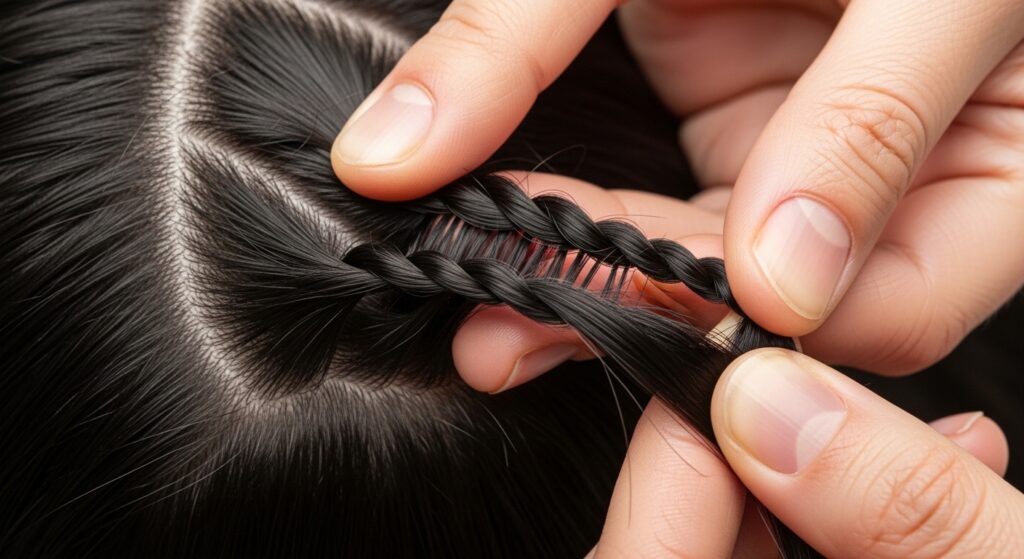
Step 4: Create a Neat Rope Twist
Take that isolated section and begin twisting it. Simply twist the strand between your fingers in one direction—either clockwise or counter-clockwise. Just pick one and stick with it for the whole twist.
Twist it all the way down to the ends. You’re creating a simple, clean rope twist. As you twist, keep the tension firm but gentle. You want it to be smooth and neat, not lumpy or too tight.
This twisted rope is what will become the beautiful “headband” detail. The twisting also makes the section a bit shorter and easier to manage as you wrap it across your head.
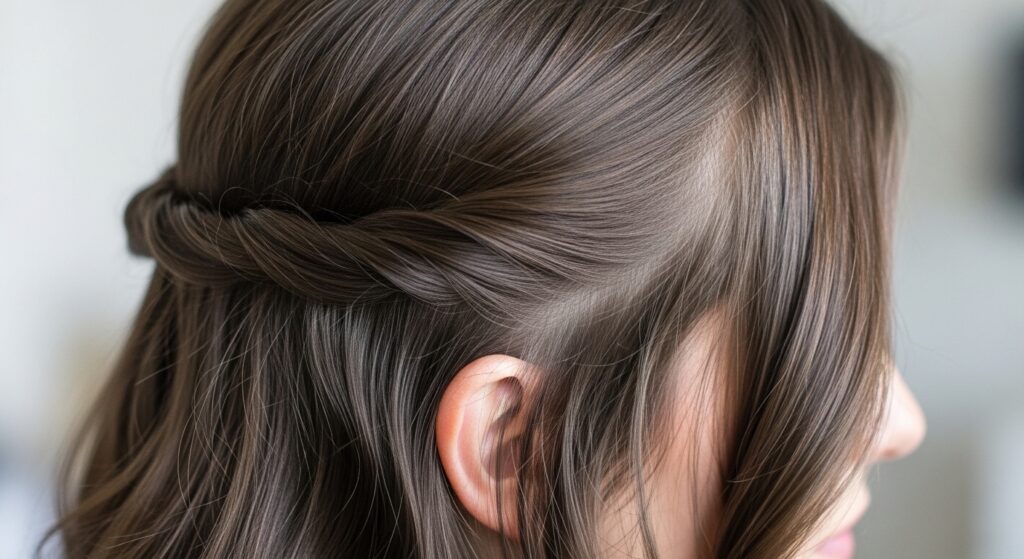
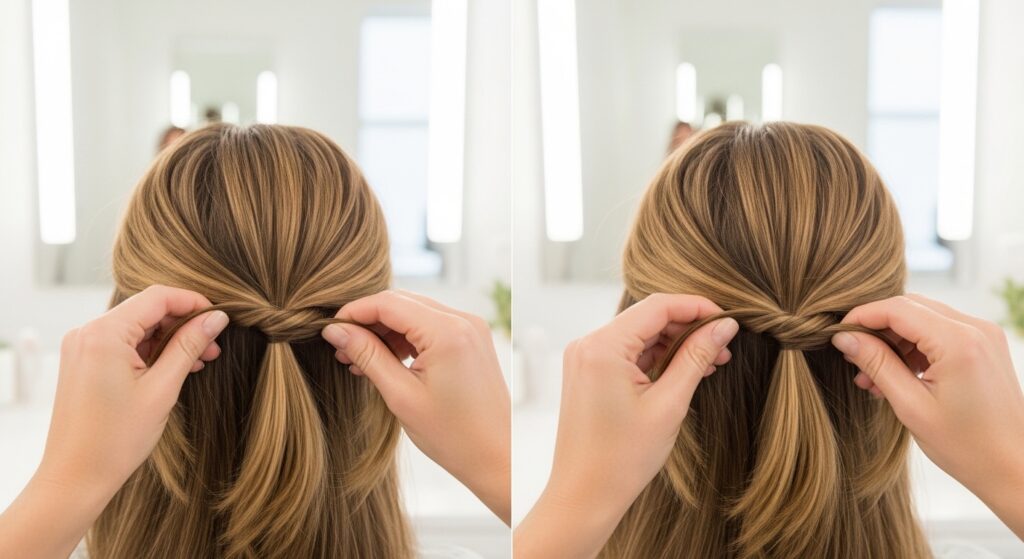
Step 5: Wrap It Across Your Forehead
Here’s where the magic happens. Take the end of your twisted rope and gently pull it across your forehead, following your natural hairline. It should sit about an inch back from your actual hairline, like a headband would.
Keep the twist flat against your head. Use your other hand to hold the starting point near your temple so it doesn’t pull loose. Guide it all the way over to the opposite side of your head, just above the ear.
This creates that stunning wrap-around effect. Don’t pull it too tight; you want it to lie naturally and comfortably, not give you a headache.
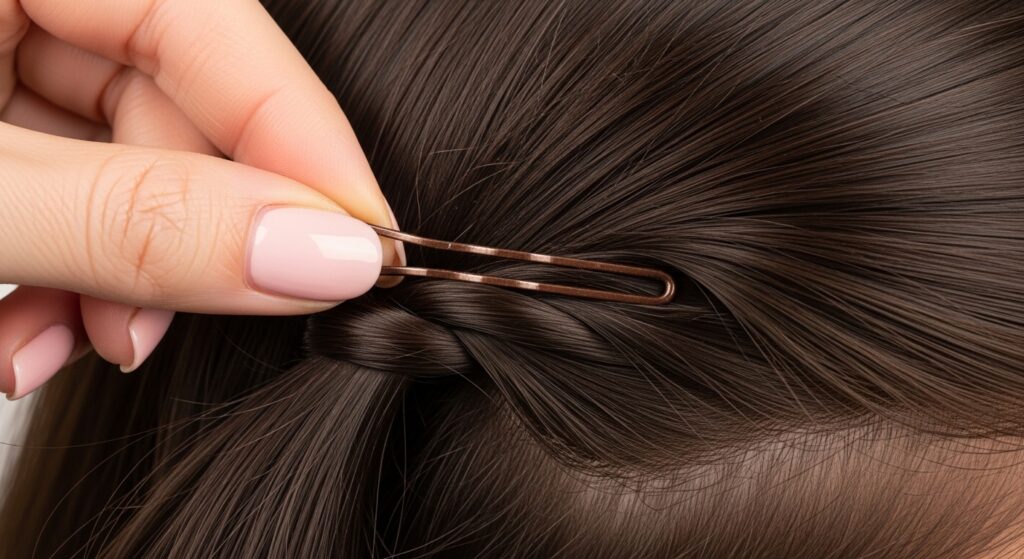
Step 6: Secure the First Twist Secretly
This is the key to the “illusion.” Once the twist is in place, you need to pin it without anyone seeing the pins. Lift the very end of the twisted rope and the hair beneath it where you want to secure it (just above your opposite ear).
Slide a bobby pin under the twist, pointing it back toward the direction the twist came from. Then, slide the pin through the little bundle of hair underneath and back into the twist itself. This anchors it securely.
Use two pins for extra security, criss-crossing them for hold. Tug gently on the twist. If it feels firm, you’re done! The pins are completely hidden under the overlay of the twist.
Step 7: Repeat on the Other Side
Now, unclip the hair on the other side of your head. You’re going to do the exact same thing, but in reverse. Isolate a similar 1-inch section of hair near the temple on this side.
Create an identical rope twist, twisting in the same direction as you did the first time. Consistency is key for a symmetrical, polished look. Twist it all the way down to the ends.
This second twist will meet and overlap the end of your first twist, creating a seamless, continuous headband effect around the back of your head.
Step 8: Wrap and Tuck the Second Twist
Pull this second twist across your head, but this time, you’ll wrap it along a slightly different path. Guide it back along the crown of your head, just behind the first twist.
You want it to follow the natural curve of your head from temple to temple. The end of this second twist should meet the area where you pinned the first twist.
Instead of laying it over bare scalp, you’ll be tucking it under the tail end of the first twist. This creates a beautiful, interlaced look that appears totally seamless.
Step 9: Pin the Second Twist Invisibly
Just like before, you need to hide the pins. Tuck the end of the second twist under the tail of the first twist. Lift both pieces slightly.
Slide your bobby pins through the end of the second twist, then into the anchored hair underneath, and finally catch a bit of the first twist if you can. This locks everything together into one secure unit.
Give your head a gentle shake. Nothing should move or feel loose. If it does, add one more pin. The goal is security that you can’t see.

Step 10: Loosen for a Soft, Romantic Look
Now, to avoid a too-tight, severe look, we’ll add softness. Gently tug on the edges of the twists along their entire length. Pull out tiny, face-framing pieces near your temples.
You can also gently pull the twist itself to make it a little wider and flatter against your head, which looks more relaxed. This softening is what makes the style feel romantic and effortless, not stiff.
This step is crucial for that “I just woke up like this” elegance. It blends the style perfectly with your natural hair.
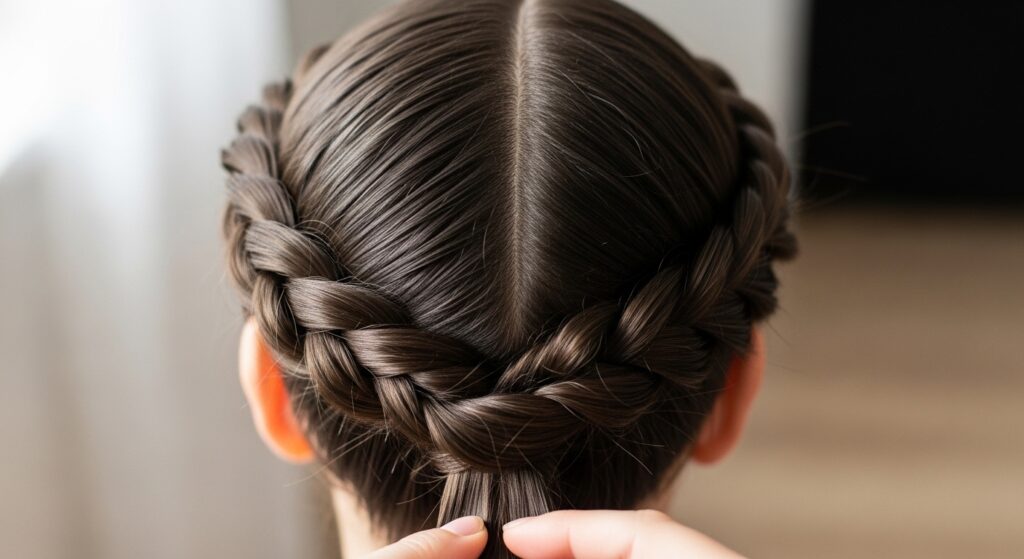
How to Style the Rest of Your Hair
With your twists secured, the rest of your hair is free. You can leave it down in all its glory. The twists act as a beautiful accessory, so you don’t need to do much else.
For a different vibe, you can pull the back hair into a low ponytail or a loose bun. This highlights the twists even more and gives a very old money hair aesthetic—clean, polished, and sophisticated.
Play with it! The beauty of this base is that it pairs with almost any other simple style. It’s the perfect half-up, half-down solution.
Making It Last All Day & Night
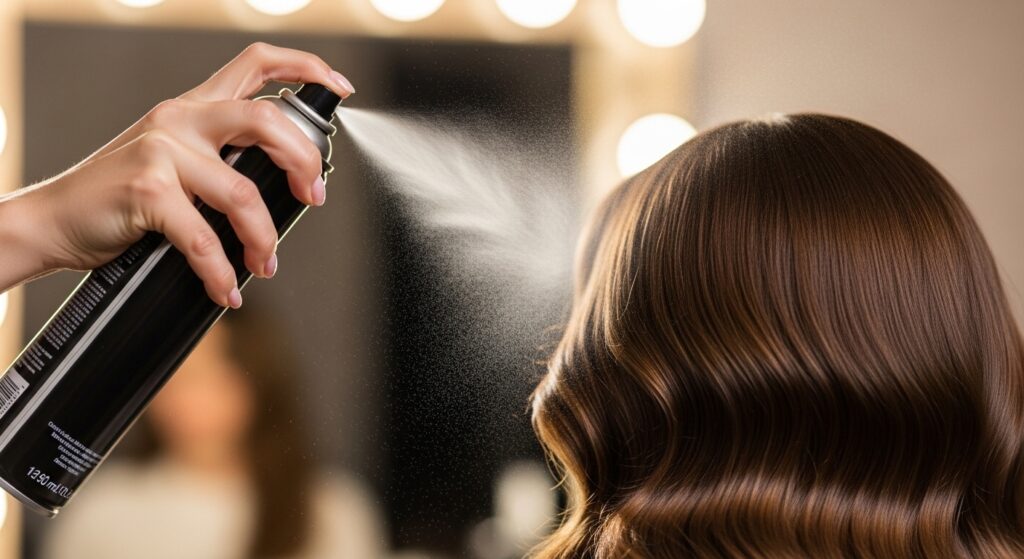
To ensure your masterpiece stays put, a light mist of flexible-hold hairspray is your best friend. Hold the can about 10 inches away and spray lightly over the twists and your roots.
Carry a few extra bobby pins in your bag just in case. If you feel a pin loosening after hours of wear, you can easily sneak it back in without redoing anything.
If you have very fine or slippery hair, using texturizing spray in the initial prep is non-negotiable. It makes all the difference for hold without crunch.
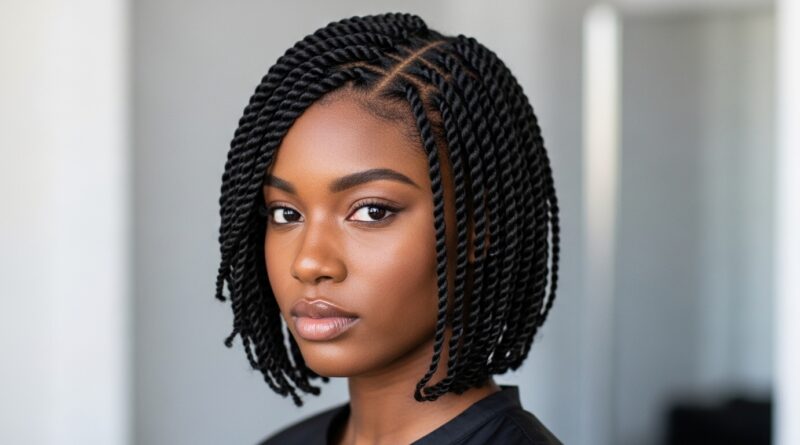
Adapting This for Short Hair (Bob & Lob)
If you have a quiet luxury bob or an asymmetrical lob, this style still works beautifully. The section you take will just be shorter. When you twist, you might only get one or two full rotations before you reach the ends.
That’s okay! Wrap the shorter twist across and pin it as usual. The ends might stick out a bit, which is a cute, modern look. You can also twist the section more tightly to use up the length.
This adaptation gives short hair incredible detail and keeps it out of your face in the chicest way possible. It’s a must-try for shorter cuts.
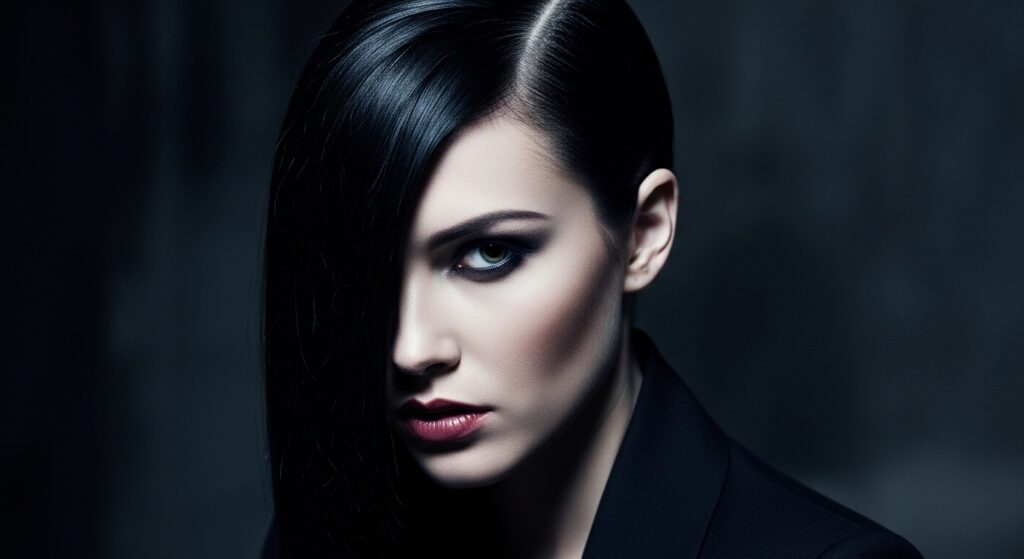
Creating a “Romantic Goth” Variation
To edge this style into romantic goth hairstyles or vampire haircut territory, lean into the drama. Make your part deep and severe. Pull the twists tighter for a more sculpted look.
Leave the rest of your hair bone-straight or add sharp waves. Keep the overall look sleek and dark. You can even add a tiny, delicate black ribbon pinned under the twist for an extra touch of dark romance.
It’s all about the attitude. This version is perfect for adding a mysterious, elegant edge to a simple technique.
Adding “Glitchy Glam” Texture
For a glitchy glam hair interpretation, focus on texture. Before you start, braid small sections of your hair overnight for a crimped, piece-y texture. Or, use a texturizing wax to piece out the twists once they’re in.
Instead of smoothing the twists perfectly, allow little wispies and pieces to stick out intentionally. You can even gently backcomb the twist slightly for a deconstructed, edgy feel.
This turns the elegant base into something modern, unexpected, and perfectly imperfect. It’s a cool-girl take on the classic.
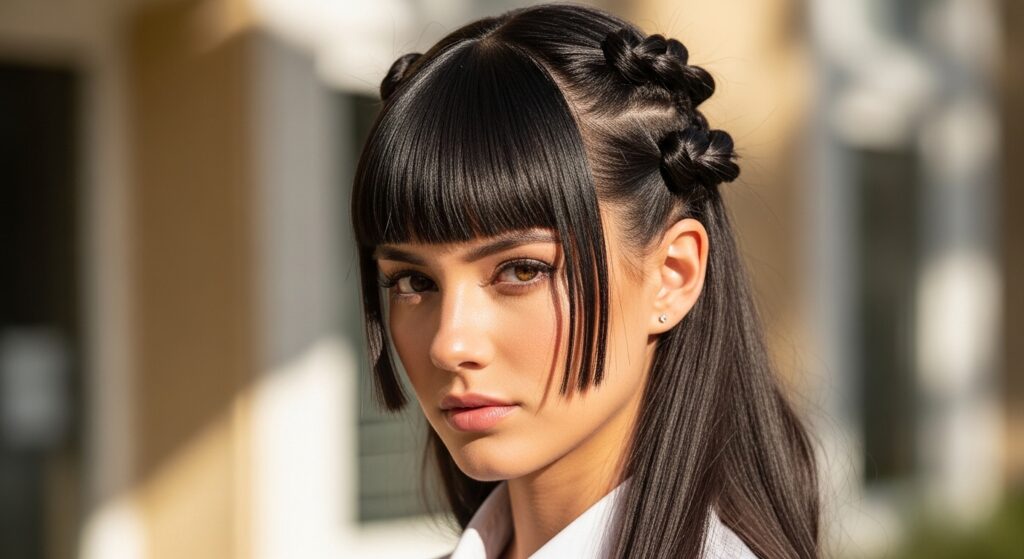
Pairing It With Hime Cut Bangs
If you rock a hime cut or strong straight-across bangs, this style is a dream. The twists will sit right behind your bangs, creating a stunning layered frame for your face.
Simply style your bangs as usual. Then, when you section your hair for the twists, start just behind the bang section. The combination is incredibly striking and leans into a beautiful, geometric look.
It highlights your bold cut while adding an extra element of interest. It’s a powerful style statement.
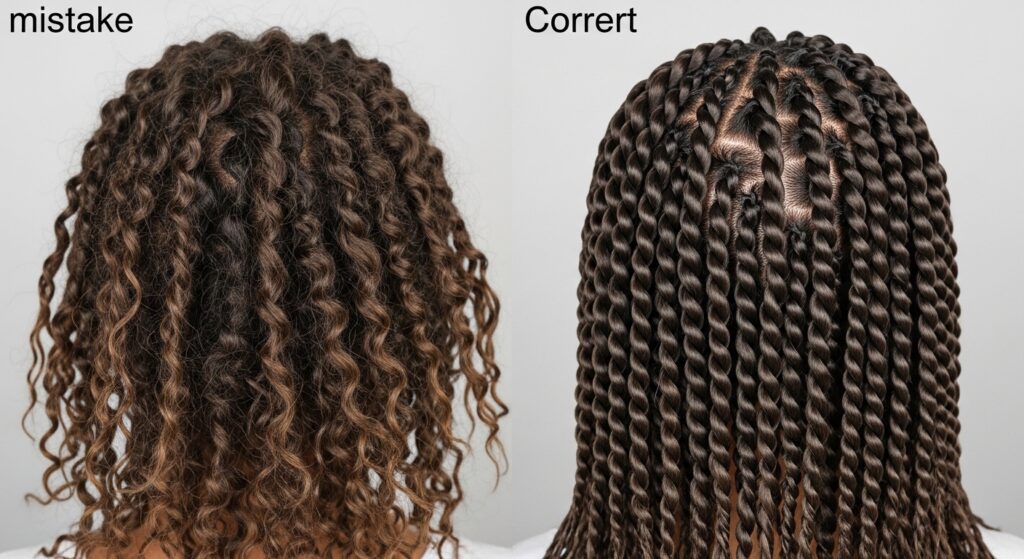
Common Mistakes and How to Fix Them
The biggest mistake is taking too much hair. A thick section is hard to twist neatly and won’t lay flat. Stick to that 1-inch guideline. If your twist feels bulky, start over with less hair.
Another error is not twisting tightly enough. A loose twist will unravel and look messy. Ensure your twist is firm from root to tip before wrapping.
Finally, avoid placing the pins vertically. Always slide them in horizontally, following the direction of the twist, for the best and most invisible hold.
Why This Fits the “Quiet Luxury” Trend
Quiet luxury is all about impeccable quality, simplicity, and effortlessness. This hairstyle nails that ethos. It uses your own hair as the luxury material, requires no flashy tools, and results in a look that is refined and understated.
It speaks to confidence and good taste rather than trend-chasing. It’s a perfectly executed, simple idea—which is the core of old money hair and quiet luxury aesthetics. It looks expensive because it’s so clever and well-done.
It’s the hairstyle equivalent of a perfectly tailored