Lock in 24 Dutch Braids That Stay Put All Day
Okay, let’s be real. You’ve seen those gorgeous, intricate Dutch braids all over your feed. They look amazing, but the idea of them actually staying put for more than an hour feels like a fantasy, right? I used to think the same thing.
I’d spend 45 minutes braiding, only to have everything turn into a frizzy, loose mess by lunch. It was so frustrating. I felt like I was missing some magic secret.
Well, after a ton of trial and error (and some serious product testing), I finally cracked the code. This isn’t about complicated techniques. It’s about a few simple, game-changing steps that make all the difference.
Get ready to lock in those 24 perfect Dutch braids—or even just two!—and have them look just as good at 8 PM as they did at 8 AM. Let’s get into it.
Why Your Braids Fall Apart (The Truth)
Before we fix the problem, we need to understand it. Most of the time, braids fail for a few simple reasons. Your hair might be too clean and slippery, or maybe it’s too dry and frizzy to hold a shape.
Sometimes, it’s the technique. Pulling too tight in the wrong places or not securing the ends properly will guarantee a messy look fast. The good news? Each of these issues has a super easy fix.
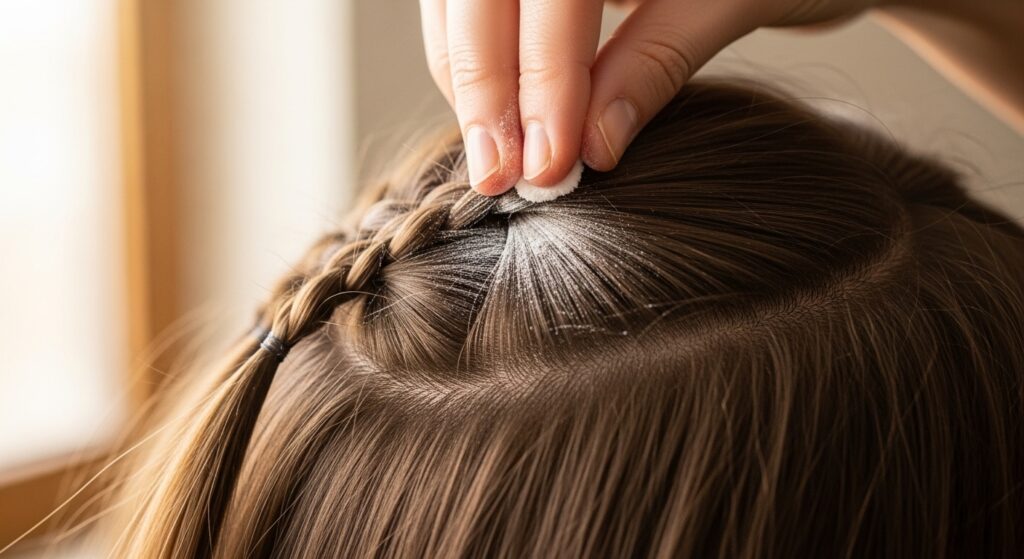
The Non-Negotiable Pre-Braid Hair Prep
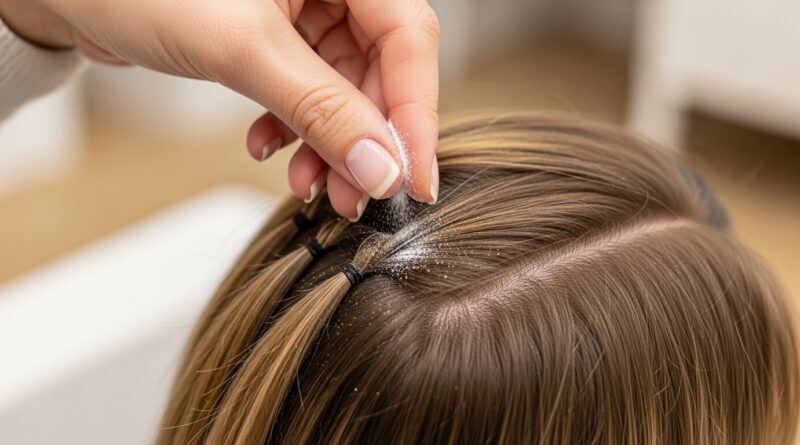
This step is everything. You would not build a house on a shaky foundation, so don’t build braids on unprepared hair. The goal is to create a little bit of texture and grip.
I always braid on second-day hair. If you just washed, use a light texturizing spray or a dry shampoo at your roots. For the lengths, a light-hold mousse or a tiny bit of styling cream works wonders to fight frizz and add hold.
- Second or third-day hair is ideal.
- Dry shampoo for volume and grit at roots.
- Light mousse for control and frizz prevention.

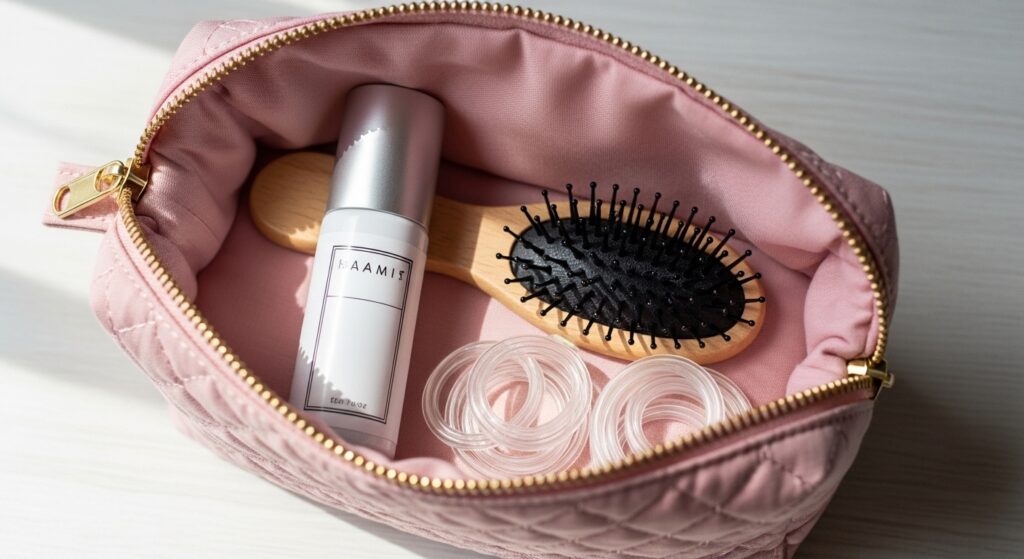
Toolkit: The 3 Products You Actually Need
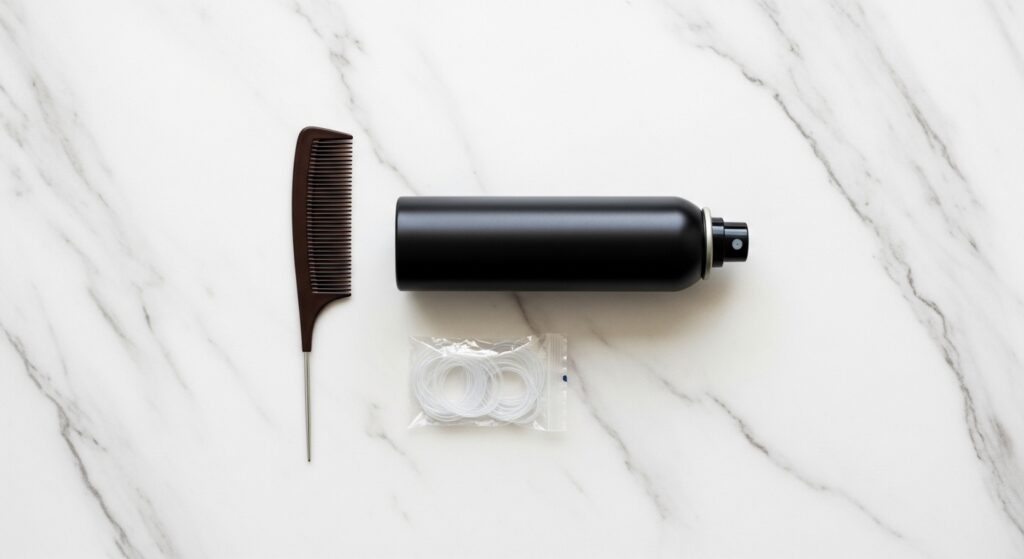
You don’t need a salon full of products. In fact, too many can weigh hair down. I’ve narrowed it down to three heroes that never let me down.
A strong-hold hairspray (but not one that makes hair crunchy), a fine-tooth tail comb for clean parts, and small, clear elastic bands. That’s it. The right tools make the process faster and the results so much better.
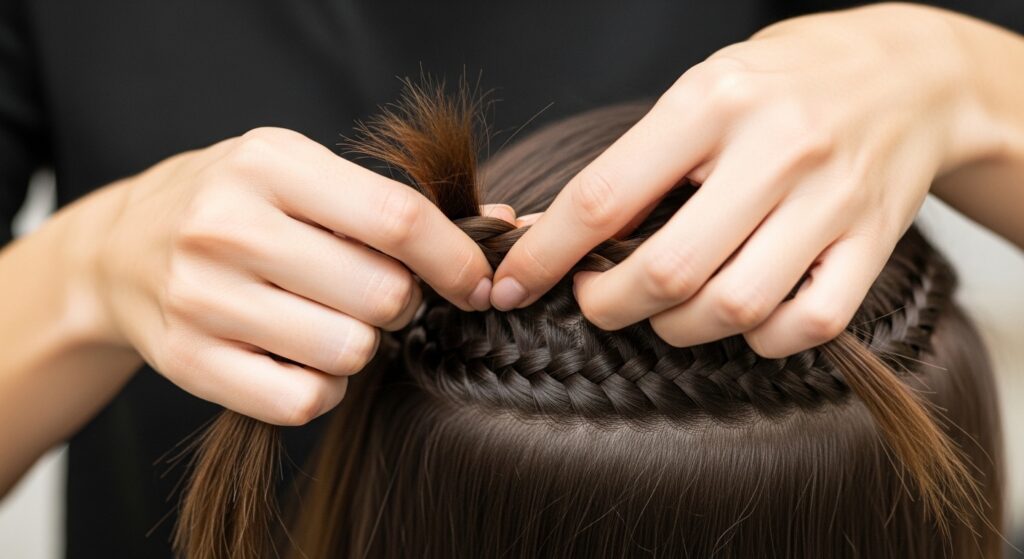
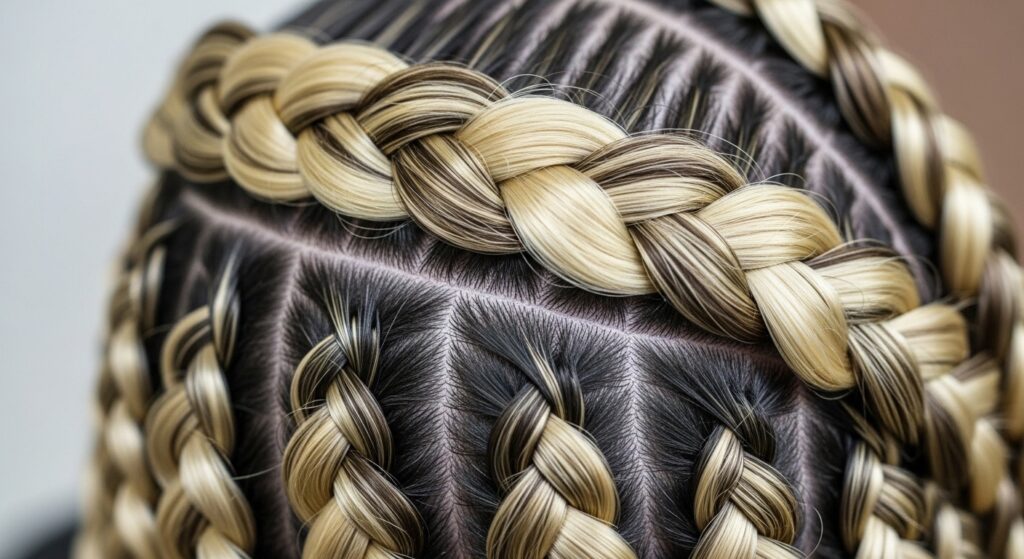
How to Section for 24 Perfect Braids
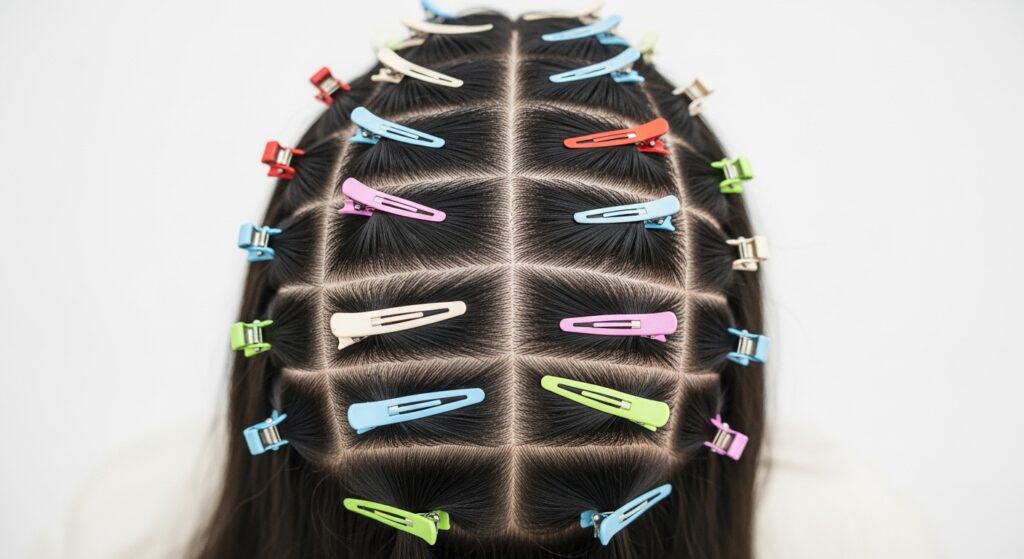
Clean sections are the secret to neat braids. Use the tail of your comb to draw straight lines. For 24 braids, you’ll make a center part first, then part from ear to ear over the top of your head.
This gives you four quadrants. Then, part each quadrant into six smaller, even sections. Clip the hair you’re not working with out of the way. It seems meticulous, but it saves time and hassle later.
- Center part from forehead to nape.
- Part from ear to ear over crown.
- Divide each quarter into six even boxes.
- Secure sections with clips.
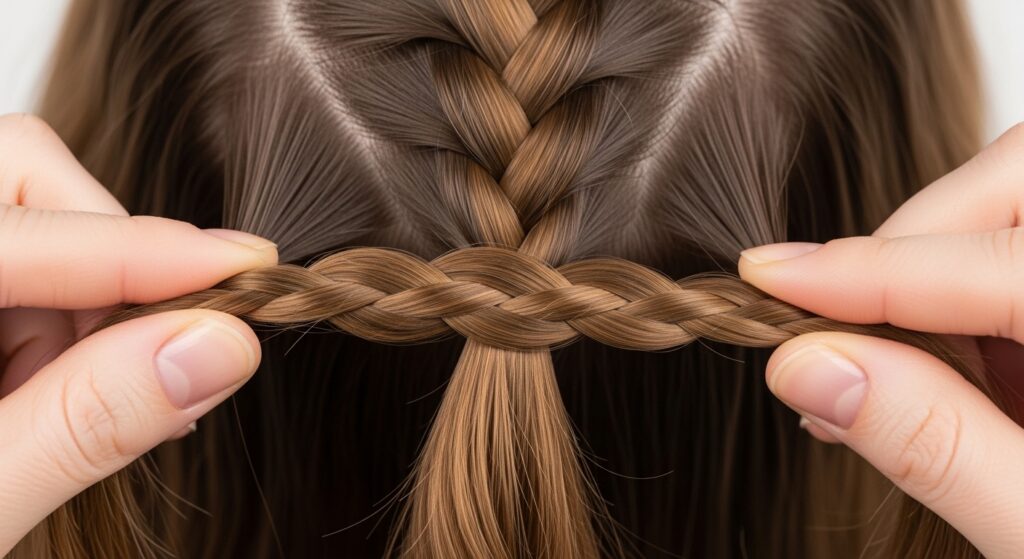
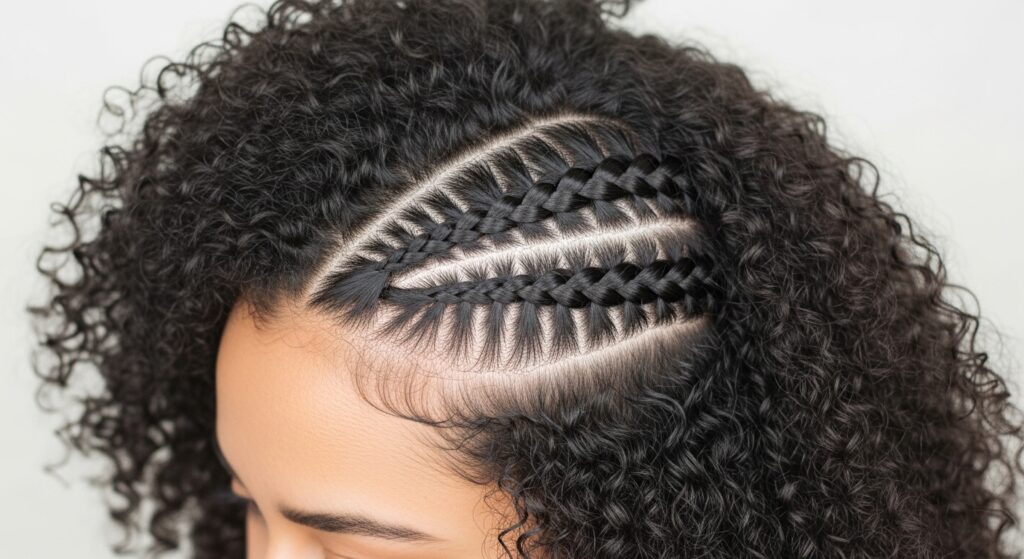
The Dutch Braid Refresh: Nailing the Technique
The Dutch braid is simply an inside-out French braid. You add hair to each section as you go, but you cross the strands under, not over. This makes the braid pop out from the head.
Start with a small section at the front of your part. Divide into three strands. Cross the right strand under the middle, then the left strand under the new middle. Now, add a small section of hair into the right strand before crossing it under again. Repeat.
How Tight Should You Really Pull?
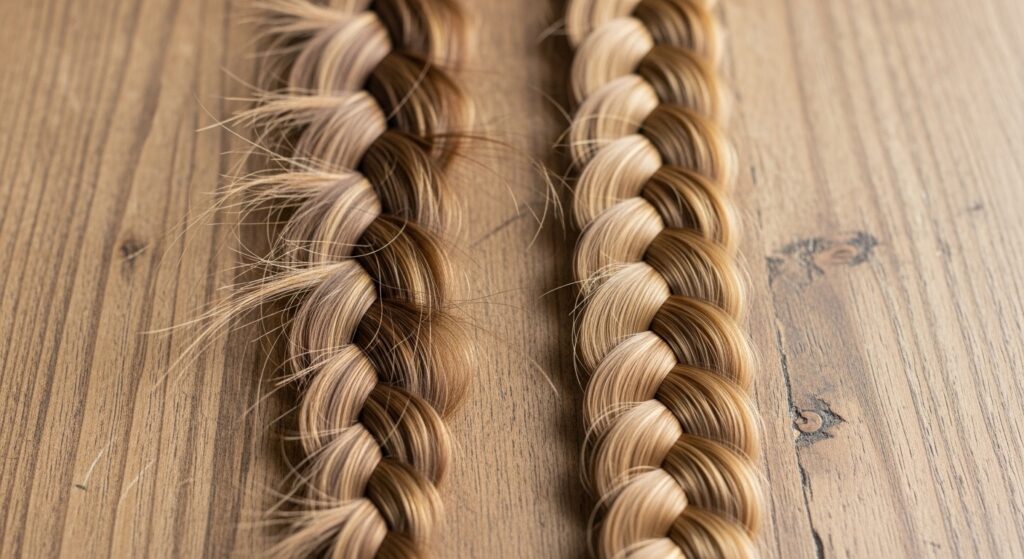
This is a common mistake. You need consistent tension—firm but not yanking. Pull each section snug as you add it, but keep the pressure even. If you pull too tight at the scalp, it gets painful and can cause breakage.
The goal is a secure, smooth braid from top to bottom. If your arms get tired, take a quick break! Rushed, tight braids won’t last any longer than loose ones.
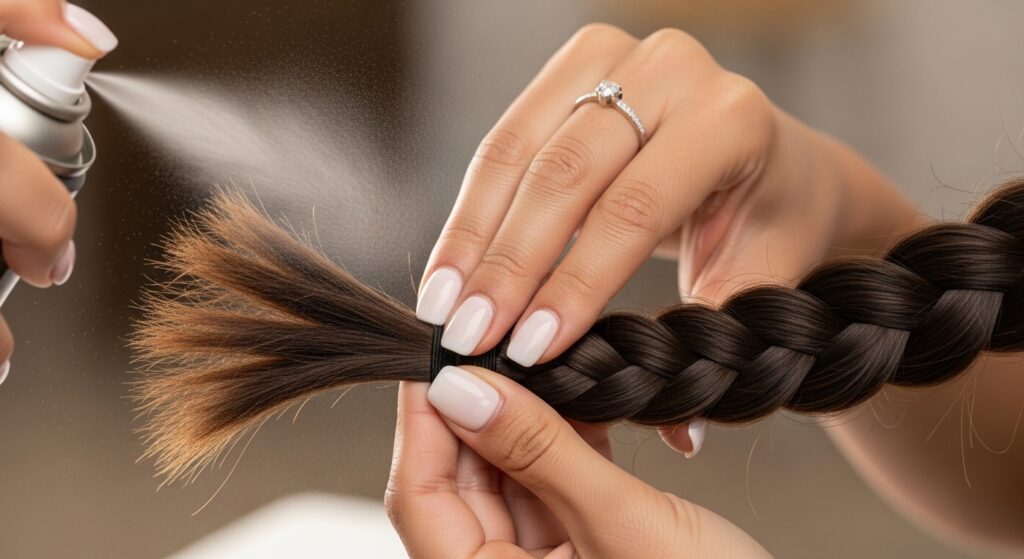
Securing the Ends: No More Unraveling
The end of the braid is its weakest point. Before you put on the elastic, lightly mist the last two inches of the braid with hairspray. Then, while the hairspray is still a bit damp, put on a small, clear elastic.
Wrap it around two or three times for security. For extra hold, you can fold the tip of the braid under and secure it with a bobby pin, hiding it under the braid.
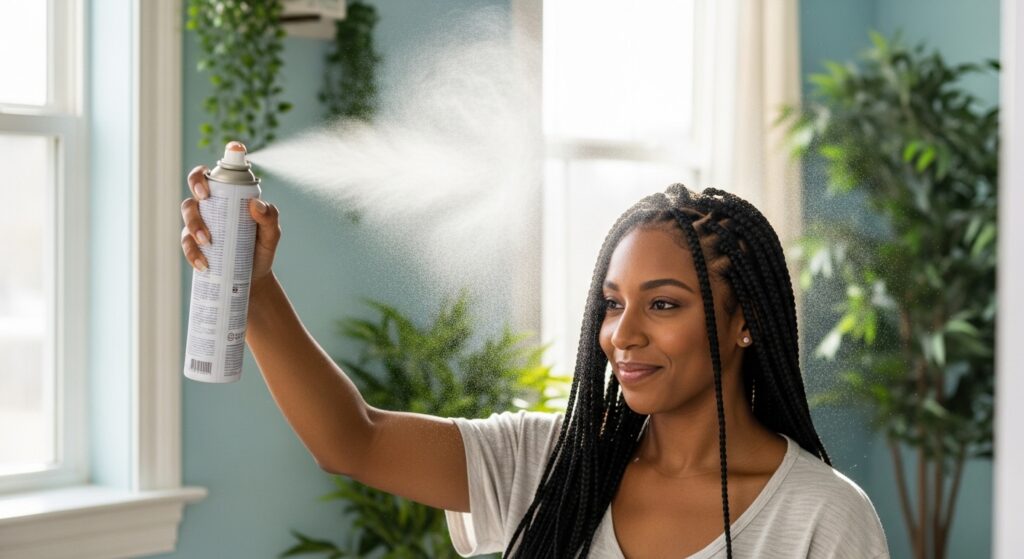
The Locking Mist: Hairspray the Right Way
Don’t just spray and pray! Once all your braids are done, hold a strong-hold hairspray about 10 inches away. Lightly mist over the entire style. Let it dry for a second.
Then, gently run your hands over the braids to soften any crispy feeling. This “sets” the style without making it feel stiff or unnatural. It’s the final sealant.
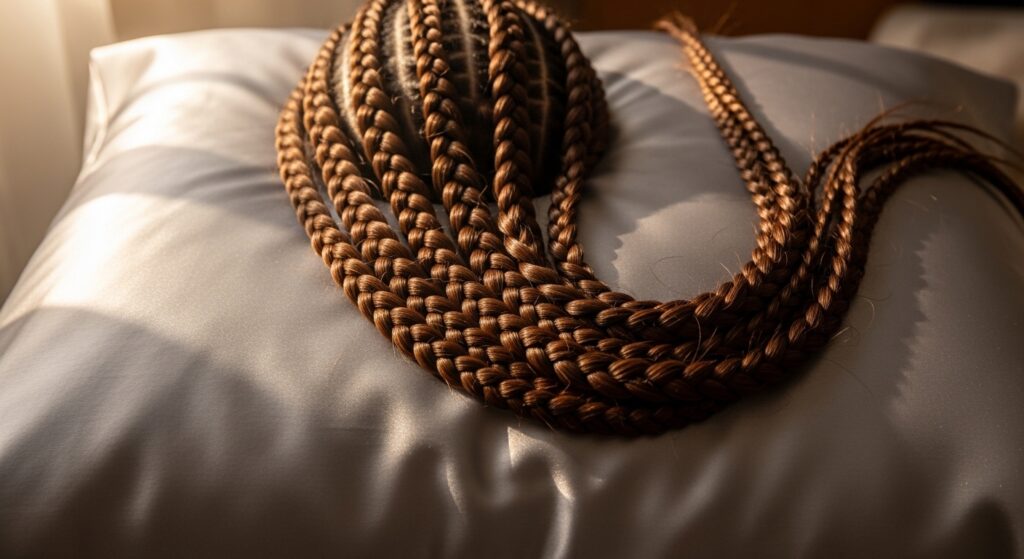
Overnight Care for Next-Day Perfection
Want your braids to look great on day two? Sleep on a satin or silk pillowcase. It creates less friction than cotton. You can also loosely gather all the braids into a low, soft ponytail or a loose bun on top of your head.
In the morning, just take it down, shake your head gently, and maybe hit any frizzy spots with a tiny bit of hairspray on a toothbrush. Easy refresh!
Fixing Frizz Mid-Day: Your On-the-Go Kit
A little flyaway is normal. Don’t panic! I keep a travel-sized hairspray and a tiny boar bristle brush in my bag. Spray a small amount of hairspray directly onto the brush.
Then, gently brush the frizz *into* the braid. The bristles distribute the product and tame the flyaway without messing up the rest of your style. It’s a lifesaver.
From Gym to Dinner: Making Braids Last
If you work out, protect your braids! Wear a wide, soft headband to absorb sweat at the hairline. After your workout, let your hair dry completely before touching it.
If the roots look flat, use a tiny bit of dry shampoo at the parts to soak up moisture and add volume back. The braids themselves should hold up beautifully through any sweat session.

Adapting for Fine, Slippery Hair
Fine hair needs extra grip. Before braiding, work a texturizing powder or paste through your mid-lengths. Braid slightly damp hair, not fully dry, for more control.
Use smaller sections for more hold. When you’re done, a light mist of a *flexible-hold* hairspray is better than a super heavy one, which can weigh fine hair down.
Adapting for Thick, Curly, or Coily Hair
Your texture is a gift for braids! To manage thickness, use more, smaller sections. Braid on stretched hair (lightly blown out or stretched from a previous style) for longer-lasting definition and less shrinkage.
Use a rich cream or butter before braiding to hydrate and control frizz. Seal the ends with a little extra product and an elastic, then maybe even dip them in hot water (the “African threading” method) for a super-sealed end.
Turning Braids into “Old Money Hair”
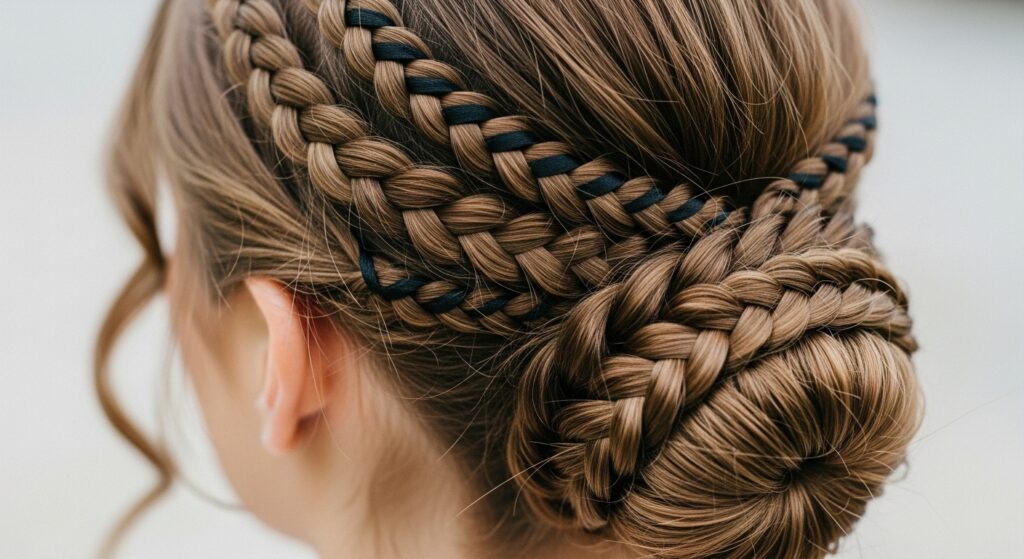
The old money hair aesthetic is all about polished, low-key luxury. To get this look with your braids, make them impeccably neat. Think low, double Dutch braids pinned into a soft chignon at the nape of your neck.
Or, do a single, loose Dutch braid over one shoulder. The key is flawless execution and zero frizz. It’s a timeless look that screams quiet quality, perfect alongside a quiet luxury bob in inspiration.

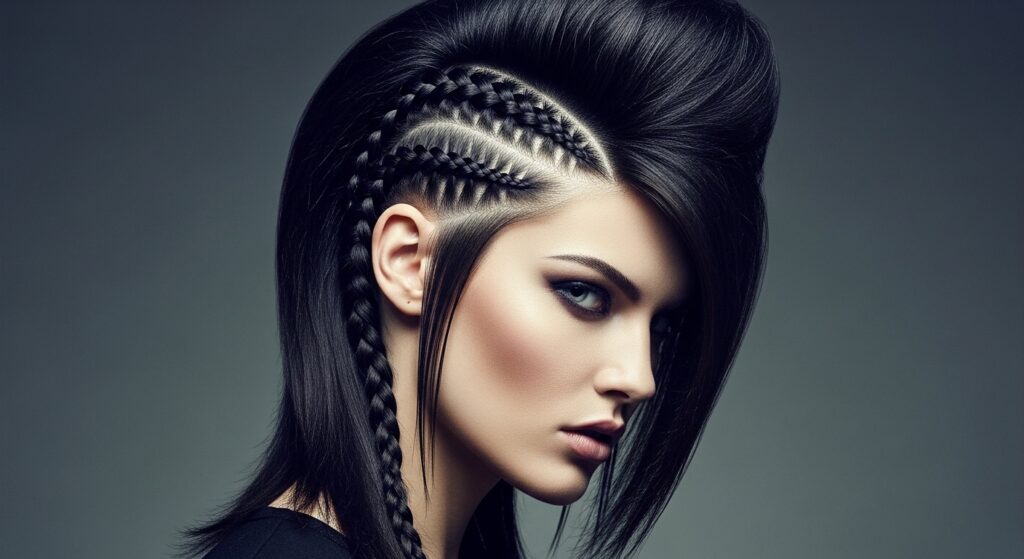
Edgy Vibes: Braids Meet Romantic Goth
Love romantic goth hairstyles? Dutch braids are perfect for this. Create deep, dark side parts and braid them tightly against the scalp, following the curve of your head into a low bun.
Weave in a thin, black ribbon or a few faux pearls as you braid. Leave a few face-framing pieces loose for a soft, undone feel. It’s structured yet romantic, with a touch of drama.
Playing with Color for “Glitchy Glam Hair”
For that cool, glitchy glam hair effect, use your braids as a canvas. If you have highlights or money pieces, braid them so the color pops along the braid’s ridge.
You can also use temporary hair mascara or colored gels on small sections before braiding. The braiding pattern will create a broken, digital-looking color effect that’s so unique and modern.
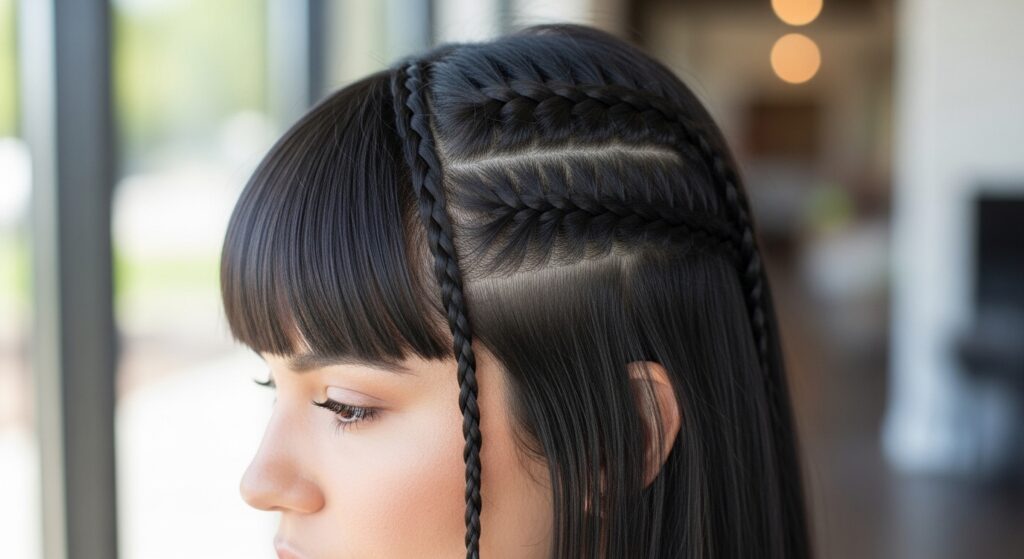
Half-Up Styles: The Perfect Compromise
Not feeling 24 braids? Do a half-up crown! Just do two Dutch braids along your front hairline, starting at the temples and meeting in the back.
Secure them together with a clip or tie, and let the rest of your hair flow. It gives you the detail and hold of braids without the full commitment. It works with any cut, from an asymmetrical lob to long layers.

Pairing Braids with the Vampire Cut
The sharp, dramatic layers of the vampire haircut look amazing with braids. Braid the top layers close to the head to show off the shaggy, textured ends.
Try a braid just on the heavy side of a deep side part, letting the rest of the choppy layers fall freely. It highlights the cut’s edgy shape while keeping hair out of your face.
Incorporating the Hime Cut Princess Locks
The hime cut with its straight, face-framing locks is so striking. Incorporate those front pieces into tiny, delicate Dutch braids.
Braid each front section and pull it back to join the rest of your hair, or leave them as standalone accent braids. It adds a regal, intricate detail to this already iconic look, perfect for 2026 hairstyles that blend tradition with edge.
Accessorize Your Braids: Keep it Simple
Less is more. A few small, gold hair pins tucked into the base of a braid. A single, elegant clip where all the braids meet. A thin scarf used as the third strand in one braid.
Avoid overdoing it. The braid itself is the star. Choose one accessory that complements your outfit and stick with it for a chic, intentional look.

When to Take Them Down: Scalp Health
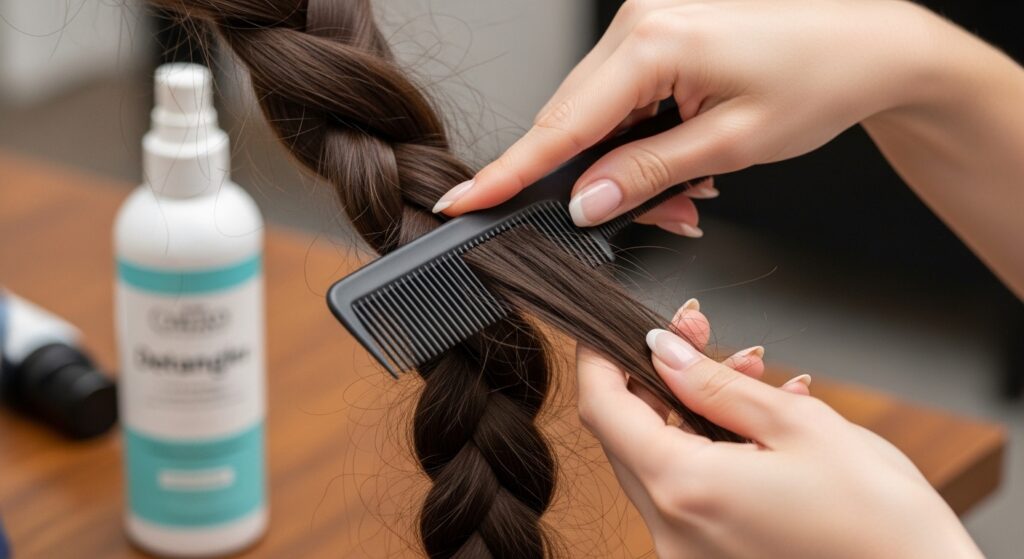
However well they’re done, don’t keep tight braids in for more than 2-3 days max. Your scalp needs to breathe. When you take them down, be gentle. Use detangling spray or conditioner and a wide-tooth comb.
Start from the ends and work up. Follow with a nourishing hair mask or oil treatment to replenish moisture. Happy scalp, happy hair life!
Your Dutch Braid Checklist (Print This!)
- Prep with texture spray or day-old hair.
- Use a fine-tooth comb for clean parts.
- Maintain even, firm tension (don’t yank!).
- Spray ends before elastics.
- Set with a final light mist of hairspray.
- Sleep on satin, refresh with dry shampoo.
Keep this list handy until it becomes second nature. You’ve got this!
And there you have it! Every single tip I’ve learned to make Dutch braids that truly last from morning until you finally decide to take them out. It’s not about having magical skills—it’s about knowing a few key tricks that make all the difference.
Once you get the prep and technique down, you can adapt these braids to fit any vibe, from classic to totally edgy. They’re the most versatile style in your toolkit.
I’d love to hear how it goes for you! Did a specific tip change your braid game? What’s your favorite way to style them? Tell me everything in the comments below.
Save this post to Pinterest so you always have the guide handy for your next braiding day!