Magic 30 Interlocking Knotless Methods Minimizing Install Time Dramatically
Hey friend. Let’s be real for a second. How many hours have you lost sitting in a salon chair for a protective style install? Or worse, trying to DIY it at home with your arms screaming in protest? I’ve been there. The dream of gorgeous, long-lasting braids often crashes into the reality of a whole-day commitment.
That’s why I got so excited when I dove into the world of interlocking for knotless braids. It felt like discovering a secret. This method isn’t just a trend; it’s a legit time-saver that also protects your natural hair in a genius way.
I’m going to break down exactly how the “Magic 30” interlocking technique can cut your install time dramatically. We’re talking potentially halving it. Whether you’re a pro stylist or a brave DIYer, this is the practical upgrade you’ve been waiting for. Let’s get into it.
What Is Interlocking, Anyway?
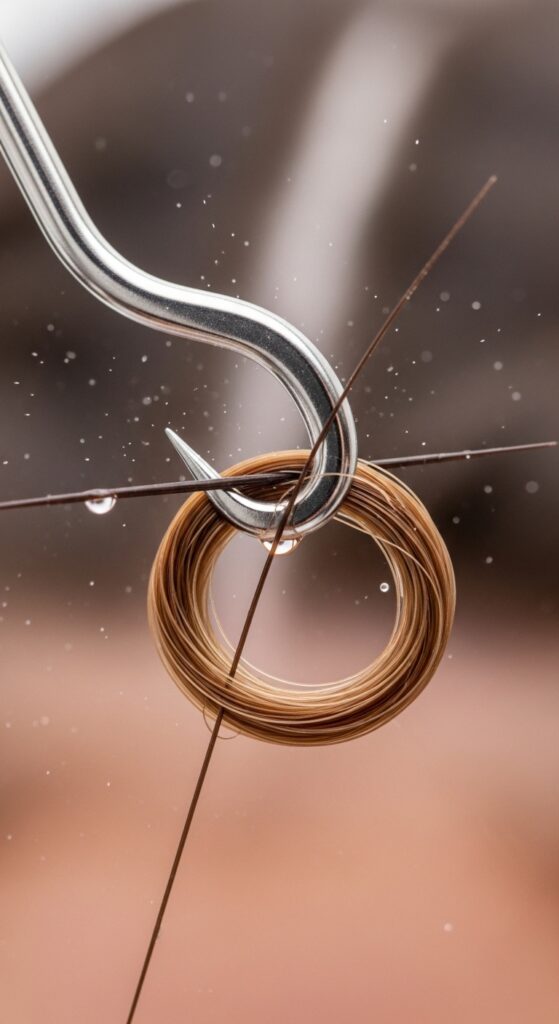
First, let’s clear up what we mean. Interlocking is a method of securing extensions at the root of your braid or twist without using a knot. Instead of the traditional fold-and-knot technique, you use a tool (like a latch hook or interlocking needle) to pull a small piece of your natural hair through a loop in the extension hair.
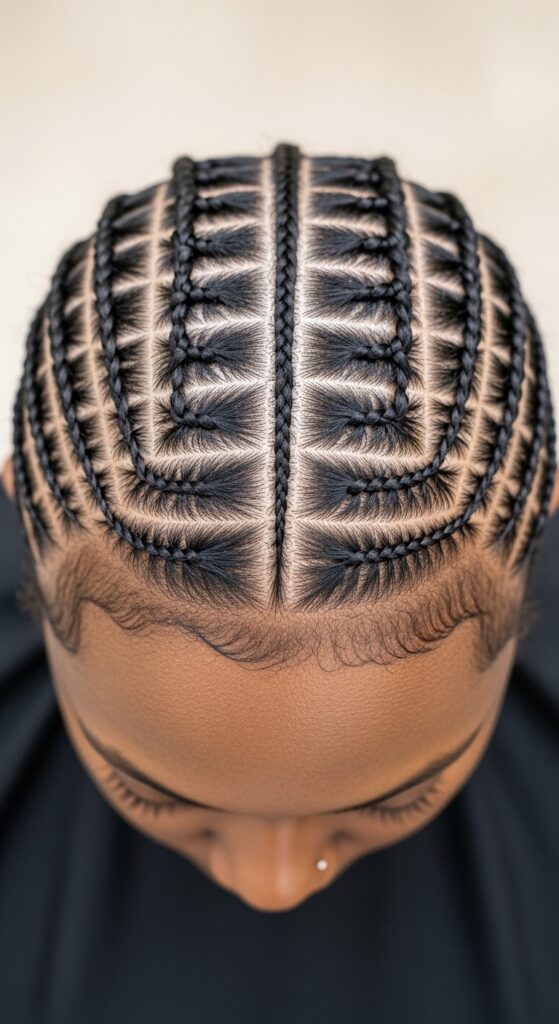
It creates a flat, seamless, and incredibly secure base. This is the foundation for the knotless look we all love, but it’s done in a way that’s faster and puts less tension on your scalp compared to manually knotting every single braid.
Why “Knotless” is a Game-Changer
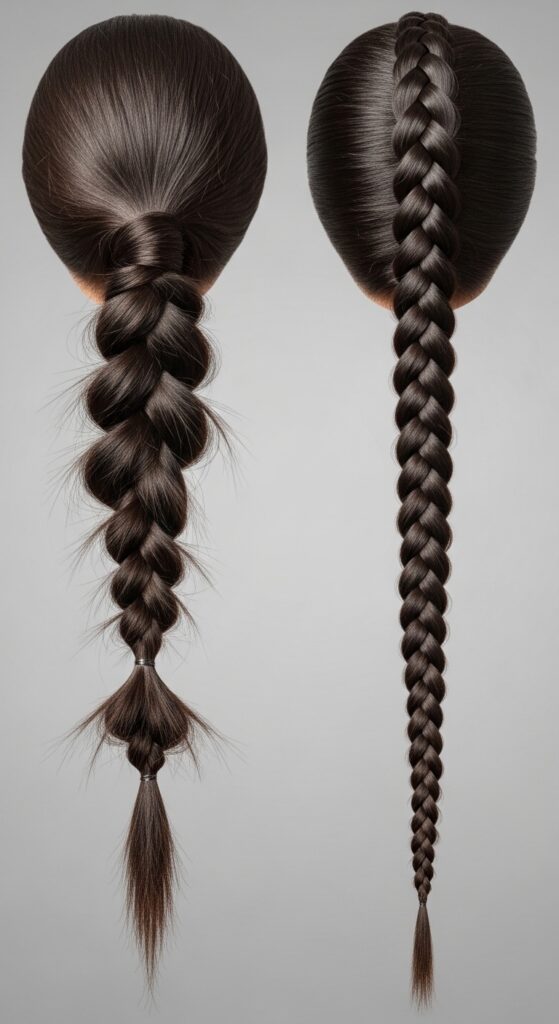
Knotless braids took over for a reason. That bulky knot at the base of traditional box braids? It’s the main source of tension, headaches, and even hairline damage. By eliminating that knot, you instantly get a more comfortable, natural-looking install.
The interlocking method is one of the best ways to achieve a true knotless finish. It secures the hair so well that the braid starts flat against your scalp, growing in thickness as it goes. This means less weight pulling at your roots from minute one.
The “Magic 30” Time-Saving Secret
So, where does the “Magic 30” come in? It’s all about the initial setup. The core idea is to spend focused time—roughly the first 30 minutes of your install—mastering the interlocking technique on your foundation braids.
Once these first sections are perfectly interlocked and secured, the rest of the process flows unbelievably fast. You’re not constantly stopping to re-tighten or re-knot. You build a stable foundation, and the speed comes as a natural result. It turns a chaotic process into a smooth, efficient system.

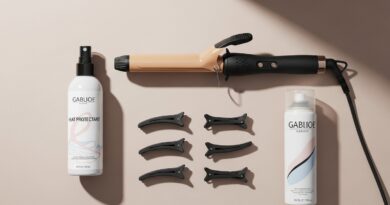
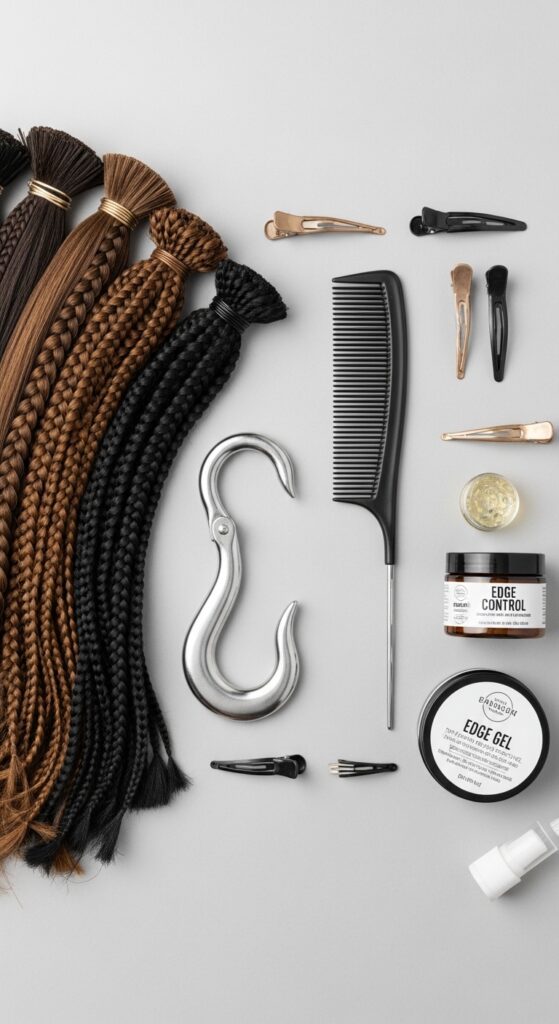
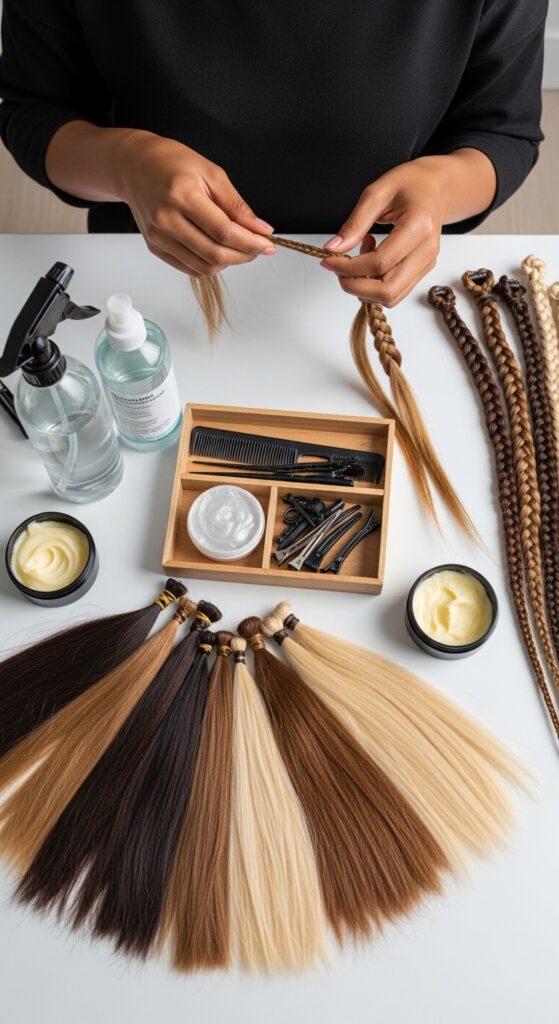
Essential Tools You’ll Need
You can’t build without the right tools. For interlocking, you don’t need much, but these items are non-negotiable for a smooth and quick install.
- Interlocking Tool (Latch Hook): This is your main weapon. Get a good quality one with a comfortable grip.
- Rat-Tail Comb: For clean, precise partings. Good parts = a polished look.
- Professional Braiding Hair: Your choice! Pre-stretched hair can save even more time.
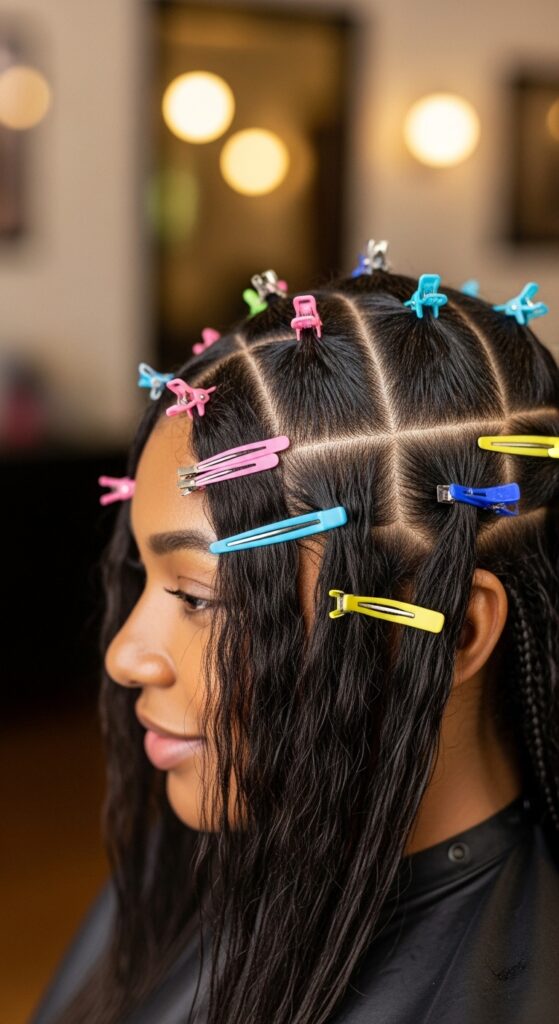
- Clips: To keep sections organized and out of the way.
- Edge Control & Mousse: For laying down your baby hairs and keeping everything sleek.
Prepping Your Natural Hair is Key
Speed starts before you even touch the extensions. Proper prep prevents you from having to stop mid-install to remoisturize or detangle. This step is crucial for health and speed.
Start with a clean, deep-conditioned base. Detangle thoroughly while your hair is damp and loaded with leave-in conditioner. I like to braid or twist my hair into large sections after prepping to keep it stretched and manageable until I’m ready to install. Trust me, this saves a massive headache later.
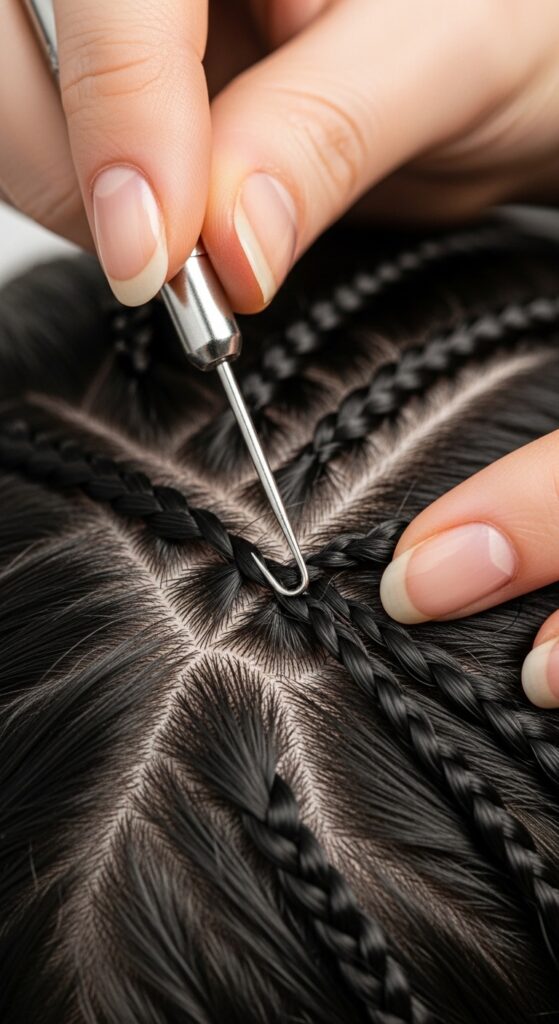
Mastering the Interlocking Motion
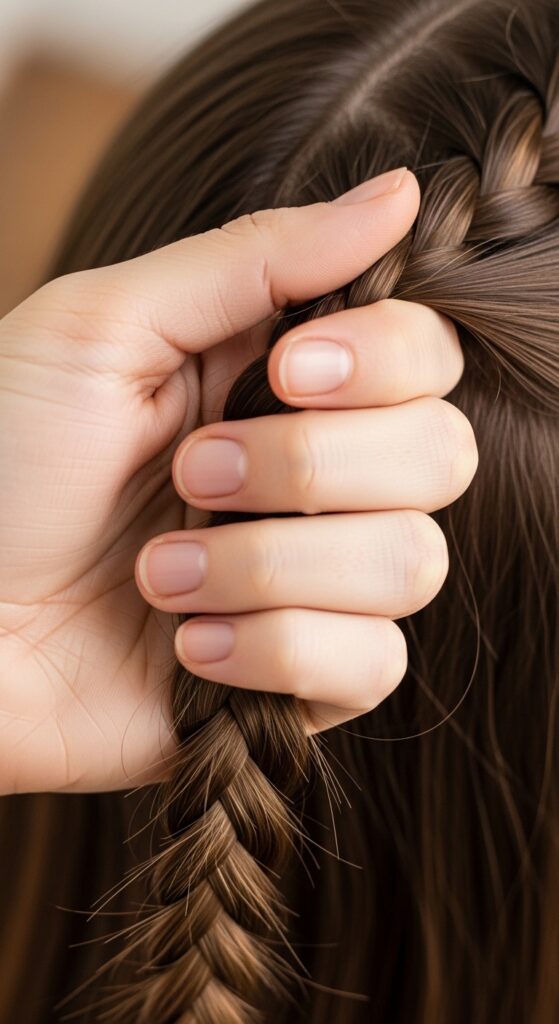
The motion is simple but needs a little practice. Don’t worry, you’ll get it fast. Hold your small section of natural hair and the extension hair together. Insert the latch hook through the loop of the extension hair, catch a tiny piece of your natural hair, and pull it back through the loop.
Gently tighten by pulling the extension hair away from your scalp. The goal is a secure, flat join. Practice this motion a few times on a spare piece of hair. Once it becomes muscle memory, your speed will skyrocket.
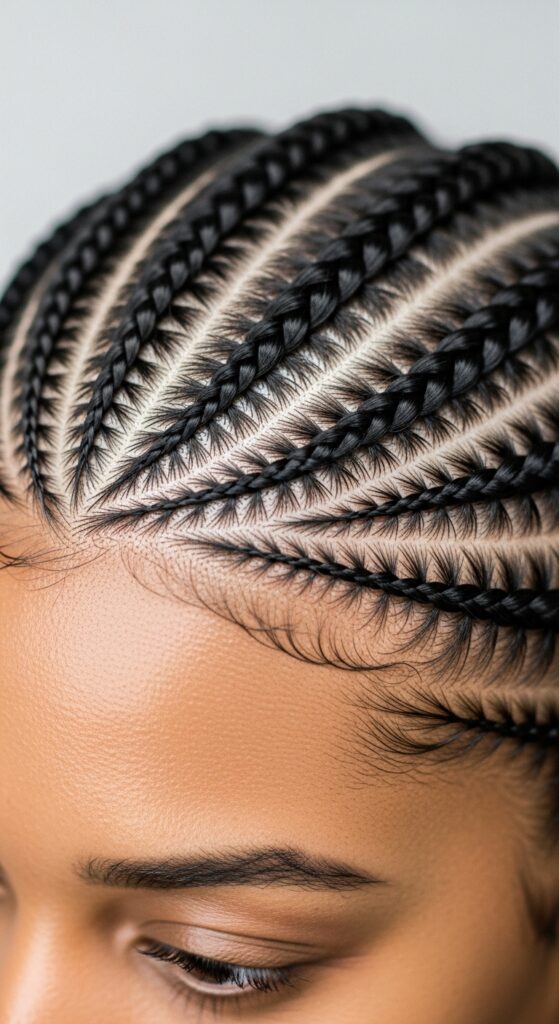
Sectioning for Speed and Style
Your sectioning strategy directly impacts your time and the final look. For speed, larger sections are faster, but for a fuller, more luxurious look, medium-sized squares or triangles work best. Use your rat-tail comb for sharp, clean parts.
Think about the final style too. An asymmetrical lob or a hime cut with braids will require specific, strategic sectioning. Plan it out on your head before you start locking anything in place.
The First 5 Foundation Braids
This is where you implement the “Magic 30” focus. Take your time on the very first braids, usually along the hairline or the center part. Perfect your interlocking tension here. These braids set the tone for your entire head.
Go slow to go fast. Once these five are flawless, you have your technique down. You’ve created anchor points that make the rest of the head easier and faster to complete. This focused start is the secret.
Maintaining Consistent Tension
Inconsistent tension is the enemy of speed and comfort. Too loose, and braids unravel. Too tight, and you risk damage and pain. The interlocking method helps with this because the tool gives you more control.
Aim for tension that feels secure but not painful. Your scalp should breathe. As you move from section to section, consciously check in with your tension. Consistency means you won’t have to go back and redo anything.
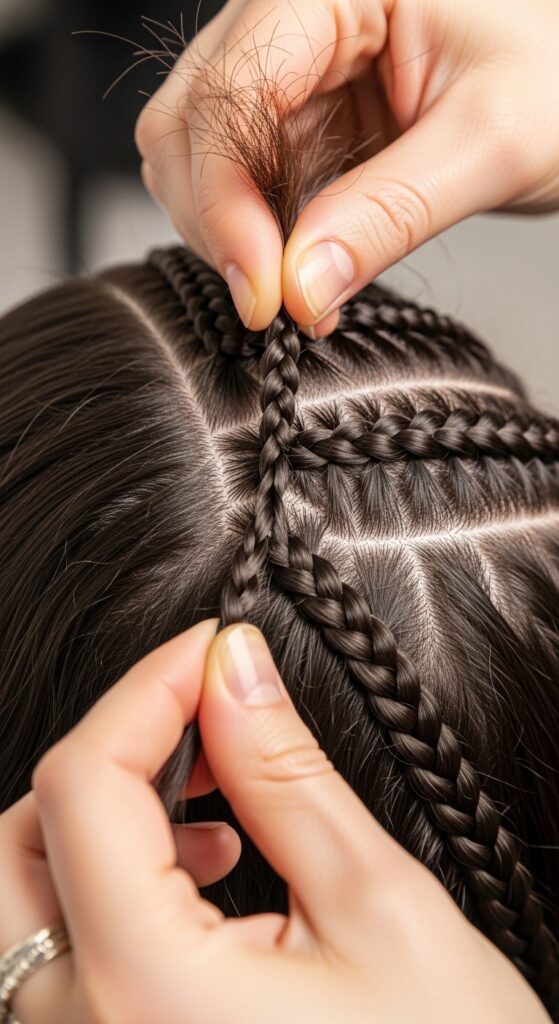
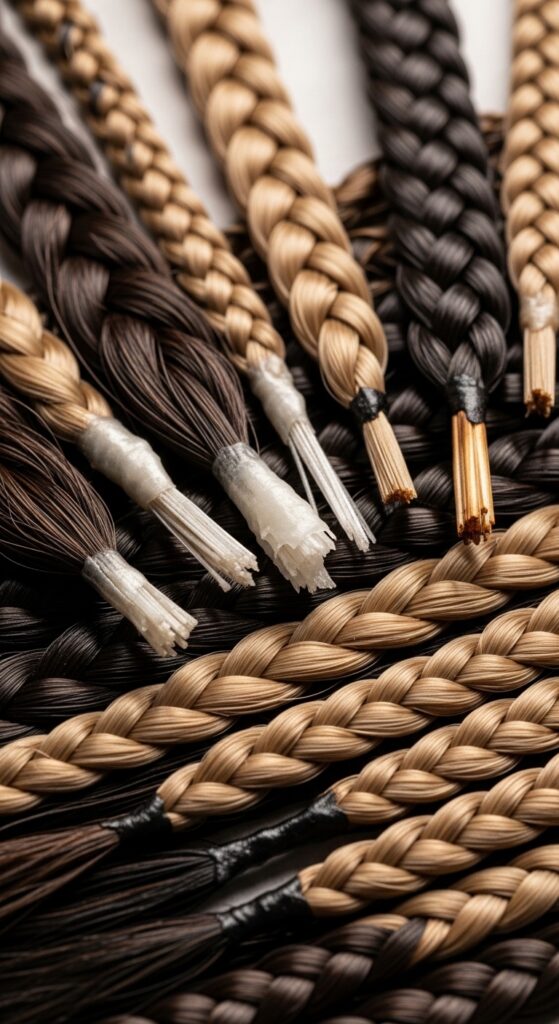
Adding Hair: The Seamless Blend
One of the biggest perks of interlocking is how easy it is to add more hair for fullness or length. When you need to add a new piece of extension hair, simply create a new loop with the new hair and use your latch hook to interlock it with the braid you’re already working on.
It blends so seamlessly, you can’t tell where the addition happened. This is perfect for creating the voluminous ends seen in styles like romantic goth hairstyles or the vampire haircut.
Keeping Your Hands and Tools Moving
Workflow is everything. Organize your space so your tools, hair, and products are within easy reach. Develop a rhythm: part, interlock, braid, clip. Move methodically around your head to avoid missing sections.
When your hands and tools are in a steady flow, you minimize fumbling and wasted motion. This rhythmic practice is what turns a 10-hour install into a 5-hour one. Put on a good playlist or podcast and get into the zone.
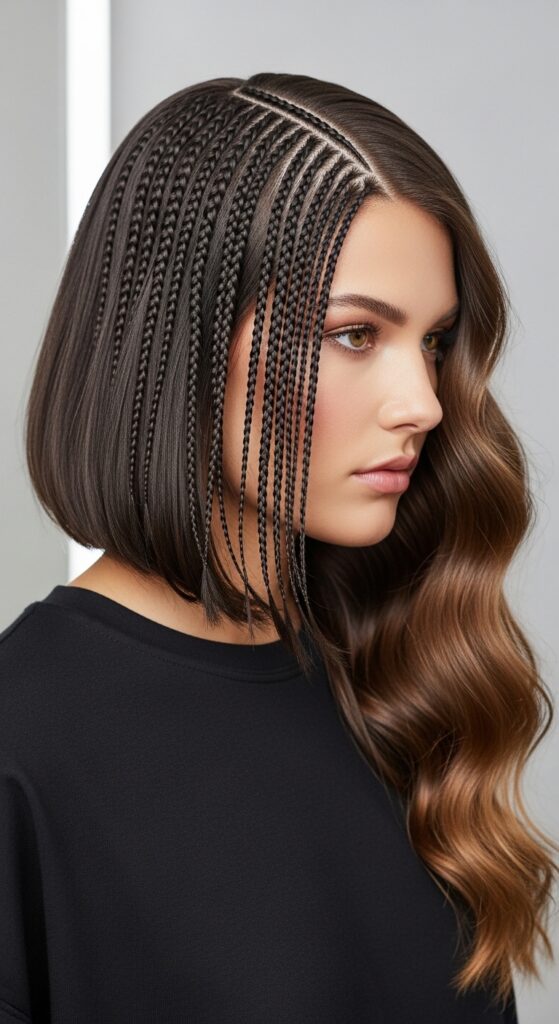
Styling as You Go for 2026 Hairstyles
Why wait until the end to style? With interlocking, you can create the shape as you install. Want a quiet luxury bob with braids? Braid to that precise jaw-length as you go. Designing a glitchy glam hair look with uneven pieces? Install those textured, disconnected braids directly.
This forward-thinking approach saves you from a big, overwhelming styling session at the end. The style is built in, not just added on. It’s a pro-move for achieving those trending 2026 hairstyles we’re already seeing.
Managing Fatigue During Long Sessions
Even with a faster method, it’s still a marathon. Set a timer to take a 5-minute break every hour. Stand up, stretch your hands, neck, and back. Hydrate and have a snack.
Listen to your body. If your hands cramp, gently massage them. These short breaks prevent burnout and actually help you maintain quality and speed throughout the entire process. Don’t power through until you’re miserable.
Securing the Ends Perfectly
Your beautiful interlocked roots deserve perfect ends. How you finish matters for longevity. You can dip ends in hot water for a blunt seal, use a tiny bit of gel and twist for a pointed end, or even burn them lightly with a lighter (carefully!).
Consistent ends make the whole style look professional and polished. It’s the final touch that makes your old money hair aesthetic look effortlessly expensive and well-kept.
Post-Install Care for Longevity
Your work isn’t done once the last braid is sealed. To make those saved hours really count, you need your style to last. Wrap your hair with a satin scarf at night. Use a light oil on your scalp weekly to prevent dryness and itch.
Wash your braids gently with diluted shampoo, focusing on your scalp. Dry thoroughly at the roots. This maintenance is what turns a 3-week style into a 6-week masterpiece.

Common Time-Wasting Mistakes to Avoid
Let’s learn from others! Here are the big time-sucks to steer clear of:
- Poor Detangling: Starting with tangled hair is a guaranteed slow-down.
- Inconsistent Sectioning: Uneven parts force you to adjust and fix things later.
- Fumbling the Tool: Not practicing the interlocking motion first.
- Not Prepping Your Space: Getting up every 10 minutes for something you forgot.

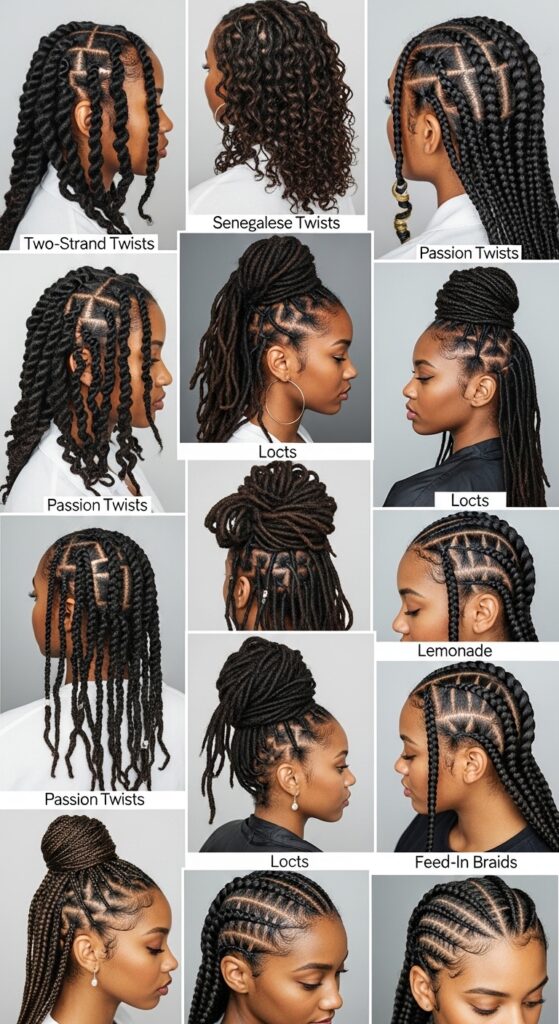
Adapting the Method for Different Styles
The “Magic 30” interlocking principle isn’t just for box braids. You can use this foundational technique for so many looks. Think knotless twists, locs, or even installing a wavy feed-in style.
It adapts to the vibe you want. That soft, romantic goth look with wispy braids? Start with interlocking. A sharp, geometric hime cut with straight-across bangs? The precision starts at the interlocked root.
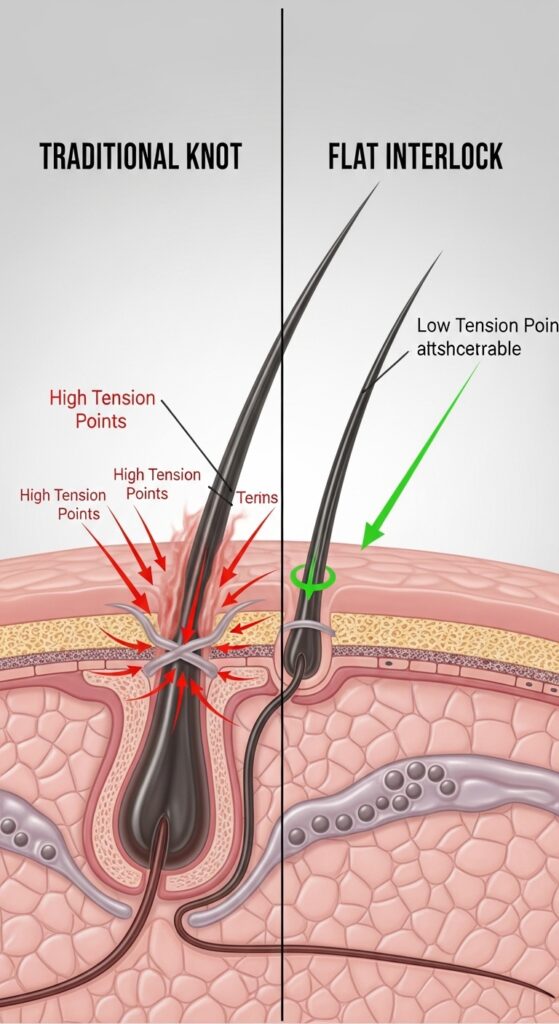
Why This Method is a Scalp Saver
Beyond time, this is about health. The flat interlock distributes weight more evenly than a hard knot. There’s no little ball of tension digging into your scalp with every move. This means significantly less risk of traction alopecia.
Your scalp can breathe easier from day one. For anyone with a sensitive scalp or who is trying to recover their hairline, this method is a gentle game-changer. Beauty shouldn’t hurt.
From DIY to Pro: Scaling Your Skill
If you’re a DIY queen getting faster, this skill has real value. Practice on mannequin heads, then offer to do a friend’s hair. The speed and quality you gain from mastering interlocking can turn a passion into a side hustle.
For professional stylists, integrating this method can allow you to book more clients per week without sacrificing quality or killing your hands. It’s a business upgrade.
Your Time is Back, Now Enjoy the Style
This is the best part. Because you saved so much time on the install, you have more energy to actually enjoy and rock your style. You’re not exhausted from the process.
Play with it! Accessorize. Try different updos. Experiment with the glitchy glam trend by adding a few face-framing pieces. Your hairstyle should bring joy, not just be a chore you endured.

Final Thoughts on Your Hair Journey
Friend, I hope this deep dive into the “Magic 30” interlocking method shows you that there’s always a smarter way to do things. We don’t have to accept marathon sessions as the only path to beautiful protective styles. With the right technique, you can reclaim your time.
It’s about working with your hair, not against it. It’s about choosing methods that prioritize both beauty and well-being. Whether you’re aiming for an asymmetrical lob or classic waist-length braids, how you start matters.
So, are you ready to try it? I want you to imagine what you’ll do with all those hours you save. Maybe finally start that project, or just get some extra, guilt-free rest. Your hair routine should empower you, not drain you.
If this guide sparked an idea or gave you that “I can do this” feeling, I’d love for you to save this post to Pinterest so you can find it when you’re ready to install. And drop a comment below—tell me what style you’re dreaming of trying with this method! Let’s chat.
Always in your corner,
Hailey & Team