Maintain 19 Four-Strand Flat Twists Staying Neat for Weeks
Okay, let’s be real. You finally got those gorgeous four-strand flat twists installed, and they look absolutely incredible. You’re feeling that “glitchy glam hair” vibe where it’s perfectly undone yet totally intentional. But in the back of your mind, a tiny worry pops up: “How do I keep these looking this good for more than a week?”
I’ve been there. You invest in a stunning protective style, only to have frizz and fuzzy roots show up way too soon. It’s the worst. But guess what? Keeping your twists neat for weeks isn’t about magic—it’s about a simple, consistent routine.
This is your no-stress guide. We’re going to talk about the exact steps I use to make my styles last, from the first night to the final take-down. It’s all practical, tried-and-true advice. Let’s get into it so you can enjoy your beautiful hair without the daily fuss.
Why Four-Strand Twists Are a Game-Changer
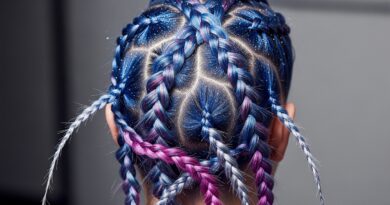
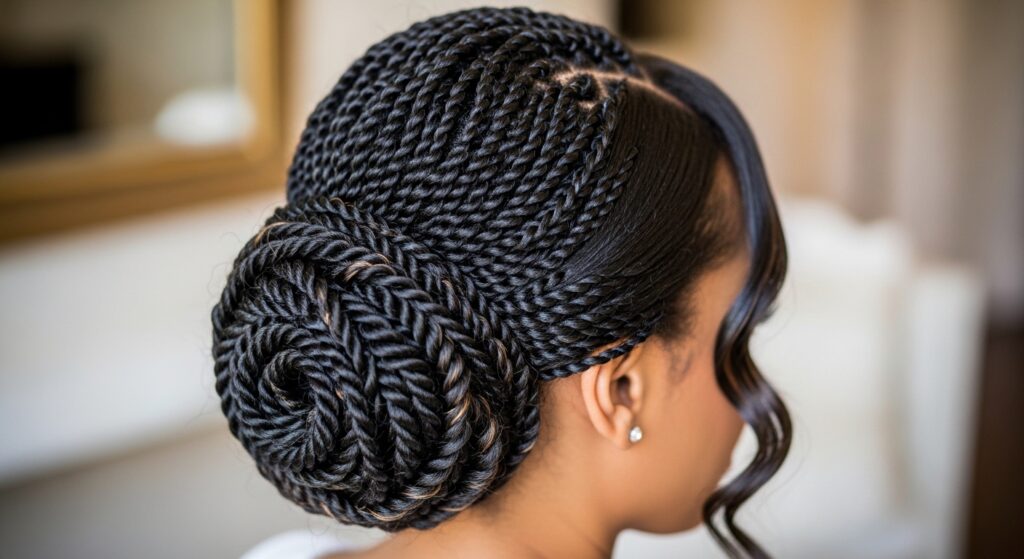
First off, let’s appreciate why this style is worth the upkeep. Four-strand flat twists are more than just a protective style; they’re a statement. They have this beautiful, intricate texture that feels both classic and fresh.
They give you that “old money hair” sophistication with their neat, polished look, but they’re also incredibly versatile. You can dress them up or down, making them perfect for everything from a casual day out to a more formal event. The density of the four strands also means they tend to hold their shape and resist unraveling better than simpler braids, which is a huge win for longevity.
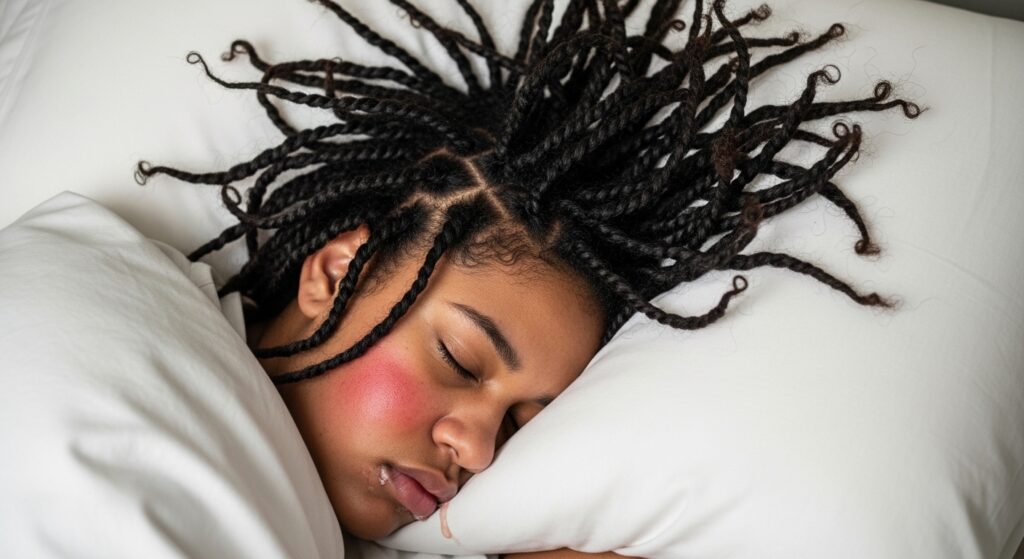
The Nighttime Routine is Non-Negotiable
This is the single most important habit for maintaining any hairstyle. How you sleep directly determines how your twists will look in the morning. Friction from cotton pillowcases is your number one enemy, creating frizz and loosening your roots overnight.
You need to create a smooth, slip-friendly environment for your hair. This doesn’t have to be complicated. Here is my simple two-step nightly process that takes less than a minute.
- Always wrap your hair with a silk or satin scarf, making sure all edges are tucked.
- If you’re a restless sleeper, follow up with a satin bonnet over the scarf for extra security.
- Alternatively, use a satin pillowcase as a backup, but the scarf is key.

Mastering the Morning Refresh
Even with a perfect night routine, you might wake up with a few flyaways. Don’t panic! This is completely normal. The goal of the morning refresh is to tame those without over-manipulating the style.
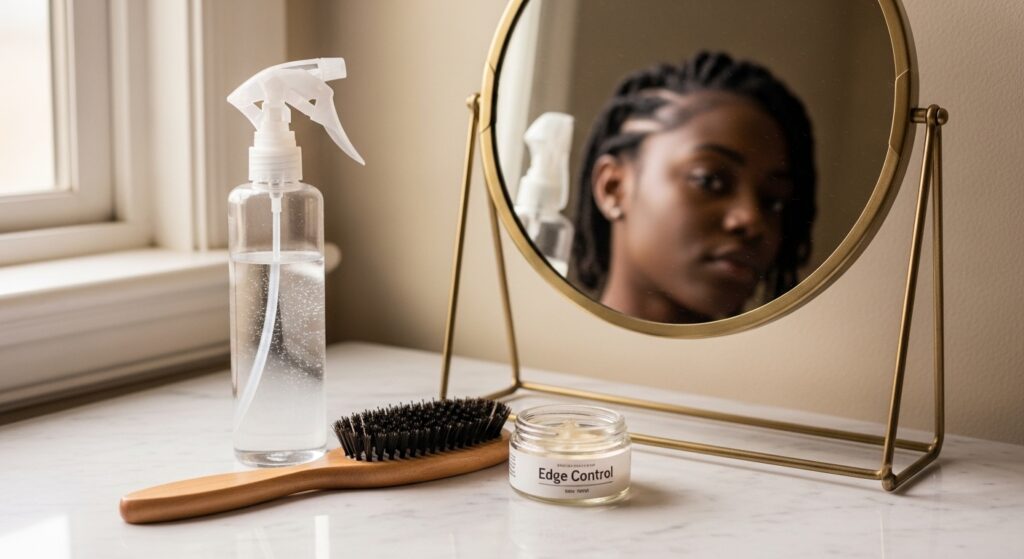
Over-handling leads to more frizz. Keep a dedicated “hair kit” by your mirror with just a few key items. A light hand is everything here. You’re just smoothing, not re-styling.
- Lightly mist your twists with a mix of water and a leave-in conditioner in a spray bottle.
- Use a soft-bristle brush (like a boar bristle) to gently press down any frizz along the parts.
- Apply a tiny amount of edge control or gel to your fingertips and smooth your edges and baby hairs.
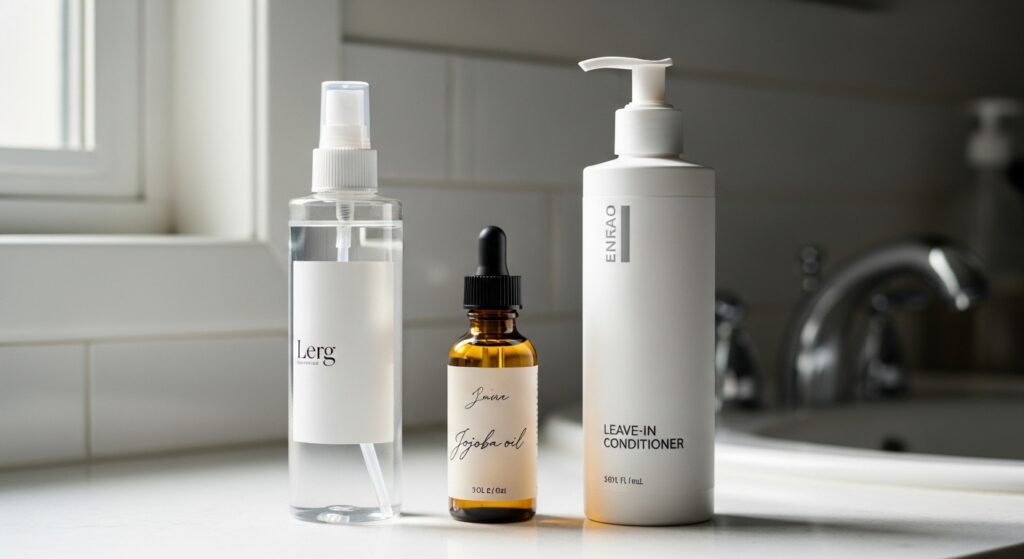
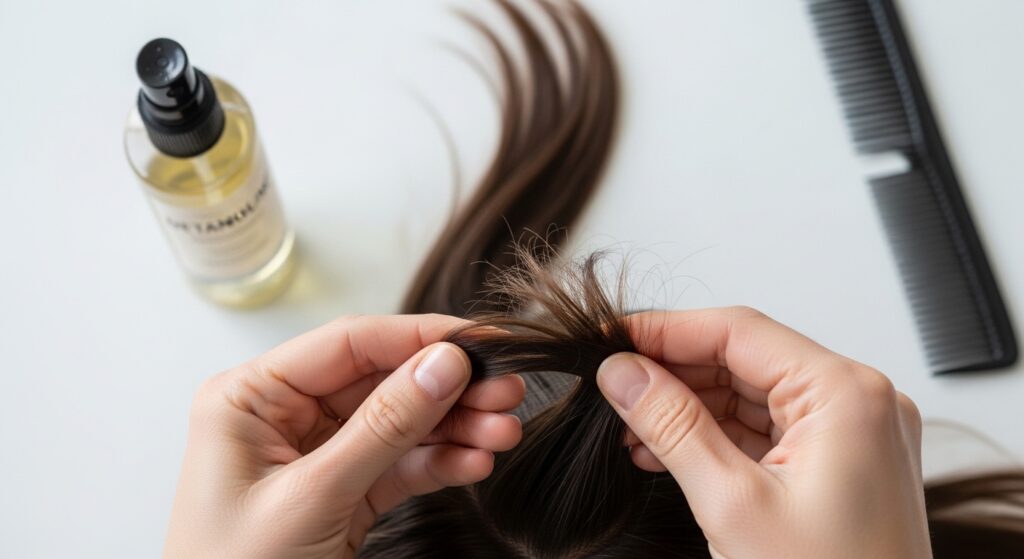
Choosing the Right Products From Day One
What you put on your twists from the installation matters immensely. Heavy products attract dirt and cause buildup, making your hair look dull and feel sticky. You want lightweight, moisturizing formulas.
Look for products with simple ingredients. A light oil like jojoba or argan is perfect for adding shine without weight. A water-based moisturizer is essential. Avoid anything with heavy waxes or petroleum high on the list, as they will seal out moisture and accelerate buildup.
- Lightweight Leave-In Conditioner
- Water-Based Moisturizing Spray
- Natural Oil (Jojoba, Argan, or Grapeseed)
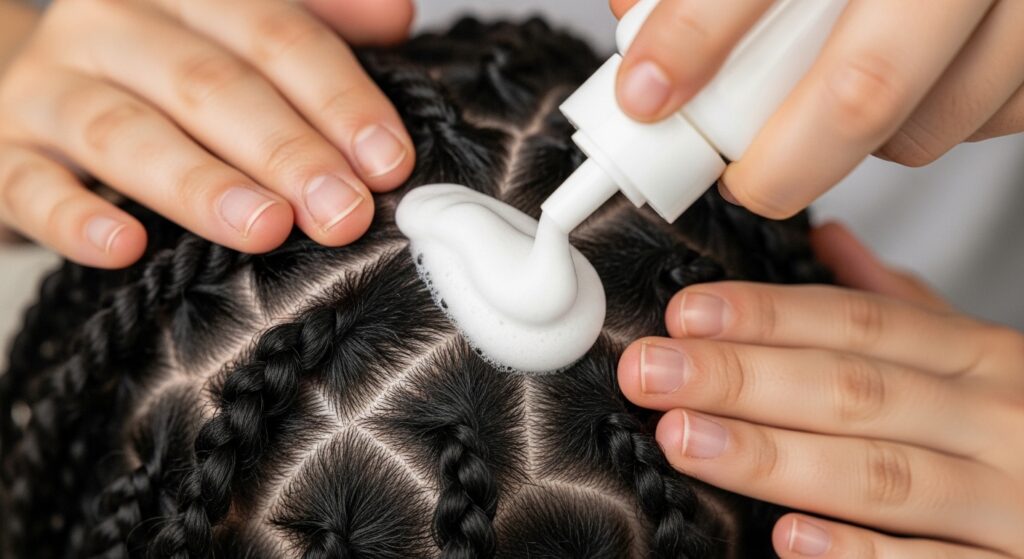
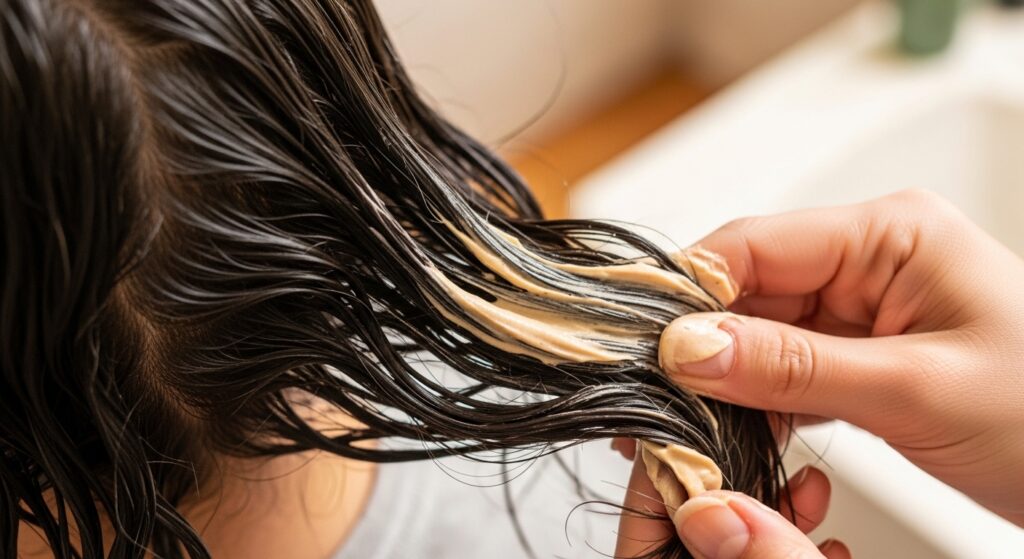
Washing Your Scalp Without Messing Up Twists
Yes, you can and should wash your scalp while your twists are in! A clean scalp is a healthy scalp and prevents itching and flaking. The key is to focus only on the roots and avoid soaking the length of the twists.
This technique keeps your style intact while removing product buildup and oil. You’ll need a applicator bottle or a very controlled stream of water. It’s easier than it sounds, I promise.
- Mix a diluted shampoo with water in an applicator bottle.
- Part your twists and apply the mixture directly to your scalp in sections.
- Gently massage your scalp with your fingertips (not nails).
- Rinse thoroughly by focusing the water spray on your scalp, letting it run down without aggressively rubbing the twists.
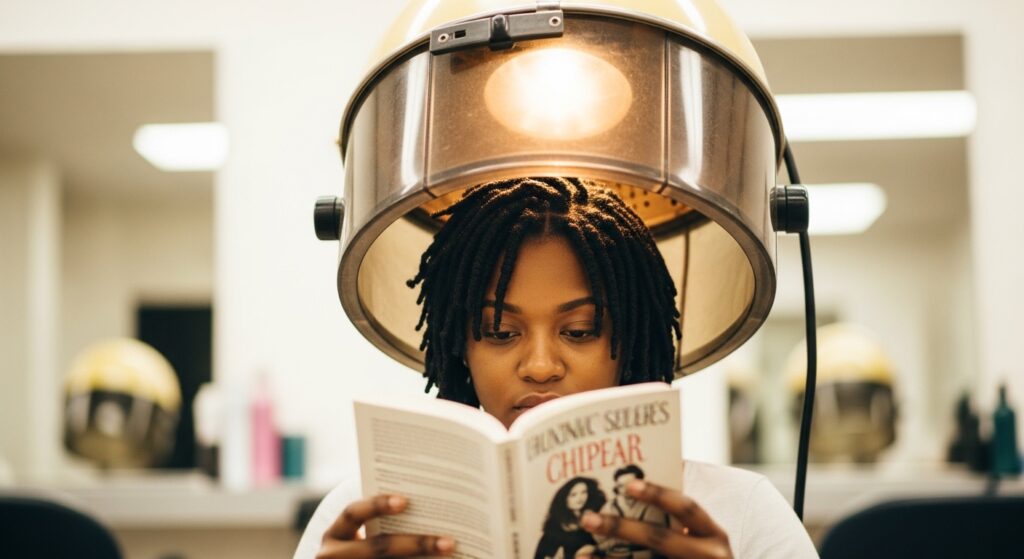
The Art of Strategic Drying
After a scalp wash, how you dry is critical. Leaving your twists wet for too long can lead to mildew and an unpleasant smell. You want to accelerate the drying process at the roots without causing frizz.
Avoid rough towel-drying at all costs. The friction will make your twists fuzzy. Instead, opt for gentle methods that absorb moisture without disturbance. This step ensures your style stays fresh and clean.
- Gently blot your scalp and roots with a microfiber towel or an old cotton t-shirt.
- Use a hooded dryer on a cool or warm (not hot) setting for 15-20 minutes to dry the roots completely.
- Let your hair air dry in a loose, high ponytail to encourage airflow to the scalp.
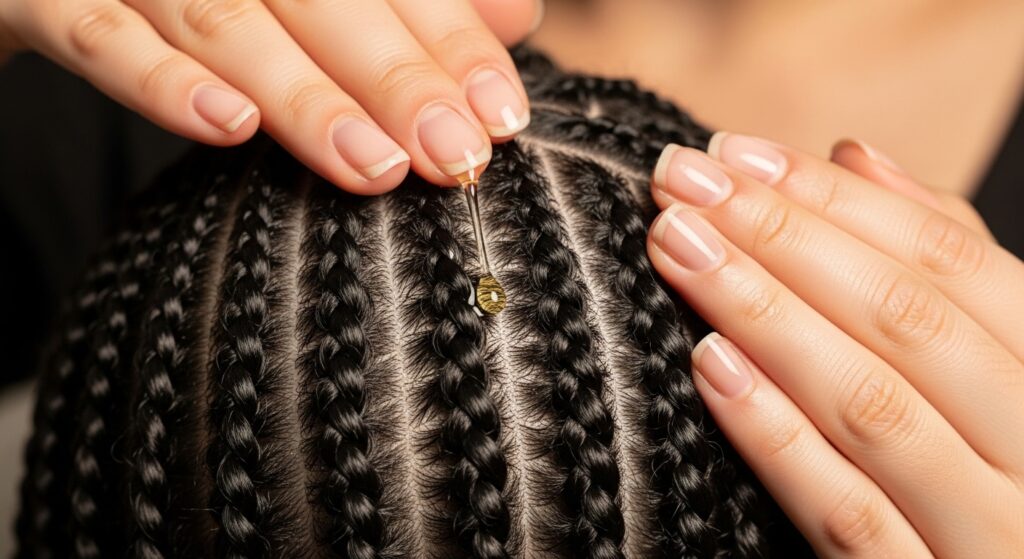
Fighting Frizz Before It Starts
Frizz is often a sign of dryness. The best defense is a good offense: consistent, light moisturizing. When your hair strands are hydrated, they’re less likely to rebel and poke out of the twist pattern.
Think of it like skincare for your hair. You wouldn’t wait for your face to be flaky to apply moisturizer. The same principle applies here. A quick mid-week moisture boost makes all the difference.
- Lightly spray your twists with water or a moisturizing spray.
- Follow up with a single drop of oil rubbed between your palms.
- Gently smooth your hands over the twists, focusing on the ends and any areas prone to dryness.
Protecting Your Hair During Workouts
An active lifestyle doesn’t mean sacrificing your style. Sweat can cause buildup and loosen roots if not managed properly. The goal is to absorb moisture quickly and minimize friction.
Before you hit the gym or go for a run, take a quick preventative step. After your workout, don’t just leave your hair sweaty. A simple refresh will keep your twists from getting soggy and messy.
- Pre-workout: Wear a satin-lined headband or a lightweight sweat-wicking headwrap.
- Post-workout: Immediately blot your scalp with a microfiber cloth to absorb sweat.
- Let your hair down and allow your scalp to air dry fully before tying it back up.

Styling Without Stress or Strain
Changing up your look is fun, but you must be gentle. Avoid styles that put constant tension on your edges or the base of your twists, as this can lead to breakage and loosening.
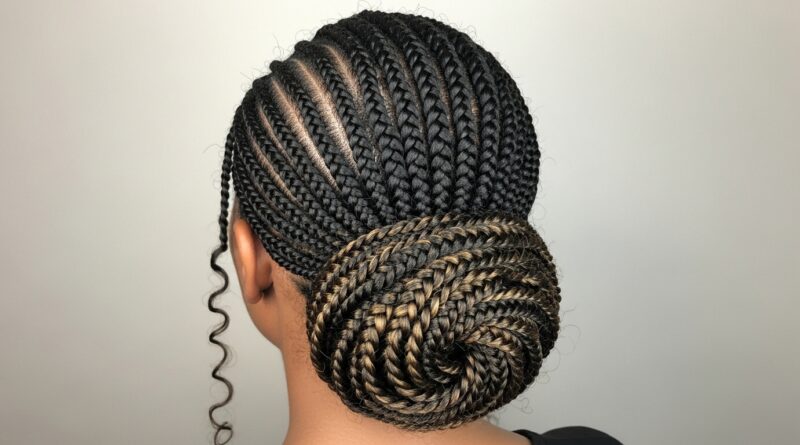
Opt for styles that are protective in themselves. Low manipulation is the name of the game. You can achieve a totally different vibe, like a romantic updo or a sleek look, without compromising your twists’ integrity.
- Low Buns: Gather twists at the nape of your neck for a “quiet luxury bob” inspired updo.
- Half-Up, Half-Down: A classic that’s always chic and puts no stress on the back rows.
- Headband Magic: Use a decorative scarf or headband to create a new look instantly.
What to Do About Itchy Scalp
An itchy scalp can be torture and tempt you to scratch, which messes up your parts. Usually, itchiness is caused by dryness or product buildup, not because your hair is “dirty.”
Scratching with your nails is a hard no. It disrupts the style and can irritate your scalp further. Instead, use soothing remedies that provide relief without damage. This keeps you comfortable and your style intact.
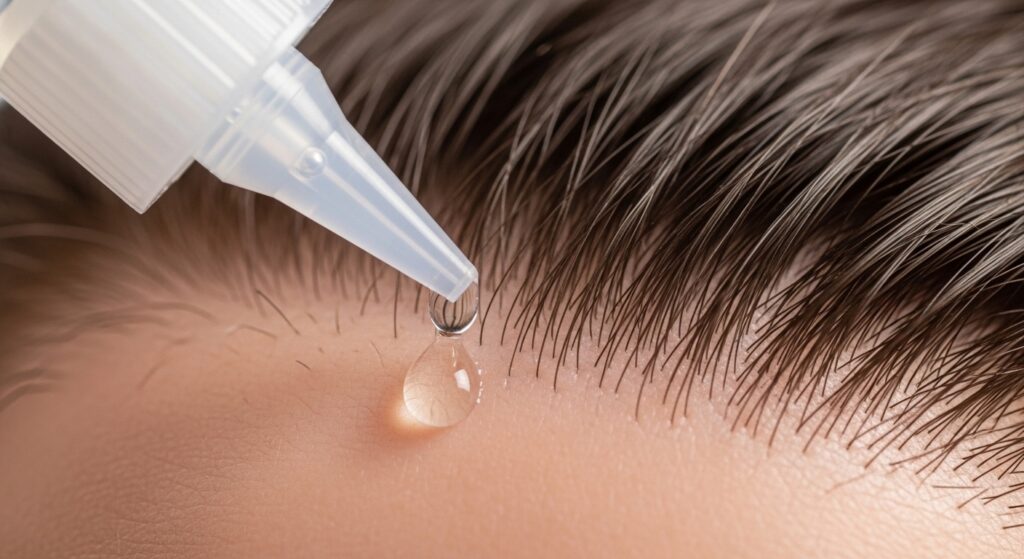
- Apply a light, alcohol-free witch hazel or tea tree oil mixture to your scalp with an applicator tip.
- Use the cool setting on your blow dryer to soothe the itch.
- Gently massage your scalp with the pads of your fingers, not nails.
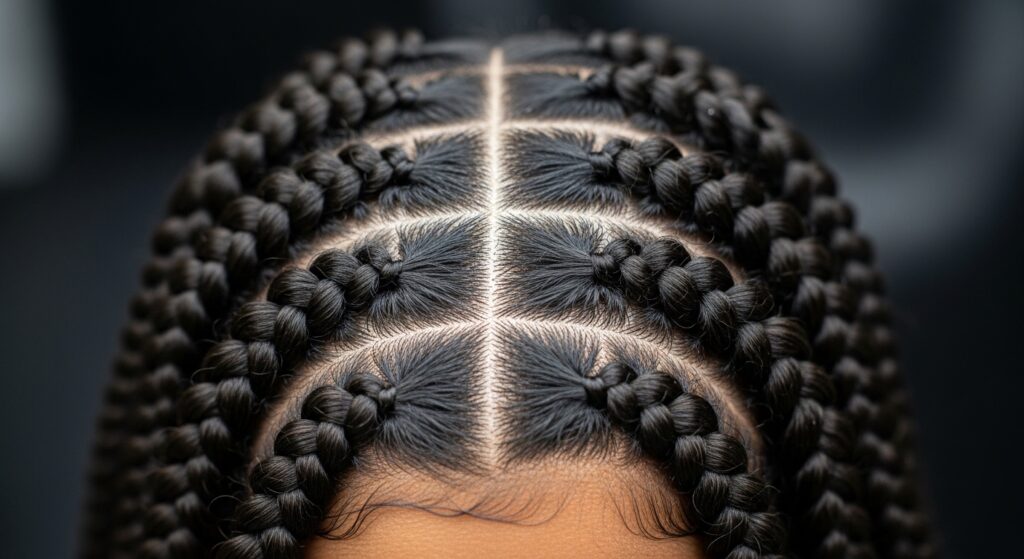
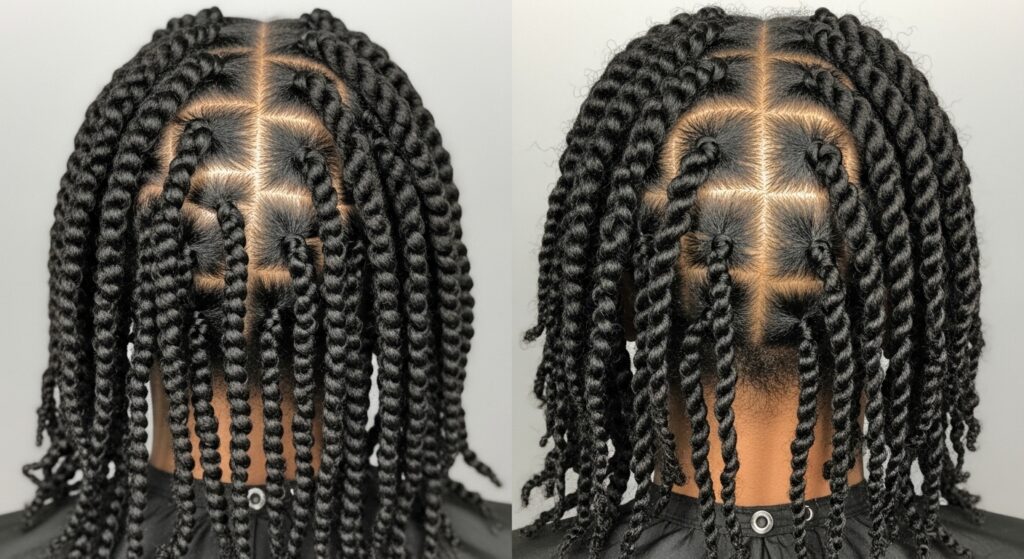
Handling New Growth Like a Pro
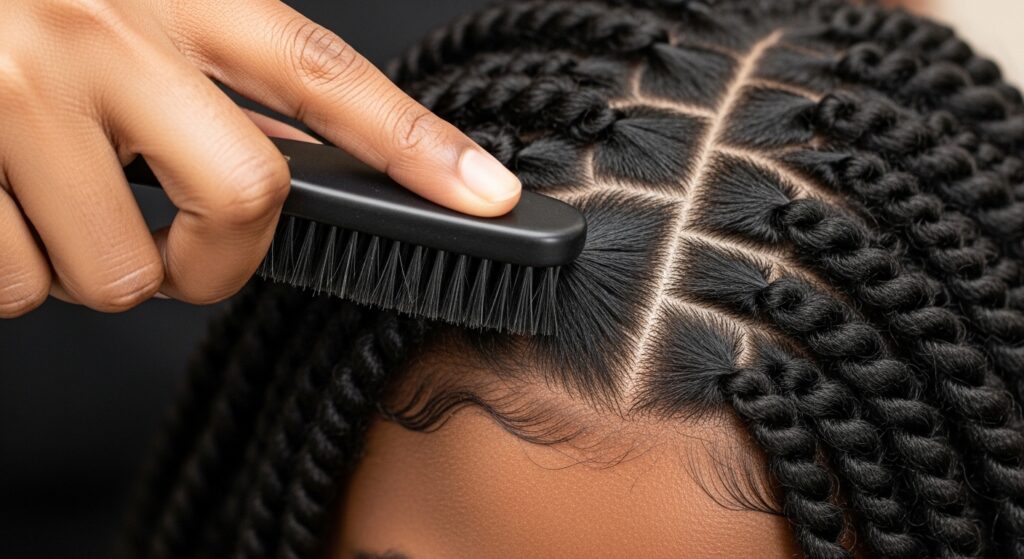
As your hair grows, you’ll see new growth at the roots. This is a good sign! But it can make your twists look less neat. The key is to smooth the new growth without re-braiding the entire twist.
You can temporarily neaten the base for a special event or just embrace the slightly fuller root as part of the style’s evolution. For a quick fix, a tiny bit of gel and a soft brush can work wonders on those puffy roots.
- Apply a very small amount of gel or edge control directly to the puffy new growth.
- Use a soft-bristle brush to gently brush the new growth flat against your scalp.
- Hold the twist taut and use the cool shot on your blow dryer to set the gel.
When to Leave Your Hair Alone
Sometimes, the best maintenance is less maintenance. Constantly fussing with your hair—re-moisturizing, re-smoothing, re-tying—can backfire and create more frizz. Learn to trust your initial routine.
If your twists look good, let them be. This is the secret to making any style last. Over-manipulation is the fastest way to a messy look. Set your routine and then allow your hair to just exist beautifully.
- Limit major styling changes to once or twice a week.
- Resist the urge to constantly touch and fiddle with your twists throughout the day.
- If it’s not broken, don’t fix it! A little imperfection is part of the charm.

Extending Style with Accessories
Accessories are your best friend in week three or four. They can distract the eye from any slight frizz or new growth and give your style a whole new life. Think of them as instant style upgrades.
From dainty clips to bold scarves, the right accessory can make your twists feel like a brand-new hairstyle. It’s a trick I use all the time to bridge the gap between fresh install and take-down.
- Scarves & Headbands: Perfect for creating a “romantic goth hairstyles” or vintage vibe.
- Decorative Pins & Clips: Use them to pin back face-framing twists or adorn a bun.
- Statement Earrings: Draw attention to your face and your beautiful style.

Knowing When It’s Time to Take Them Down
Even with perfect care, no protective style lasts forever. Keeping twists in for too long can lead to matting and tangling at the roots, which defeats the purpose of protection. Listen to your hair and scalp.
A good rule of thumb is four to six weeks, maximum. Signs it’s time include significant matting at the roots, persistent odor even after washing, or excessive lint buildup. Your natural hair’s health comes first.
- Maximum recommended time: 6 weeks.
- Key signs: Matted roots, itchy scalp that won’t quit, visible lint.
- Plan your take-down for a day when you have plenty of time and patience.
The Gentle Take-Down Process
Rushing the take-down is where damage happens. You’ve invested weeks in protecting your hair, so finish strong. Be patient, have good lighting, and use lots of slip. This process should be relaxing, not a race.
Your goal is to remove every twist without losing your natural hair in the process. This means carefully undoing each braid from the tip back up to the root, not just pulling it apart. A good detangling product is essential here.
- Spray each twist generously with a detangling spray or conditioner mixed with water.
- Start at the very bottom of the twist and gently unravel it with your fingers.
- Once fully unraveled, detangle that section with a wide-tooth comb before moving to the next twist.
Post-Take-Down Hair Care Musts
Your hair has been in a protective style, but it still needs love after being confined. The first things you should do are cleanse and deeply condition. This removes any leftover product and rehydrates your strands.
Give your scalp some air and attention. This is also the perfect time to assess your hair’s health and give it a light trim if needed. Think of this as a reset before your next style, whether that’s an asymmetrical lob or another set of twists.
- Clarifying Shampoo: Use once to remove all buildup.
- Deep Conditioner: Apply for 20-30 minutes with heat for intense moisture.
- Scalp Massage: Stimulate blood flow with a light oil massage.
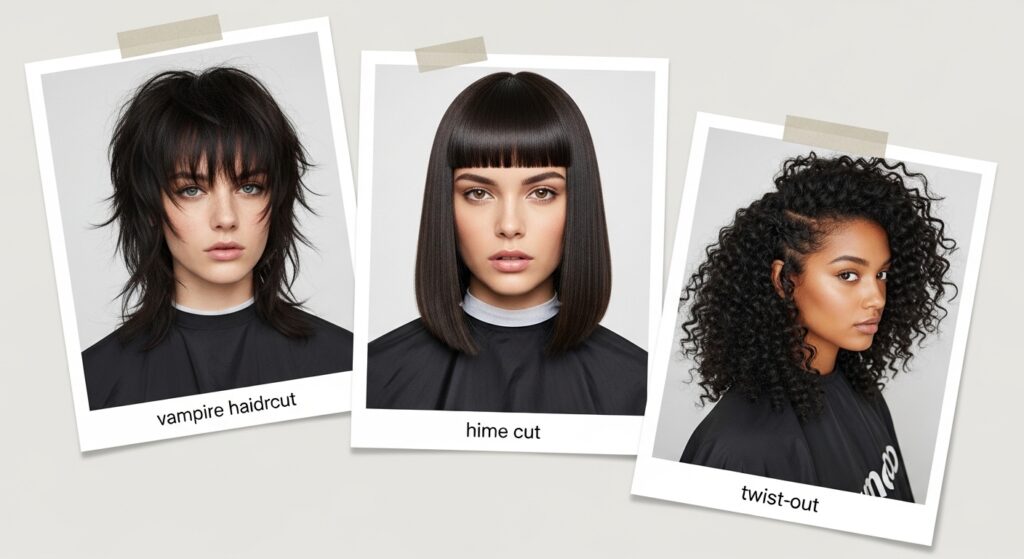
Planning Your Next Style
Now that your hair is fresh and healthy, the world is your oyster! Maybe you want to give your hair a break and rock a wash-and-go. Or maybe you’re already dreaming of your next protective look.
Look to trends like the vampire haircut or the hime cut for inspiration on how to blend protective styling with current shapes. Your next style could be a variation of these 2026 hairstyles using twists or braids as the base. Always choose a style that aligns with your hair health goals.
- Consider a trim or shape-up if needed.
- Let your hair breathe for at least a week between long-term styles.
- Research your next install! Maybe it’s a twist-out or cornrows for a different look.
Common Mistakes to Avoid Completely
Let’s recap the big no-nos that will shorten your style’s lifespan. Avoiding these common pitfalls is just as important as following the good advice. They’re often the difference between three weeks and six weeks of neat hair.
Be honest with yourself—are you guilty of any of these? It’s okay, we’ve all been there. The point is to learn and do better next time. Your hair will thank you with better hold and less breakage.
- Sleeping without a scarf or on cotton pillowcases.
- Using heavy, greasy products that cause fast buildup.
- Scratching your scalp with your fingernails.
- Keeping the style in for longer than 6-7 weeks.
Your Quick-Reference Maintenance Checklist
To make it super easy, here’s a weekly checklist you can mentally run through. Print this out or save it on your phone. Consistency is simpler when you have a clear, simple plan to follow.
Stick to this basic flow, and you’ll drastically reduce daily decision fatigue about your hair. It