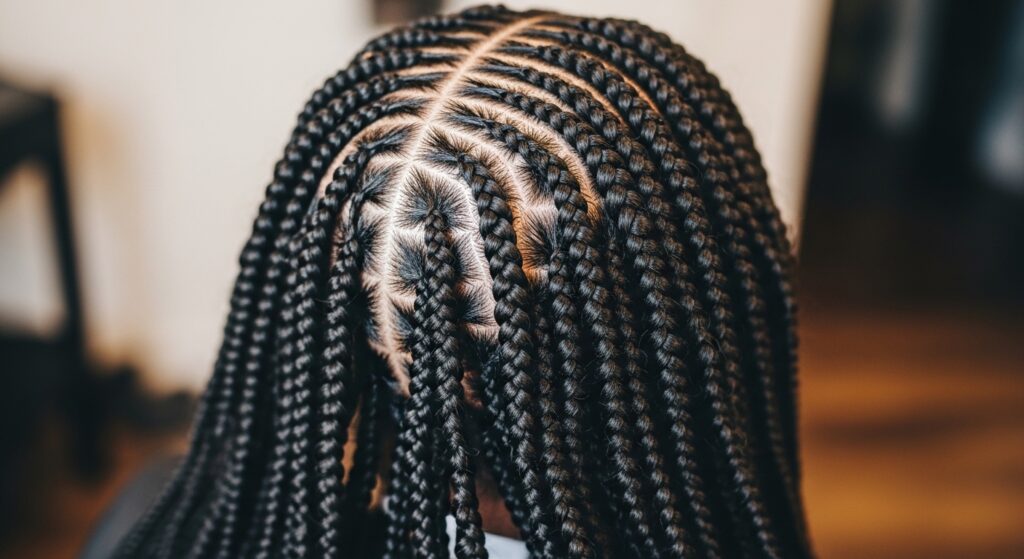
Maintain 20 Feed-In Braids for Active Lifestyle Demands Easily
Hey friend, let’s be real. You got those gorgeous feed-in braids for a reason. They’re stunning, they’re protective, and they’re supposed to make your life easier. But when you’re juggling work, workouts, and everything in between, even the best styles can start to feel like high-maintenance drama.
I’ve been there. That moment when you realize your fresh braids need more TLC than you planned for is the worst. You want them to last, look amazing, and not hold you back from your spin class or morning run.
Well, good news. Keeping your 20 feed-in braids flawless and fuss-free on an active schedule is totally doable. It’s all about a smart, simple routine. This isn’t about spending hours; it’s about working smarter.
Stick with me, and I’ll walk you through the exact, no-fuss steps I use to keep my braids looking salon-fresh for weeks, no matter how busy (or sweaty) my life gets. Let’s dive in.
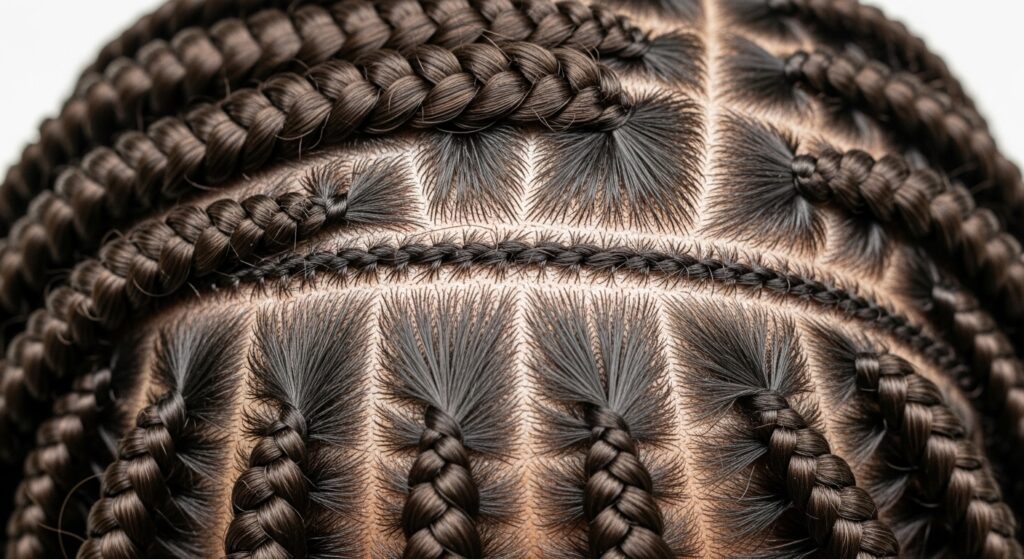
Start With a Strong, Healthy Foundation
Think of your braids like a house. You need a solid foundation. Starting with hair that’s moisturized and strong is non-negotiable. A deep conditioning treatment a day or two before your appointment is your secret weapon.
It prevents breakage and makes your natural hair more resilient under the added weight. Talk to your stylist about tension, too. They should be snug, not painful. A sore scalp from day one is a recipe for disaster.
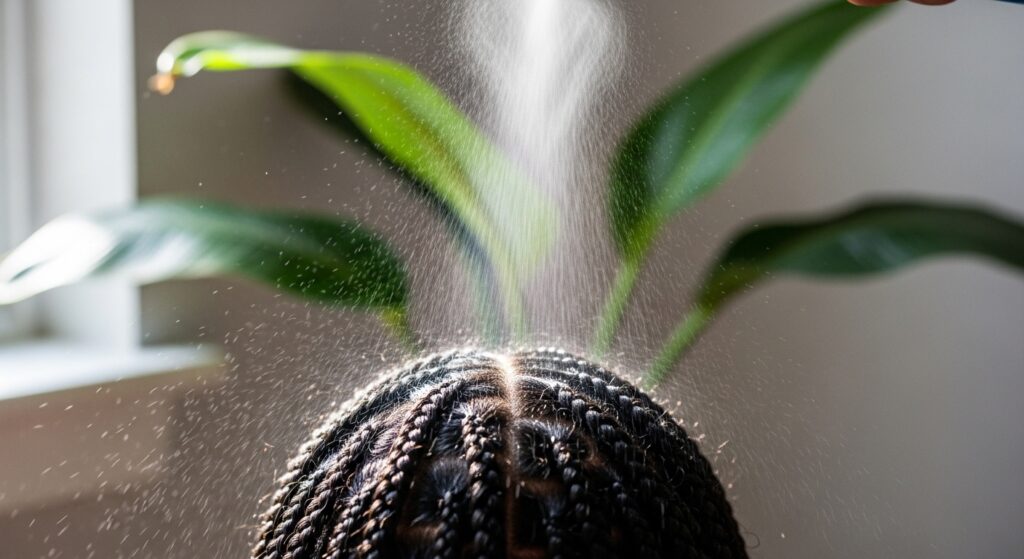
The Nightly Ritual: Preserve & Protect
Your bedtime routine is where the magic happens for longevity. Never, ever sleep on your braids loose. The friction from cotton pillowcases creates frizz and sucks out moisture.
Here’s my foolproof two-step system:
- Lightly mist your braids with a water and leave-in conditioner mix.
- Always wrap your head in a satin or silk scarf, or use a satin pillowcase.
This combo keeps your style sleek and your scalp happy. It takes 60 seconds and makes all the difference.
Master the Post-Workout Refresh
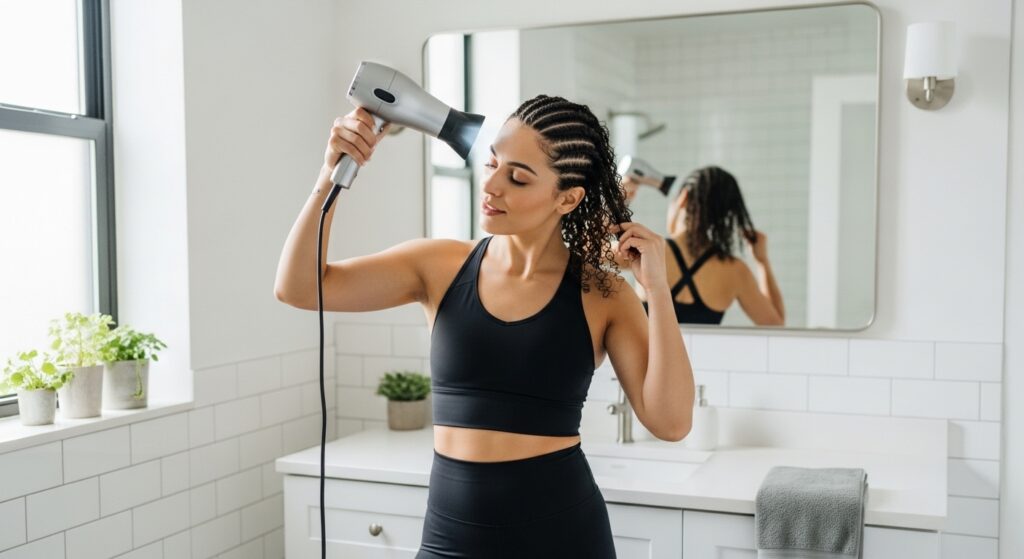
Active life means sweat. And sweat at your roots can lead to itchiness and buildup. The key is to dry your scalp quickly and effectively after a workout.
Don’t just let it air dry. Use your blow dryer on the cool setting. Gently lift sections of your braids and aim the airflow directly at your roots for a few minutes.
This removes dampness that can cause odor or mildew. A quick, light spritz of a scalp refresher can also feel amazing and keep things fresh.
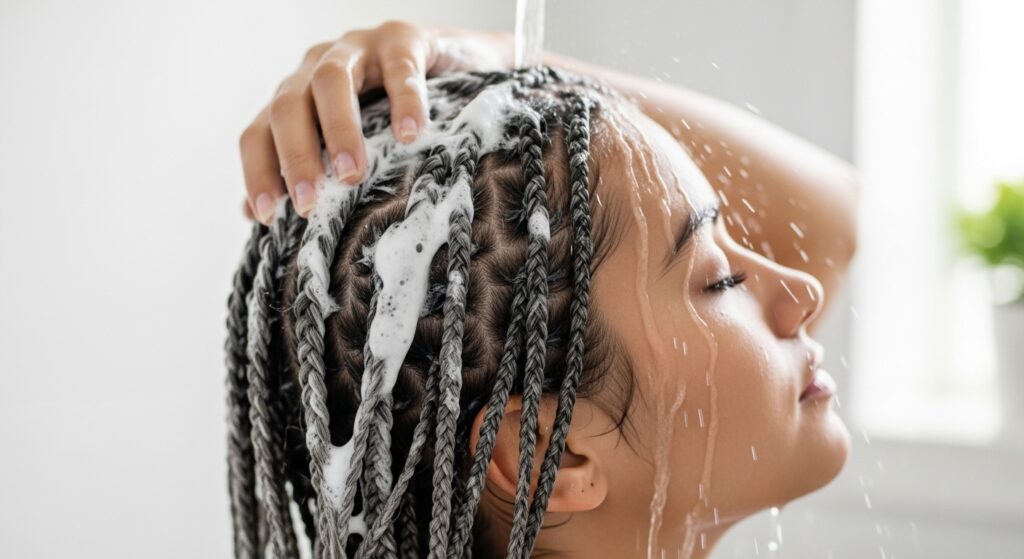
Washing Without the Frizz Fight
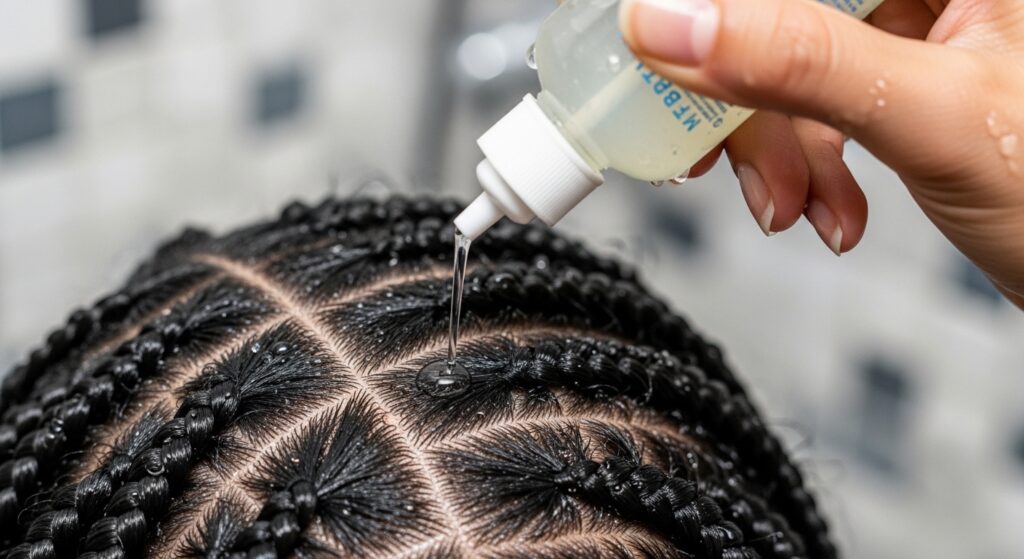
Yes, you can and should wash your braids! About every two weeks is my sweet spot. The goal is to cleanse your scalp without causing frizz or unraveling.
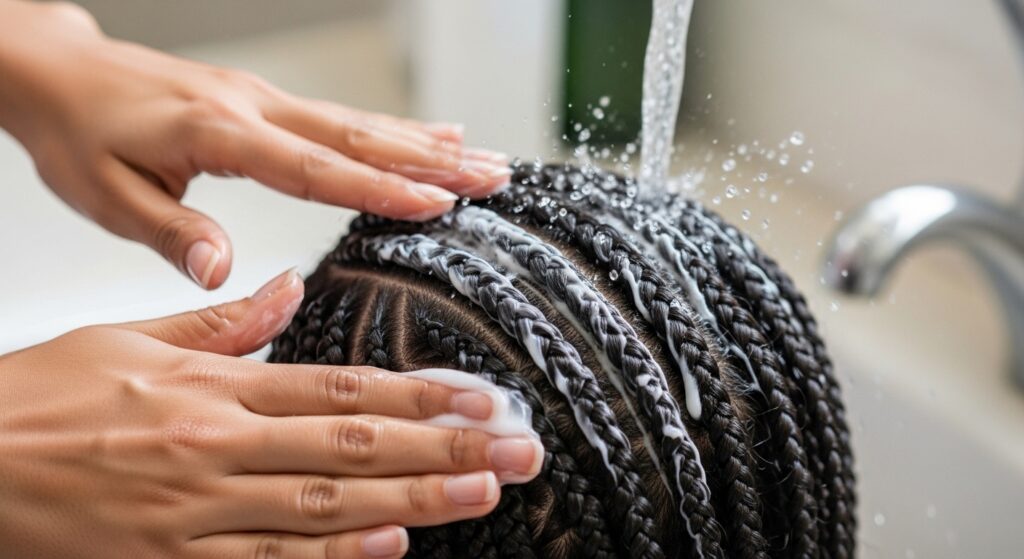
Dilute your shampoo with water in an applicator bottle. This lets you apply it directly to your scalp along the parts, not all over the braids. Gently massage with your fingertips—not nails.
Rinse thoroughly, and always follow with a light, watery conditioner on the braids themselves to maintain softness.
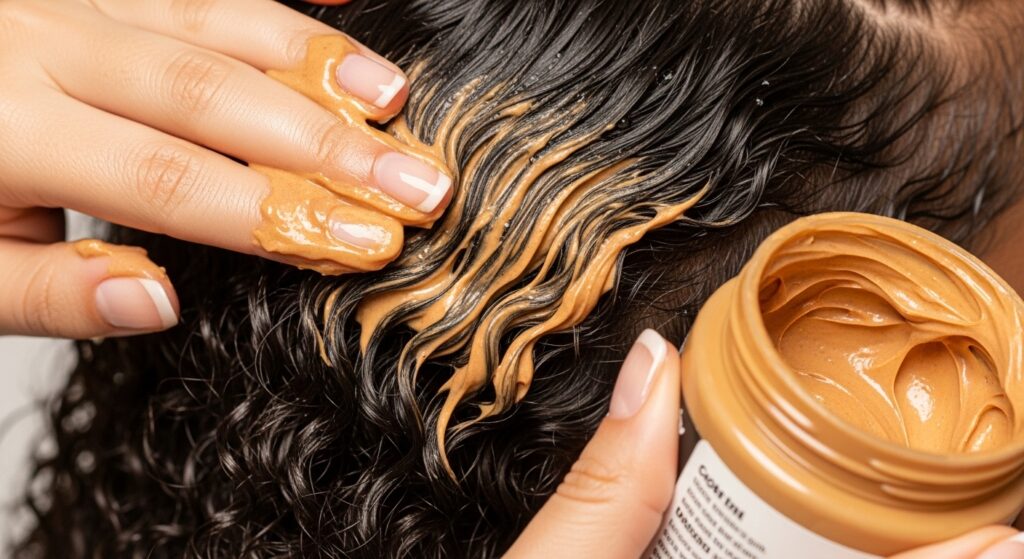
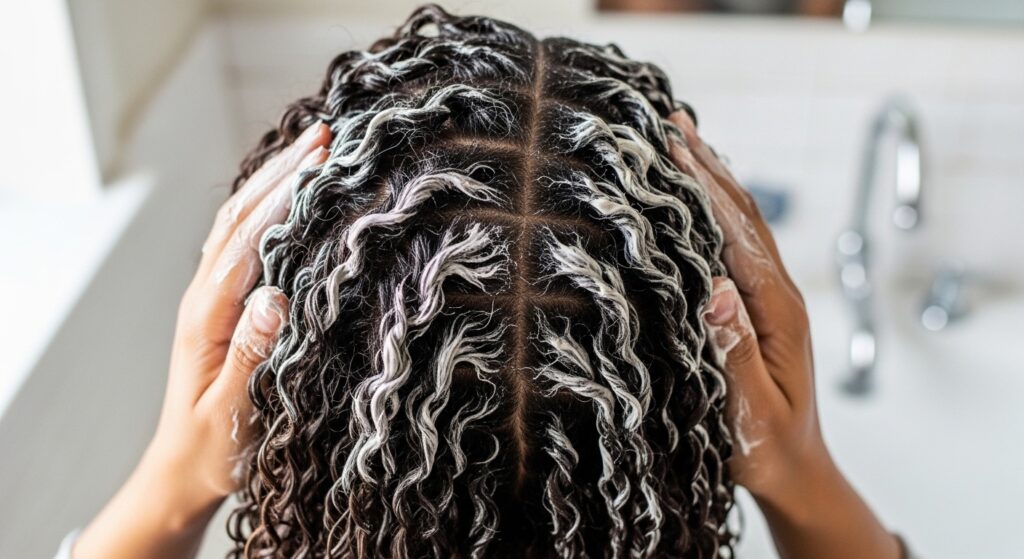
Conditioning for Lasting Softness
Conditioning your braids keeps the synthetic or added hair soft and manageable. After rinsing your shampoo, apply a lightweight, silicone-free conditioner.
Focus on the length of the braids, avoiding the roots to prevent buildup. Let it sit for a few minutes while you do other shower things, then rinse with cool water to seal the cuticle and add shine.
This step banishes that dry, straw-like feeling and makes your style look expensive and cared-for, like those quiet luxury bob looks but in braid form.
The Art of the Thorough Dry
This is the most important step after washing. Trapped moisture is the enemy. Gently squeeze excess water from your braids with a microfiber towel. Never rub.
Then, sit under a hooded dryer on medium heat for at least 45 minutes to an hour. Yes, it’s a time commitment, but it ensures your scalp and the base of each braid is completely dry.
This prevents odor, itching, and potential mold. You can watch a show or read—just get it done.

Scalp Care: Your Itch Defense System
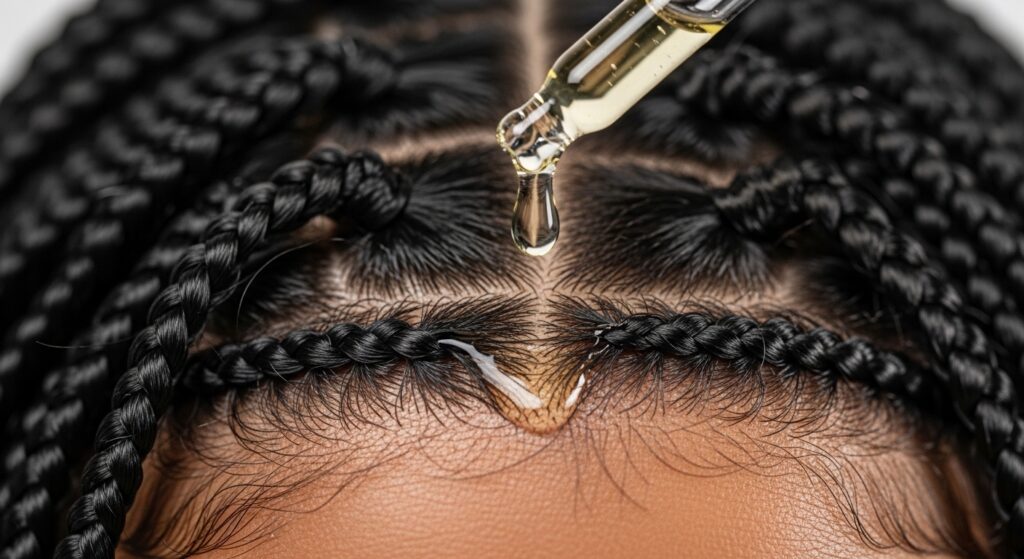
An itchy scalp can make you want to take your braids out prematurely. The solution is regular, light moisturizing. Use a lightweight oil or dedicated scalp serum.
Apply it with a dropper or your fingertips directly onto your parts, not all over. Tea tree oil mixed with a carrier oil is great for its antibacterial properties.
Do this once or twice a week. A little goes a very long way. Your scalp will breathe a sigh of relief.
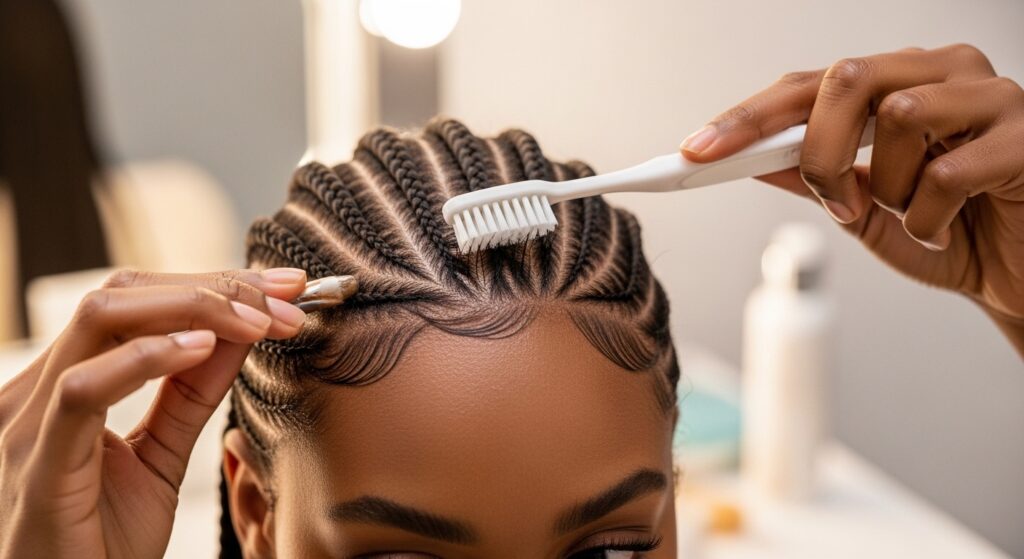
Frizz Control: Quick Fixes & Prevention
Some flyaways are normal, especially with new growth. But you can manage them. For daily control, a tiny bit of edge control or a light-hold gel on a toothbrush tames baby hairs.
For frizz along the braid, rub a small amount of hair wax or pomade between your palms and lightly glide them down the braid. Avoid heavy products that cause buildup.
This keeps your look polished, whether you’re going for sleek or embracing a bit of that intentional glitchy glam hair texture.
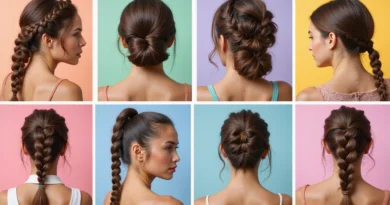
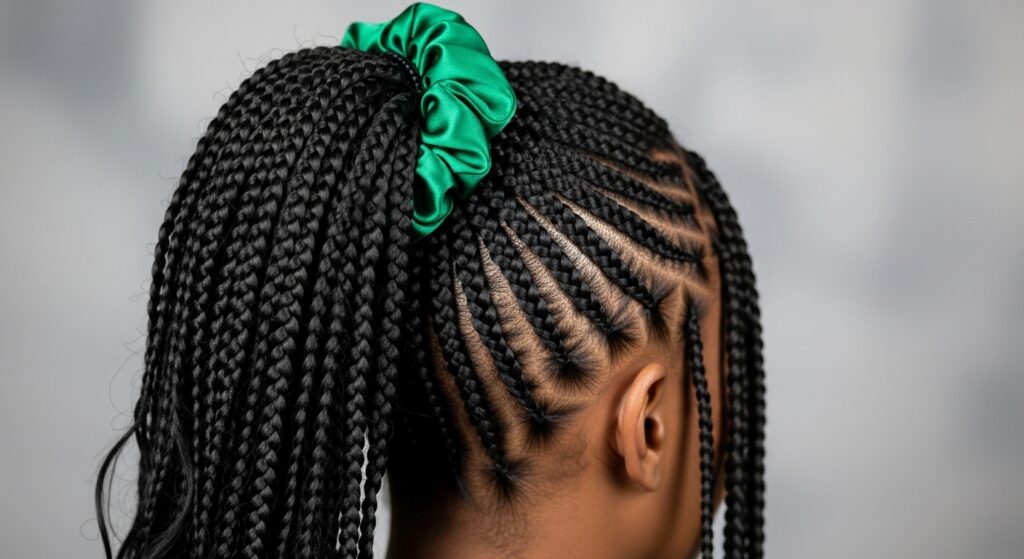
Protective Styling for Sleep & Lounging
Beyond the scarf, sometimes you need to contain the length. A loose, high ponytail or pineapple with a satin scrunchie reduces tension and tangling.
You can also do two loose braids or twist your braids into a soft bun. The goal is to minimize movement and friction while you sleep or relax at home.
Changing up how you gather them also prevents stress on the same hair sections every night.
Managing the Weight & Tension
Twenty braids have some weight. If you feel constant pulling or headaches, address it early. You can gently massage your scalp in circular motions to stimulate circulation.
If a specific braid feels too tight, some stylists recommend a warm water soak on the knot to slightly loosen it. Be very careful. Listen to your body—discomfort is different from initial tightness.
Protective styling should never cause pain or hair loss.

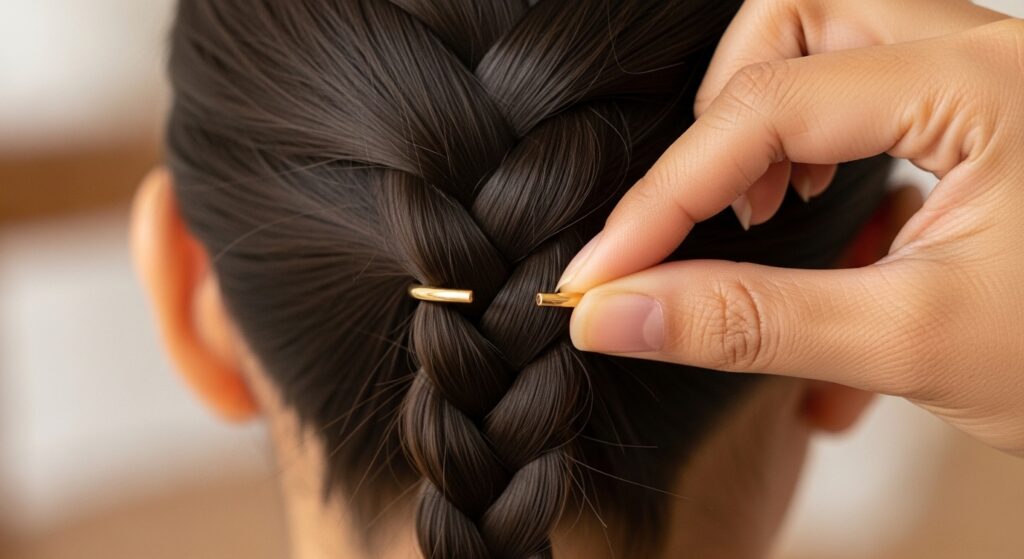
Accessorize Without Damage
Adding rings, cuffs, or beads is a fun way to switch up your look. Always choose lightweight accessories. When adding them, don’t force them on or crimp the braid too tightly.
To remove, carefully cut them off if they’re not reusable. Never yank them down the length of your braid, as this can cause fraying and breakage. Think of it like the delicate detail of a hime cut—accentuate, don’t overwhelm.
Accessories should be the cherry on top, not the main stressor.
Know When to Moisturize (And When Not To)
Over-moisturizing leads to heavy, greasy buildup. Under-moisturizing leads to dry, brittle hair. Find your balance. Your braids should feel soft, not sticky or crunchy.
A light spray every few days is usually enough. If you live in a dry climate, you might need it more often. In humidity, focus more on anti-frizz than adding heavy moisture.
Touch your braids. They’ll tell you what they need.
Handling New Growth Gracefully
Around the 4–6 week mark, you’ll see noticeable new growth. This is normal! It doesn’t mean your style is “messy.” You can gently re-braid the very front for a neater hairline if needed.
For the rest, a bit of new growth is a sign of healthy hair thriving underneath. Embrace it as part of the journey. It has that effortless, growing-out vibe you see in asymmetrical lob styles.
Your braids are still protecting those precious inches.
The Final Week: Prepping for Take-Down
As you near the end of your braid cycle (usually 6–8 weeks), be extra gentle. Your hair has been in a style for a while. Do a final, thorough wash and deep condition while the braids are still in.
This helps soften your natural hair and any shed hair that’s trapped inside, making the take-down process smoother and less damaging. Plan your take-down for a day when you have time. Rushing leads to breakage.
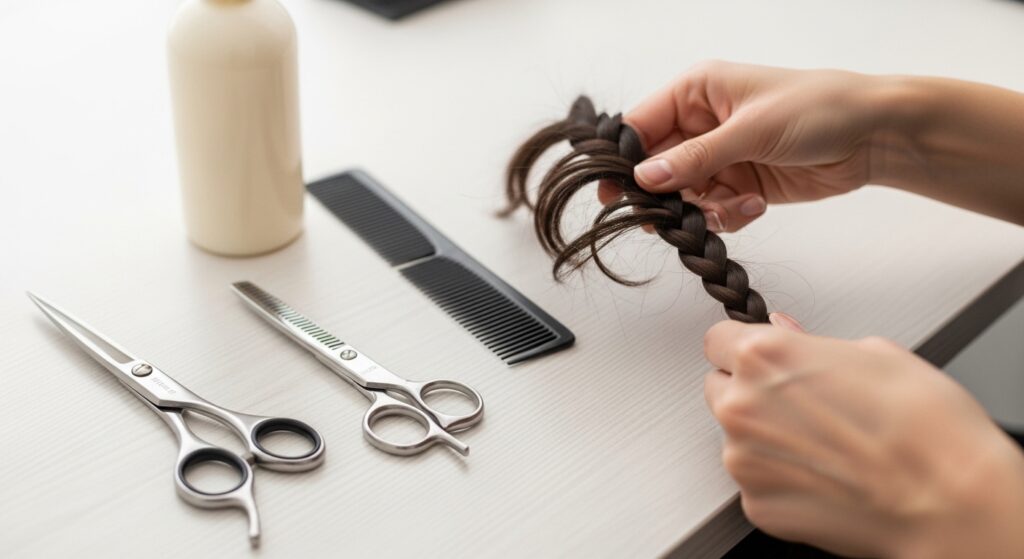
The Safe & Patient Take-Down Process
This is not the time for shortcuts. Grab your shears, a good detangling conditioner, and a movie. Carefully cut the synthetic hair just below the tip of your natural hair. Unravel gently.
Work in small sections. As you release each braid, coat your natural hair with conditioner or a detangler immediately before combing. Start from the ends and work up.
Patience here saves you so much hair in the long run.
Post-Braid Hair Care & Recovery
Your hair needs love after being braided. Give it a clarifying wash to remove any leftover product. Follow with a protein treatment or deep conditioner based on your hair’s feel.
Let your hair breathe for at least a week or two before your next protective style. Wear low-manipulation styles like loose buns or a vampire haircut-inspired wash-and-go if your texture allows.
This recovery phase is crucial for maintaining length and health.
Planning Your Next Style
While your hair rests, dream up your next look! Maybe you stick with classic feed-ins, or perhaps you try a braided 2026 hairstyles trend like face-framing butterfly braids. Explore the drama of romantic goth hairstyles with dark braids and accessories.
Use your break to research styles and stylists. Booking your next appointment in advance ensures you get the slot you want and gives your hair a clear timeline to recover.
It keeps your hair journey intentional and exciting.

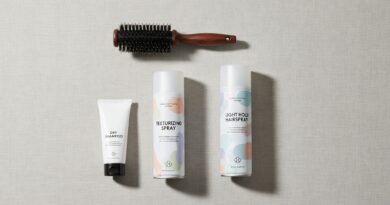
Essential Products for Your Toolkit
You don’t need a shelf full of products. Just a few heroes:
- A lightweight leave-in conditioner spray.
- A scalp oil or serum (like tea tree or jojoba).
- A satin scarf or bonnet.
- A gentle, clarifying shampoo.
- A wide-tooth comb for take-down.
Invest in quality basics. They last longer and work better, giving you that old money hair ethos—less clutter, more efficacy.
Mindsets for Long-Term Braid Success
View your braids as a protective style, not a set-it-and-forget-it hairstyle. A little daily attention prevents big problems later. Celebrate the convenience they bring to your active life.
When you see a trend like the glitchy glam hair, think about how you can adapt that energy with your accessories, not by redoing your whole head. Work with your style, not against it.
A good mindset makes maintenance feel like self-care, not a chore.

Your Quick-Reference Maintenance Checklist
Let’s simplify. Here’s your weekly to-do list:
- Nightly: Satin wrap.
- Post-workout: Cool dry your roots.
- 2x/week: Light scalp oil application.
- Every 2 weeks: Diluted shampoo wash & thorough dry.
- As needed: Light frizz control and moisturizing spray.
Stick to this, and your braids will look incredible from install to take-down. It’s that straightforward.
And there you have it! Every tip, trick, and reality check I’ve learned from years of rocking braids through my busiest seasons. It really comes down to a consistent, simple routine that respects your hair and your time.
Remember, the goal is to make your life easier and let you feel amazing while you’re out there living it. Your hairstyle should empower you, not hold you back.
I hope this guide takes the guesswork out of your braid journey. You’ve got this! Now, I’d love to hear from you. What’s your #1 braid maintenance hack? Drop it in the comments below—let’s help each other out!
Save this post to Pinterest to keep this guide handy for your next braid appointment!