Maintain 27 Braided Oil Infusions Penetrating Protective Styles Deeply
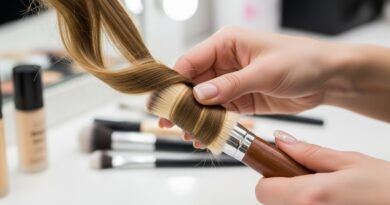
Hey friend. Let’s talk about that feeling when you get a fresh set of braids or twists. You love the style, the low-maintenance vibe, the protective magic of it all. But a few weeks in? The itchiness starts, the frizz creeps in, and your scalp is sending SOS signals.
I’ve been there. You invest in a gorgeous protective style, only to have it look dry and dull way before you’re ready to take it down. It’s frustrating, and it defeats the whole purpose.
The secret isn’t just getting the braids—it’s what you do in the weeks after. It’s about deep, penetrating care that works from the inside out. And that magic comes down to one thing: oil infusions.
This is your simple, no-fluff guide to maintaining any braided or twisted style so it looks incredible for weeks. We’re going deep on how to get those oils to actually penetrate, keeping your hair and scalp healthy the whole time. Let’s get into it.
Why Your Protective Style Needs More Than Just Spray
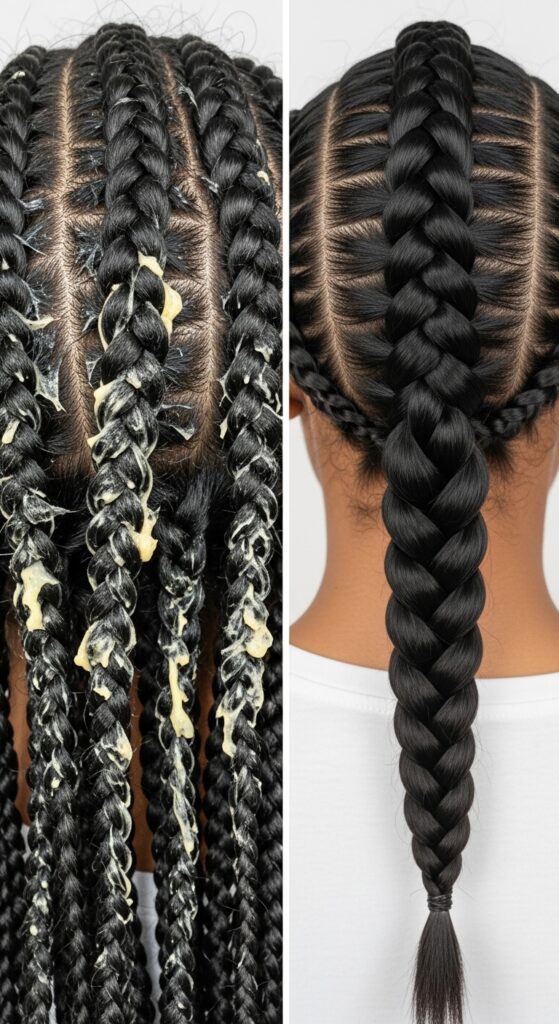
Think about it. A lot of us grab a moisturizing spray or a light oil and mist our braids. It feels good for a second, but that moisture often sits on top of the synthetic hair or the thick braid, never reaching your actual hair shaft underneath.
Your real hair, tucked inside, is thirsty. It needs nourishment to stay strong and prevent breakage when you finally unravel. Surface-level care leads to dryness, tangles, and a sad scalp.
An oil infusion strategy is different. It uses specific techniques and lighter oils to deliver hydration and nutrients directly to where your hair needs it most. It’s the difference between watering a plant’s leaves and watering its roots.
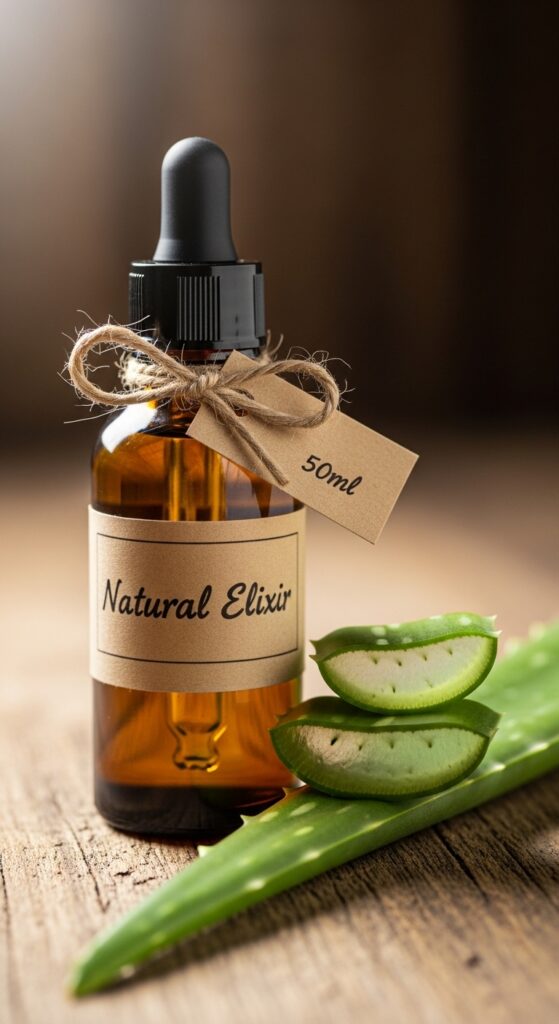
The Core Oils for Deep Penetration
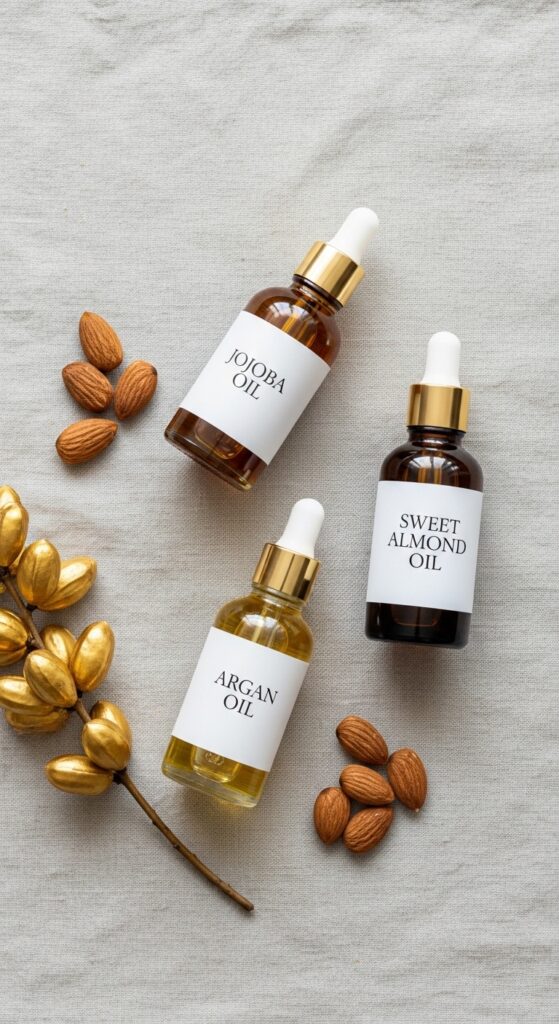
Not all oils are created equal. Heavy oils like castor oil are great for sealing, but they can sit on top. For penetration, you need lighter, finer oils that can travel down the hair shaft.
My absolute favorites for this are jojoba oil (it mimics our scalp’s natural sebum) and argan oil. They’re lightweight but packed with benefits. Sweet almond oil is another fantastic option.
I use these as my base “carrier” oils. Then, I might add a few drops of essential oils like rosemary or peppermint for scalp stimulation. The key is keeping the blend light and non-greasy.
Step 1: The Pre-Braid Prep is Everything
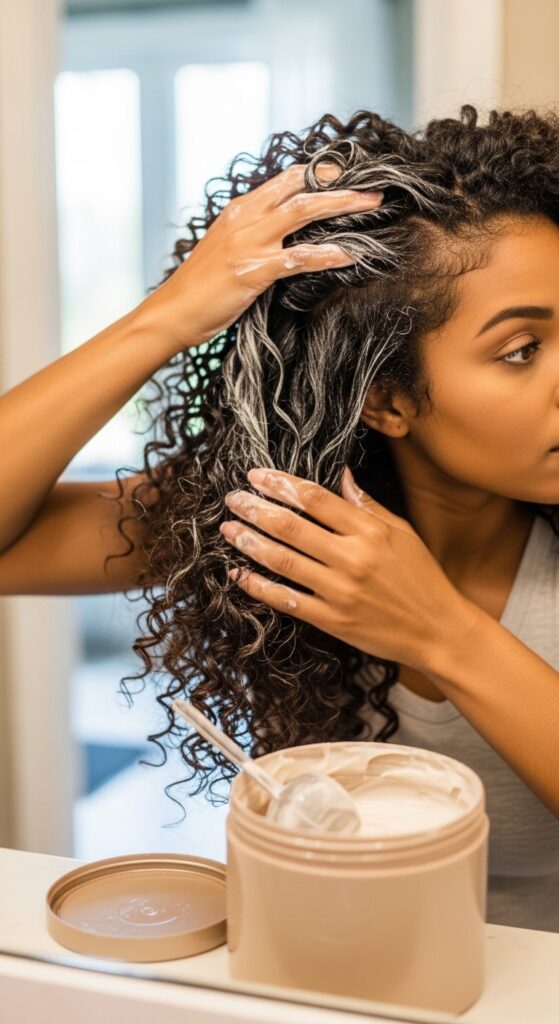
Maintenance starts before you even sit in the stylist’s chair. If your hair is dry and brittle going in, it’ll be worse coming out. A deep conditioning treatment in the days before your appointment is non-negotiable.
I also do a light clarifying wash to remove any product buildup. This ensures your hair is a clean, receptive slate. Finally, on freshly washed and damp hair, I apply a light leave-in conditioner and my penetrating oil blend to each section.
This pre-game means your hair is already saturated with goodness, making it more resilient from day one of your style.
Step 2: The Weekly Deep Oil Treatment
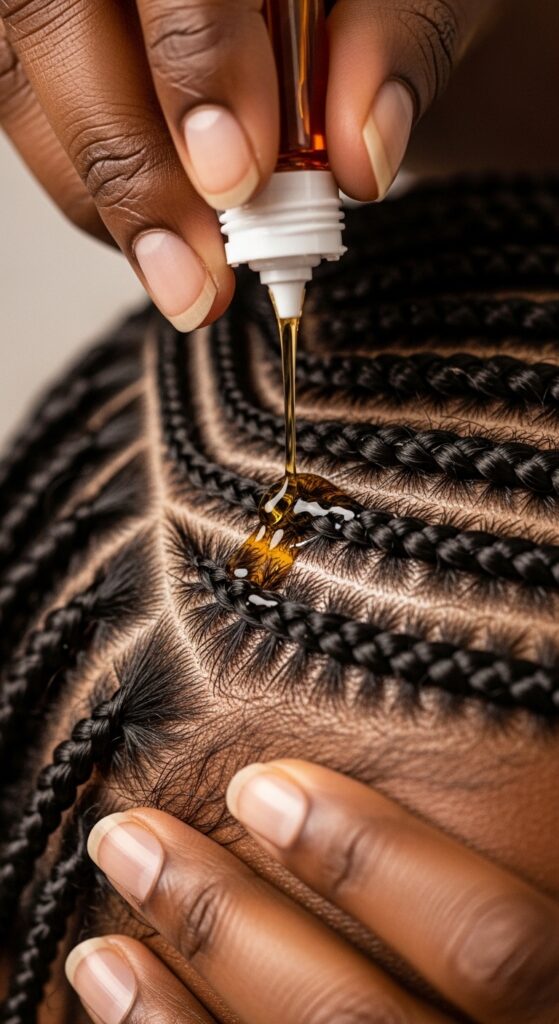
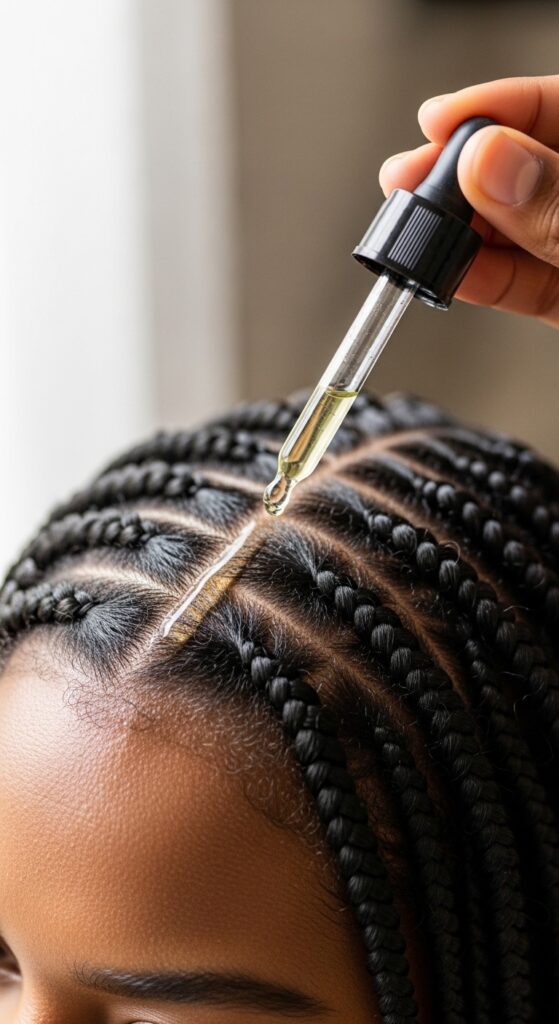
Once a week, you need a dedicated session. This isn’t a quick spritz. Section your braids as best you can. Using a dropper or your fingertips, apply your oil blend directly to your parts.
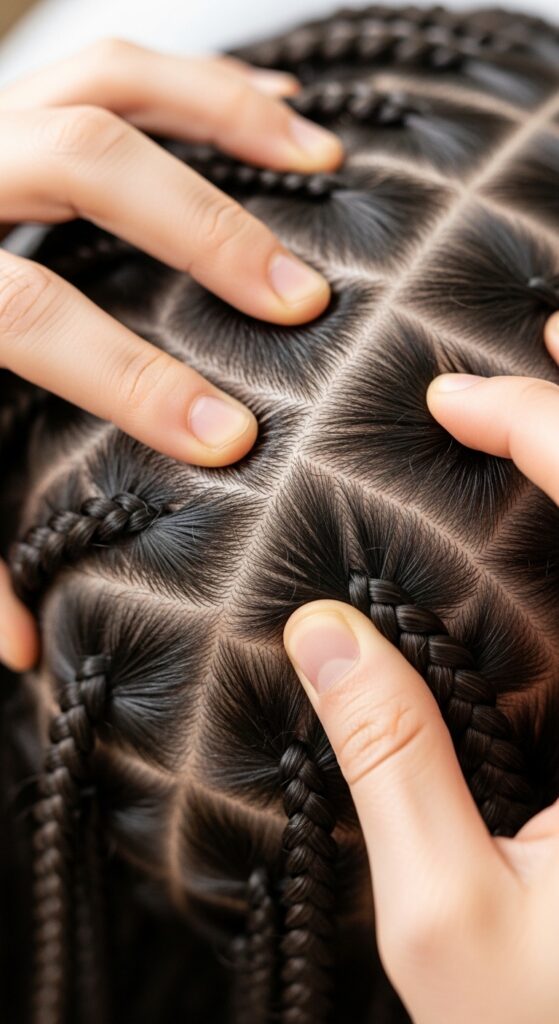
Don’t just pour it on top! Gently massage it into your scalp with the pads of your fingers. Then, take a small amount and lightly run it down the length of each braid, focusing on your ends.
The warmth from your massage helps the oil absorb. Leave this on for at least 30 minutes, or even overnight if you can, before wrapping your hair in a silk scarf.
Step 3: The Daily Refresh Routine
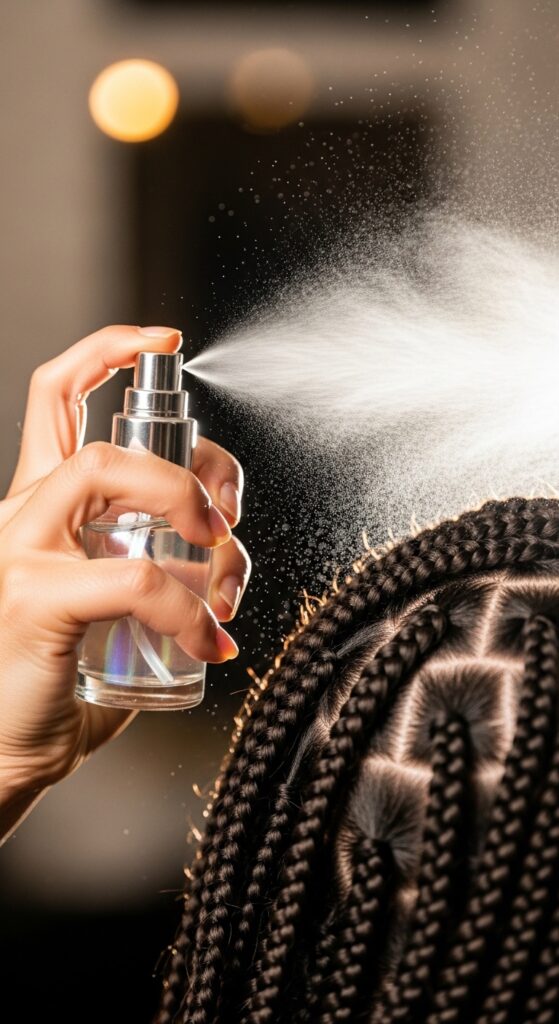
Between weekly treatments, your hair needs a quick touch-up. For this, I make a very light oil mist. I mix my oils with a bit of water or a water-based rosewater in a small spray bottle.
The ratio is key: mostly water, just a few drops of oil. Shake well before each use. Lightly mist your scalp and braids, focusing on areas that feel tight or dry.
This gives a burst of hydration without weighing anything down or causing buildup. A quick, gentle scalp massage with your fingertips after spraying is the perfect finish.
Scalp Health: The Itch-Stopping Protocol
An itchy scalp is the worst. It usually means it’s dry or there’s product buildup. My weekly oil massage is the first line of defense. The oils soothe and moisturize.
If itchiness persists, I add a few drops of tea tree oil to my weekly blend for its antibacterial properties. Always dilute it in a carrier oil first!
Also, avoid heavy gels or edge controls that can clog pores. A clean, moisturized scalp is a happy, itch-free scalp.
Preventing Frizz & Keeping Edges Sharp
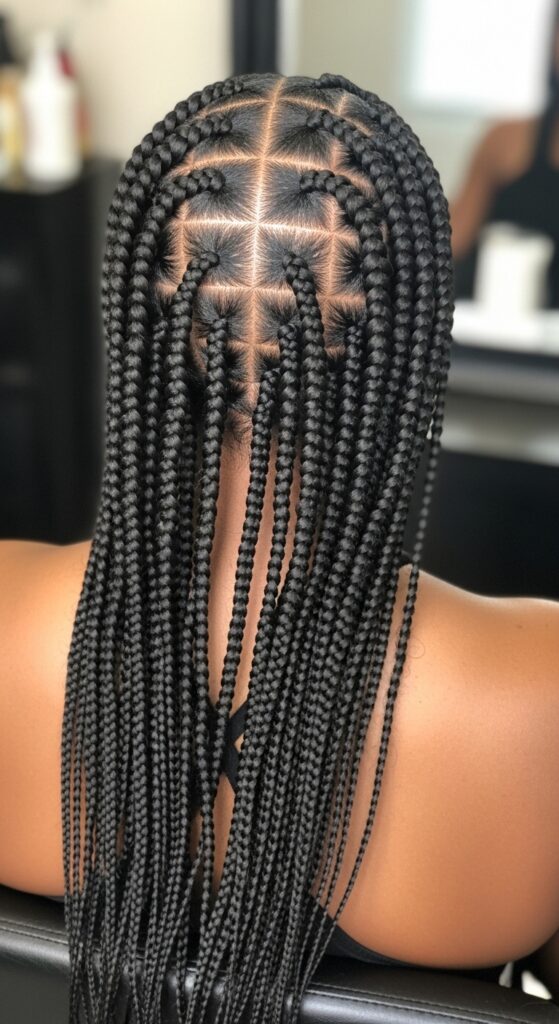
Frizz happens when the hair inside the braid shrinks from dryness. Consistent oil infusion is your best weapon. Well-moisturized hair stays elongated and smooth inside the braid.
For your edges and baby hairs, use the tiniest amount of your oil blend—just a dab on your finger—to smooth them down. Avoid heavy, sticky products that cause breakage.
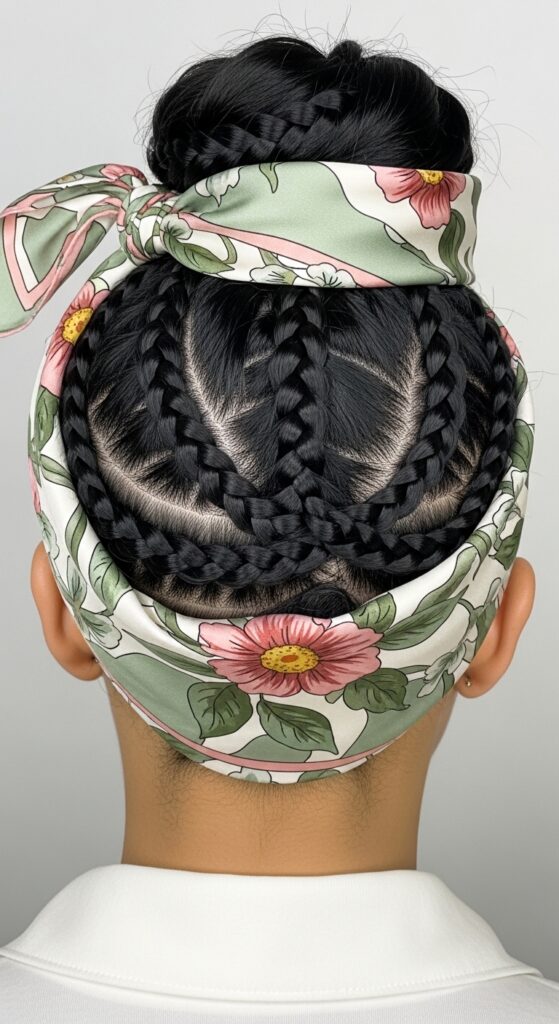
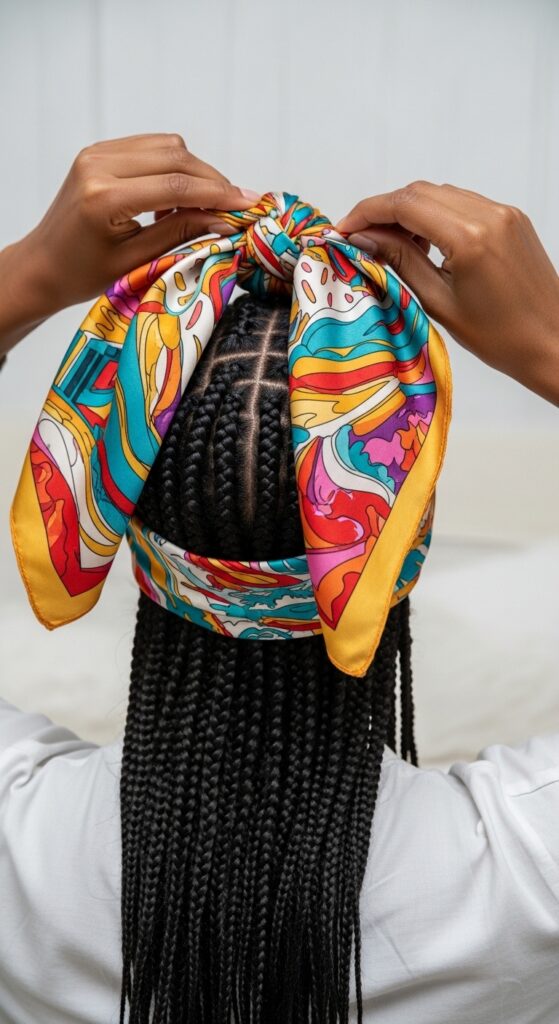
A silk or satin scarf every single night is non-negotiable. It reduces friction that causes frizz and helps retain the moisture you’ve just worked in.
How to Know When Your Hair is Truly Hydrated
It’s not about the braids feeling oily. It’s about how your scalp and hair feel. Signs you’re on the right track: your scalp doesn’t feel tight or itchy, and your natural hair at the roots feels soft when you gently press on a braid.
When you take the style down, your hair should feel supple, not brittle or parched. It should unravel with minimal tangles.
If you’re experiencing constant dryness, you might need to adjust your oil blend or increase the frequency of your weekly treatments. Listen to your hair.

Common Mistakes That Block Penetration
- Using oils that are too heavy: They sit on top and attract dirt.
- Not cleaning your scalp: Use a witch hazel-dipped cotton ball along parts weekly to prevent buildup.
- Only moisturizing the surface: You must get the product to your scalp and roots.
- Skipping the silk wrap: You’re letting all that moisture escape at night.
Avoiding these simple pitfalls makes all the difference in your style’s longevity and your hair’s health.
Styling Your Braids for 2026 Hairstyles Vibes
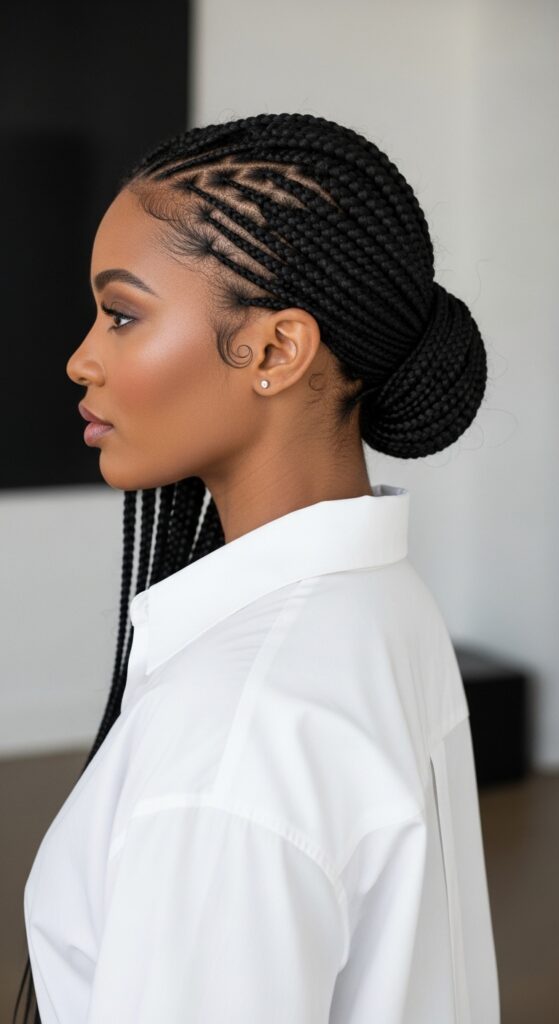
Well-maintained braids are the perfect canvas for trendy styles. Think of the quiet luxury bob—achieved by tucking your braids into a chic, low bun. Or an asymmetrical lob look by styling braids over one shoulder.
You can also experiment with middle parts and sleek looks for that old money hair aesthetic. The health of your braids makes every style look polished, not frayed.
Play with different updos and accessories. Healthy, moisturized braids are more versatile and hold styles better.
When to Take Your Protective Style Down
Even with perfect care, protective styles have a lifespan. For most, 6-8 weeks is the max. Listen for the signs: excessive frizz you can’t control, significant new growth causing tension, or a smell that won’t go away with cleansing.
Don’t push it for an extra week. The goal is to protect your hair, not stress it. Plan your takedown for a time when you can be gentle and patient.
When you do take them down, your hair should feel nourished and ready for a gentle cleanse and another deep condition, starting the cycle of health all over again.
Blending Trends: Romantic Goth & Glitchy Glam Hair
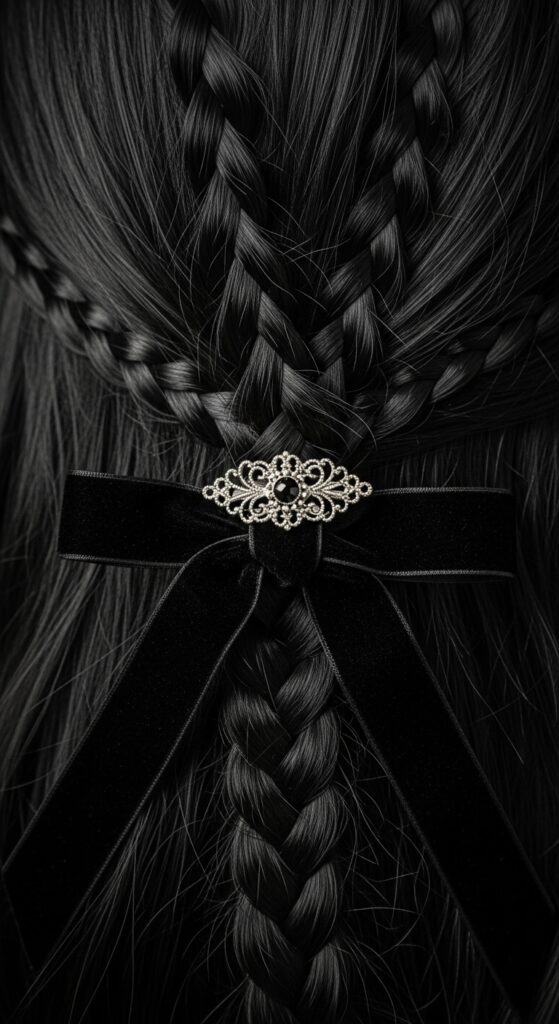
Your braids can channel any aesthetic. For romantic goth hairstyles, incorporate dark, jewel-toned hair accessories or thread a thin, black ribbon through a few braids. Style into soft, face-framing waves.
For that glitchy glam hair effect, add a few statement clips or metallic cuffs in an asymmetrical pattern. The contrast between the organic braids and futuristic accessories is everything.
It’s all about using your braids as a foundation for personal expression. Well-cared-for braids make any accessory look intentional, not like it’s hiding damage.
The Vampire Haircut Inspiration
The vampire haircut—all about sharp, face-framing layers and a mysterious vibe—can be mimicked with braids. Leave a few strategic braids out in the front, cutting them at different lengths to frame your face.
You can also style your braids into deep side parts with volume at the crown for that dramatic, timeless look. It’s a fun way to play with shape without cutting your hair.
Use your oil infusion to keep these face-framing pieces smooth and defined, not frizzy. A little extra attention here makes the style pop.

Channeling the Hime Cut Elegance
The hime cut, with its straight, blunt front pieces and longer back, is surprisingly easy to emulate with braids. Simply create two braids in the front sections of your hair, starting from your temples.
Keep these braids separate from the rest of your style. You can blunt-cut the ends for a clean look. It gives that structured, elegant feel without any scissors near your real hair.
This style looks especially polished when the braids are perfectly moisturized and smooth, highlighting the sharp lines of the cut.

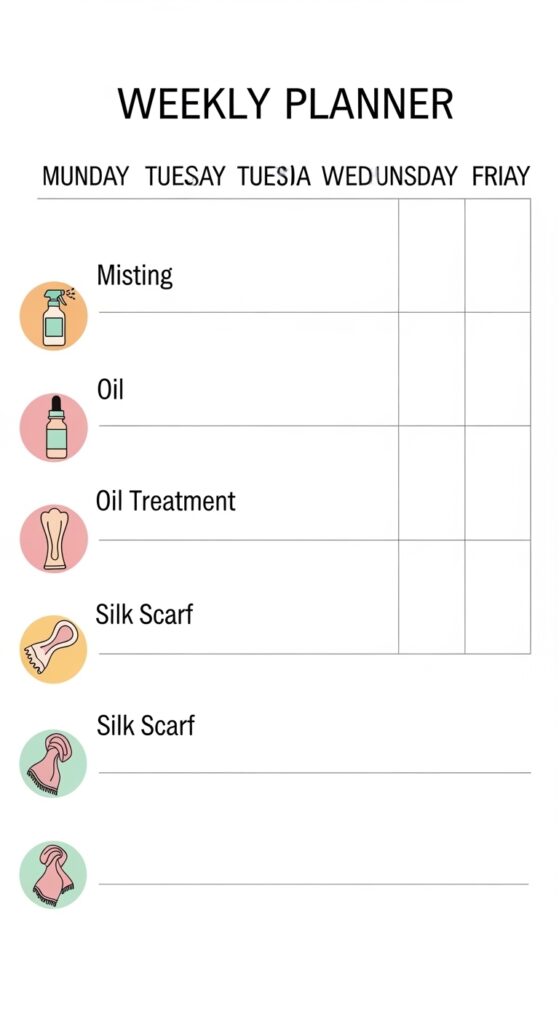
Your Quick-Start Weekly Schedule
Let’s simplify. Here’s a schedule you can follow:
- Monday: Light oil/water mist all over. Scalp massage.
- Wednesday: Focused mist on dry areas.
- Friday: Weekly deep oil treatment. Apply blend to scalp and braids. Leave on 30+ mins.
- Daily: Silk scarf or bonnet every single night.
This keeps you consistent without overthinking it. Adjust based on how your hair feels, but this is a perfect maintenance baseline.
DIY vs. Pre-Made Oil Blends
I love making my own blends because I can control the ingredients and freshness. It’s also more cost-effective. A simple jojoba and argan mix is a perfect start.
That said, there are amazing pre-made blends on the market. Look for ones that list lightweight, penetrating oils high on the ingredient list.
Avoid mineral oil or petroleum-heavy blends, as they coat the hair and prevent real moisture from getting in. Whether DIY or store-bought, the ingredient principle is the same.
The Silk & Satin Rule You Can’t Break
I’ll say it again: your silk or satin scarf or bonnet is as important as the oils. Cotton pillowcases absorb all the moisture and create friction that causes frizz and breakage.
Make it a non-negotiable part of your routine. Tie it on every night, without fail. It locks in the hydration from your treatments and keeps your style looking fresh.
Think of it as the essential final step in your oil infusion process—it seals the deal.
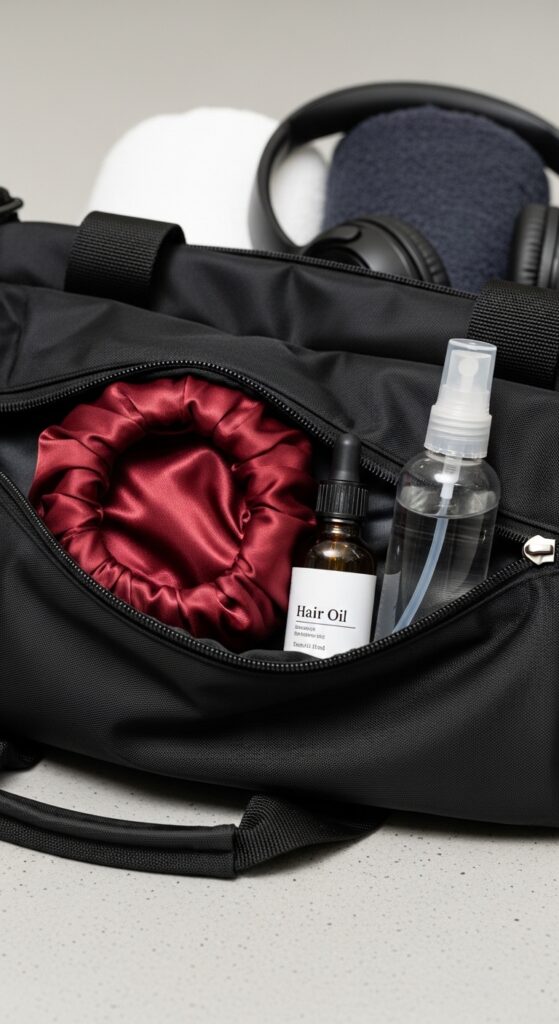
Travel & Gym Tips for Braid Care
Life doesn’t stop for your hair routine. For the gym, wear a satin-lined cap to absorb sweat and reduce friction. After your workout, let your scalp dry completely, then give it a light mist.
For travel, pack a small bottle of your oil blend and a travel-sized spray bottle. A portable silk scarf is a must. A quick treatment when you land can combat dry airplane air.
The goal is to adapt your core routine, not abandon it. A little prep keeps your hair healthy on the go.
Listening to Your Hair’s Signals
This isn’t a one-size-fits-all process. Your hair will tell you what it needs. If it feels great on a 5-day treatment cycle, stick with that. If it needs a mid-week boost, add it.
Pay attention to how it responds to different oils. Maybe your hair loves avocado oil more than sweet almond. That’s okay! This is about building a relationship with your hair.
Trust what you feel. You are the expert on your own head.

My Final Pep Talk for You
I know this might seem like a lot at first, but I promise it becomes a quick, mindful ritual. It’s an act of self-care that pays off in healthier hair and a longer-lasting, beautiful style.
You invested time and money into getting those braids. Investing a few minutes each week in maintaining them is so worth it. You’ll see the difference in the mirror and, more importantly, feel it in your scalp.
Your hair deserves this deep, penetrating care. You’ve got this.
So, that’s the full breakdown, friend. It’s not about complicated steps or expensive products. It’s about being consistent with the right kind of care—care that actually sinks in and does its job.
When you treat the hair underneath with this much love, every style you create on top—whether it’s a sleek quiet luxury bob imitation or a romantic goth inspired look—will look and feel incredible. Your hair will thank you when it’s time to take those braids down, too.
Save this post to Pinterest so you can come back to this routine whenever you need it! What’s your go-to oil for your braids? Tell me in the comments below—I’m always looking for new ideas to try!