Master 15 Phantom Ghost Knots Invisible Blending Protective Seamless
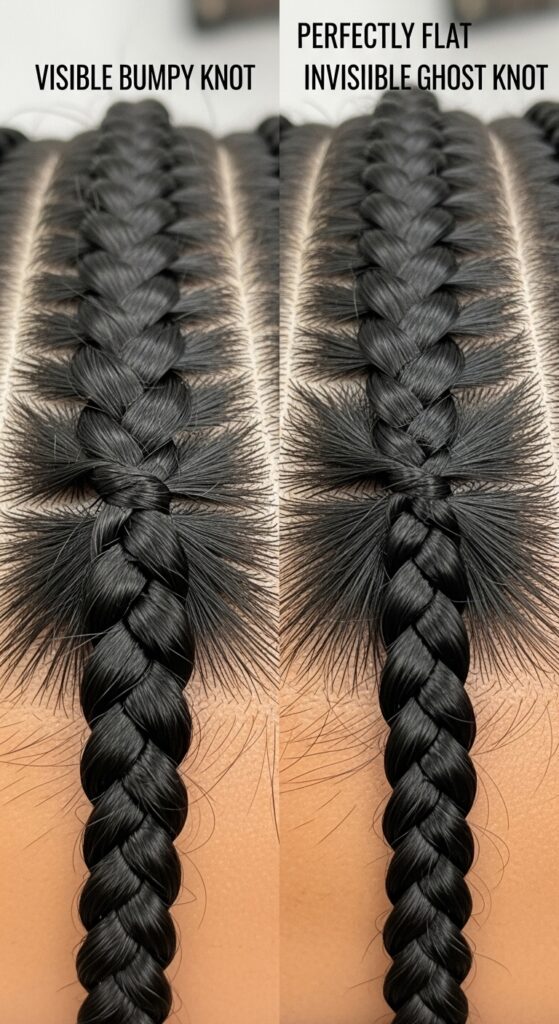
Hey friend. Let’s be real: we’ve all been there. You find the perfect protective style, get it installed, and then… those bumps at the roots. That obvious line where your braids or twists start. It just doesn’t look or feel seamless.
It can totally ruin the vibe of even the most gorgeous hairstyle. You want that effortless, “is that her real hair?” look, whether you’re rocking an old money hair aesthetic or something more edgy.
That’s where the Phantom Ghost Knot comes in. It’s the secret weapon for invisible blending. Master this, and you’ll achieve a flawless, protective install every single time.
This guide breaks down everything into 15 simple, actionable steps. I promise, by the end, you’ll be a pro at creating seamless, undetectable knots. Let’s get into it.
What Is A Phantom Ghost Knot?
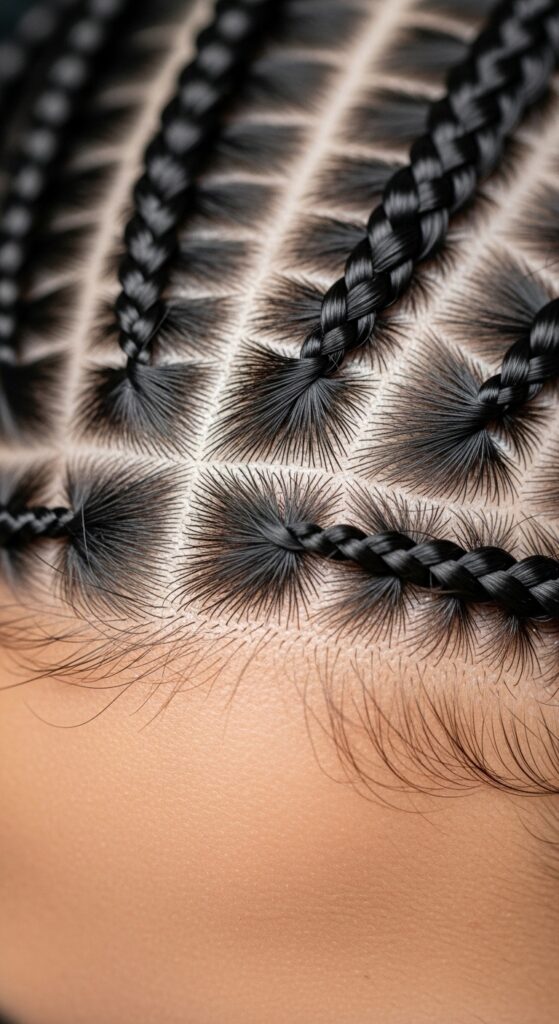
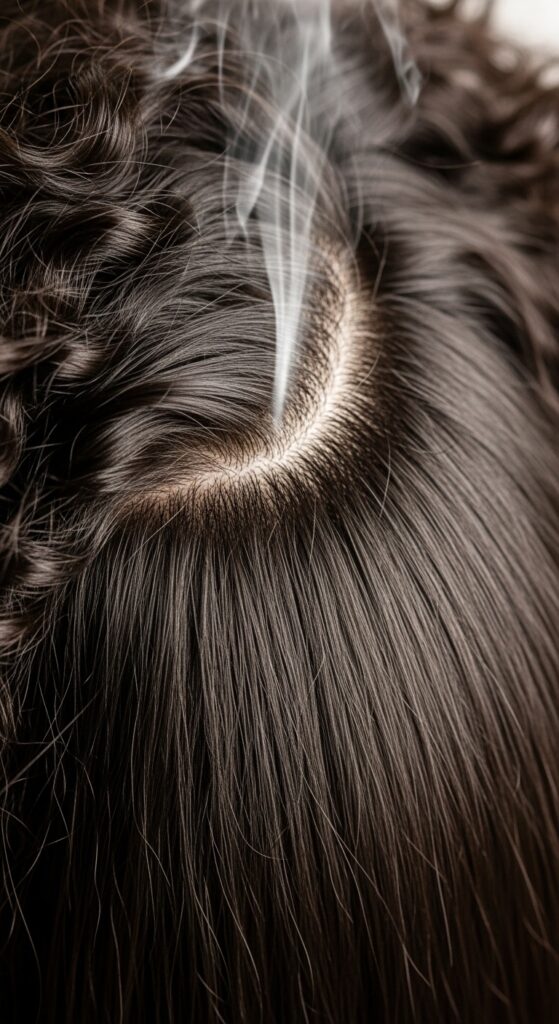
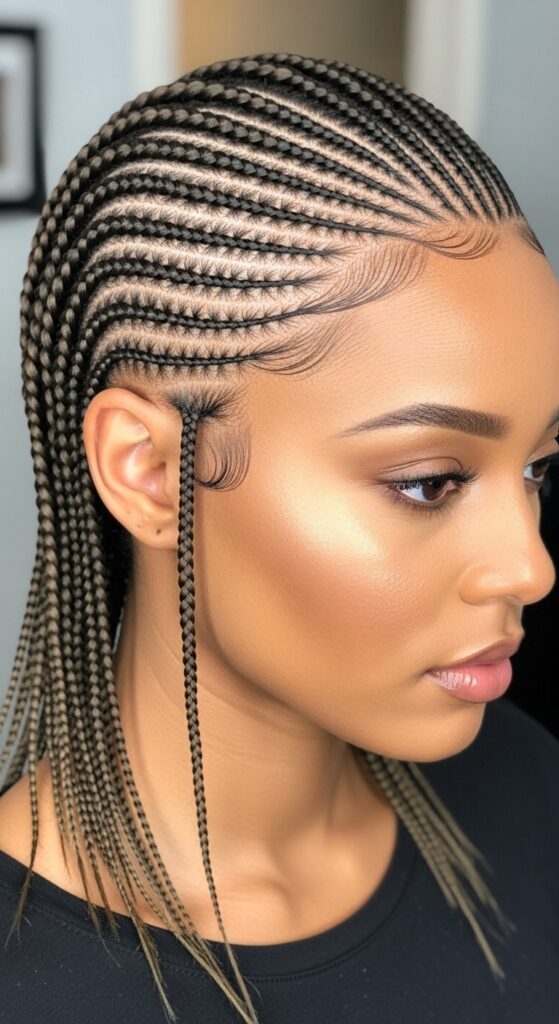
Think of it as the ultimate magic trick for hair extensions. A Phantom Ghost Knot is a specific braiding and knotting technique used at the base of your cornrows or braids.
The goal is to make the attachment point of the extension hair completely disappear into your natural hair and scalp. No bumps, no visible knots, just a smooth, seamless transition.
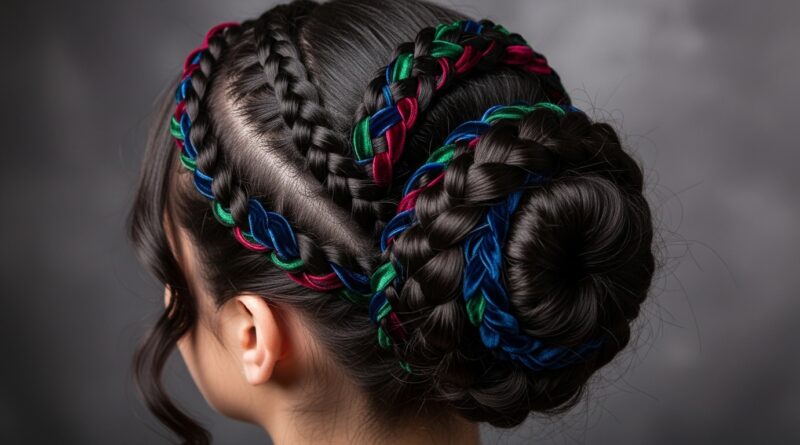
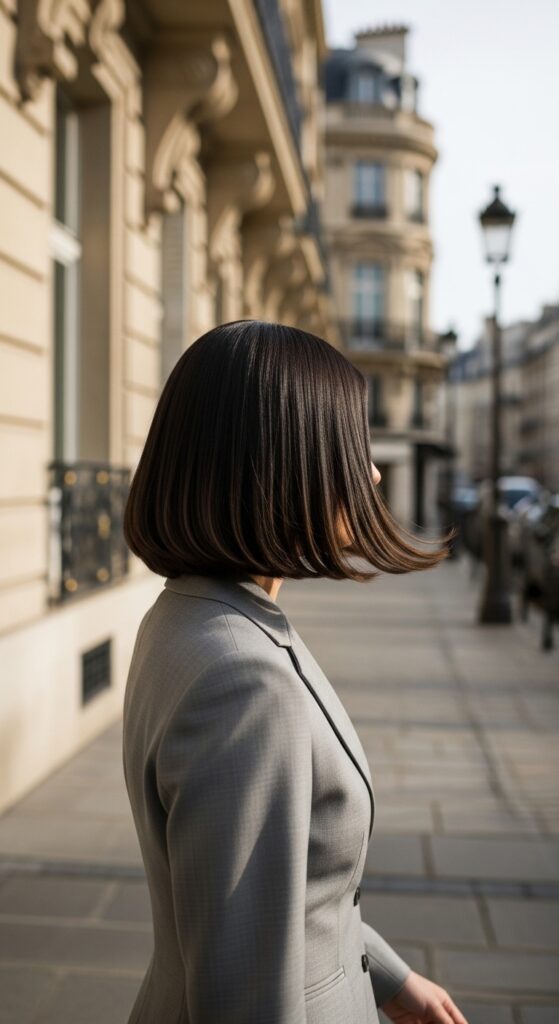
It’s the foundation for any style that needs to look naturally blended, from a sleek quiet luxury bob to intricate braided crowns.
Why This Technique Is A Total Game-Changer
This isn’t just about looks (though that’s a huge part). It’s about health and longevity. When the knot is flat and invisible, there’s less tension and friction on your scalp.
That means less breakage, less itching, and a style that lasts longer because it’s not causing damage at the root. Your natural hair is better protected.
Plus, the confidence boost is unreal. You can pull your hair up, wear deep parts, and not worry about a thing. It’s the detail that elevates your entire look.
Essential Tools You’ll Need To Start
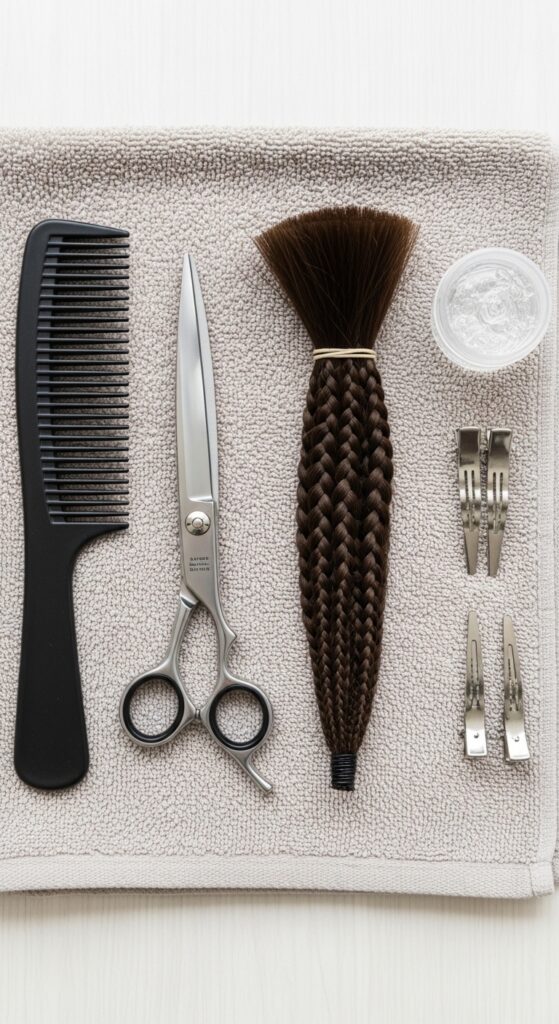
You can’t build a house without the right tools, and the same goes for flawless knots. Don’t worry, you probably have most of this already.
- Fine-Tip Rat Tail Comb: For precise parting and sectioning.
- Small, Sharp Hair Shears: For trimming the extension hair cleanly.
- Strong, Flexible Braiding Hair: Your choice of kanekalon or similar.
- Edge Control & A Light Gel: For maximum slip and hold.
- Small Hair Clips: To keep sections organized and out of the way.
- A Good Light & Mirror: Seeing what you’re doing is non-negotiable.
Prepping Your Natural Hair Is Key
This step is everything. Start with freshly washed, deep-conditioned hair. Your hair should be strong, moisturized, and tangle-free.
Blow-dry or stretch your hair so it’s smooth and easy to braid. Apply a light leave-in conditioner and a bit of oil to your ends for protection.
Then, use your edge control or gel on the roots where you’ll be braiding. This creates a smooth base and gives the braid something to “grip” without needing bulky knots.
Choosing The Right Extension Hair
Not all braiding hair is created equal for this technique. You want hair that is flexible and has a fine, soft texture.
Super stiff or shiny hair is harder to work with and won’t lay as flat. Go for a high-quality kanekalon or a pre-stretched braiding hair.
Match the color as closely as possible to your natural hair for the ultimate invisible blend, especially for styles like the asymmetrical lob where the roots are on display.
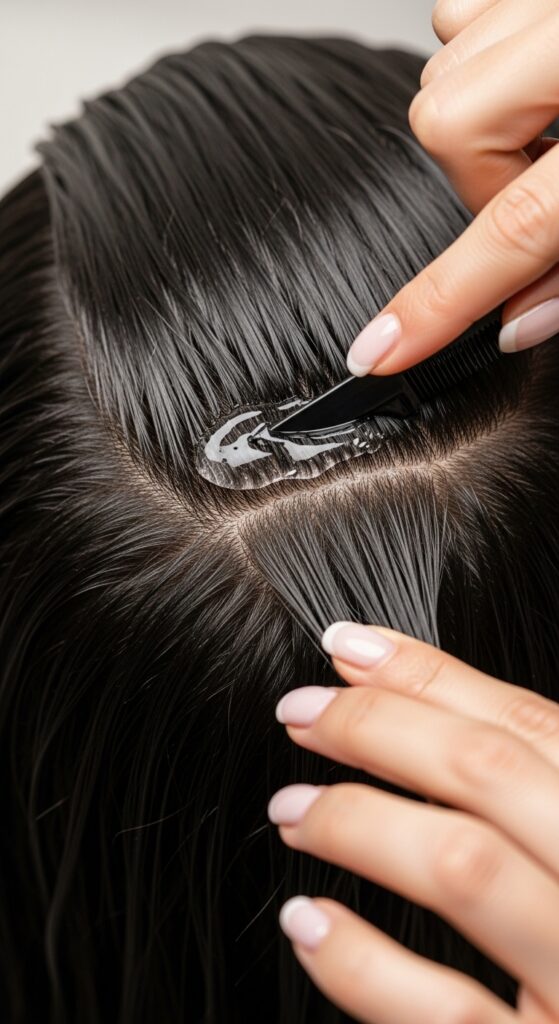
Mastering The Base Braid
Your cornrow base needs to be neat, flat, and not too tight. The flatter the braid, the flatter the final knot will be.
Braid with consistent tension. Don’t pull too hard, as that can cause bumps. Keep the braid snug against the scalp.
As you braid, incorporate the extension hair immediately. We’re not adding it later; it becomes part of the braid from the very first cross-section.
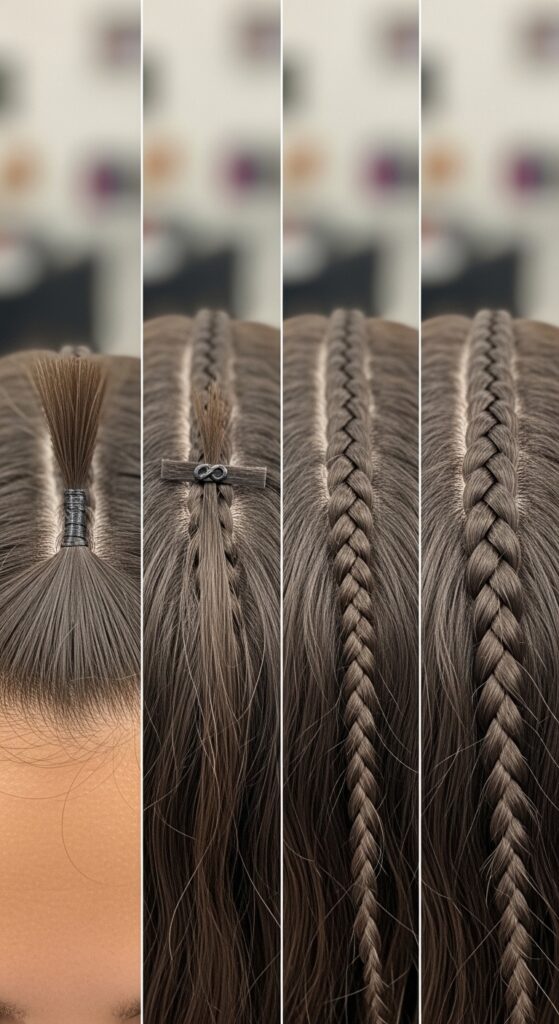
The First Knot: Setting The Foundation
Once your base braid is about an inch long, it’s time for the first ghost knot. Take the extension hair and your natural hair from the braid.
You’ll create a simple, small knot right at the base of the braid. The trick is to pull it tight enough to be secure, but not so tight it creates a lump.
Use the tail of your comb to gently tuck and flatten the knot as you tighten it. This first knot is the anchor for everything that follows.
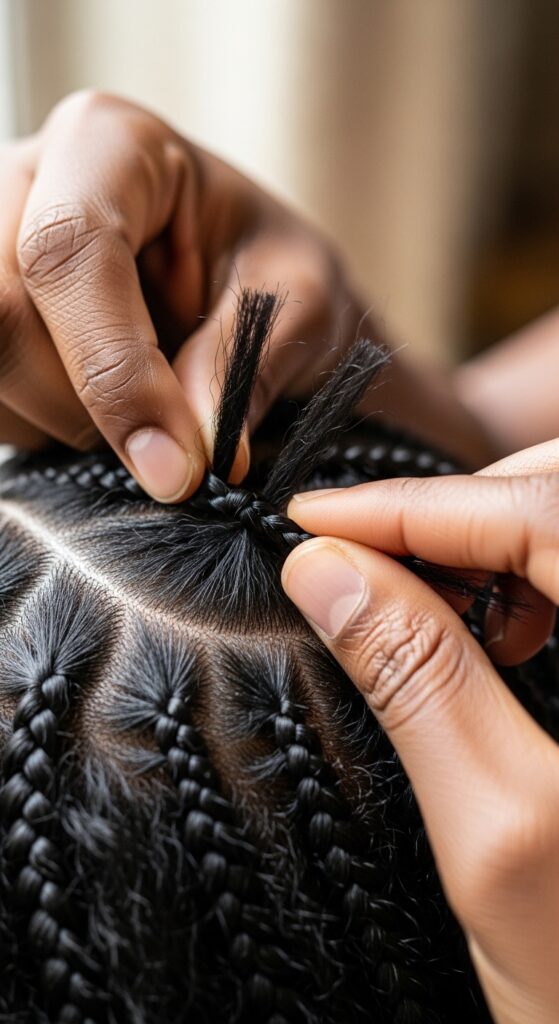
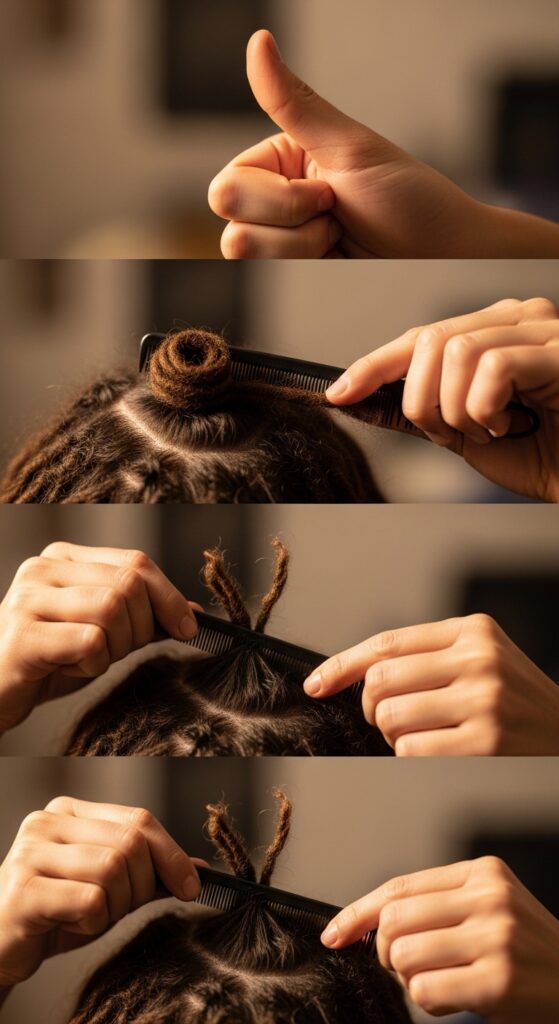
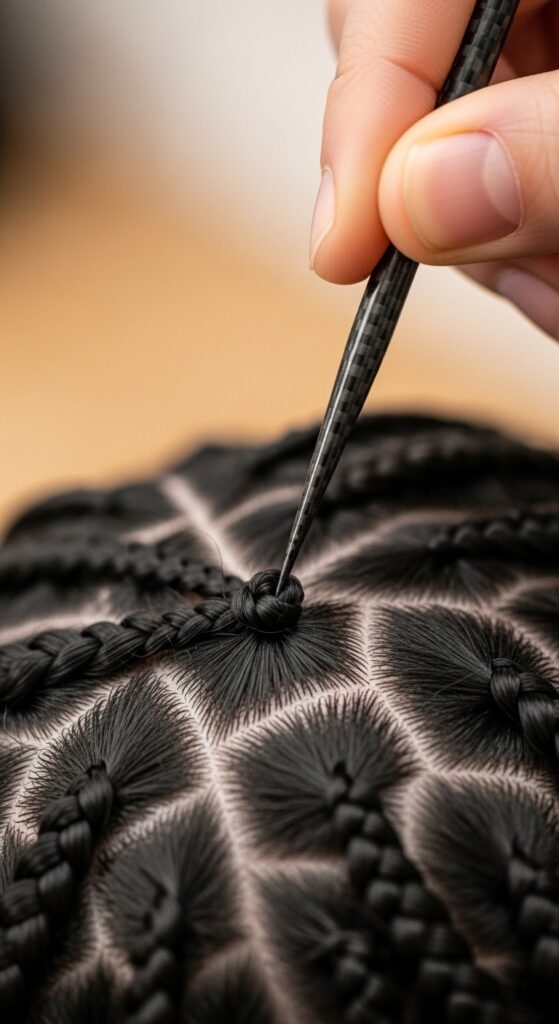
Technique: The “Tuck And Roll” Motion
This is the magic move. After tying a knot, don’t just leave it. Use your thumb and forefinger to literally roll the knot between them, pressing it flat against the scalp.
Then, use the fine tip of your comb to gently tuck any tiny loose ends under the neighboring braid or the knot itself.
This “tuck and roll” is what transforms a visible knot into a phantom. It takes practice, but soon it’ll feel like second nature.
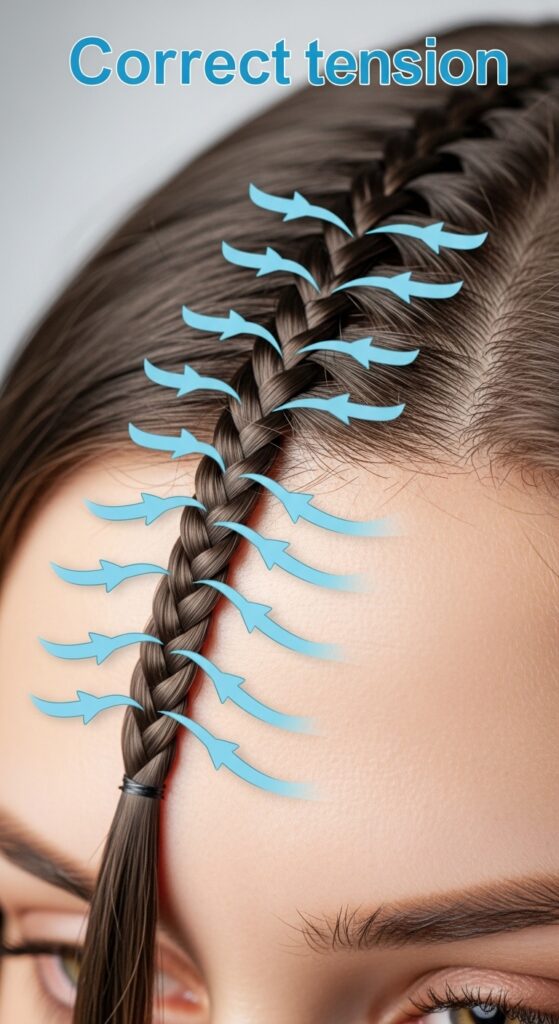
Keeping Tension Consistent & Safe
Inconsistent tension is the main cause of bumps and headaches—literally. Pay attention to how hard you’re pulling with each stitch of the braid and each knot.
A good rule: if it hurts, it’s too tight. Your scalp should feel snug, not stressed. This protects your edges and ensures comfort for the weeks ahead.
This is crucial for any long-term protective style, whether you’re aiming for 2026 hairstyles trends or a classic look.
Blending Different Hair Textures
If your natural hair is curly or coily and the extension hair is straight, blending is an extra step. Before knotting, you can lightly steam or dip the extension hair in hot water to add a slight wave or texture.
You can also braid a bit of your natural hair over the extension hair at the knot point to help camouflage it.
The goal is to avoid a stark texture difference right at the root, which can break the seamless illusion.
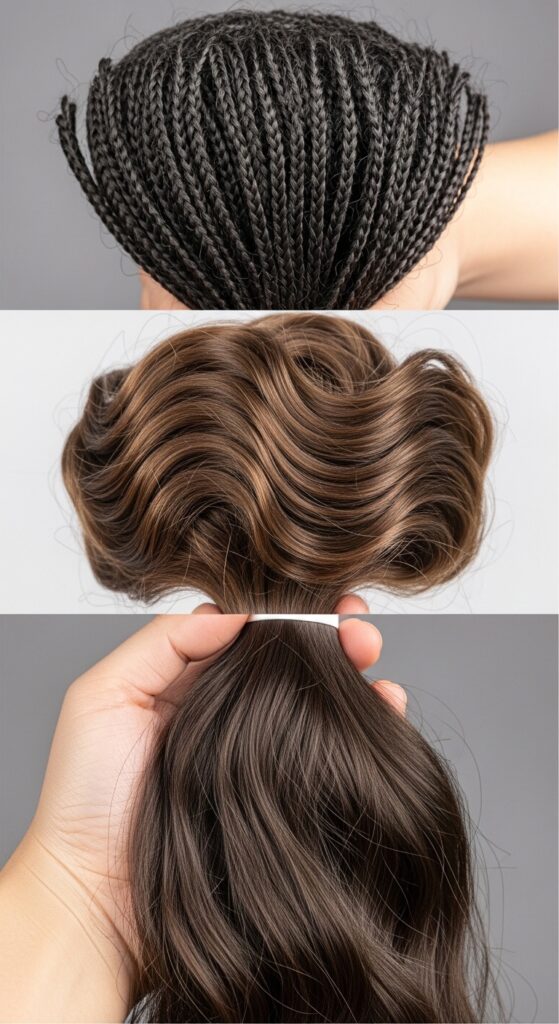
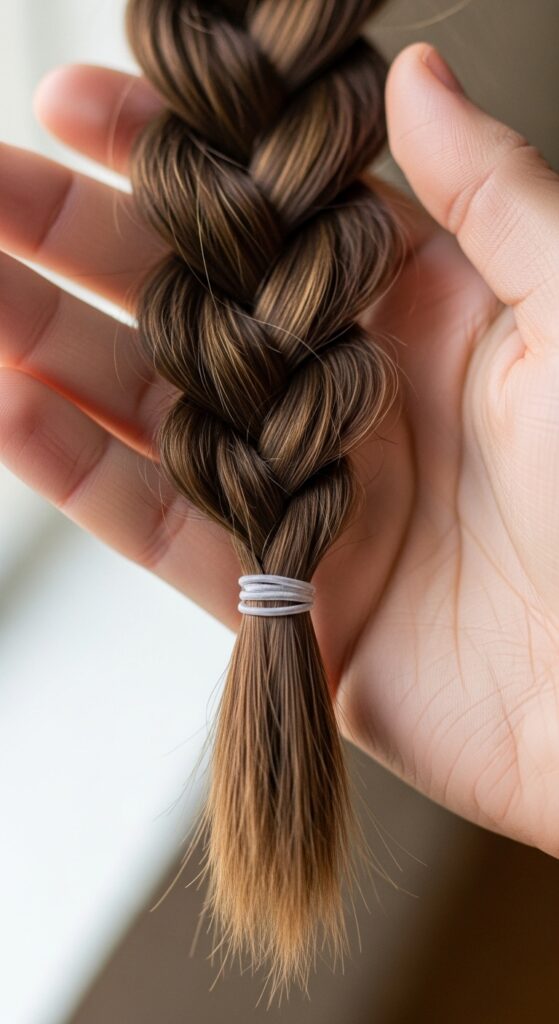
Securing The Ends Invisibly
How you finish is as important as how you start. Don’t just use a regular rubber band. Instead, braid the extension hair down to a very fine point.
Then, use a tiny, clear elastic or a small dot of strong hair glue to secure the very tip. Fold the end under and stitch it into the underside of the braid with a needle and thread.
This keeps the ends from fraying and maintains the clean, invisible line from root to tip.
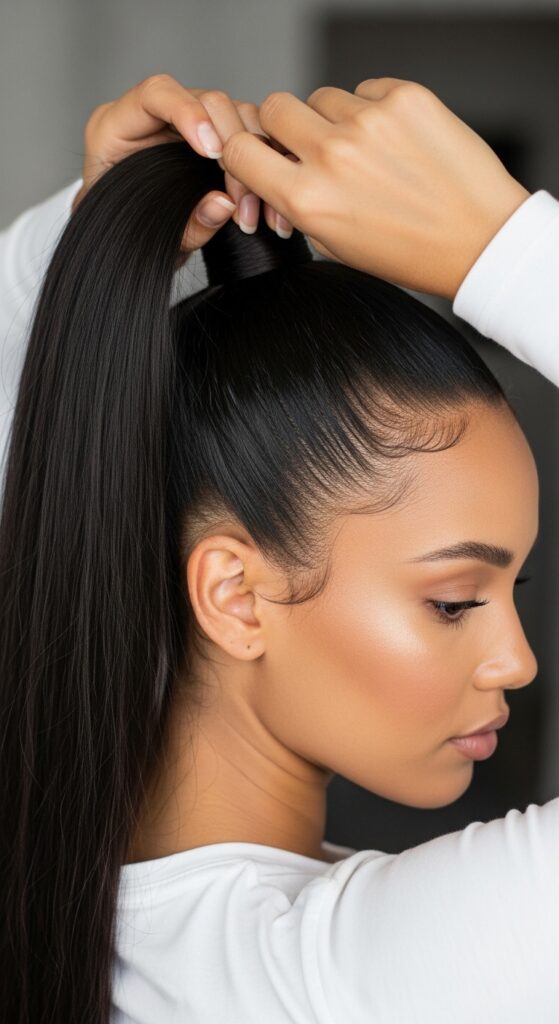
Styling Over Your Ghost Knots
The best part! With a seamless base, you can style with total freedom. Create deep, sharp parts for a glitchy glam hair look.
Pull your hair into a high ponytail or bun without fear of visible tracks. The scalp will look naturally full.
This technique is perfect for creating the sleek, polished base needed for a hime cut with extensions or a sharp vampire haircut.
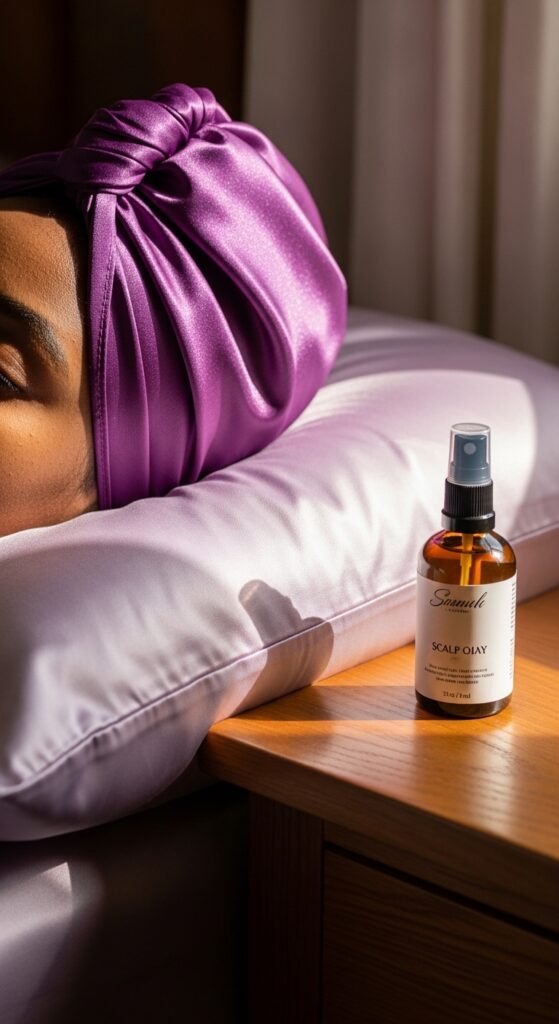
Maintaining Your Style Week-To-Week
Maintenance is easy when the foundation is solid. Use a light oil spray on your scalp between washes to prevent dryness and itch.
Wrap your hair at night with a satin scarf to minimize frizz at the roots. Gently cleanse your scalp with a diluted shampoo using an applicator bottle.
Avoid heavy products directly on the knots, as buildup can make them more visible over time.
Troubleshooting Common Problems
See a bump? Don’t panic. Sometimes a knot can loosen slightly. Use the fine end of a rattail comb, dip it in a tiny bit of gel, and gently re-tuck and press the knot flat.
If a braid feels too tight, you can carefully loosen the stitches immediately after it with the comb tip.
Fraying extension hair? A quick pass with a low-heat flat iron can seal the synthetic hair and smooth it out.
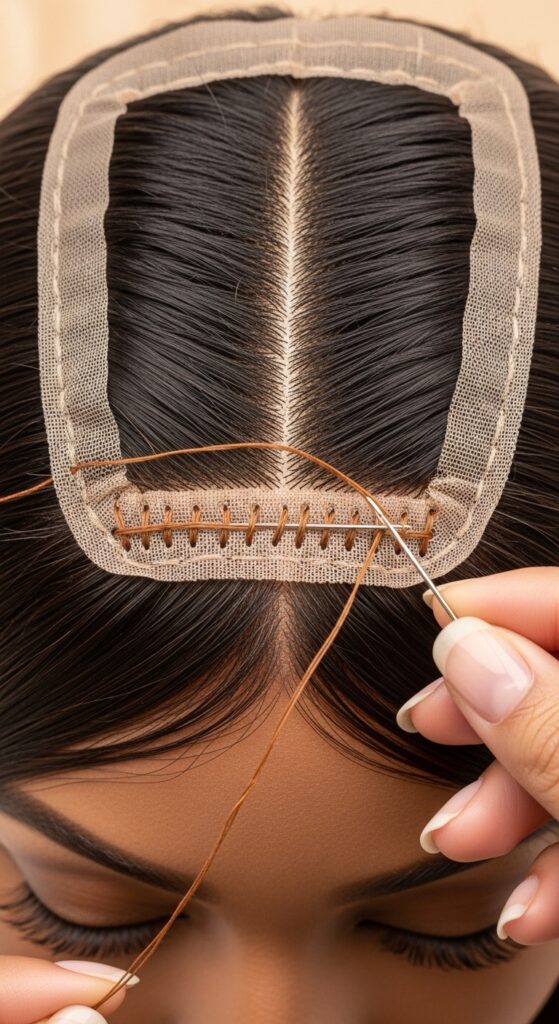
Adapting For Wigs & Closures
This technique isn’t just for braids! Use ghost knots when creating the braided base for a wig or when sewing down a closure.
The flatter your braids, the flatter the wig will sit. It eliminates that bulky, obvious “ledge” around your hairline.
For closures, sewing onto ghost knots makes the parting look incredibly natural, like true scalp.
Ghost Knots For Short Hair Styles
Short hair ladies, this is for you too. Ghost knots are perfect for adding invisible length or volume to a TWA or a cropped cut.
The small, flat knots allow you to braid or twist very close to the scalp without discomfort. It’s how you achieve a seamless asymmetrical lob with added pieces.
It gives you all the protective benefits without sacrificing your short hair aesthetic.
Elevating “Old Money Hair” Aesthetics
The old money hair look is all about pristine, healthy, “effortless” texture. Ghost knots are the secret.
They allow you to add length or thickness for a blunt bob or soft waves without a single trace of how it’s done. The hair just looks naturally amazing.
It’s that undetectable, high-maintenance look achieved with a practical, protective technique.
Creating “Romantic Goth” & Edgy Looks
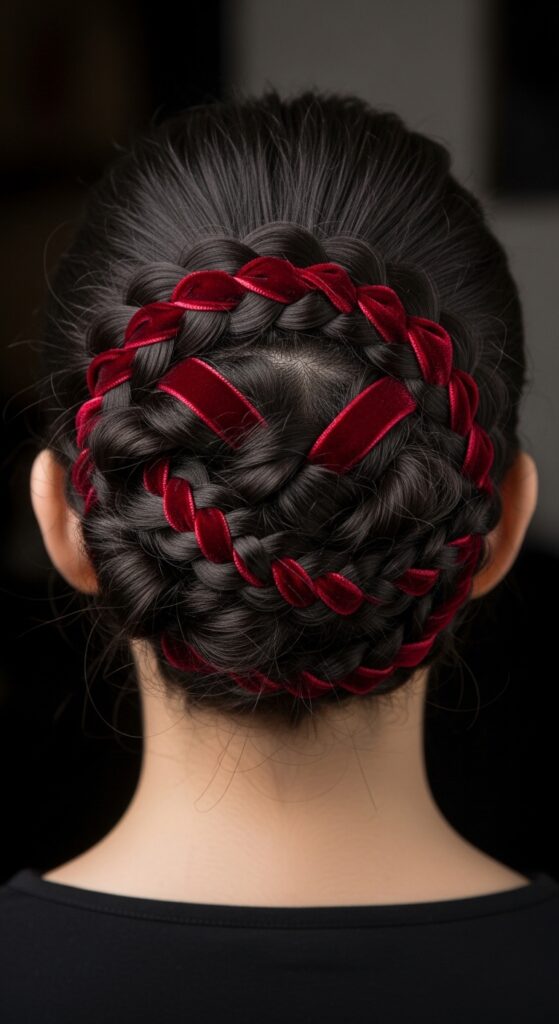
For romantic goth hairstyles, details matter. Intricate braids, woven ribbons, or jeweled accessories need a smooth canvas.
Bumpy knots would ruin the delicate, ethereal vibe. Ghost knots let you build complex styles that look polished and intentional, not DIY.
They provide the flawless base for deep, dark colors and dramatic textures to truly shine.
How This Fits 2026 Hairstyles Trends
Looking ahead to 2026 hairstyles, the focus is on intelligent hair health and hyper-naturalism. It’s not just about the style, but the smart technique behind it.
Ghost knots align perfectly with this. They represent a shift towards methods that prioritize scalp health and invisible artistry.
Mastering this now puts you ahead of the curve, ready for any trend that demands a flawless base.

Practice Makes Permanent
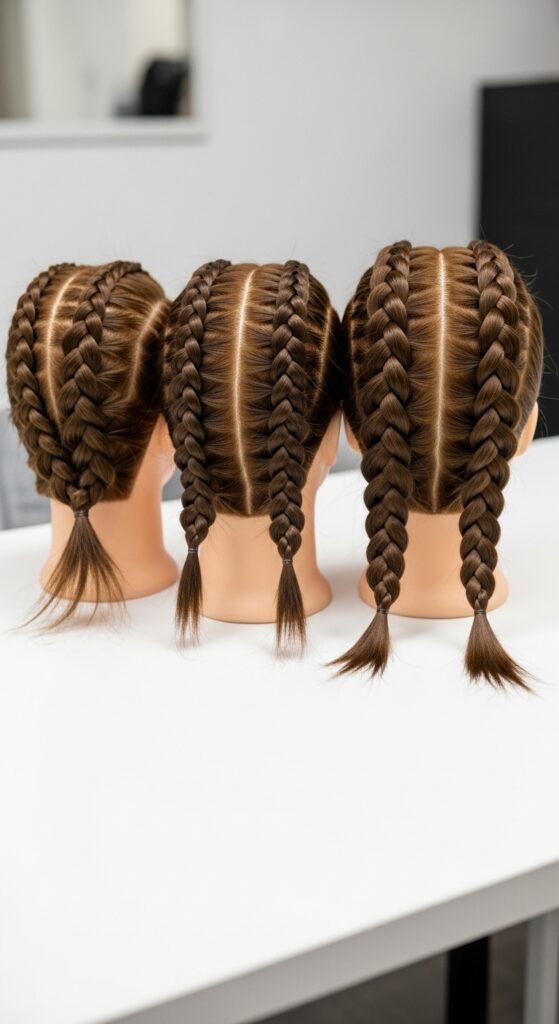
Your first attempt might not be perfect, and that’s okay. The beauty of this is that it’s a skill you can practice on a mannequin head or a small section of your own hair.
Focus on one step at a time: first the flat braid, then the first knot, then the tuck and roll. Speed comes later.
Be patient with yourself. Every pro started as a beginner. The goal is progress, not perfection on the first try.
Your Final Check-List Before Starting
- Hair is clean, stretched, and moisturized.
- All tools are laid out within reach.
- Extension hair is pre-stretched or texturized if needed.
- You have good lighting and a comfortable seat.
- You’ve watched a few video tutorials (search “Phantom Ghost Knot” on my blog!).
- You’ve set aside enough time so you won’t feel rushed.
You are now ready to create your most seamless, protective style ever.
And just like that, you’ve got the full blueprint. It might seem like a lot of steps, but really, it’s about mastering a few key moves and applying them with care. The difference it makes is honestly breathtaking.
Think of this as investing in your hair’s health and your own confidence. Once you feel how light and secure a ghost-knotted style is, and see that flawless scalp in the mirror, you’ll never go back to bulky knots again.
Save this post to Pinterest to keep this guide handy for your next install day! Did you try this technique? Tell me in the comments below—what’s the first style you’re going to create with your new ghost knot skills? I love hearing from you!