Master Guide for 25 Heatless Overnight Braids Lasting Multiple Days
Okay, let’s be real. We all want those gorgeous, effortless waves without frying our hair every morning. And what if I told you the secret is literally sleeping on it? I’m talking about heatless overnight braids that give you salon-worthy texture for days.
This is my master guide to 25 braid styles. Whether your hair is pin-straight, thick and curly, or somewhere in between, there’s a perfect braid here for you. We’re going to cover everything from the tools you need to the exact techniques.
By tomorrow, you’ll wake up with stunning, heat-free hair. It saves so much time and your hair will thank you. Let’s dive in and get you those perfect, lasting waves.
Why Overnight Braids Are a Total Game-Changer

If you’re still reaching for the curling iron every day, this will change your routine. Overnight braids are the ultimate hack for healthy, beautiful hair. They create texture while you sleep, meaning zero heat damage and more time in the morning.
The best part? The waves get better and softer over multiple days. You can rock day-one defined waves, day-two beachy texture, and day-three a perfect, lived-in look. It’s the foundation for so many 2026 hairstyles trends we’re seeing.
Your Essential Pre-Braid Hair Prep

Prep is everything for lasting results. Start with hair that’s 90% dry, either air-dried or blown out on cool. Damp hair sets the style best without staying wet all night.
Apply a lightweight product to help the waves hold. I swear by a texturizing spray or a light mousse. Here’s my quick routine:
- Thoroughly detangle hair with a wide-tooth comb.
- Mist with a heat protectant or texturizing spray (yes, even without heat!).
- Work a golf-ball-sized amount of mousse through mid-lengths to ends.
- Part your hair as desired before you start braiding.
Classic Three-Strand Braid (The Foundation)

This is where it all begins. The classic three-strand braid is simple but so effective. It gives you uniform, romantic waves that are perfect for an old money hair aesthetic—think timeless and polished.
For the best waves, braid your hair when it’s slightly damp. The tighter you braid, the more defined your waves will be. Looser braids give you a softer, more undone look. Secure the end with a silk scrunchie to prevent creases.
Double Dutch Braids for Full Volume

If you crave major volume at your roots, Dutch braids are your best friend. Instead of braiding over, you braid under, which lifts the hair from the scalp. Doing two down your head is both cute to sleep in and creates amazing texture.
When you take these out, you’ll have incredible body. Gently pull the braids apart horizontally to widen the waves. This style is a secret base for so many glitchy glam hair looks—voluminous with a cool, undone edge.
Headband Braid for a Soft, Face-Framing Effect

This style is as pretty to sleep in as it is to wear out. Create a simple three-strand braid on one side of your head, near your temple. Then, drape it across your forehead like a headband and pin it behind your opposite ear.
When you undo it, you’ll have the most beautiful, face-framing waves at the front. The rest of your hair can be left down or in a loose braid. It gives such a romantic, soft vibe perfect for a quiet luxury bob.
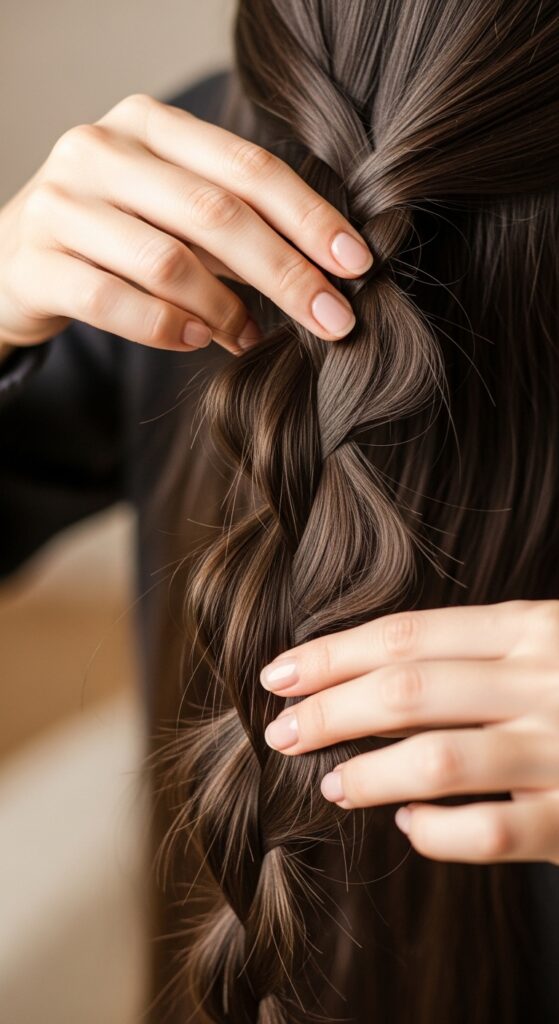
Rope Twist Braid for Defined, Spiral Waves

For stunning, spiral-shaped waves, try the rope twist. It’s easier than a traditional braid! Simply split a section of hair into two equal parts. Twist each part clockwise, then twist them around each other counter-clockwise.
Secure the end. This method creates gorgeous, corkscrew-like waves that are super defined. It works amazingly on all hair lengths, especially on an asymmetrical lob to highlight that chic, angled cut.
Fishtail Braid for Boho-Chic Texture

The fishtail braid looks complicated but is surprisingly simple with a little practice. It gives you a more piece-y, bohemian wave pattern compared to the uniform three-strand braid.
Start with a low ponytail for ease. Divide it into two main sections. Take a small piece from the outside of one section and cross it over to the inside of the opposite section. Repeat. The smaller the pieces you take, the more intricate the final waves.
Four-Strand Braid for Unique, Detailed Waves

Ready to level up? The four-strand braid creates a beautiful, flat, almost woven look that unravels into incredibly unique waves. It’s perfect for when you want your hairstyle to have a little extra something.
Number your strands 1, 2, 3, and 4 from left to right. Cross strand 4 over 3. Then cross strand 1 under 2. Now, repeat: always take the farthest right strand over, and the farthest left strand under. It creates a stunning pattern perfect for romantic goth hairstyles.
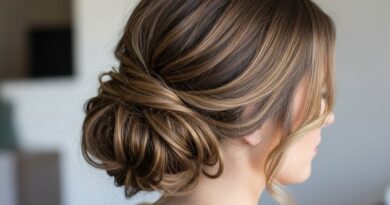
Braided Bun for Short to Medium Hair
If your hair is too short for a long braid, don’t worry! Create a regular three-strand or rope braid with all your hair. Then, simply wrap the braid into a soft bun at the nape of your neck and secure it with pins and a scrunchie.
Sleeping on the bun helps set the wave pattern. In the morning, you’ll have beautiful, tousled waves with lots of lift at the roots. This is a fantastic method for those with a vampire haircut or a chic bob.
Space Buns with Braids for Fun, Lasting Texture

For a fun, youthful look that lasts, try braided space buns. Part your hair down the middle. On each side, create a regular braid, Dutch braid, or even a simple ponytail. Then, wrap each braid into a bun and secure it.
This protects all your hair while you sleep and gives you amazing, crimped-like waves when you take it down. It’s a total vibe and a great way to play with the glitchy glam hair trend—edgy and cute at the same time.
Micro Braids for Tight, Lasting Crimps

If you’re after a more dramatic, 90s-inspired crimped texture, micro braids are the way to go. Section your hair into many small, thin sections and create simple three-strand braids on each one.
Yes, it takes more time to put in, but the payoff is huge. The waves last for days and days. Gently run your fingers through them to soften the look. This style is a cornerstone for achieving the hime cut’s bold, statement texture.
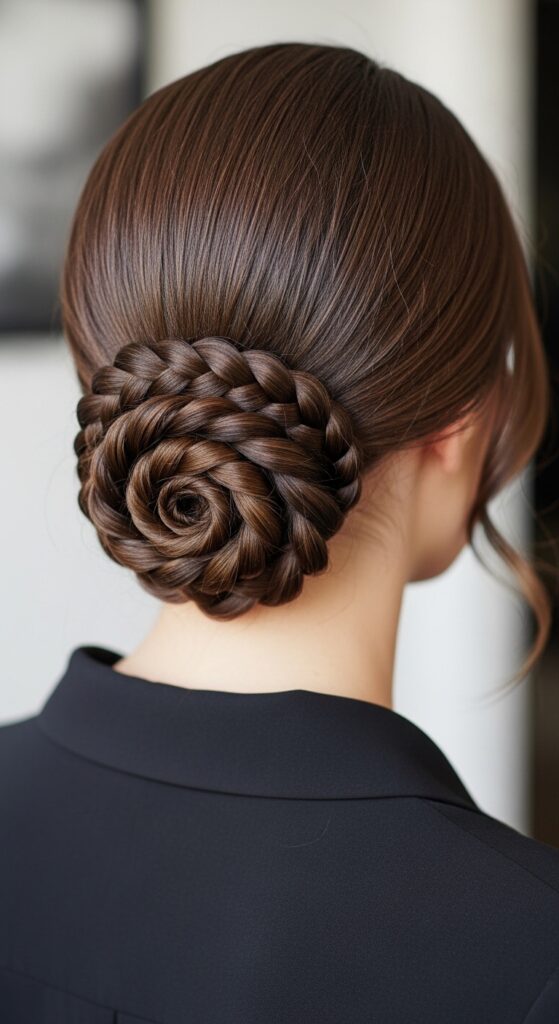
Milkmaid Braids for All-Over Protection
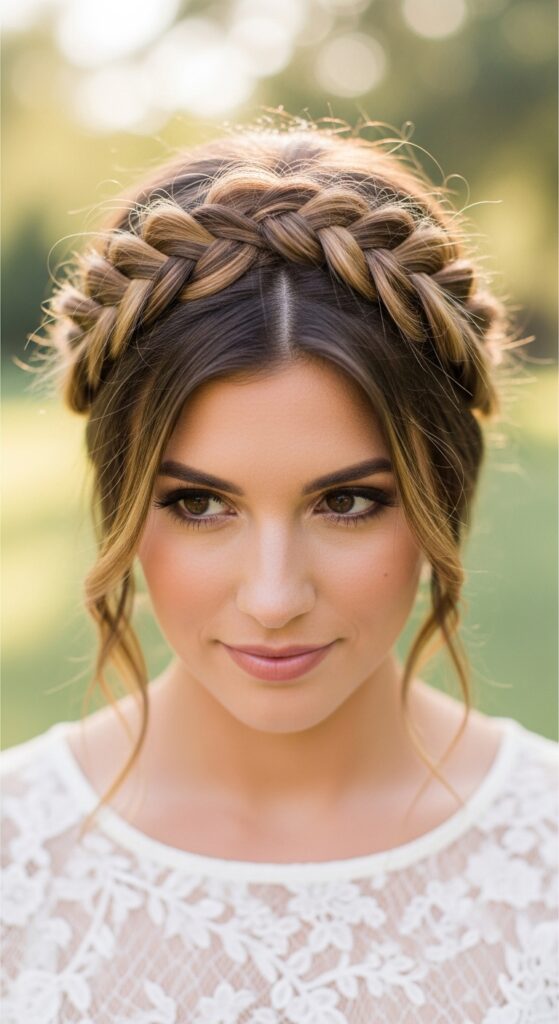
This style keeps every single piece of hair off your face and neck, which is great for sleep and creates beautiful, uniform waves. Create two braids (Dutch or regular) on either side of your head.
Then, wrap them across the top of your head like a crown, pinning them securely in place. When you take them down, you’ll have gorgeous, headband-style waves all over. It’s a very romantic, timeless look.
Braided Ponytail for Simple, Sleek Waves

Sometimes you want waves without a ton of volume at the root. For that, the braided ponytail is perfect. Put your hair in a mid-height or high ponytail using a silk scrunchie. Then, braid the tail as usual.
This gives you beautiful, smooth waves from mid-lengths to ends. It’s a great set for achieving a polished, quiet luxury bob look—sleek but with beautiful, intentional movement.
Twisted Crown for Regal, Soft Waves
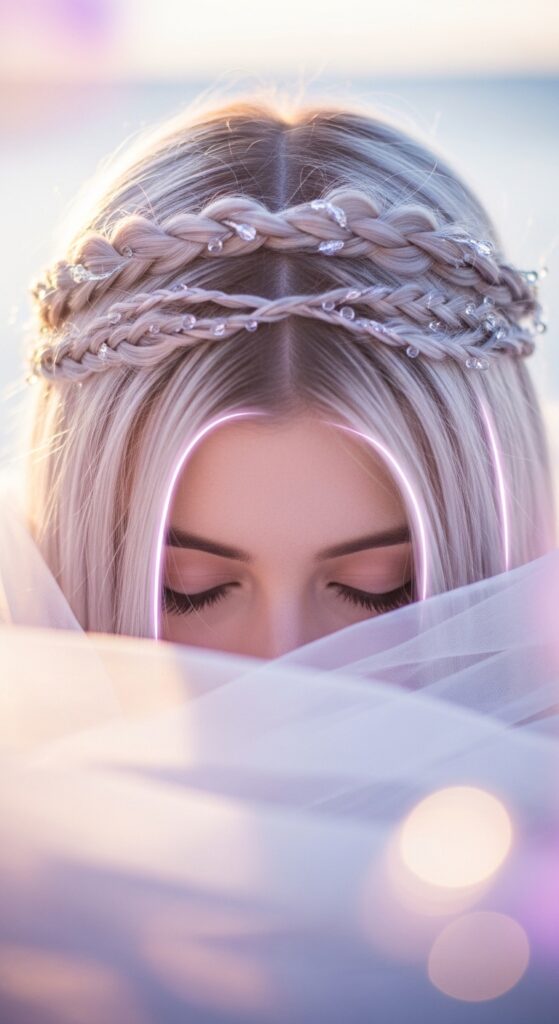
For the ultimate romantic vibe, try a twisted crown. It’s not a braid, but a twist, and it sets beautifully. Take two front sections of hair. Twist each one back and away from your face, then wrap them around your head, pinning them at the back.
Sleep with just the crown or with the rest of your hair in a loose braid. You’ll wake up with the most beautiful, face-framing curls and a wave pattern that looks effortlessly elegant.
How to Make Your Braids Last 3+ Days

The magic of overnight braids is the multi-day wear! To make your style last, always start with the prep we talked about. Use those holding products. When you take your braids out in the morning, don’t brush them—just use your fingers to separate.
At night, loosely re-braid your hair or put it in a very high, loose ponytail (a “pineapple”) to preserve the waves while you sleep. A light spritz of texturizing spray or dry shampoo at the roots on day two and three will refresh volume and grip.
The Best Hair Ties & Accessories for Sleeping

Your hair tie choice matters a lot. Avoid regular elastic bands—they cause breakage and leave deep creases. I only use two things: silk or satin scrunchies, and spiral/coil hair ties. They hold without damaging or leaving a mark.
For the ultimate protection, especially if you toss and turn, consider a satin or silk pillowcase or a satin bonnet. This reduces friction, keeps your braids intact, and your hair incredibly smooth.
Taking Out Braids for Perfect Waves, Not Frizz
This step is crucial! Be patient. Don’t just yank the hair tie out and rip the braid apart. First, carefully remove the hair tie. Then, slowly unravel the braid from the bottom up, using your fingers to gently separate the three sections.
Once it’s all undone, do NOT use a brush. Use your fingers to gently separate the wave clumps. If you need more separation, a wide-tooth comb is okay. Finish by flipping your head over and shaking at the roots for volume.
Refreshing Day-Two and Day-Three Hair

Your waves might soften or get a little slept-on by day two. No problem! Here’s my quick refresh routine. First, mix water with a drop of conditioner in a spray bottle. Lightly mist your hair, focusing on the mid-lengths—don’t soak it.
Then, use your fingers to re-twist a few of the wave sections around your face. Let it air dry or use a diffuser on low heat. A touch of pomade or wax on the ends can redefine any pieces that have gone straight.
Styling Your Heatless Waves for Different Looks

Now for the fun part—styling! Your heatless waves are the perfect base. For a sleek look, smooth the top section back into a ponytail or clip. For a romantic look, pull back the sides with two small clips.
You can also add accessories like a scarf or decorative pins. These waves work for everything from a day at the office to a night out. They give that “I woke up like this” vibe that’s central to so many 2026 hairstyles.
Adapting Braids for Fine, Thin Hair

If you have fine hair, you might worry braids will make it look flat. The trick is texture and product! Use a volumizing mousse at the roots before braiding. Try smaller, more braids (like four or six small ones) instead of one or two big ones.
This creates more wave patterns, which adds the illusion of volume. Also, braid your hair when it’s completely dry—dampness can weigh fine hair down. When you take them out, use a dry texturizing spray at the roots.
Adapting Braids for Thick, Curly Hair

For thick or curly hair, the goal is often definition and manageability. Braid on damp hair with a strong-hold curl cream or gel. Use larger, chunkier braids to avoid a too-crimped look and to really enhance your natural curl pattern.
You may only need one or two braids. Secure them well with strong hair ties. This method is amazing for reducing frizz and creating beautiful, elongated waves or curls that last. It’s a true protective style.
Common Mistakes & How to Fix Them

We all make mistakes! The most common one is braiding soaking wet hair, which can lead to mildew and doesn’t dry properly. Aim for damp. Another is braiding too tightly, which causes headaches and unnatural-looking waves.
Using the wrong hair tie causes breakage. And finally, brushing out the waves immediately creates frizz. Remember: finger-combing is your friend. If your waves are too tight, simply run your hands over them to loosen and soften.
My Top Product Picks for the Best Hold

You don’t need a lot, but the right products make a difference. For most hair types, a flexible-hold mousse is my MVP. It gives hold without crunch. A good texturizing spray adds grit for longer wear.
For curly hair, a defining curl cream is key. And for everyone, a lightweight hair oil or silkening spray is perfect for taming flyaways after you take the braids out. Look for formulas that say “flexible hold” or “beach wave.”
From Bedhead to Street-Style: Final Touches
You’ve slept in your braids, taken them out perfectly, and now it’s time for the final flourish. Look in the mirror and identify any flat spots. Gently back-comb at the roots for a little lift. Use a tiny bit of pomade on your fingertips to define any pieces around your face.
Remember, the beauty of this style is in its effortless texture. Don’t overwork it. A spritz of hairspray from a distance can lock it all in without making it stiff. You’re ready to go!
And there you have it—your complete guide to waking up with amazing hair, every single day. It might take a night or two to find your perfect braid, but once you do, it becomes the easiest part of your routine.
The real win here is giving your hair a break from heat while still looking and feeling incredible. Those 2026 hairstyles with all their cool texture? You’re already doing them, in the healthiest way possible.
I’d love to hear which braid you try first! Did