Nail 13 Voluminous Crowns Using Foam Rollers Overnight Effortlessly
Okay, let’s be real. We’ve all seen those gorgeous, voluminous crown curls on Pinterest and thought, “I could never.” It looks like it takes an hour with a curling iron and a ton of skill, right? I thought so too, until I went back to the ultimate lazy-girl hack: foam rollers.
This is your sign to skip the heat damage and the complicated routines. You can literally sleep your way to the most beautiful, bouncy, voluminous crowns imaginable. It’s the secret behind so many of those effortless 2026 hairstyles you’re already seeing.
I’m breaking down everything, from which rollers to buy to how to set them for thirteen different vibes. Think old money hair waves to romantic goth hairstyles. Get ready to wake up with perfect hair.
Why Foam Rollers Are Your New Best Friend
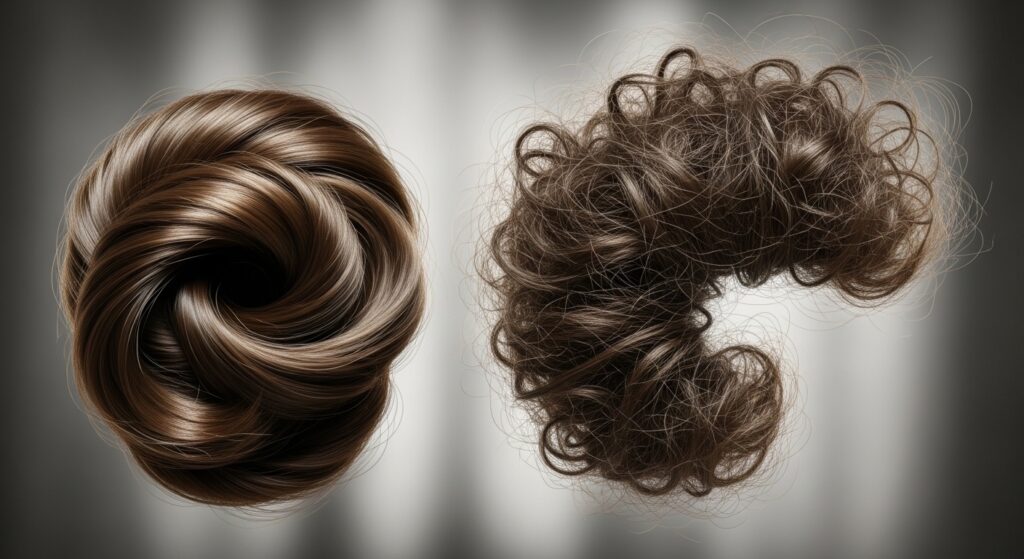
Foam rollers are the unsung heroes of the hair world. They’re cheap, they’re lightweight, and they create the softest, most uniform curl without a single zap of heat. The best part? You do zero work while you sleep.
Unlike traditional rollers, they won’t dig into your scalp. The foam gives just enough, so you can actually get some rest. The result is a head full of consistent, bouncy curls that start right at your roots for that volume we’re all chasing.
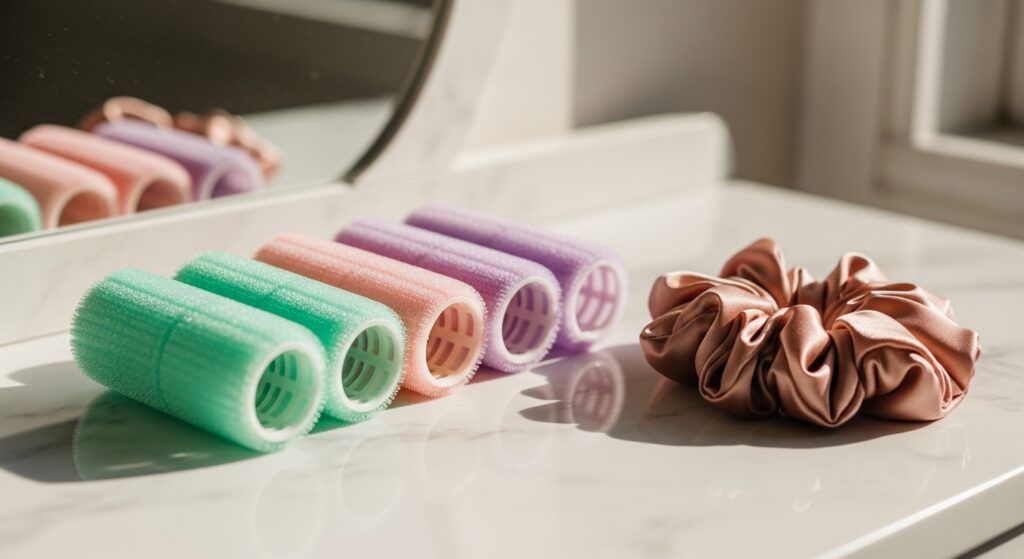
The Exact Roller Kit You Need to Start
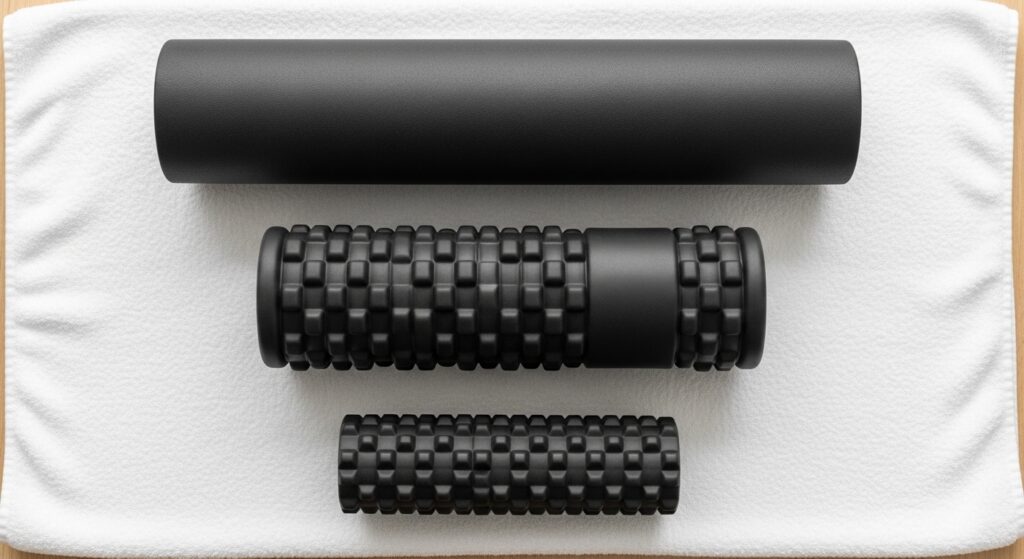
Don’t overcomplicate it. You really only need two sizes to create every style in this guide. I recommend a pack that has both large and medium rollers. The large ones give you loose, sweeping waves, while the medium ones build tighter, more defined curls.
My pro tip? Get the ones with velcro tabs, not the plastic clips. They’re easier to sleep on and less likely to tangle. You can find these at any drugstore or online for less than $15. That’s it. Your entire tool investment is done.
Your Pre-Roll Hair Prep Is Everything
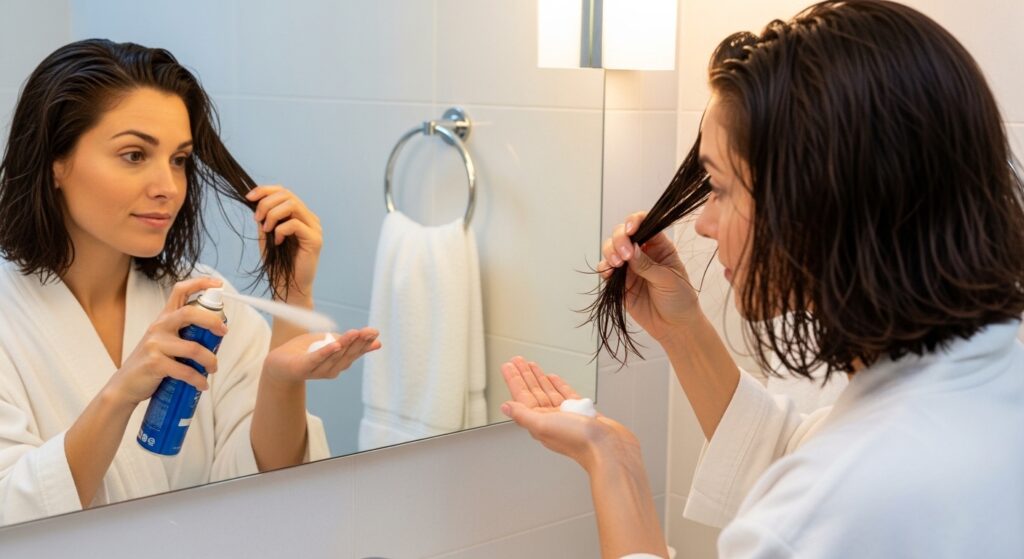
This step is non-negotiable if you want your curls to last. Always, always start with damp hair. Not soaking wet, but about 70% dry. I towel-dry my hair and then let it air dry for about 10-15 minutes before I start rolling.
Then, you need a product to hold the shape. My holy grail is a lightweight mousse or a curl-enhancing cream. Apply it evenly from mid-lengths to ends. This gives the hair something to “set” onto and fights frizz, so you wake up with smooth, defined curls, not a fuzzy mess.
How to Section Your Hair for Maximum Volume
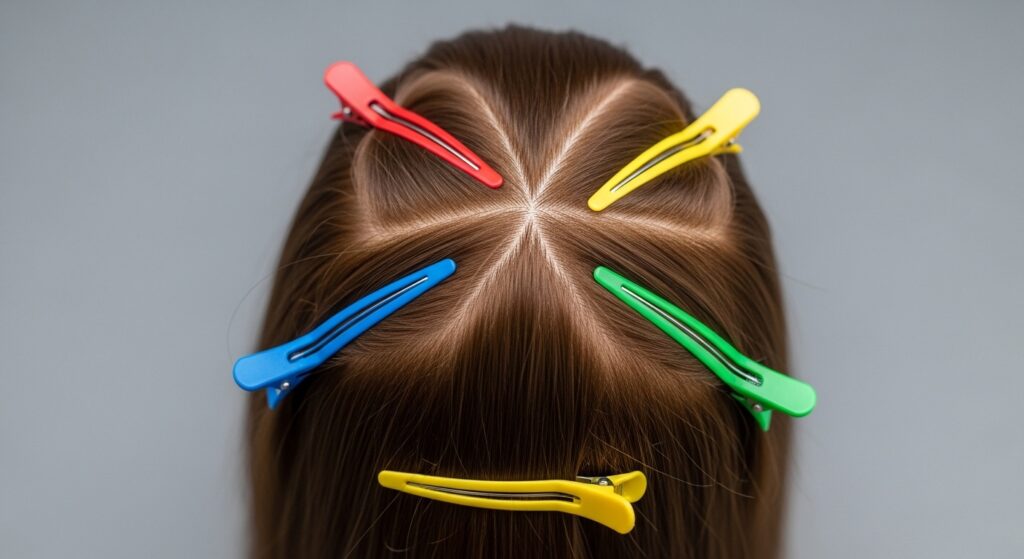
Chaotic rolling equals chaotic results. For voluminous crowns that last, you need to be strategic. Start by parting your hair how you normally wear it. Then, create a horizontal part from ear to ear, separating the top section from the bottom.
Clip the top section out of the way. Always roll the bottom section first. This ensures every layer gets curled and gives the style overall balance and fullness. Working in clean sections is the real secret to that salon-quality lift.
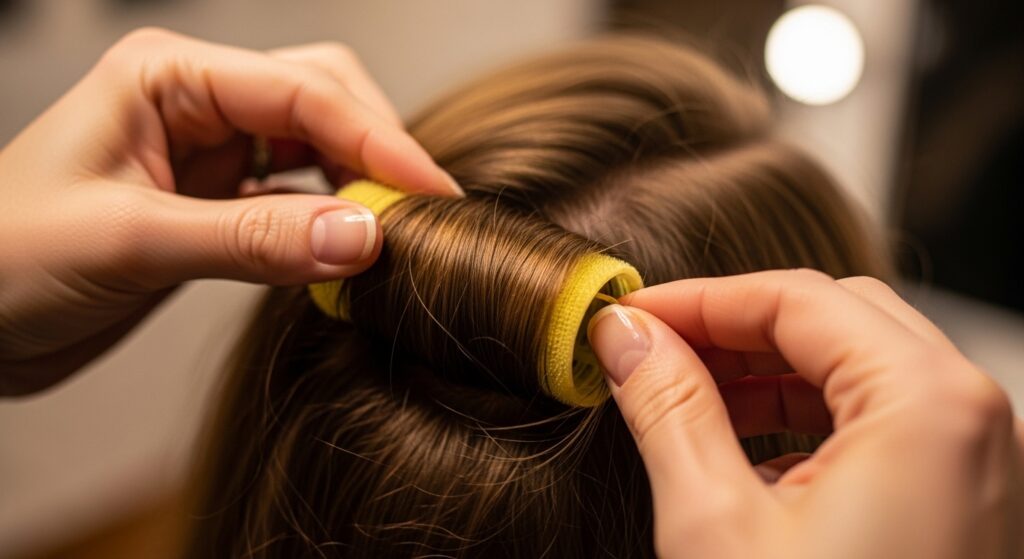
The Basic Rolling Technique: Master This First
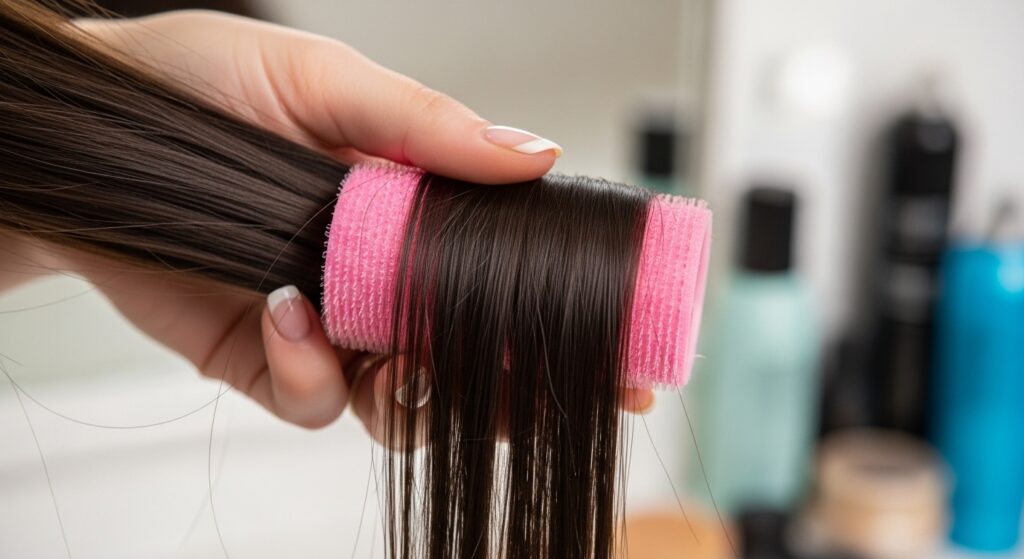
Take a section of hair about the width of the roller. The smaller the section, the tighter the curl. For volume, I like sections about two inches wide. Starting at the ends, wrap the hair smoothly around the roller, rolling it upward toward your scalp.
Keep the tension even—not too tight, not too loose. Once it’s rolled all the way up, secure the velcro tab. The roller should sit snugly but not pull. Repeat this all over your head, and you’ve already mastered the foundational move.
1. The Classic Voluminous Crown
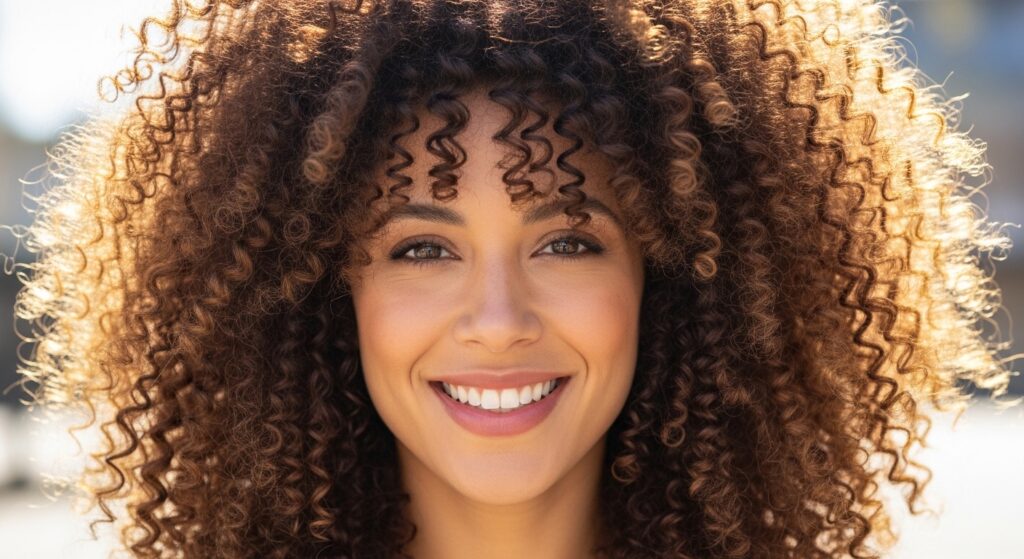
This is the all-over, head-turning volume we’re here for. Use all medium-sized rollers for this. Roll every section vertically, rolling upward toward the ceiling. Place the rollers in rows, making sure to get the ones along your hairline and crown.
When you take them out in the morning, gently separate the curls with your fingers. Do not brush them! Flip your head over, shake at the roots, and spritz with a light-hold hairspray. You’ll have incredible, lasting volume from the crown down.
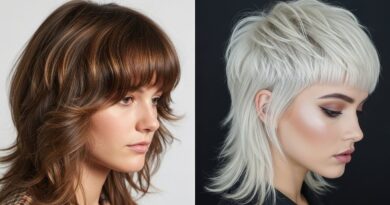
2. Old Money Hair Waves
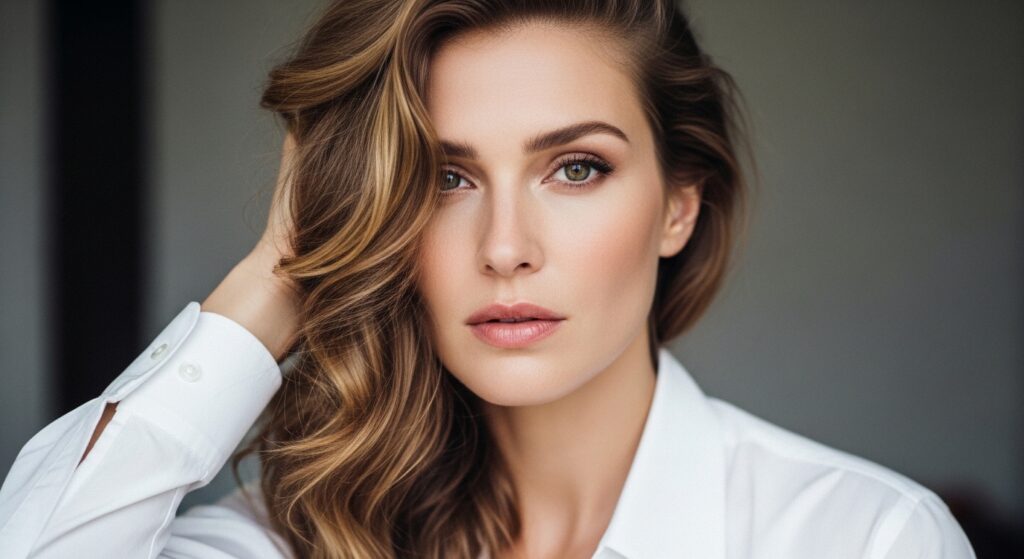
This old money hair look is all about polished, “I woke up like this” waves. Use only your largest rollers. Focus on rolling the mid-lengths and ends, leaving the roots out for a softer effect. Roll sections away from your face.
In the morning, carefully unwind each roller. Use a wide-tooth comb to very gently blend the waves, breaking them up just slightly. The goal is smooth, S-shaped waves, not ringlets. It’s the ultimate quiet luxury bob styling trick.
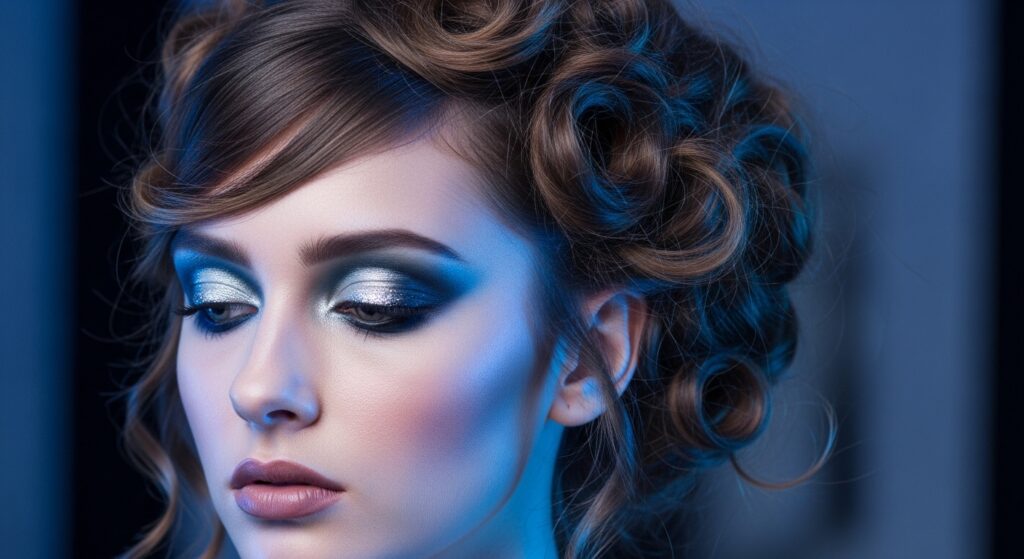
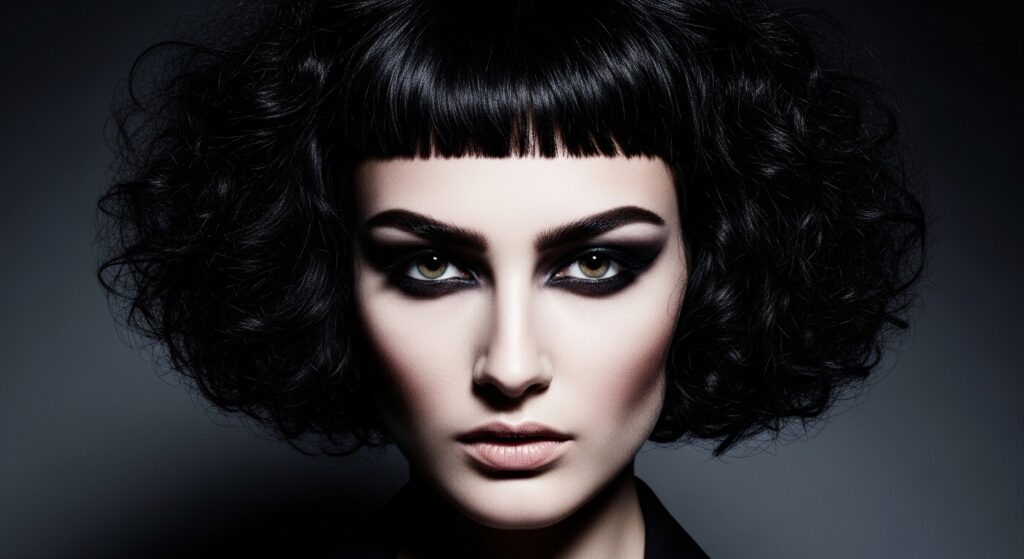
3. Romantic Goth Hairstyles Base

For those soft romantic goth hairstyles, you need defined curl with a touch of drama. Use medium rollers on damp hair prepped with a strong-hold mousse. Create a deep side part before you start rolling. Roll all sections toward the back of your head.
Once set, take the rollers out and let the curls fall. Don’t separate them much. The defined, uniform curls are perfect for half-up styles, braids, or accessorizing with dark ribbons. It’s elegant with an edge.
4. Glitchy Glam Hair Texture
Glitchy glam hair is playful and textured. For this, mix your roller sizes randomly. Put large rollers in some sections and medium in others. Also, change the direction—roll some toward your face, some away. This creates an irregular, dynamic curl pattern.
After removing them, rake your fingers through to create separated, piecey curls. Pull out a few face-framing pieces. The uneven volume and texture are key. It’s perfectly imperfect and so cool.
5. Asymmetrical Lob Volume
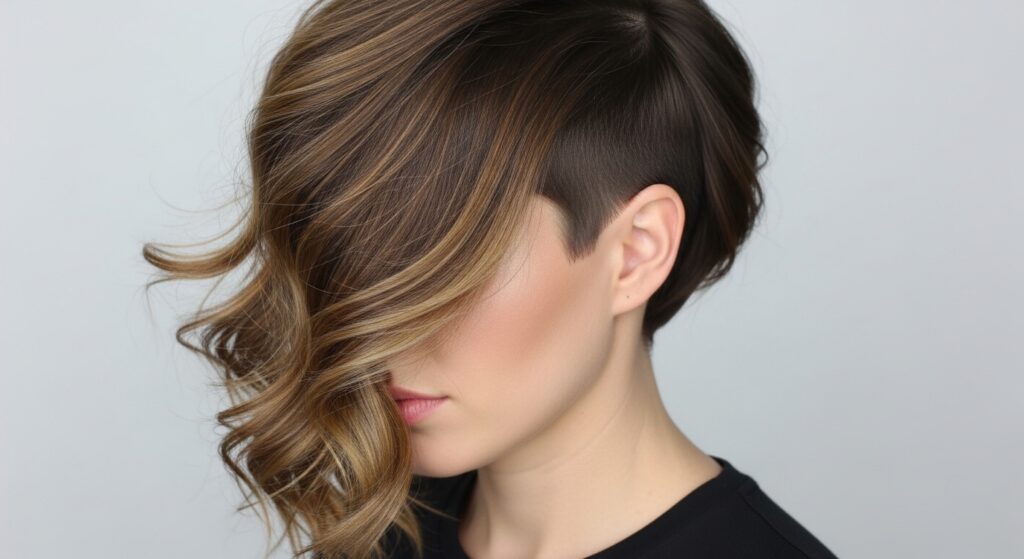
An asymmetrical lob needs volume to really shine. Since the cut is shorter in the back, use medium rollers all over. Pay special attention to rolling the longer front sections away from your face to emphasize the angle.
When you take them out, use a texturizing spray on the roots of the longer side for extra lift. Style it so the volume follows the diagonal line of the cut. This adds movement and makes the asymmetric shape really pop.
6. Vampire Haircut Curls
The vampire haircut is a sharp, curly bob. You need defined, bouncy curls that hold their shape. Use small to medium rollers on all of your hair, rolling vertically. Make sure to get the fringe/bangs if you have them, rolling them straight back or to the side.
Once set, carefully unwind. Do not separate the curls at all initially. Just let them sit as perfect, springy coils. Use a shine serum to define them further. It’s bold, graphic, and full of personality.
7. Hime Cut Princess Curls

The hime cut blends straight, blunt fringe with long sides. For this, you only roll the long bottom sections. Use large rollers and roll them under, toward your neck. Keep your fringe completely separate and flat (you can pin it back while sleeping).
In the morning, you’ll have a beautiful contrast: pin-straight, sharp bangs with soft, turned-under curls on the lengths. It’s a gorgeous mix of textures that looks intentional and adorable.
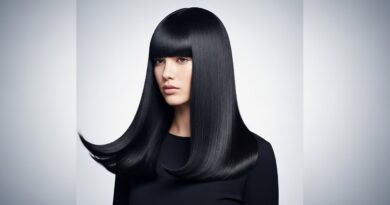
8. Quiet Luxury Bob Perfection

For that iconic quiet luxury bob, you want a subtle bend, not a curl. Use the largest rollers you have, but only on the very ends of your hair. Roll the last two inches up toward your face, creating a soft, inward curve.
This gives the bob a polished, “blowout” look without any heat. In the morning, brush it through with a boar bristle brush for a super smooth, glossy finish. It’s the epitome of understated chic.
9. Face-Framing Volume Boost

Sometimes you just need volume where it counts. For this, only use rollers on the crown and the sections that frame your face. Roll these sections vertically, placing the rollers as close to the roots as possible.
The rest of your hair can be left down and straight. When you remove them, you get incredible lift around your face that opens up your features. It’s a five-minute trick (while you sleep!) for a major impact.
10. Heat-Free Beach Waves
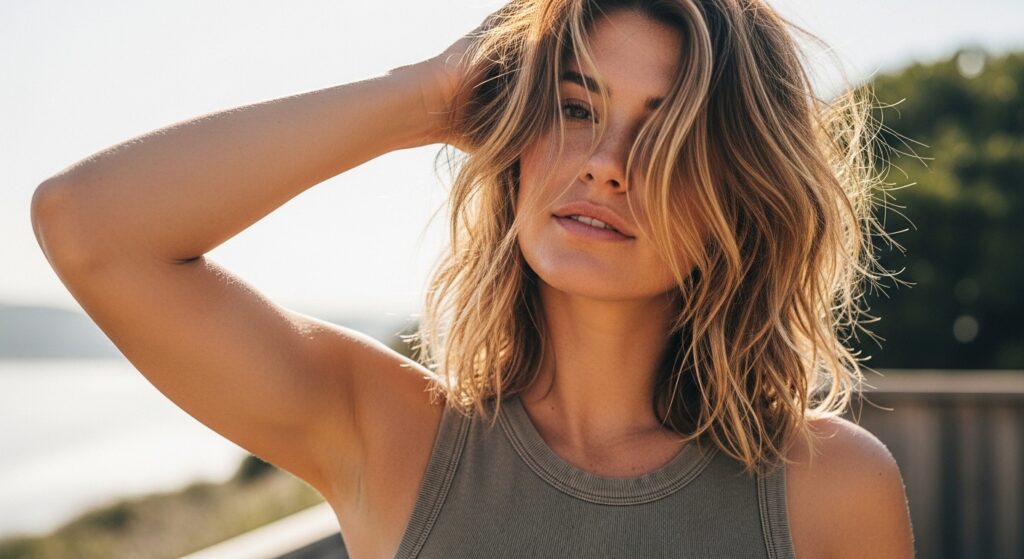
Everyone wants beach waves, but salt spray can be drying. Foam rollers are your answer. Use large rollers and roll random sections in different directions. The key is to not be neat about it. Mix up the placement for a natural, wind-swept pattern.
Once dry, shake your head vigorously to break up the curls. Then, lightly mist with a texturizing spray and scrunch. You get that perfect, piecey wave without any crunch or damage.
11. Second-Day Hair Revival
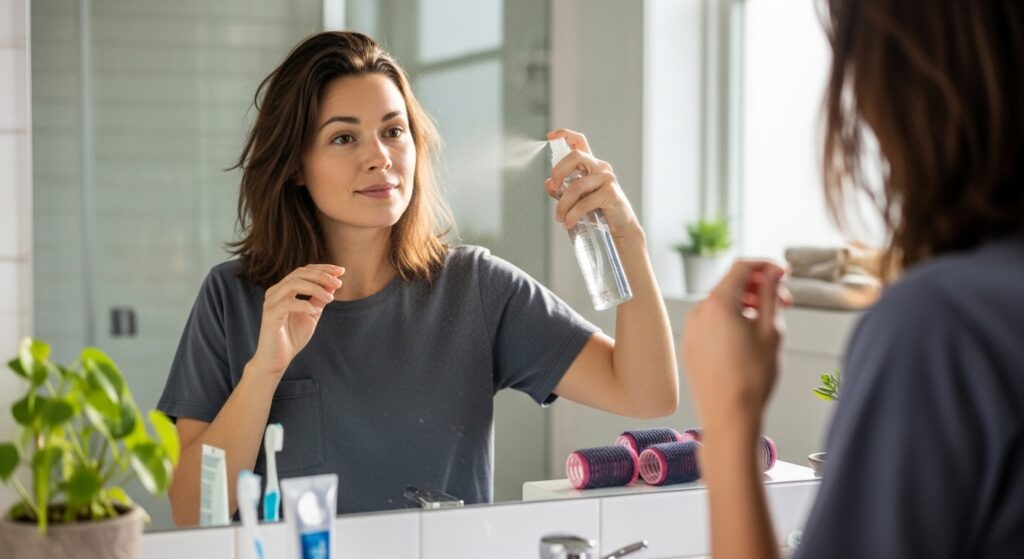
Second-day hair looking flat? Foam rollers are the best revival tool. Lightly mist your hair with a water bottle until it’s damp, not wet. Then, just roll up the top layers and your crown with a few medium rollers.
Leave them in while you have your coffee and get dressed—just 20-30 minutes. When you take them out, you’ve got fresh volume and bounce right where you need it, without having to re-wash or use heat.
12. The Half-Up Voluminous Crown
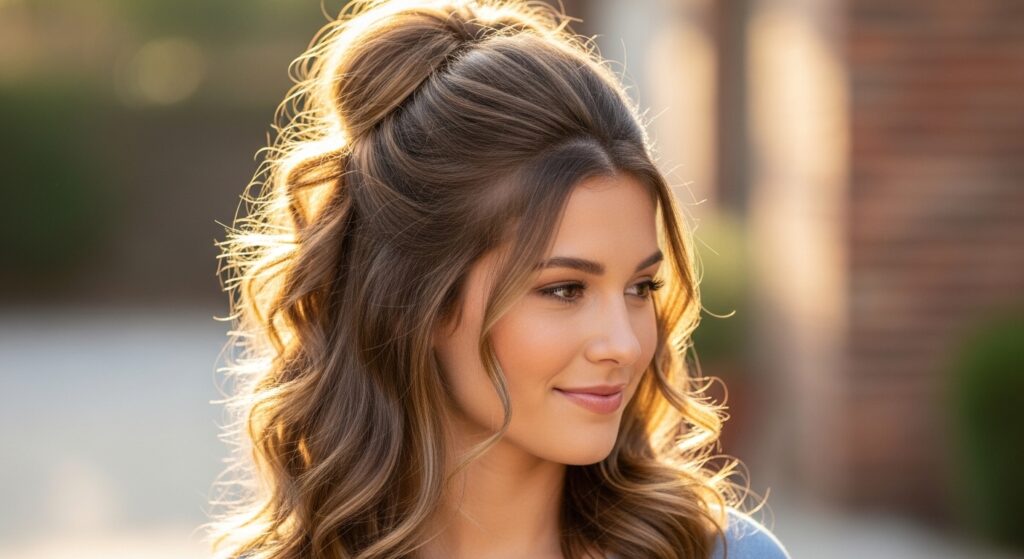
This style gives you that trendy, voluminous half-up look with ease. Before bed, only roll the top half of your hair (the section above your ears). Use medium rollers and roll them all upward, toward the top of your head.
In the morning, take the rollers out. Gently tease the roots of the curled section for extra height, then gather it into a half-up style. The bottom hair stays down, but the top has gorgeous, built-in volume that makes the style look elaborate.
13. The Sophisticated Updo Base
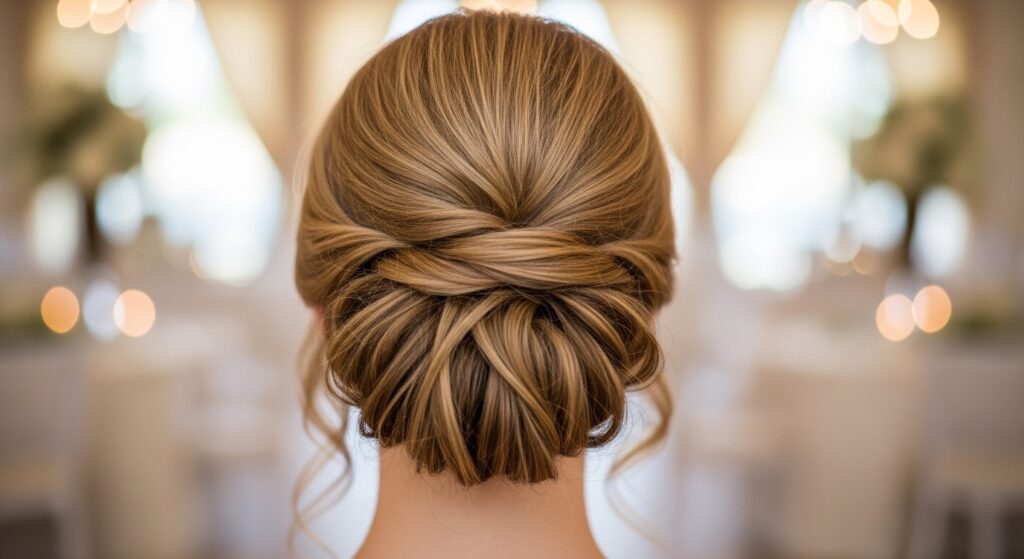
Planning an updo? Start with foam rollers. Curling your hair with rollers the night before gives you the perfect, uniform texture to work with. Use medium rollers all over for consistent, bouncy curls that hold a pin.
When you’re ready to style, your hair will be voluminous, easy to twist, and will hold any shape—from a messy bun to a chic chignon. The curls give grip and body that straight hair just doesn’t have.
How to Sleep Comfortably with Rollers
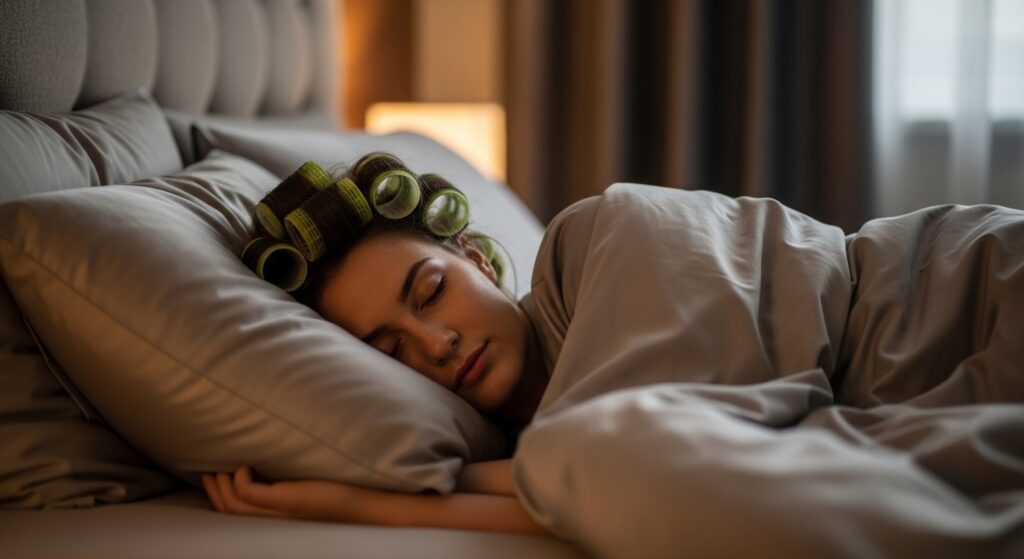
This is the big question. It’s easier than you think. First, I highly recommend a silk or satin pillowcase. It reduces friction so the rollers don’t get tangled. Second, try rolling your hair a little looser than you think, especially at the back of your head.
You can also try a “pineapple” method: gather all your rolled hair into a very loose, high ponytail on top of your head before lying down. This keeps most of the rollers off the pillow. You’ll be surprised how quickly you get used to it.
Morning Take-Down: Do’s and Don’ts
Be patient when taking them out! Gently un-velcro each roller and slowly unwind it. Don’t just pull it straight down. Once all rollers are out, let the curls sit for a minute and cool completely.
Do not use a brush. Use your fingers or a wide-tooth comb to very gently separate the curls, starting from the ends. If you need to smooth things, a tiny bit of hair oil on your palms, rubbed gently over the surface, works wonders.
Making Your Curls Last All Day
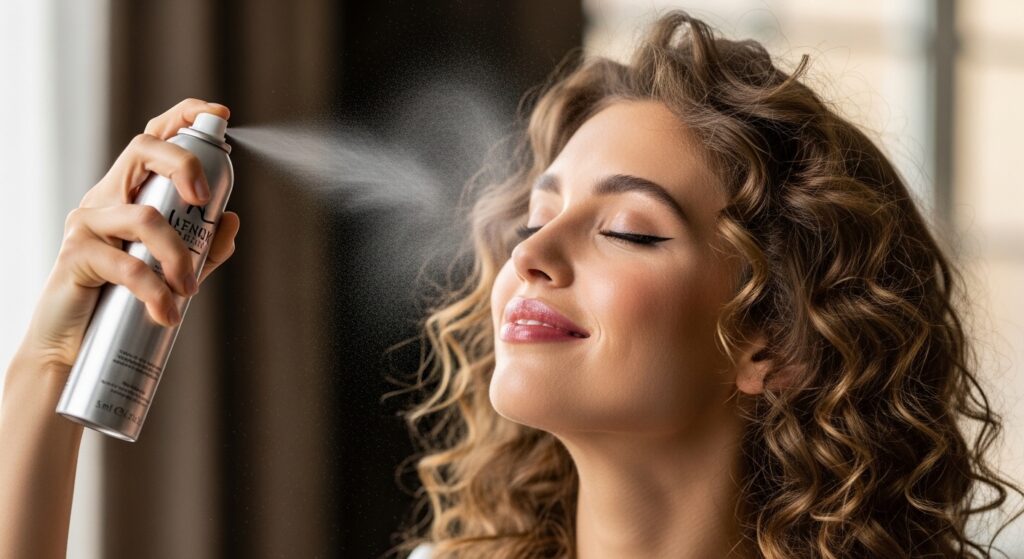
To lock in that volume, a light-hold hairspray is your final step. Flip your head over and spray at the roots for lift. Then, turn your head back and spray from a distance all over to set the shape without making hair crunchy.
Carry a few bobby pins or a scrunchie. If your crown volume starts to drop mid-day, you can easily pull up the front sections into a cute mini updo. The curls will still look great pulled back.
Common Foam Roller Mistakes to Avoid
Using soaking wet hair is mistake number one. It takes forever to dry and can cause mildew on the rollers. Another big one is rolling too tightly—this causes dents and can be uncomfortable to sleep on.
Also, avoid using heavy products like gels or butters. They can weigh hair down and leave residue on your rollers. Stick to light mousses, sprays, or creams designed for curls or waves.
My Favorite Products for Setting
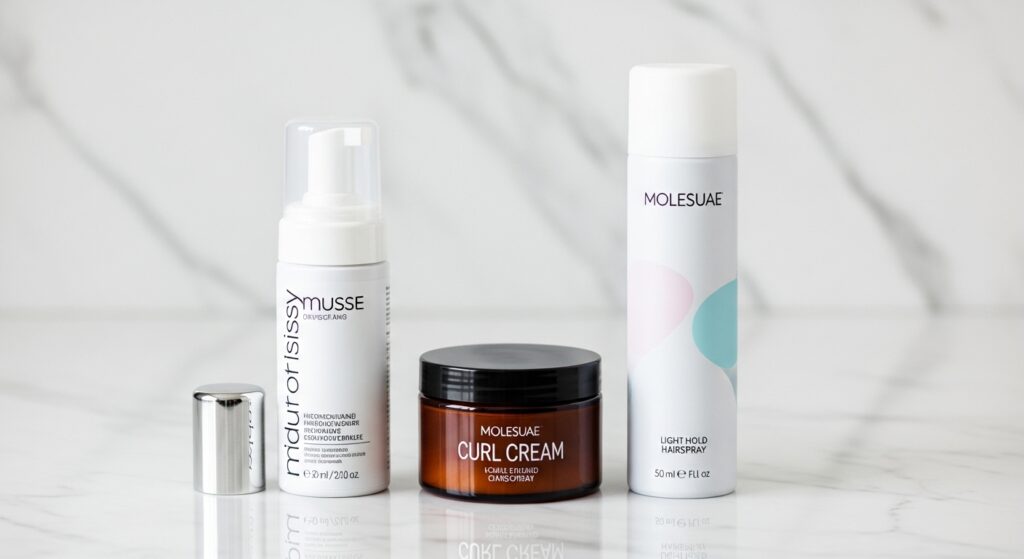
I keep it simple. For hold, I love a volumizing mousse—it gives body without stickiness. For definition and frizz control, a pea-sized amount of curl cream is magic on damp ends before rolling.
Finally, a flexible-hold hairspray is a must for the morning. Look for words like “flexible,” “touchable,” or “invisible” on the bottle. You want to hold the style, not freeze it.
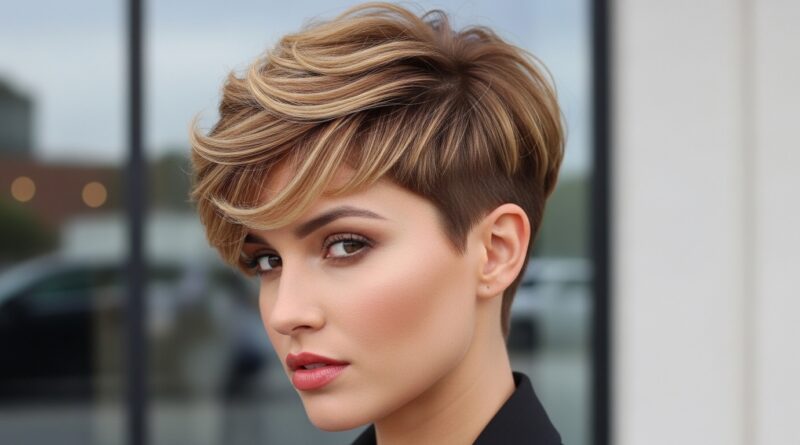
Adapting These Styles for Short Hair
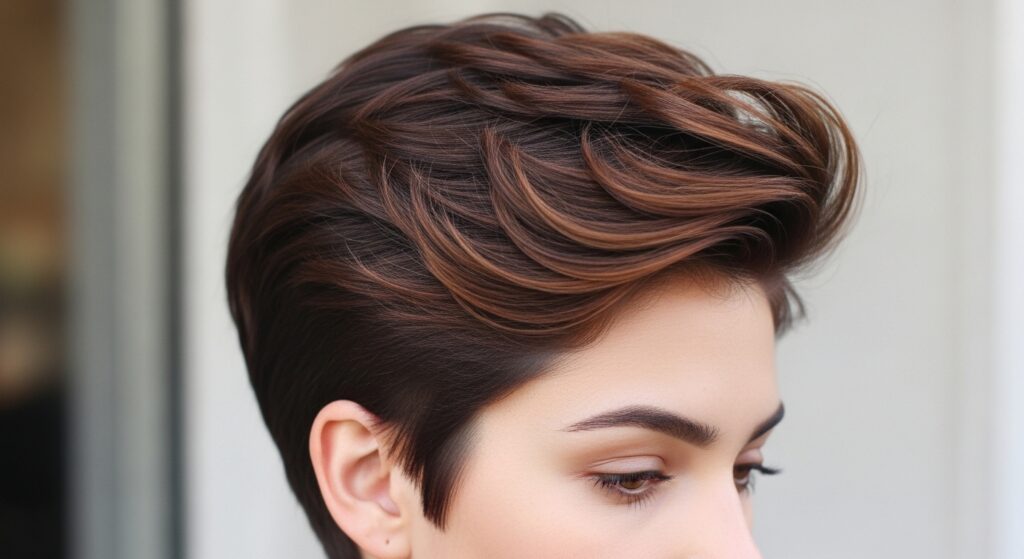
Short hair friends, you can do this too! Use small or medium rollers just on the top sections where you have length. Roll them vertically for maximum lift. You can even dampen just the top layer before rolling for targeted texture.
This gives amazing piecey volume and texture to pixies or short bobs. It’s a game-changer for adding style and body to shorter cuts without any heat styling.
Your Questions, Answered
Can I use them on dry hair? Yes, but mist it with water first. The dampness is what helps the hair “set” into the new shape. How long do they need to stay in? At least 4-6 hours, which is why overnight is perfect.
Do they damage hair? Not at all! They are one of the most gentle styling tools. Just be gentle when taking them out to avoid pulling. That’s it—no heat, no damage, just beautiful hair.
So there you have it.