Nail 30 Micro Bead Row Extensions Adding Density Discreetly
Hey friend. Let’s talk about that little voice in your head that whispers, “I wish my hair had more oomph.” You know the one. You see all those gorgeous 2026 hairstyles with insane volume, from the sleek quiet luxury bob to the dramatic romantic goth hairstyles, and think your fine hair could never. I get it.
But what if you could add serious density without anyone knowing your secret? No bulky wefts, no obvious tracks. Just your hair, but better. That’s the magic of micro bead rows.
This method is my not-so-secret weapon for adding discreet, lasting fullness. It’s perfect for nailing those aspirational looks, whether you’re into the glitchy glam hair trend or a timeless asymmetrical lob. Ready to dive in? Let’s break down everything, from the initial consult to the final style.
What Are Micro Bead Row Extensions?
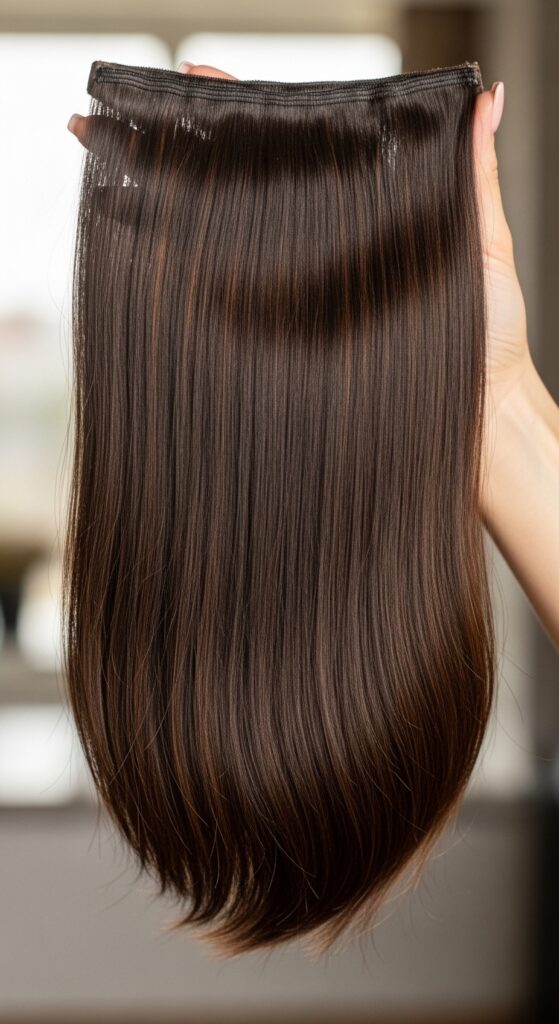
Think of them as the most discreet cousin in the extension family. Instead of individual bonds, wefts of hair are attached using a row of tiny, silicone-lined beads sewn onto a thread. This “row” is then clamped onto small sections of your natural hair.
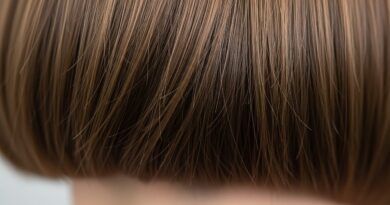
The result is a seamless, flat application that lies incredibly flat against your head. This makes it ideal for adding overall density and blending, rather than just length. It’s the foundation for so many trending styles.

Why Choose Rows For Density?
If you have fine or thin hair, volume is usually the main goal. Traditional methods can sometimes look sparse or be obvious. Rows solve this by distributing weight across a wider area.
This means less tension on any single point of your hair and a more natural, fuller result from root to tip. It gives you that coveted “my hair but thicker” effect, which is the heart of styles like old money hair.
The Perfect Candidate: Is This You?
This method isn’t for everyone, and that’s okay! It works best for those with a good amount of existing hair to conceal the row. The hair needs to be strong enough to hold the weight.
- You have fine or medium-texture hair that lacks volume.
- Your hair is healthy, not severely damaged or breaking.
- You want a long-term solution (6-8 weeks between moves).
- Your goal is overall fullness, not just extreme length.
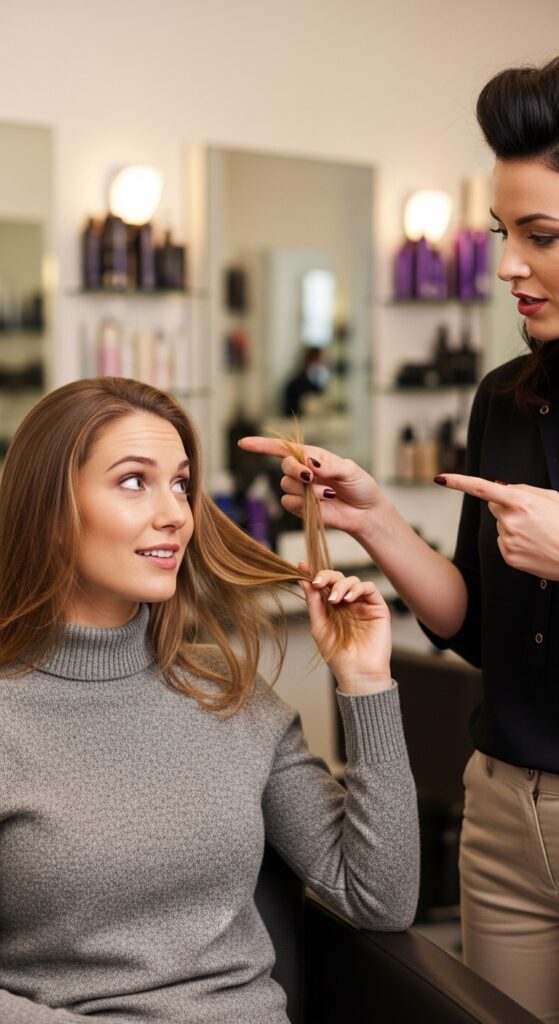
Consultation: The Non-Negotiable First Step
Never skip the consultation. A good stylist will assess your hair’s density, strength, and scalp health. This is where you bring your inspiration pics!
Discuss your lifestyle. Do you workout daily? Love high ponytails? This determines bead size and row placement. Be brutally honest about your routine for the best result. It’s how we make trends like the vampire haircut work for real life.
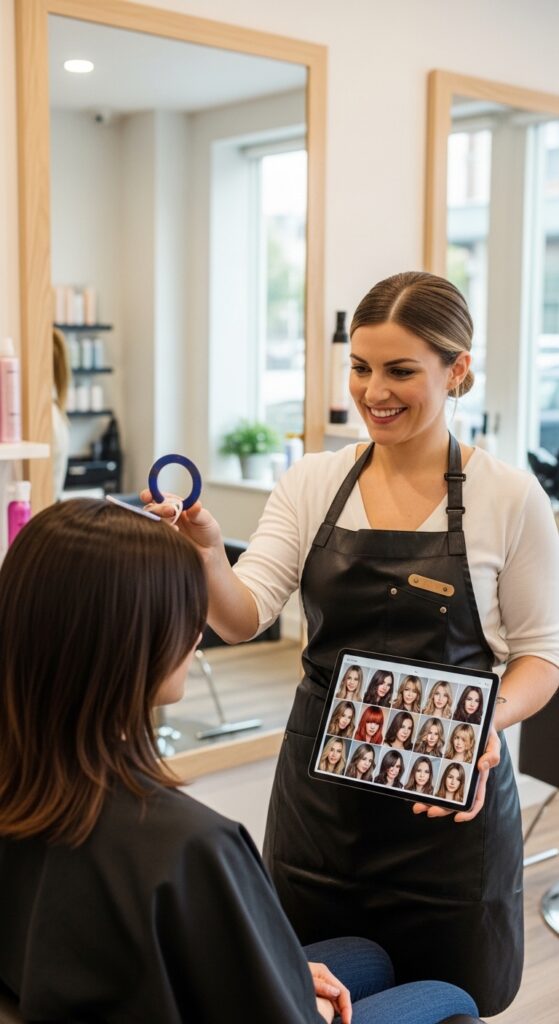
Color Matching: The Blending Secret
This is where magic happens. The best extensions disappear. Your stylist should use a color ring from the extension brand and blend multiple shades if needed.
For a natural look, extensions are often 1-2 shades lighter than your base at the ends. We can even add subtle lowlights or highlights into the extension wefts for ultimate realism, perfect for a lived-in asymmetrical lob.
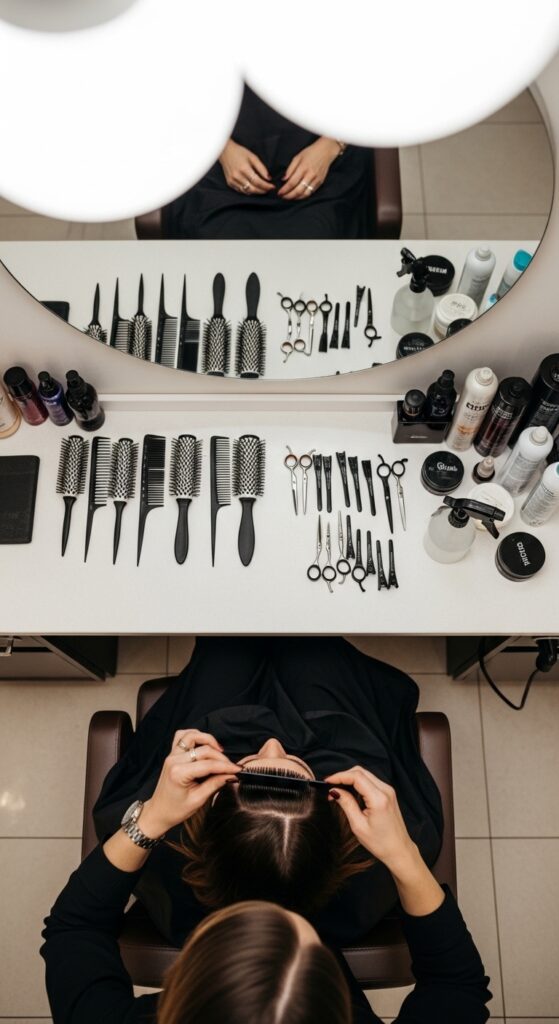
Installation Day: What To Expect
Come with clean, dry hair. No products! Installation is a detailed process. Your stylist will part your hair strategically, create the row by threading beads, and clamp the weft in place.
It takes time and precision—usually 2-3 hours for a full head. It’s a great day to catch up on a podcast or just zone out. Trust the process.
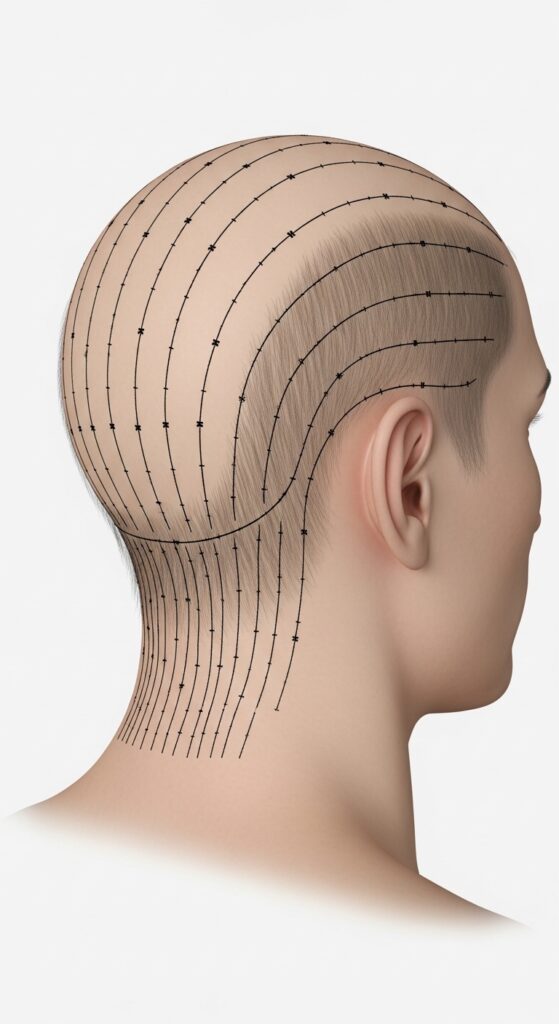
The Sectioning Strategy
Sectioning is everything. Rows are typically placed in horizontal sections from the nape up. The distance between rows is key for comfort and coverage.
More rows mean more density. Your stylist will leave out enough of your own hair at the top and around the face to cover the rows completely when styled. This is the blueprint for your new volume.
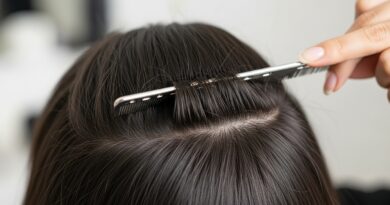
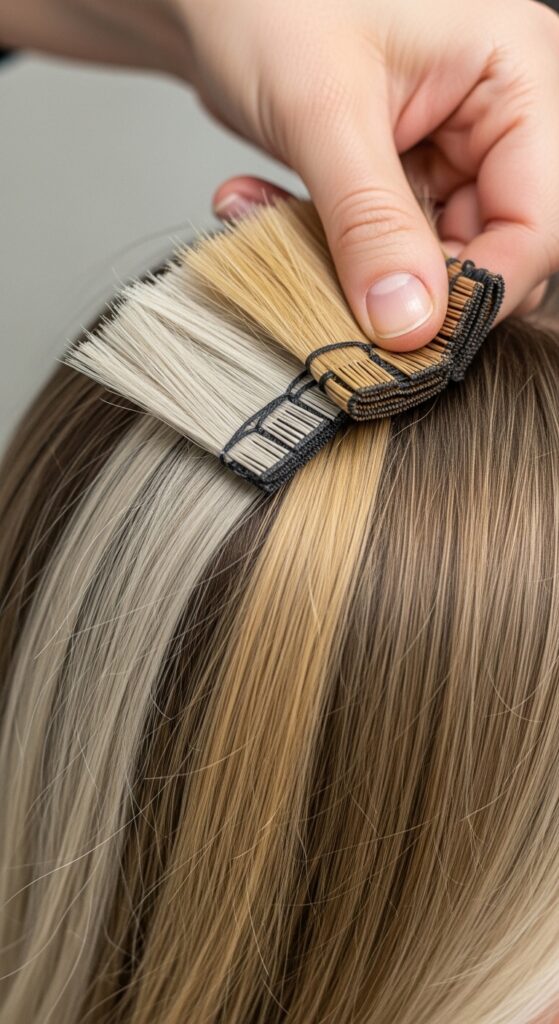
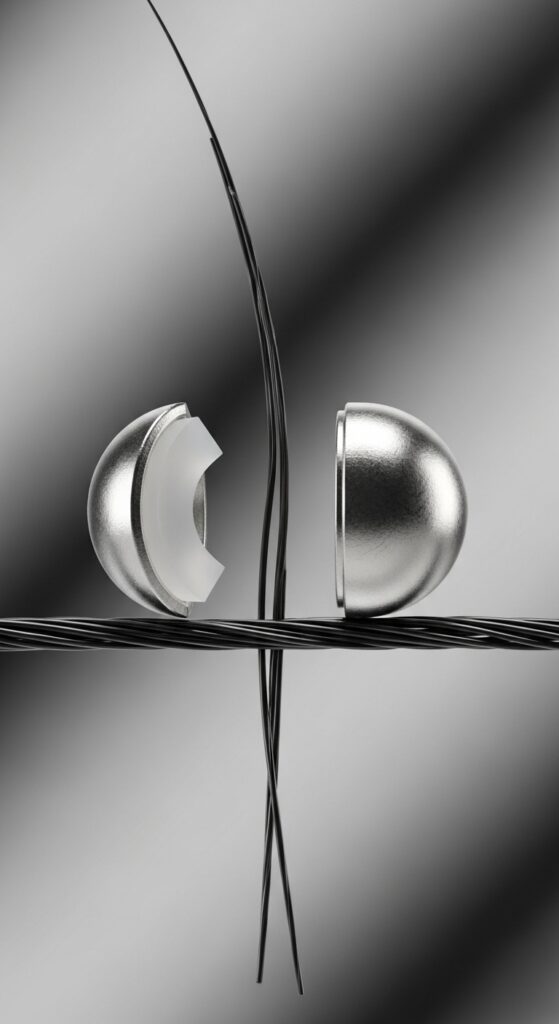
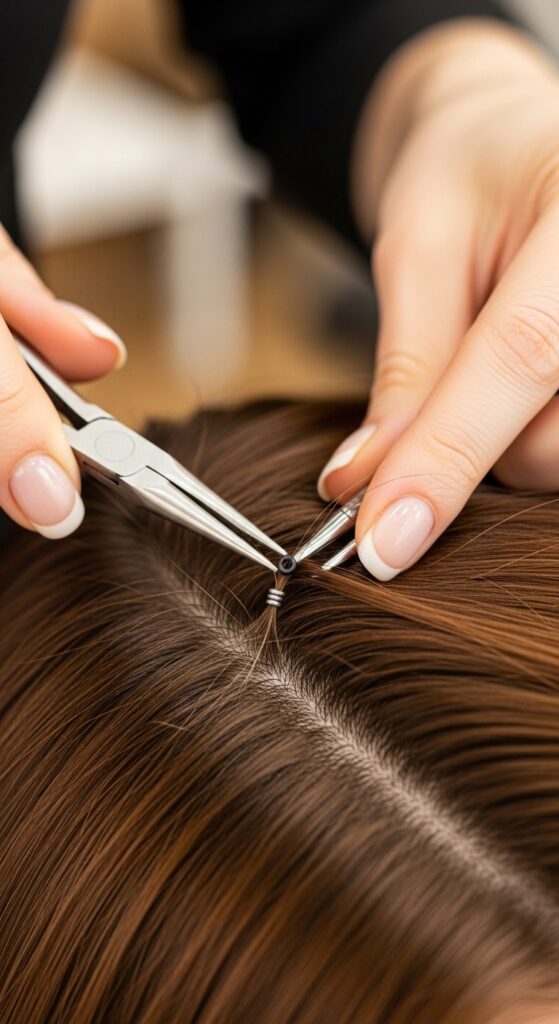
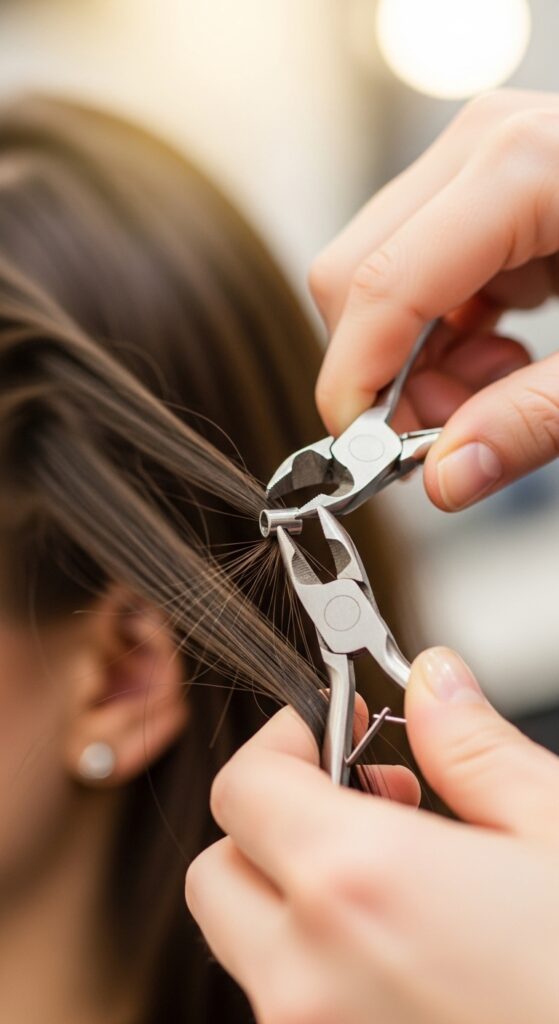
How The Beads Are Secured
The bead itself is a small, silicone-lined tube. A special thread is passed through it, and your natural hair is placed inside the bead. Then, a clamping tool is used to press the bead flat, securing it.
The silicone lining grips the hair gently without glue or heat. It’s a clean, strong hold that’s kind to your strands when installed and removed by a pro.
Weight Distribution & Comfort
Because the weight is spread across a row of beads and a weft, it feels very comfortable. You shouldn’t feel any pulling or tension on individual points once installed correctly.
It lays so flat you’ll forget it’s there. The first few days you might be aware of the new addition, but it quickly becomes second nature, like the perfect pair of jeans.

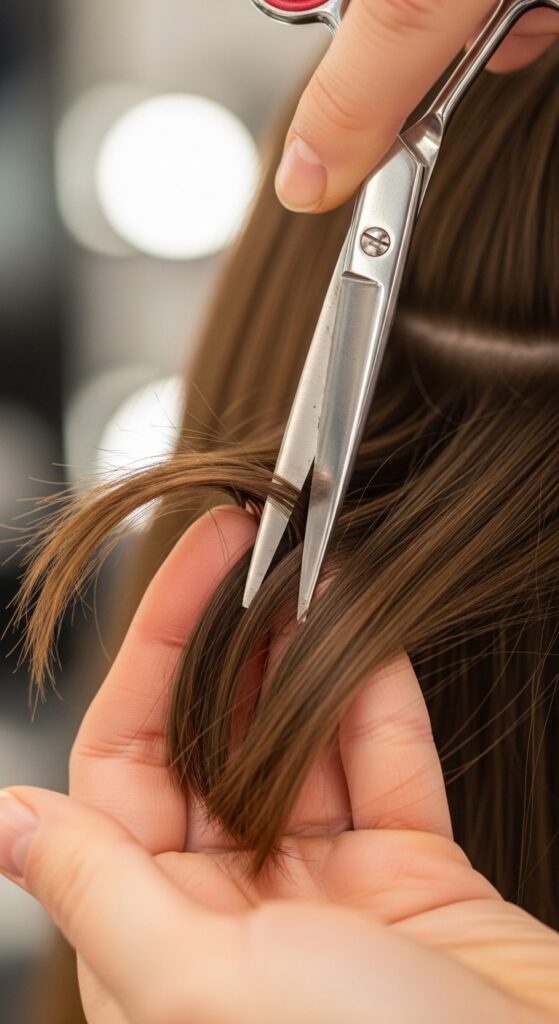
Blending & Cutting The Extensions
Once all rows are in, the real artistry begins. Your stylist will cut and blend the extensions seamlessly with your natural hair. This is not just a trim.
They’ll shape the hair to suit your face, adding layers or texture as needed. This custom cut is what transforms added hair into your hair, whether you’re going for a hime cut or a soft shag.
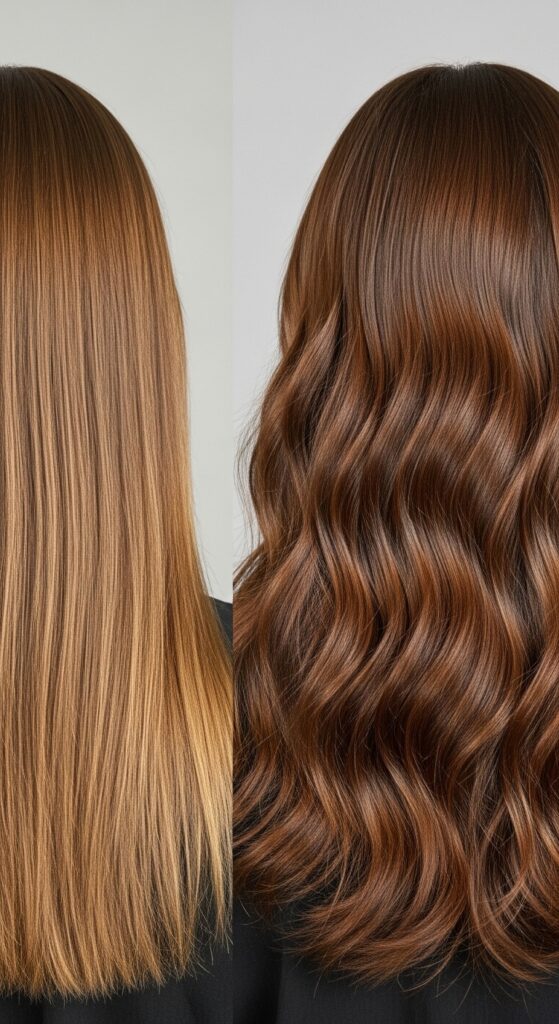
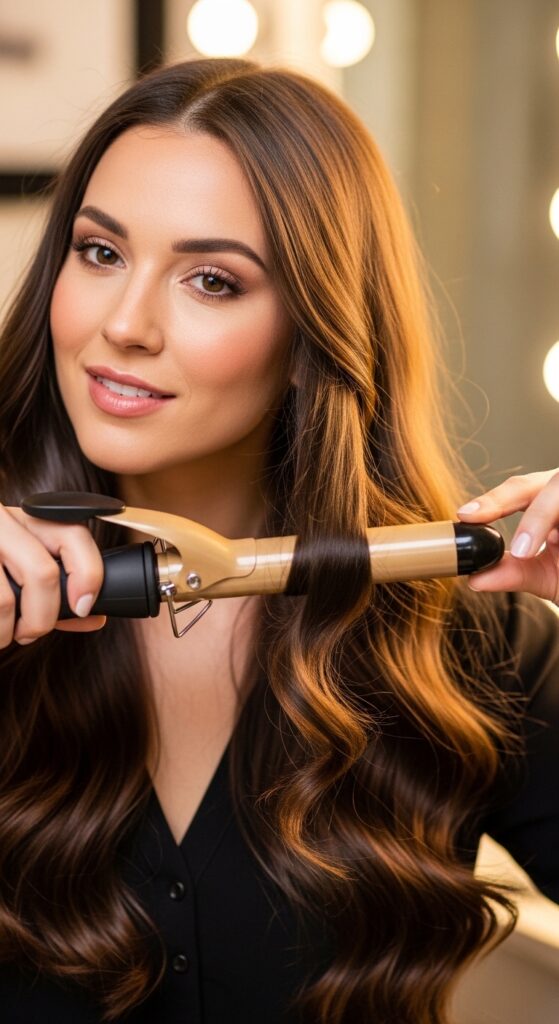
Styling Your New Density
You have so much more to work with now! Blow-dry with a round brush for root lift. Curls will hold better and look fuller. You can finally achieve those big, romantic waves or a sleek, glassy look.
Use heat protectant. Your natural hair still needs love. Explore styles you couldn’t before—a full ponytail, a chic updo, or that effortless glitchy glam hair texture.
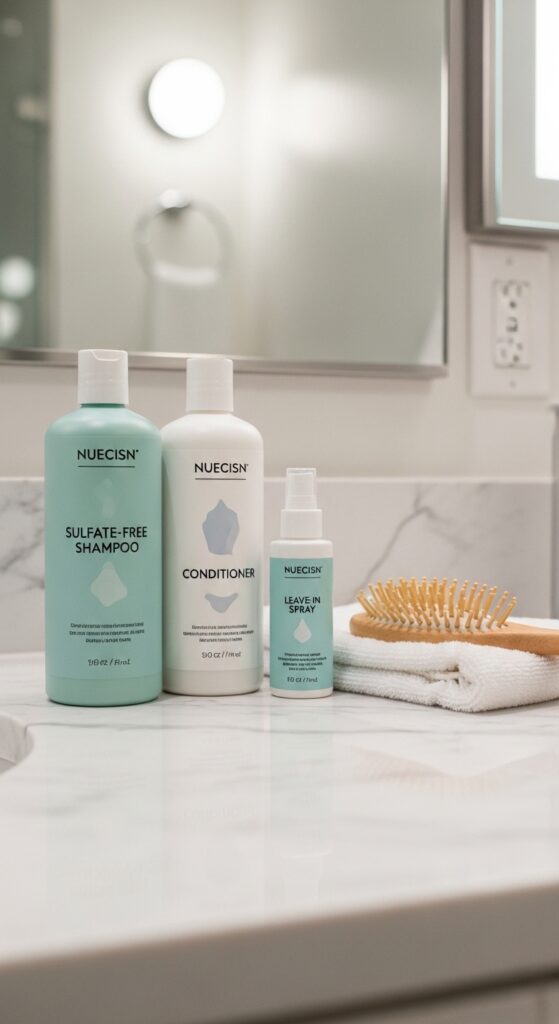
Daily Care & Maintenance
Treat them with care! Sleep with your hair in a loose braid or on a silk pillowcase. Use a soft-bristle brush, starting from the ends and working up.
- Wash hair in a downward motion to avoid tangling at the beads.
- Use sulfate-free shampoo and nourishing conditioner.
- Apply leave-in conditioner to mid-lengths and ends.
- Be gentle when detangling around the rows.
Washing Protocol Step-By-Step
- Fully detangle hair before getting it wet.
- Rinse with lukewarm water.
- Apply shampoo to your scalp, massaging gently with fingertips (not nails).
- Let the suds run down the lengths; avoid piling hair on your head.
- Condition thoroughly from mid-shaft to ends, avoiding the roots near beads.
- Rinse with cool water for shine.

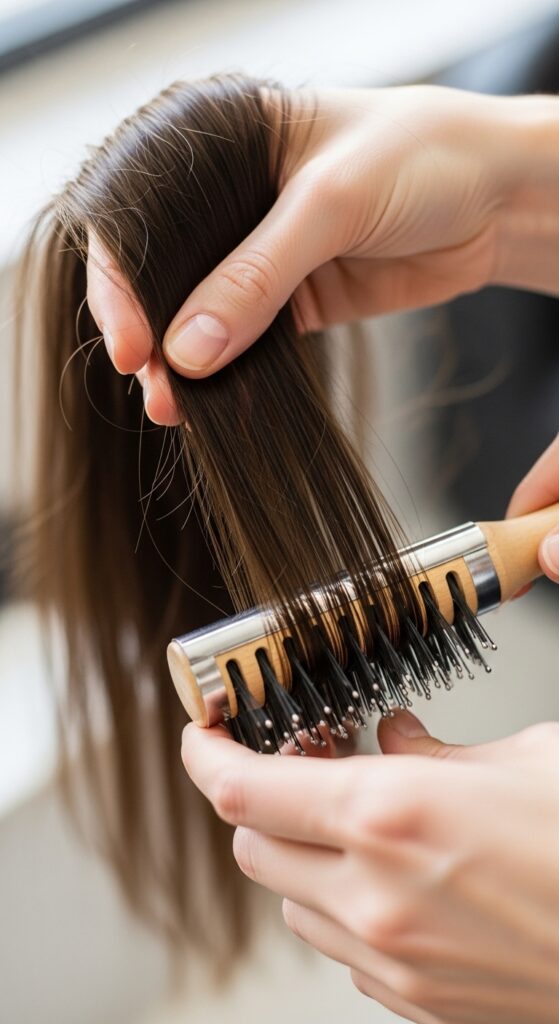
Drying & Detangling Done Right
Gently squeeze out water with a microfiber towel—no rough rubbing. Apply your heat protectant and any styling products.
Use a wide-tooth comb or special extension brush. Hold the hair at the roots near a row for support as you gently comb from the ends upward. This prevents stress on your natural hair.
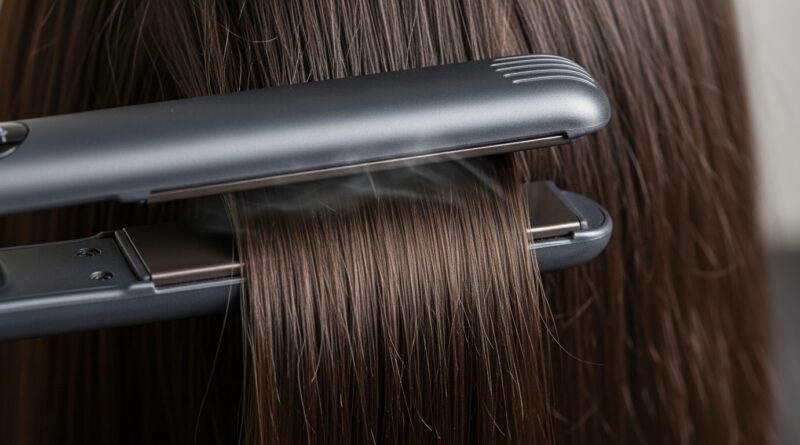
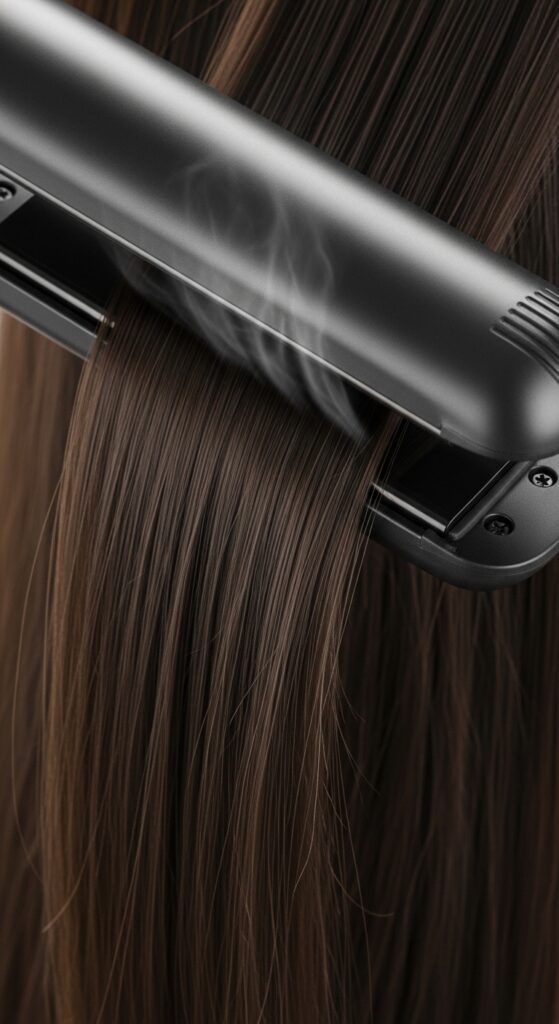
Heat Styling With Extensions
Yes, you can use heat! Keep your iron or wand below 380°F. The hair is high-quality but can still fry. Always use a protectant.
For a sleek look, use a flat iron on small sections. For waves, wrap hair around the barrel away from your face for a uniform look. Your new density makes every style pop.
Sleeping & Updos With Rows
Protect your investment while you sleep. A loose braid or low ponytail is best. Silk or satin pillowcases reduce friction dramatically.
For updos, you have so much more hair! Be mindful of the rows. Don’t pull too tightly directly over them. A claw clip or loose bun is perfect. Show off that volume!

Maintenance Appointments: The Move-Up
Every 6-8 weeks, you’ll need a “move-up.” As your hair grows, the rows move down, and we need to reposition them closer to the scalp.
Your stylist will carefully remove each row, reposition it, and secure it again. They’ll also give the hair a refresh trim and deep conditioning treatment. It’s essential for hair health.
Potential Challenges To Know
If installed too tightly or on weak hair, stress can occur. Signs include itching, redness, or noticing more shedding than usual. See your stylist immediately.
Tangling can happen if you don’t brush regularly or sleep on it wet. Proper care prevents 99% of issues. Listen to your scalp.

Longevity & Cost Breakdown
With proper care, the extension hair itself can last over a year. You’re investing in the initial hair and the installation, plus regular move-up appointments.
Cost varies widely by salon, location, and hair quality. Expect an initial investment of several hundred to over a thousand dollars. Move-ups are a smaller fraction of that cost. It’s a commitment.
Removal: Please Go To A Pro
Never try to remove these yourself. A professional uses special pliers to open each bead gently without damaging your natural hair.
They will then deeply condition your hair and assess its health. DIY removal can lead to broken hair and a lot of frustration. It’s worth the trip.
My Final Verdict & Who It’s For
I adore this method for my clients who need density. It’s discreet, durable, and gives a stunning, natural result. It lets you play with any trend, from a romantic goth hairstyle to a clean-girl bob.
It’s for the person who wants a semi-permanent solution and is ready for the upkeep and investment. If you want instant, major volume without the clip-in hassle, this is a top contender.
So, there you have it—the full scoop on micro bead rows. It’s more than just adding hair; it’s about adding confidence. The kind that lets you walk into any room feeling put-together, because your hair finally has the body you’ve always dreamed of.
Whether you’re inspired by 2026 hairstyles or just want your own hair to feel fuller, this method is a game-changer. It’s about working with what you have and elevating it in the most seamless way possible.
Save this post to Pinterest to keep this guide handy! And I’d love to know—what’s the first hairstyle you’d try with your new density? Drop a comment below and let’s chat all things hair dreams.