No-Heat 15 Straw Curls Twisting Thin for Tight Spirals
Okay, let’s be real. We all love the look of perfect, bouncy spiral curls, but the idea of using a curling iron every single morning? Absolutely not. The heat damage, the time, the arm workout—it’s a whole thing. I was so over it.
That’s why I became obsessed with finding a no-heat method that actually works, especially for us with thinner hair that can sometimes struggle to hold a curl. I needed something that gave tight, defined spirals without any frizz or fuss.
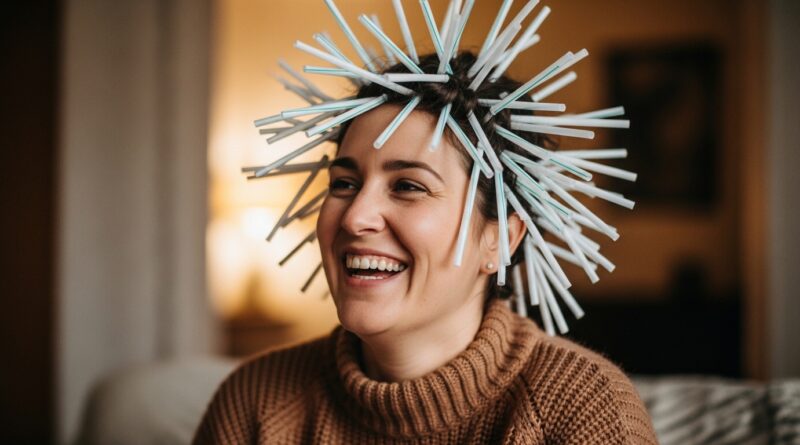
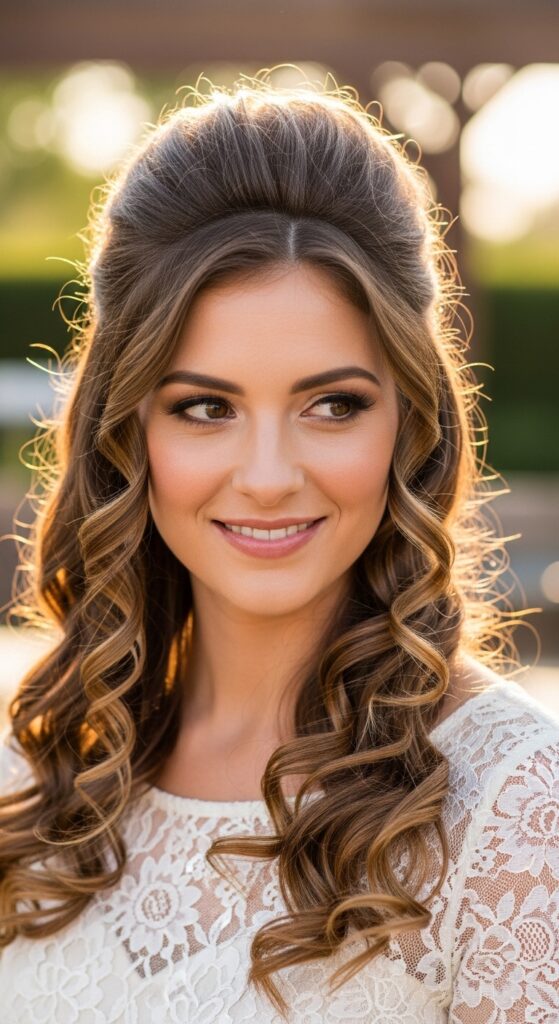
After testing what felt like a million techniques, I landed on this one: the 15-Straw Method. It sounds a little wild, but trust me, it’s the secret to getting those romantic, tight spiral curls you see in all the 2026 hairstyles forecasts. It’s easier than it sounds, and I’m going to walk you through every single step.
Why Straws Are a Game-Changer for Thin Hair
If you have fine or thin hair, you know the struggle. Big rollers can be too heavy, and sock curls often don’t give enough tension for a tight spiral. That’s where straws come in.
Their small diameter is perfect for creating the exact spiral shape we want. They’re super lightweight, so they won’t weigh your hair down or cause tension headaches. Plus, the grip is just right—enough to hold the hair securely without slipping.
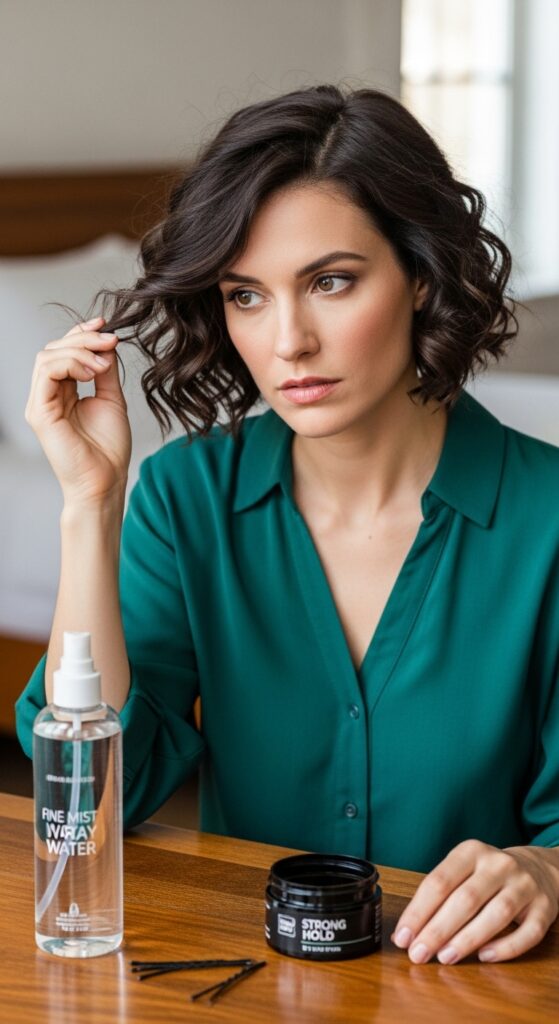
What You’ll Need to Get Started

Gathering your tools is step one. The beauty of this is that you probably have everything already. You don’t need anything fancy.
- Standard Drinking Straws: About 15-20. Plastic or paper both work.
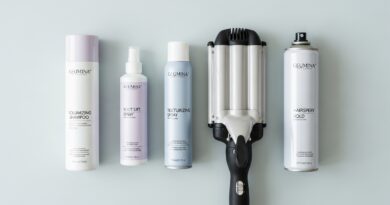
- A Light Hold Product: A mousse or a curl cream. We want definition, not crunch.
- A Spray Bottle: For dampening your hair.
- Small Hair Elastics or Thread: To secure the ends.
- A Clip: To section your hair.
Prepping Your Hair the Right Way
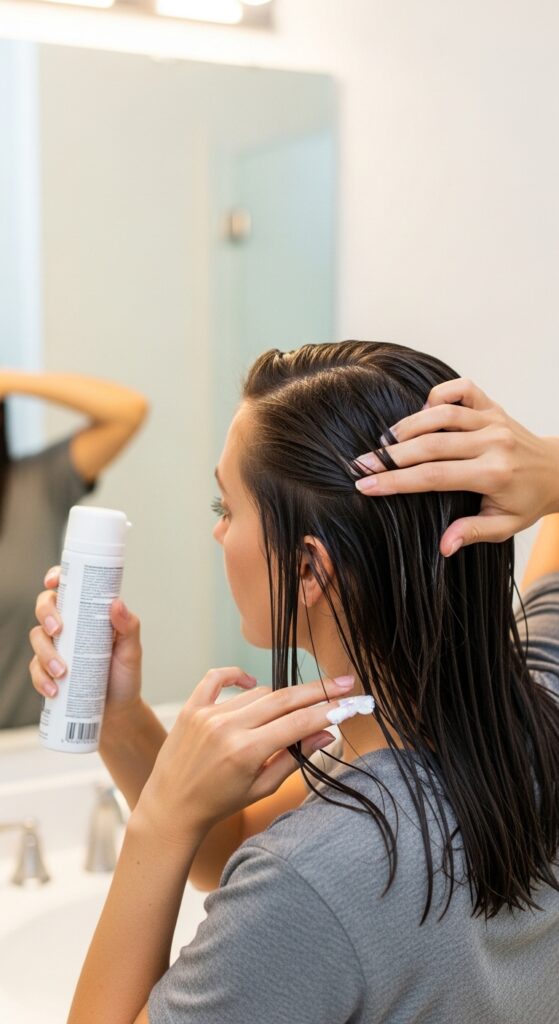
Preparation is everything for long-lasting curls. Start with hair that’s about 90% dry. Soaking wet hair will take forever to dry inside the straws.
I like to work on day-old hair for a bit more texture, but clean hair works too. Spritz sections with water from your bottle until they’re damp. Then, apply a golf-ball-sized amount of mousse through your mid-lengths to ends. This gives the curl something to hold onto.
Sectioning: The Secret to Even Curls
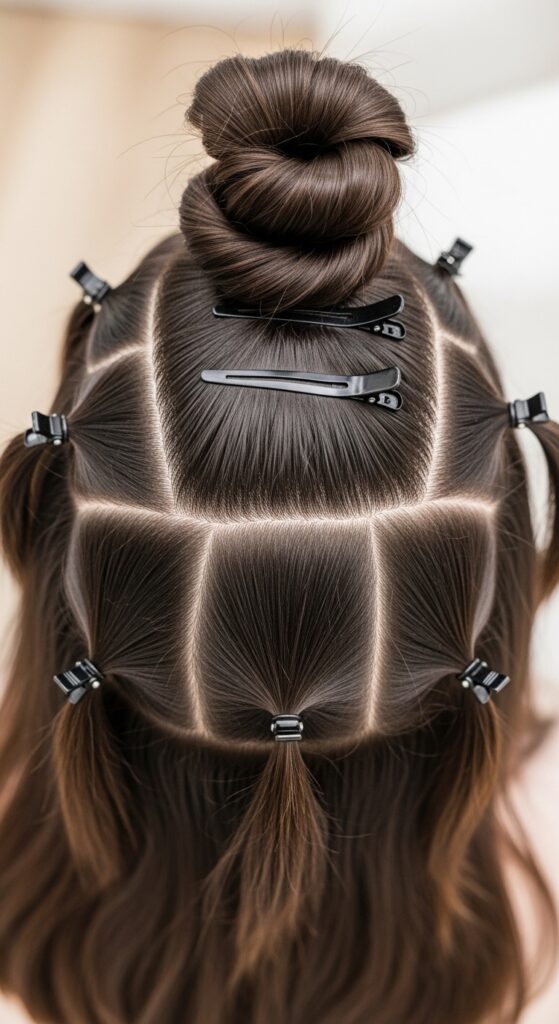
Don’t just grab random pieces. For uniform curls, you need to section your hair. I start by parting my hair down the middle.
Then, clip the top half of your hair up and out of the way. You’ll work on the bottom layer first. Within that bottom layer, create small, horizontal sections about 1-2 inches wide. Smaller sections mean tighter, more defined curls.
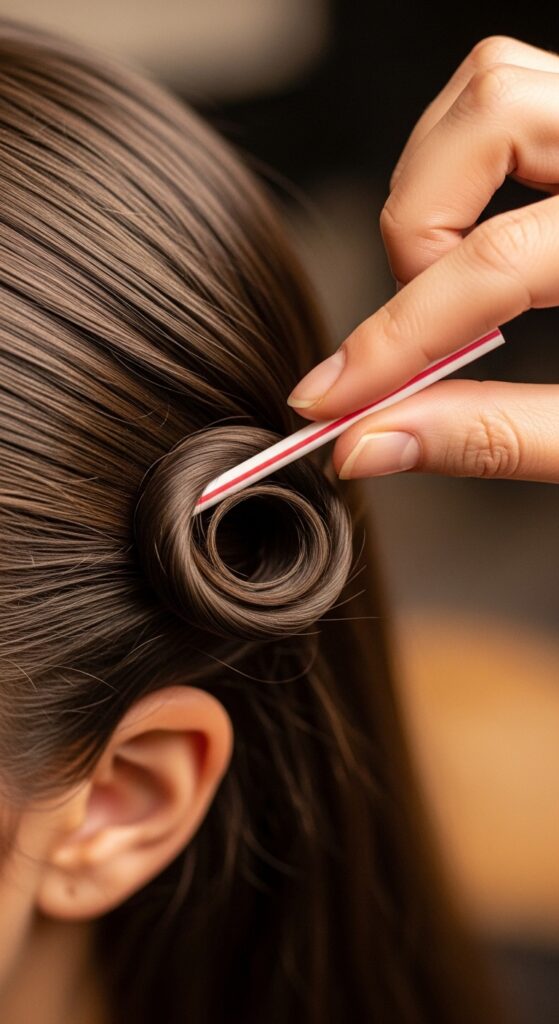
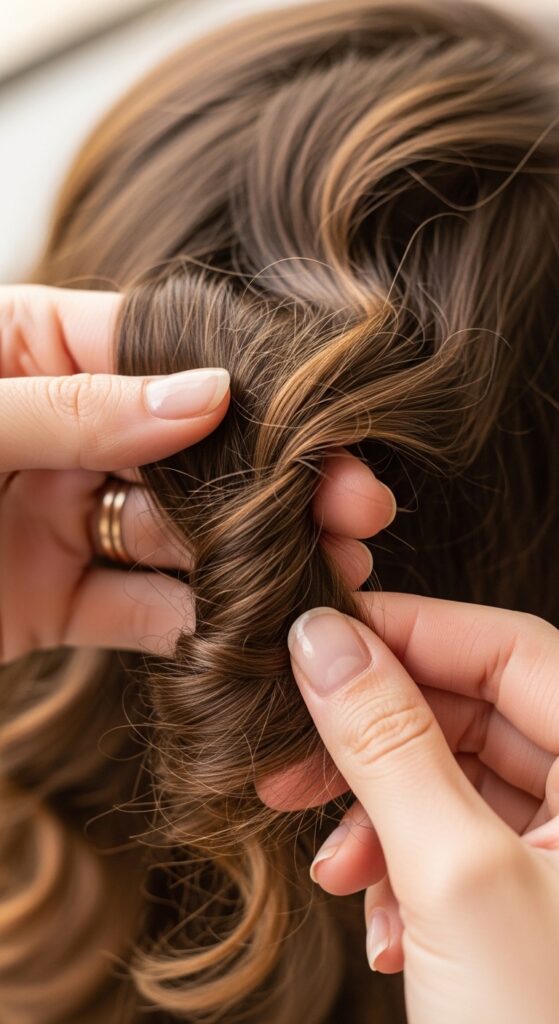
Starting Your First Twist
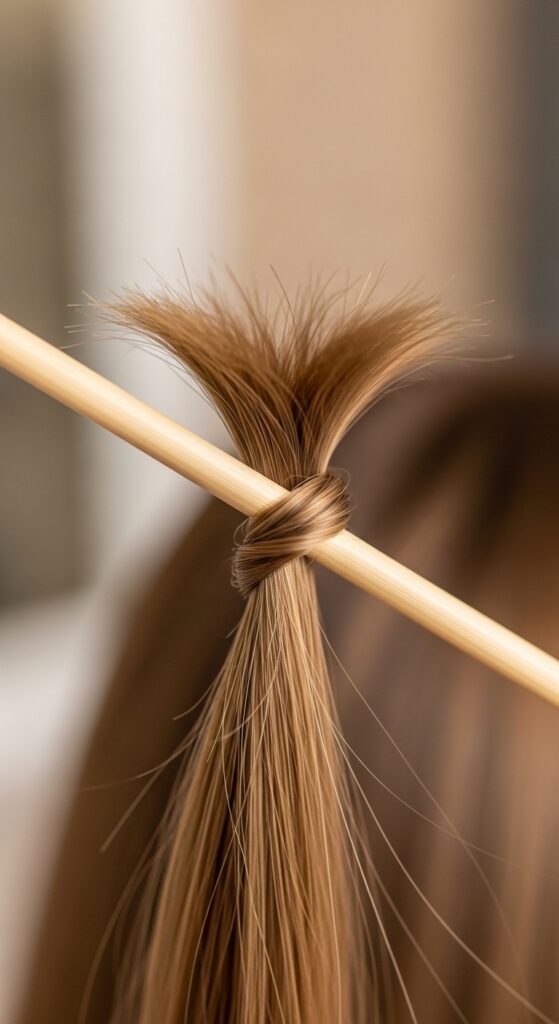
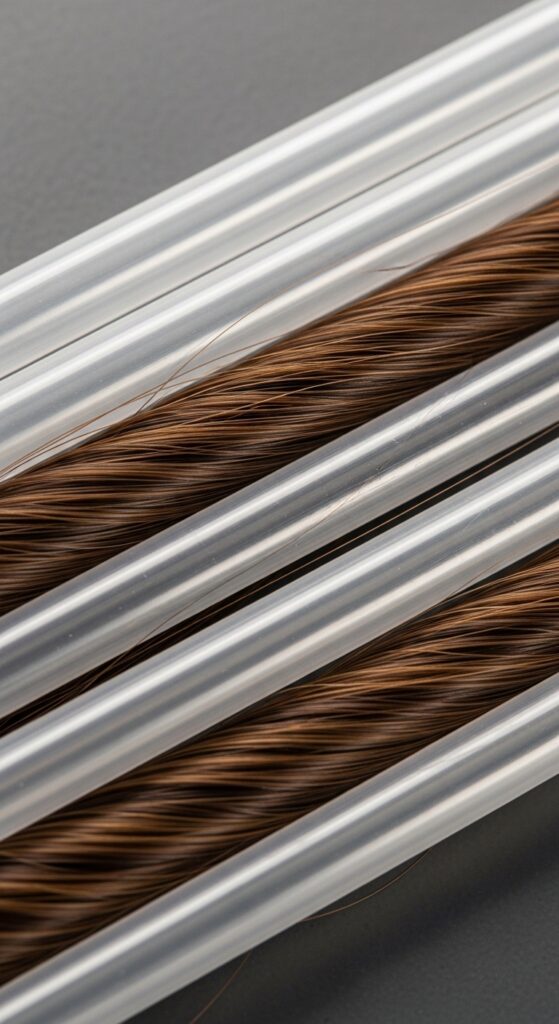
Take your first section from the bottom layer. Hold a straw at the very end of the section, pointing downward. Now, start wrapping the hair around the straw.
The key is to wrap neatly and tightly, keeping the hair flat against the straw. Overlap each wrap slightly. This isn’t a loose, messy twist—think precise and controlled. You’re basically creating a mini, spiral perm rod.
Wrapping for Maximum Spiral Effect

Continue wrapping all the way up the straw until you reach your scalp. It should look like the hair is spiraling perfectly down the length of the straw.
If a piece sticks out, just re-wrap it. The tension is what creates that beautiful spiral pattern. Once you’re at the top, you’ll need to secure it. This is the only slightly tricky part, but you’ll get it fast.
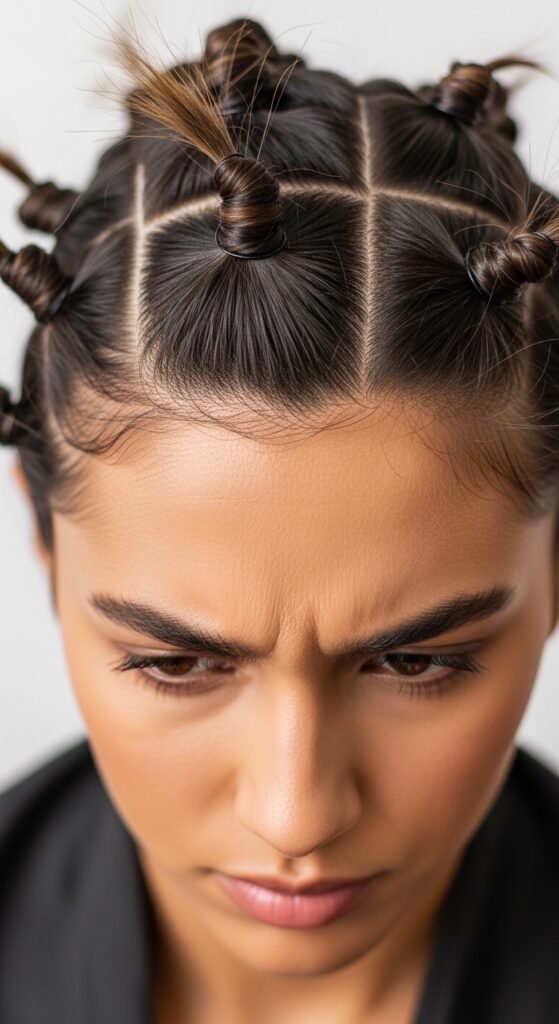
How to Secure the Straw at Your Roots
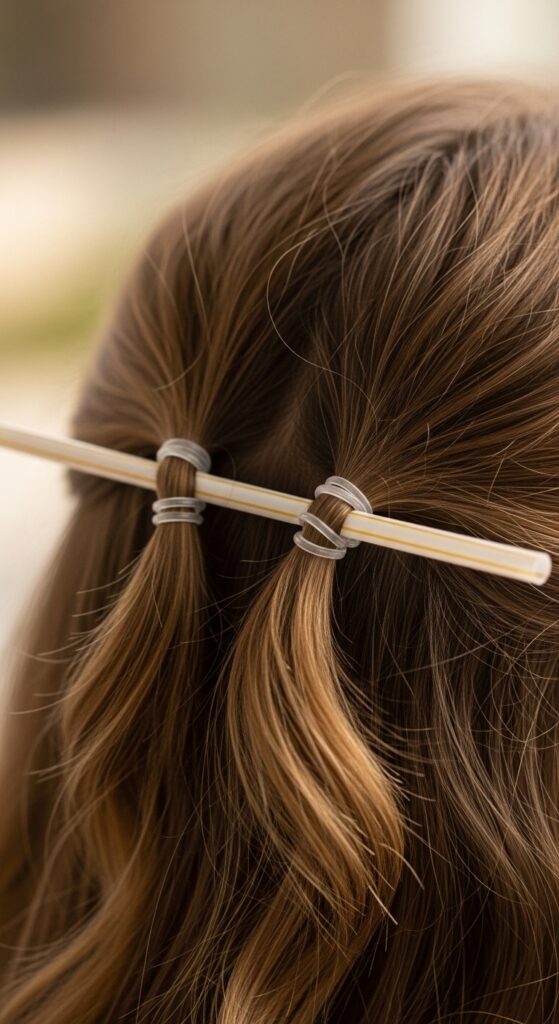
Holding the wrapped straw flat against your head, carefully bend it into a “U” shape. Bring the two ends together so the straw forms a little loop against your scalp.
Take a small hair elastic or a piece of thread and tie it around both ends of the straw. This locks it in place. It should feel secure but not painful. Repeat this process with every section.
Working Through the Bottom Layer
Methodically work across your entire bottom layer. Remember, small sections are your friend. I usually use about 7-9 straws for just the bottom half of my hair.
Take your time to wrap each one neatly. The more care you put in now, the more stunning the results will be. Once the bottom layer is done, let down the top half of your hair and repeat the same sectioning process.
Completing the Top Sections
The top sections are the most visible, so be extra neat here. For the front pieces around your face, consider the direction of the curl.
Wrapping away from your face gives a more open, romantic look. Wrapping towards your face can create more of a vintage, hime cut inspired frame. You can even mix directions for a more glitchy glam hair effect.
The Waiting Game: Letting It Dry
This is the easy part. You need to let your hair dry completely while wrapped. This can take a few hours or even overnight.
I highly recommend doing this before bed. Sleep on a satin pillowcase to prevent frizz. If you’re doing it during the day, plan for some cozy time. Don’t rush it! Damp curls will fall out fast.
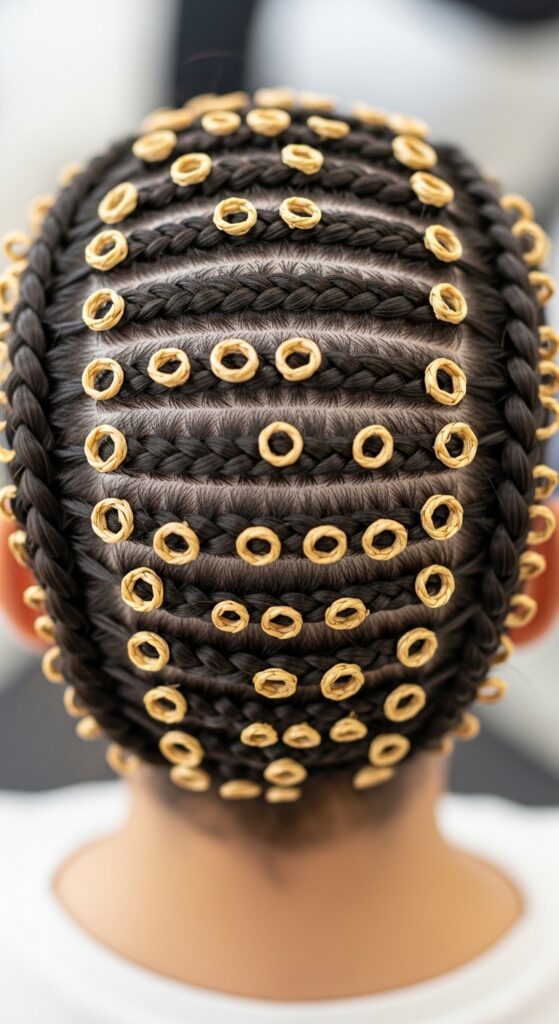
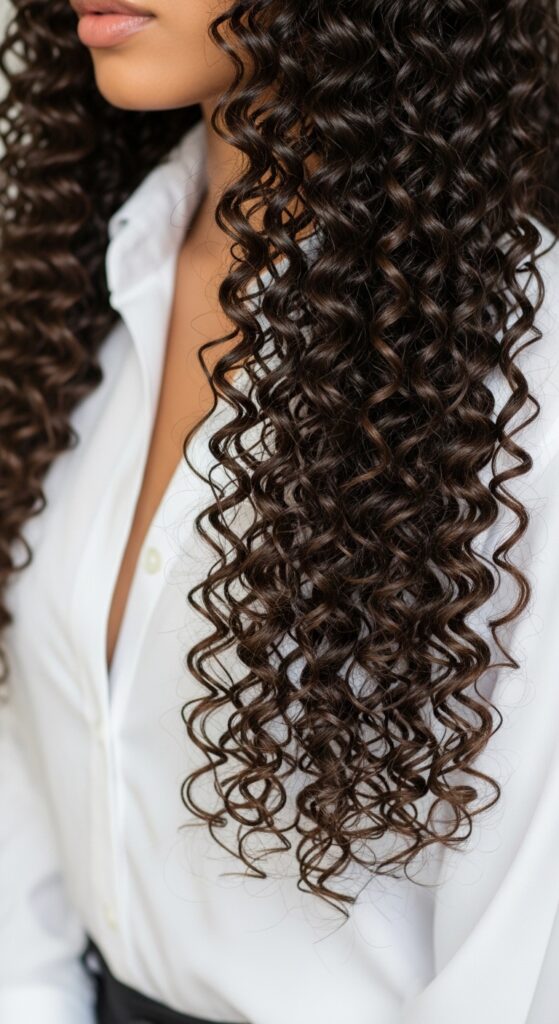
Unwrapping the Magic Moment
Once your hair is 100% dry, it’s time for the big reveal. Gently untie the elastic from each straw. Slowly and carefully slide the straw out of the curl.
Do not pull or yank. Let the curl fall naturally into your hand. You’ll see a perfect, tight spiral. Try not to touch the curls too much yet—just let them all down.
Shaking Out and Breaking the Cast
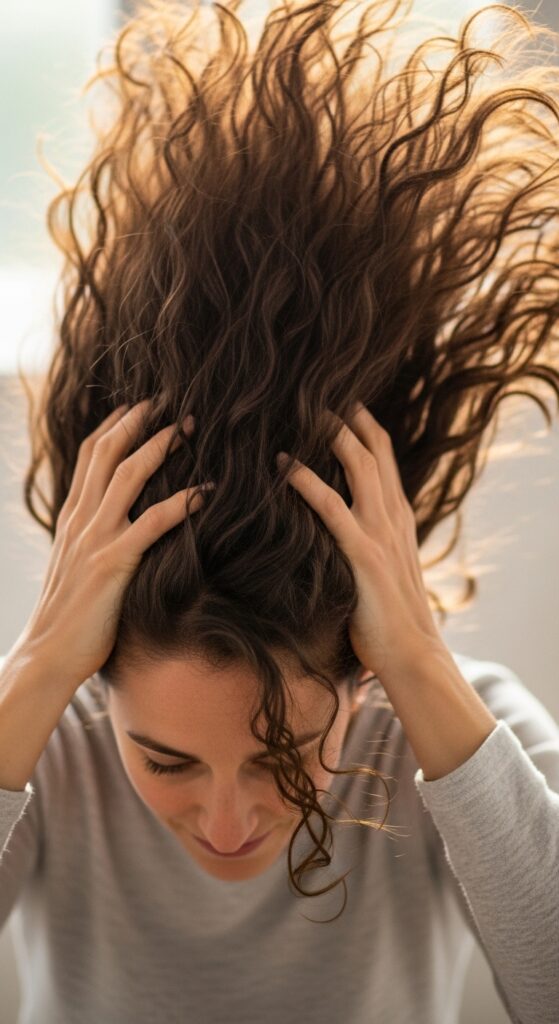
Once all straws are out, flip your head upside down. Gently shake your roots with your fingers to add volume. Then, flip back.
If your mousse left a slight cast (a crunchy feeling), gently scrunch the curls upwards towards your scalp to break it. This will soften the curls while keeping their shape. They should feel soft, not stiff.
Styling Your New Spiral Curls
Now, style! Use your fingers to gently separate any curls that are stuck together. Avoid brushing, which will cause frizz.
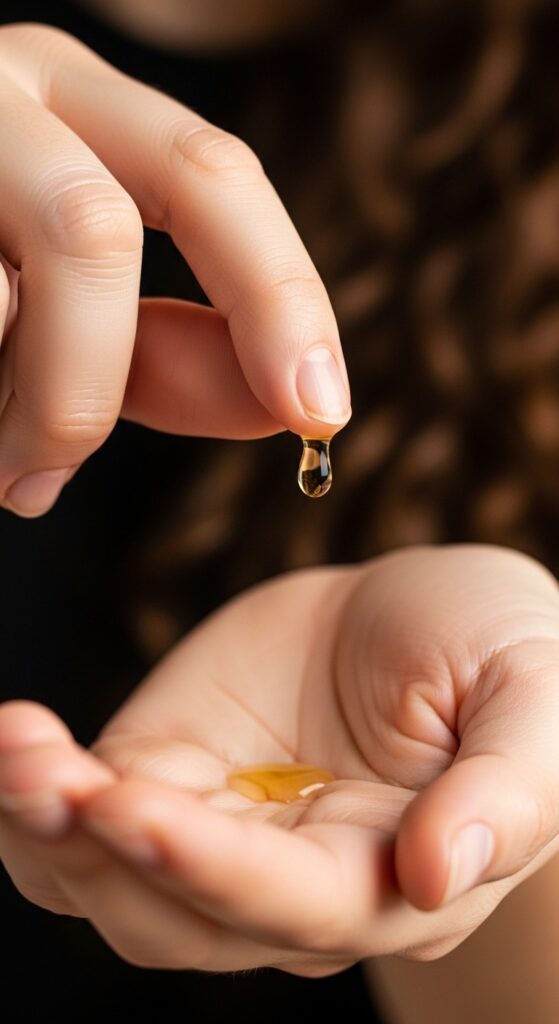
For more volume, you can lightly tease the roots with your fingers. To highlight the definition, take a tiny bit of hair oil, rub it between your palms, and gently glaze it over the curls to reduce any flyaways and add shine.
Making the Curls Last All Day

To make these curls last, a light-hold hairspray is your final step. Hold the can about 10 inches away and give a light mist all over.
At night, preserve your curls by loosely gathering your hair into a high, loose ponytail on top of your head (a “pineapple”). This prevents you from crushing them while you sleep. You might wake up with gorgeous, second-day waves.
Adapting the Method for Different Lengths
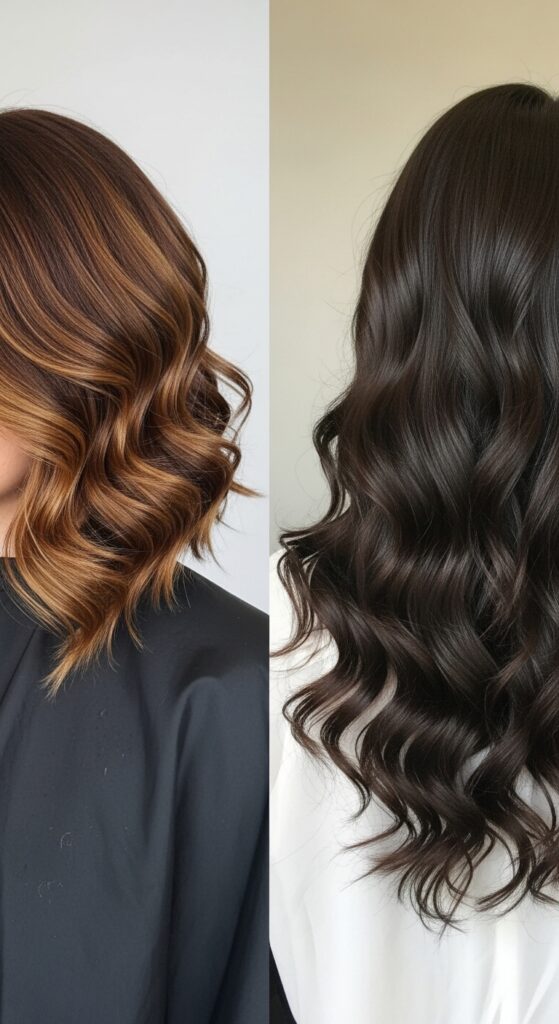
This method works for most lengths! For shorter hair, like an asymmetrical lob or a quiet luxury bob, you’ll just have a shorter straw length to wrap. The spirals will be springier.
For very long hair, you might need to wrap a bit more loosely so the straw can hold the weight, or use two straws connected end-to-end for extra length. The principle is exactly the same.
Creating a Romantic, Goth Vibe
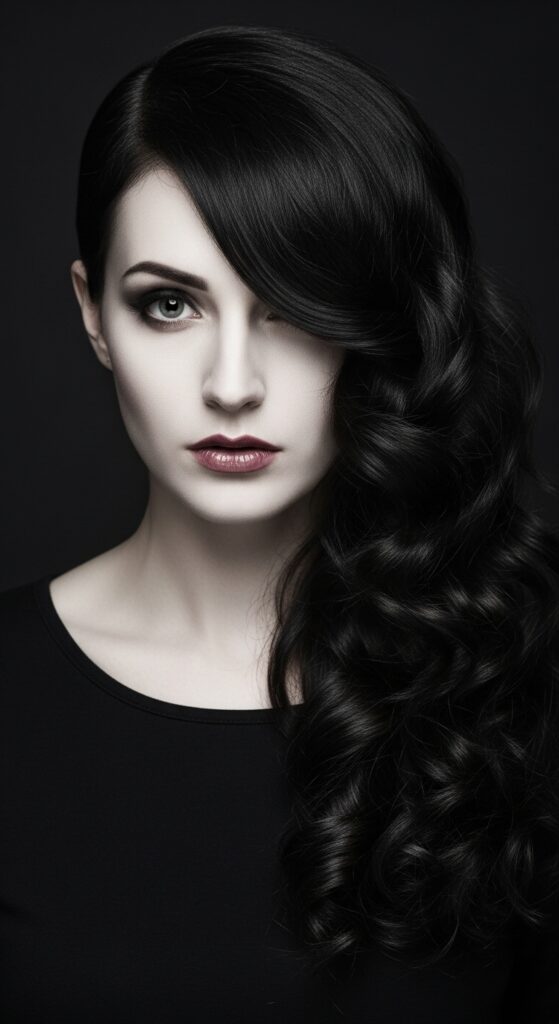
These tight spirals are perfect for creating romantic goth hairstyles or that elusive vampire haircut texture. The key is deep, dark hair and intense definition.
Pair the curls with a deep side part. For a truly old money hair twist on the dark aesthetic, keep the style sleek at the crown and let the spirals be perfectly polished, not wild.
Getting the “Old Money” Polished Look
For that polished old money hair or quiet luxury bob vibe, the goal is sleek, shiny perfection. After unwrapping, avoid shaking too much.
Use a bit more oil to slick any baby hairs and create a smooth crown. You can even use a soft-bristle brush *very lightly* on the very surface layer to tame frizz, but be careful not to disrupt the spiral underneath.
Troubleshooting: If Curls Won’t Hold
If your curls fall quickly, your hair might need more product or to be slightly damper when you start. Try a stronger-hold mousse.
Also, ensure you’re wrapping tightly enough and that your hair is 100% dry before unwrapping. Sometimes, very healthy, slippery hair needs a texturizing spray first to give it some grip.
Troubleshooting: Dealing With Frizz
Frizz usually means you touched the hair too much while damp, or the wrapping wasn’t smooth. Make sure each wrap is flat and overlapped.
Using a satin pillowcase if sleeping in them is crucial. When unwrapping, gliding with a tiny bit of oil immediately can help smooth the hair cuticle back down.
Why This Beats Heat Styling Every Time
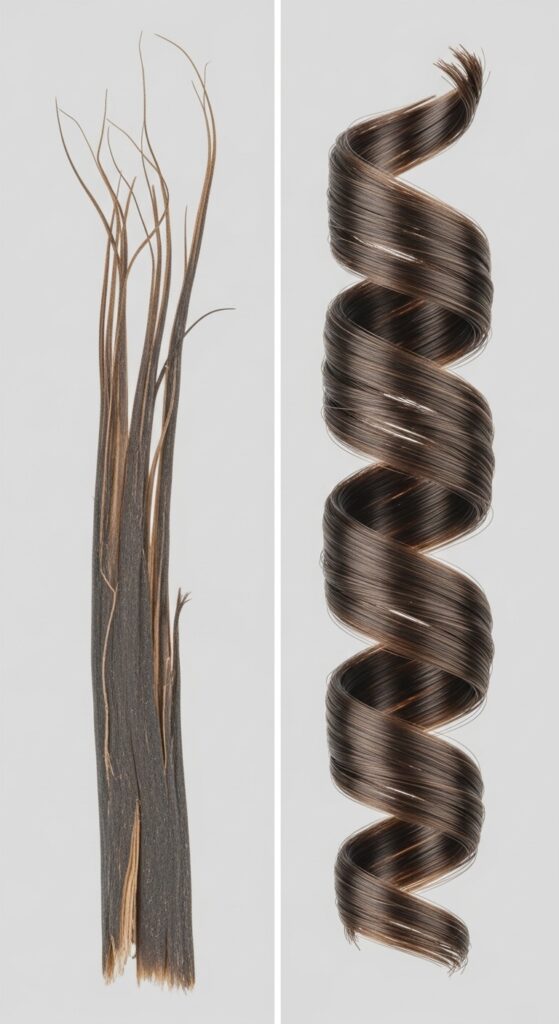
The difference in your hair’s health is undeniable. No heat means no damage, no dryness, and no split ends. Your hair will feel softer and look shinier.
Plus, once you get the hang of it, this method can be faster than curling every section with an iron. You do the work once, then just sit back and let it set. It’s the ultimate lazy-girl hack for amazing hair.
Mixing It Up: Straw Curls for Half-Up Styles
Don’t think this is just for wearing your hair down. These curls make stunning half-up, half-down styles. The spirals add so much texture and romance.
After unwrapping, simply gather the top section of your curls and secure it with a claw clip or a pretty ribbon. It gives major vintage, romantic vibes with zero extra effort.
Your New Go-To Hairstyle
And there you have it! Your new favorite, damage-free way to get stunning spiral curls. It might seem detailed at first, but after one or two tries, it becomes second nature.
This technique has seriously changed my hair game. It’s my secret for creating everything from soft, romantic looks to more defined, editorial styles without ever plugging in a hot tool.
So, that’s my full, honest guide to getting perfect spirals with zero heat. It really is one of those tricks that feels a little silly until you see the incredible results. Then, you’ll be hooked.
I love that this method gives you the freedom to create a high-impact look while actually being kind to your hair. It’s the definition of a beauty win-win. I hope it becomes a trusted part of your routine like it is in mine.
Save this post to Pinterest so you always have the steps handy! And tell me in the comments—are you going to try the straw method this week? What’s your biggest no-heat hair win? I love hearing from you!