No-Heat Beachy Waves Guide for Effortless Summer Glow
Okay, let’s be real. Summer is for salty air, sun-kissed skin, and not frying your hair with hot tools. We’ve all been there—wanting that perfect, undone wave but dreading the damage and the time it takes. What if I told you the secret to the best hair of your life is actually about doing less?
This guide is your ticket to effortless, no-heat waves that look like you just spent a day by the ocean. It’s all about technique, a few good products, and embracing your natural texture. Whether your hair is fine and straight or thick and curly, there’s a method here for you.
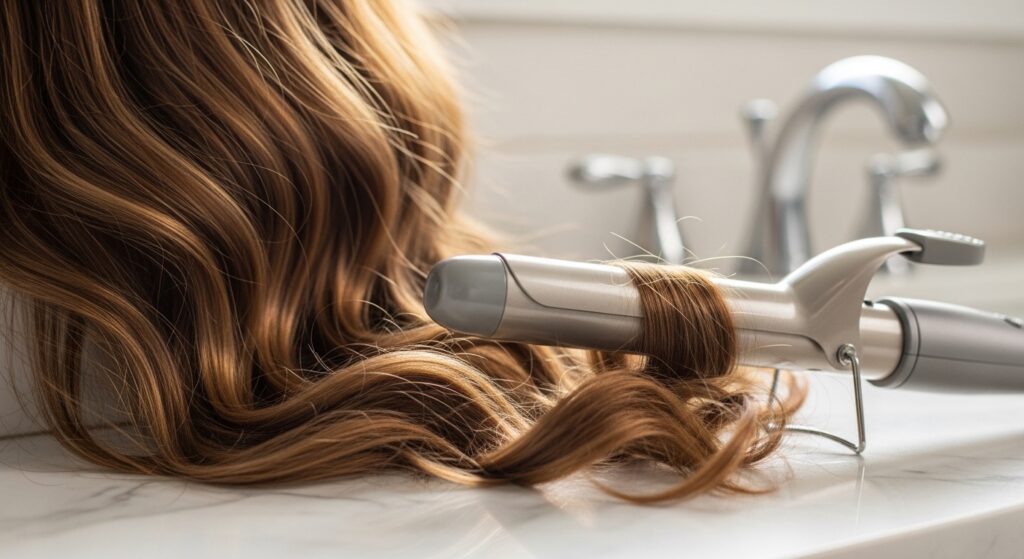
We’re ditching the curling iron for good. Get ready for hair that’s full of body, movement, and that undeniable summer glow. It’s easier than you think, and your hair will thank you.
Why Ditch the Heat This Summer?
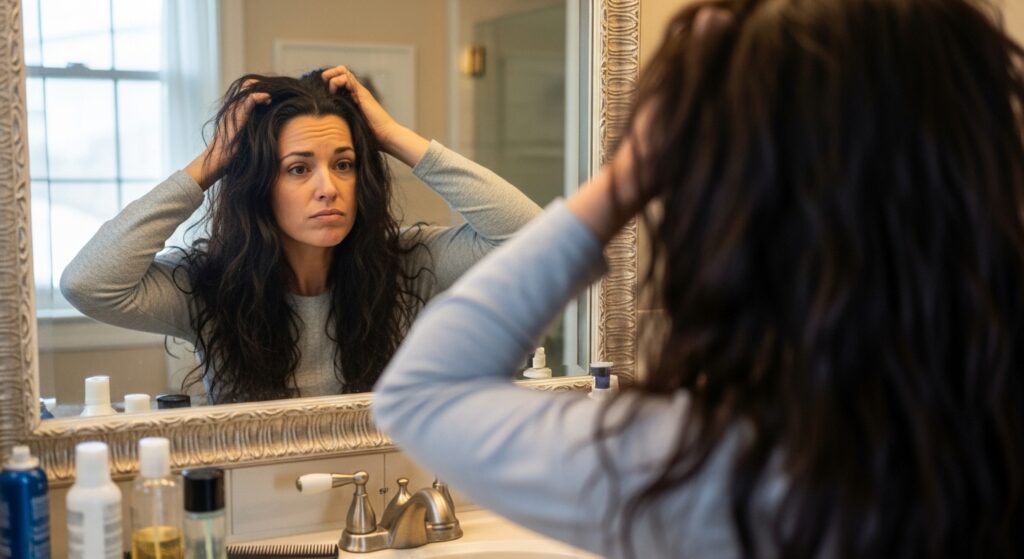
Heat styling is a fast track to dryness, breakage, and dullness—the exact opposite of that summer glow we’re after. Sun and saltwater are already doing enough, so giving your hair a break from hot tools is the best thing you can do for its health.
No-heat styles protect your hair’s natural moisture and shine. They create a softer, more lived-in wave that lasts longer because you’re setting the pattern, not forcing it. It’s the foundation for so many great looks, from an old money hair vibe to effortless 2026 hairstyles that are all about being natural.
The Golden Rule: Start With Damp, Not Soaking Wet, Hair
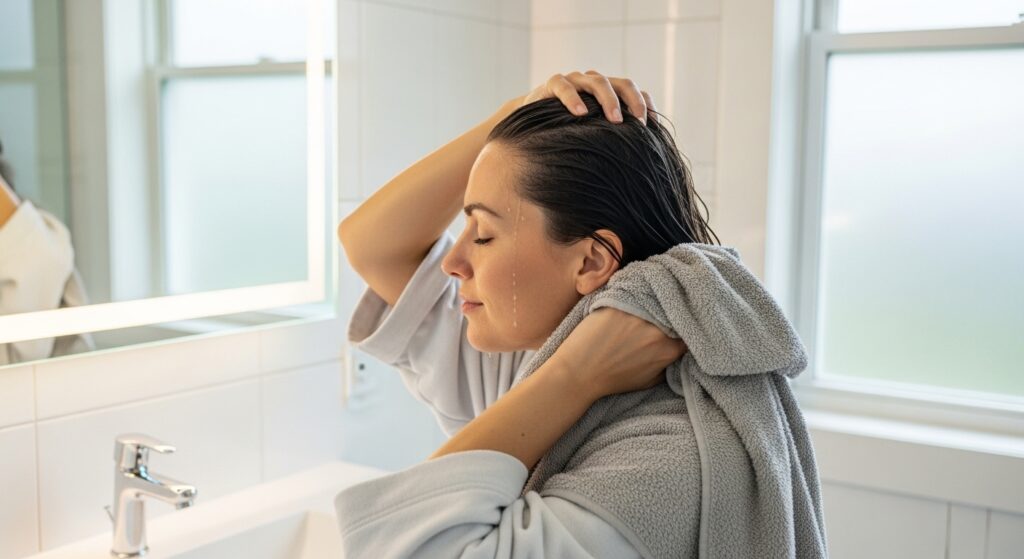
This is the most important step everyone gets wrong. If your hair is dripping wet, the style will take forever to dry and won’t hold as well. You want it uniformly damp, like 70% dry.
Gently towel-dry with a soft t-shirt or microfiber towel to avoid frizz. Then, comb through with a wide-tooth comb. This is the perfect canvas for your wave product to work evenly without getting diluted. It makes all the difference for definition and hold.
Your Product Lineup: Less Is More
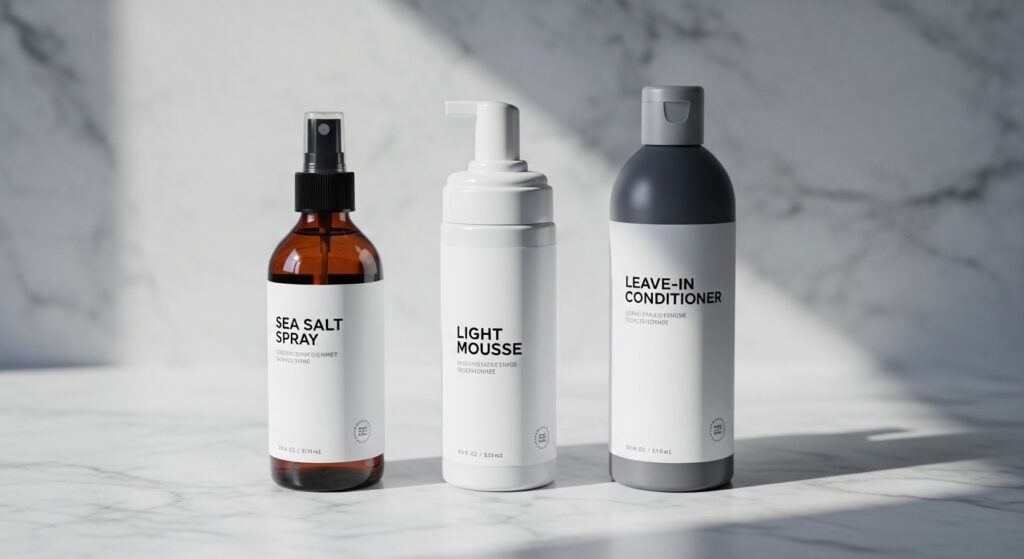
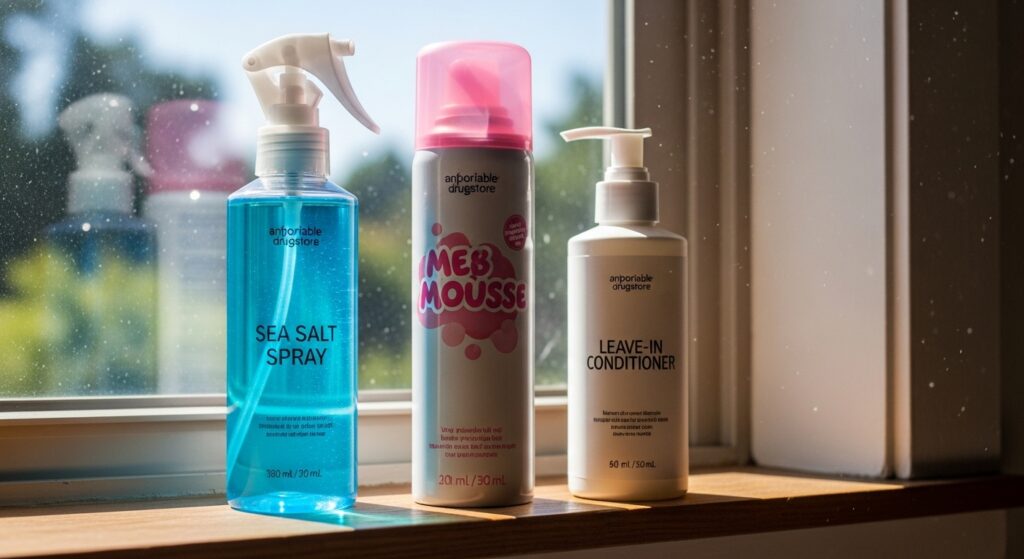
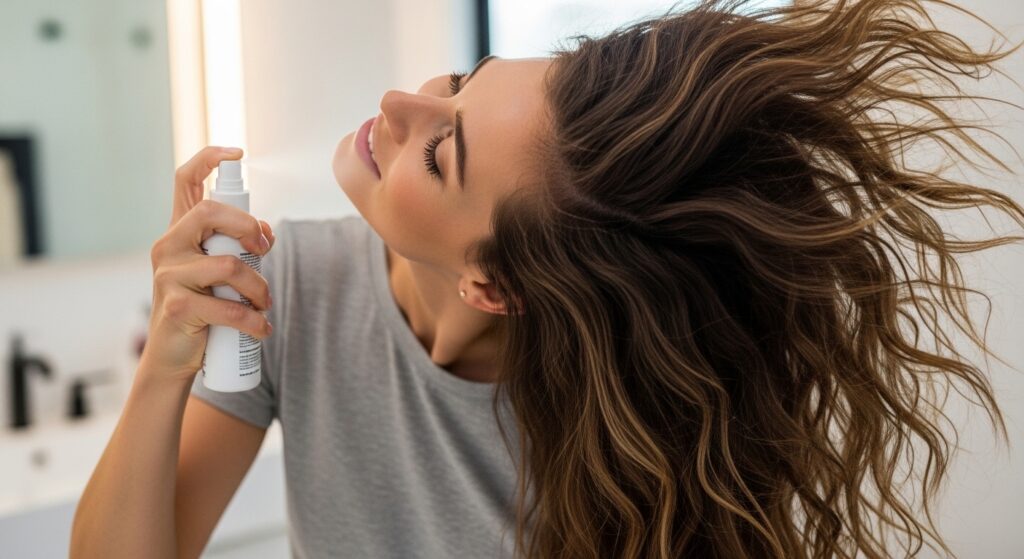
You don’t need a cabinet full of products. For perfect beachy waves, focus on these three heroes. A good sea salt spray is your MVP—it adds texture and that piecey, ocean-tousled look.
Pair it with a lightweight curl-enhancing mousse for hold and volume, or a leave-in conditioner for extra hydration and frizz control. The key is to apply to damp hair and scrunch! Let’s break down how to use each one.
Method 1: The Classic Braid Wave (For All Hair Lengths)
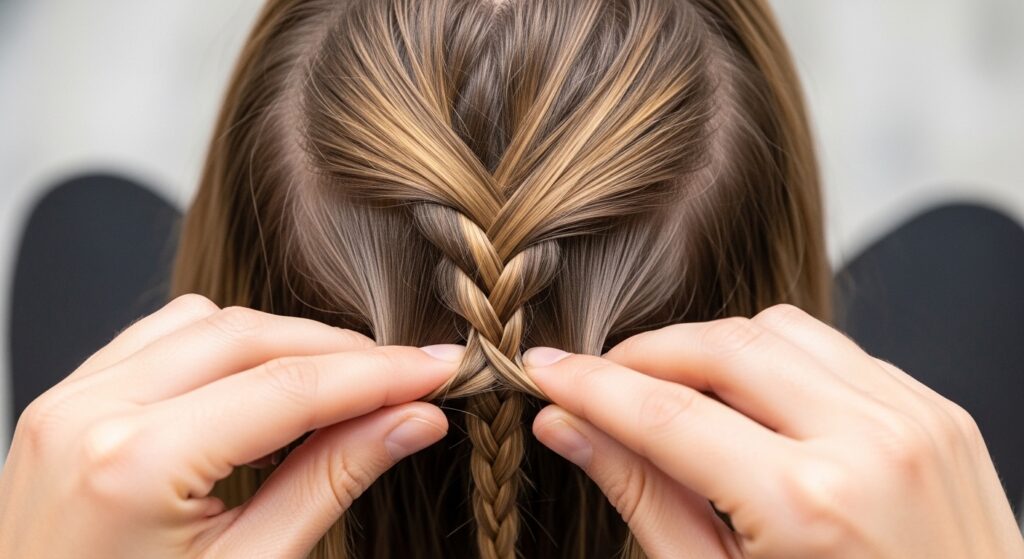
This is the OG no-heat method and it works like a charm. It gives a uniform, romantic wave that’s perfect for a softer look. It works on everything from long layers to a shoulder-grazing asymmetrical lob.
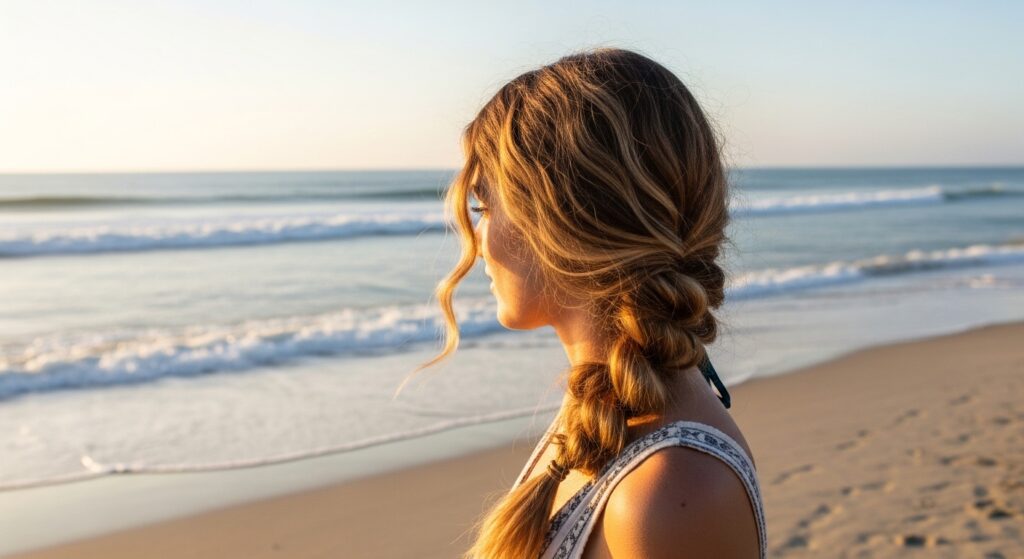
Start with damp, product-treated hair. Create two loose side braids or a single loose braid down the back. The looser the braid, the looser the wave. Sleep on it or let it air dry completely. Gently unravel in the morning and shake out your roots for effortless volume.
Method 2: The T-Shirt or Sock Bun (For Longer Hair)
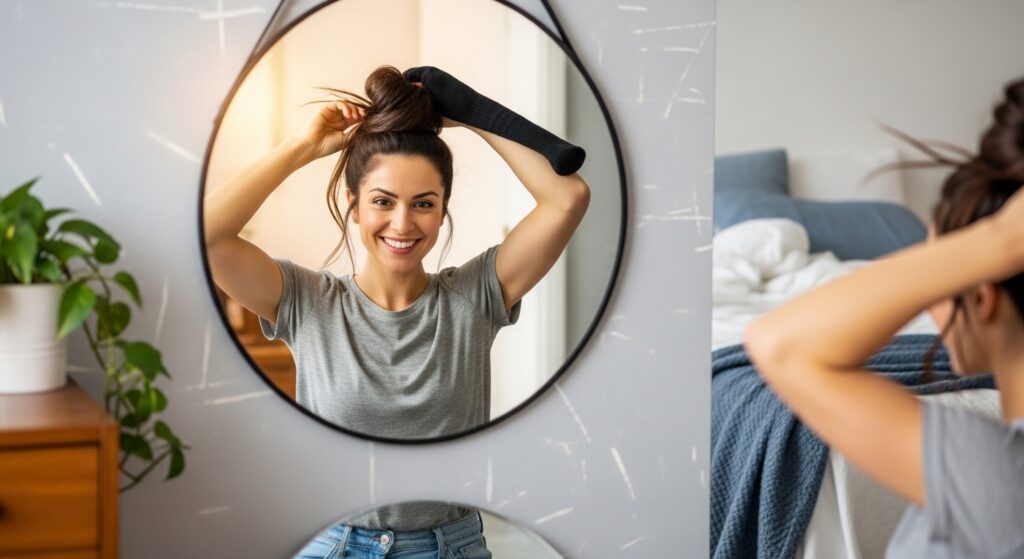
This method creates beautiful, spiraling waves with more definition. You’ll need a soft t-shirt cut into strips or a long sock. It looks complicated but takes two minutes once you get it.
Divide damp hair into two sections. Twist each section tightly from roots to ends, then wrap the twisted strand around itself into a bun. Secure the bun by tying the ends of your t-shirt strip or sock around it. Let dry completely before taking down.
Method 3: The Pineapple Pony for Curls & Waves

If you have natural wave or curl, this is your best friend for preserving volume and definition overnight. The “pineapple” simply means gathering all your hair into a very loose, high ponytail right on top of your head.
Use a silk scrunchie, never a tight elastic. This prevents flattening your roots and reduces friction frizz. In the morning, just take it down, flip your head over, shake it out, and refresh with a bit of water or spray. Instant second-day perfection.
Method 4: The Robe Belt Wrap (Sophisticated Waves)
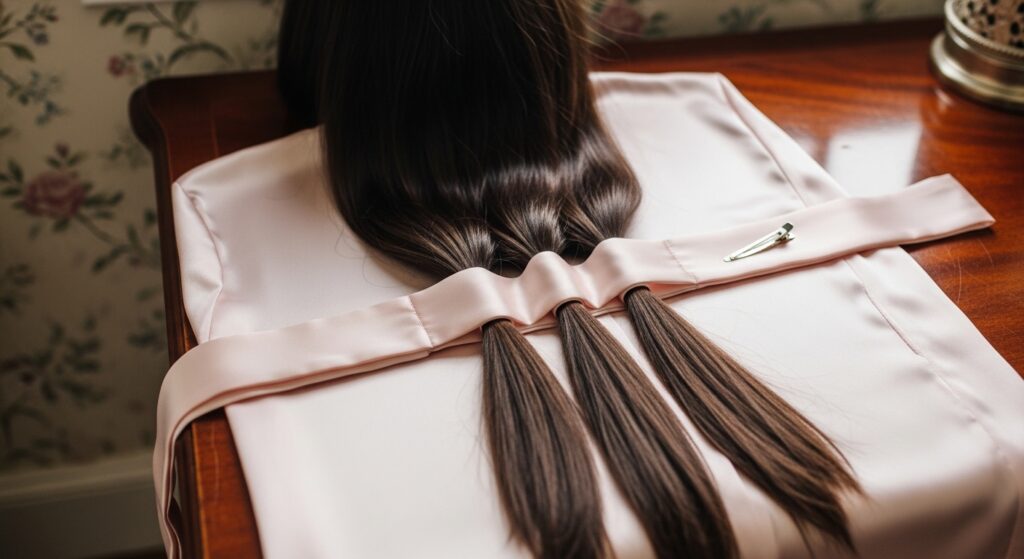
This trick gives a gorgeous, uniform wave similar to a curling iron but without the heat. It’s perfect for creating that quiet luxury bob texture or polished waves. You need a smooth, satin robe belt or a long silk scarf.
Lay the belt flat on your shoulders. Take small sections of damp hair and wrap them around the belt, alternating directions. Tie the ends of the belt loosely in front. Let it dry while you get ready or sleep on it. Unwrap for stunning, heatless curls.
Mastering the “Scrunch and Go” for Wavy Hair
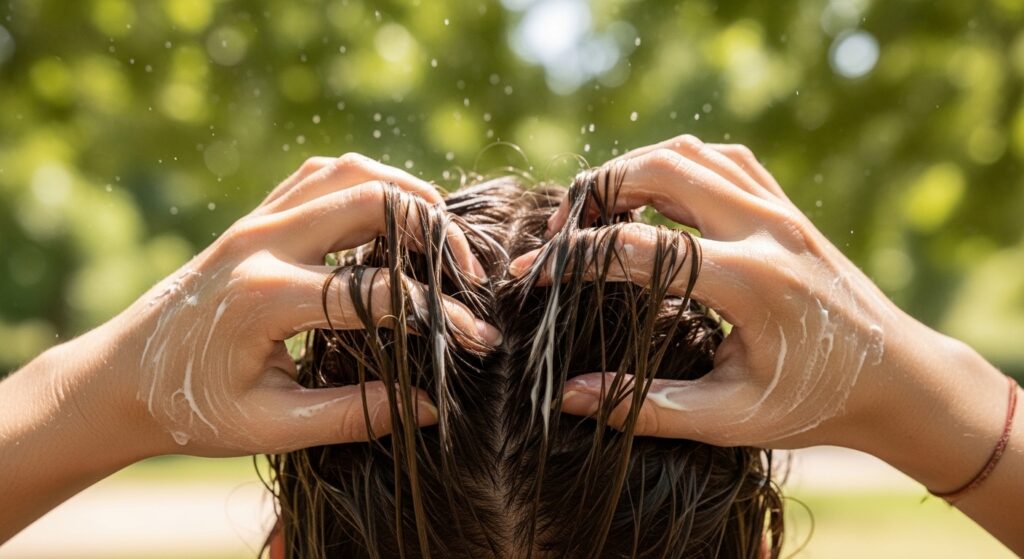
For my wavy-haired friends, this is your daily mantra. Apply your sea salt spray or mousse to damp hair. Then, flip your head upside down and gently scrunch your hair from the ends up towards your scalp in a pulsing motion.
Do not touch it while it dries! Let it air dry completely before you flip back and gently separate the waves with your fingers. This encourages your natural pattern and creates unbelievable volume at the root for that true beachy effect.
How to Make Waves Last All Day & Night
The secret to longevity is all in the prep and the finish. Starting with that damp, product-treated hair is non-negotiable. Once your waves are completely dry, a single spritz of a flexible-hold hairspray all over will lock them in.
Carry a travel-size sea salt spray for a quick refresh. Just mist lightly on the mid-lengths and ends, and scrunch again. This revives the texture and definition without making hair crunchy or stiff. It’s your all-day insurance policy.
Fighting Summer Frizz: Your New Routine
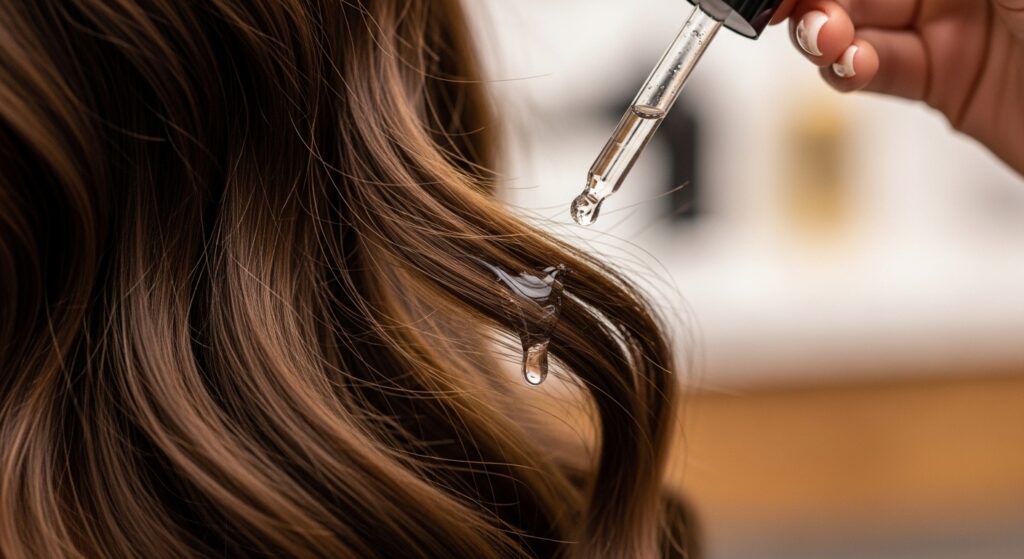
Humidity is the enemy of smooth waves. To combat it, add a single drop of hair serum or a light oil to your routine—but only on the ends after your hair is dry. This seals the cuticle and adds shine without weighing hair down.
Also, swap your cotton pillowcase for silk or satin. It creates less friction, so you wake up with smoother, less frizzy waves. It’s a game-changer for maintaining your style overnight and overall hair health.
Accessorize Your Waves: Effortless Elevation
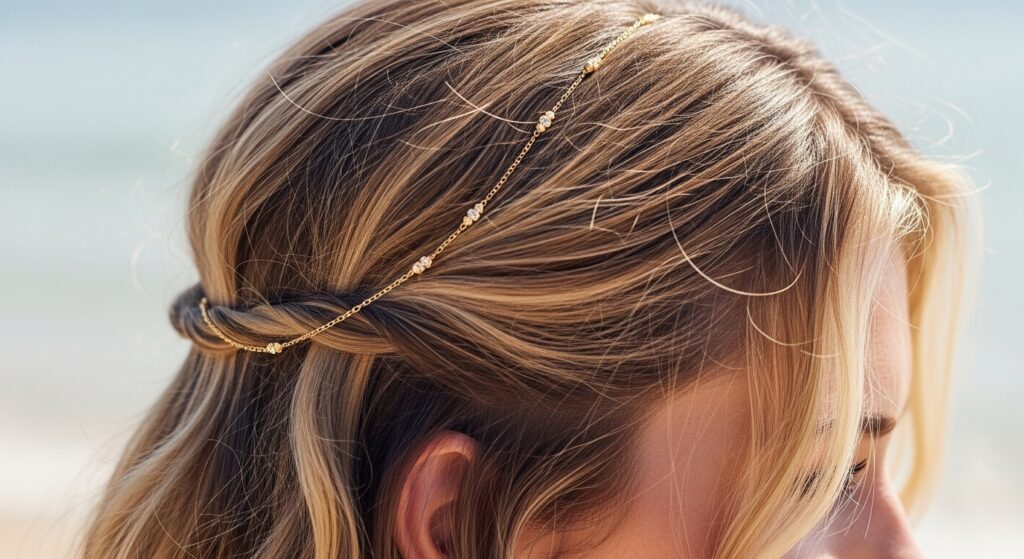
Accessories take your no-heat waves to the next level with zero effort. Think sleek barrettes, delicate claw clips, or a thin headscarf tied as a headband. They add a touch of polish and help keep hair off your face on windy days.
For a touch of glitchy glam hair, try mixing metals or adding a single, statement clip to one side. It’s that perfect balance of undone and intentional that makes the style feel special and personal.
From Beachy to Romantic Goth
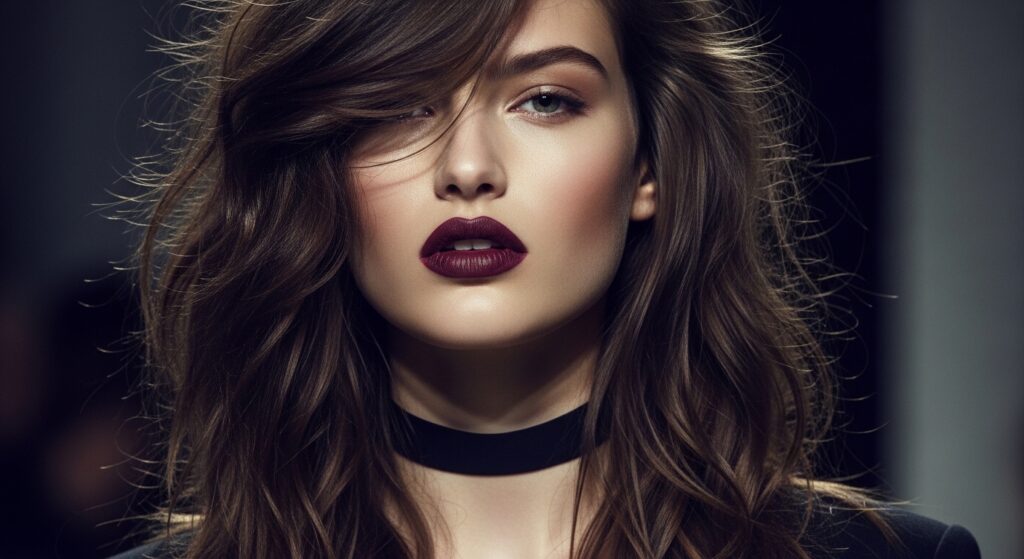
Your beachy wave base is incredibly versatile. To edge it towards a romantic goth hairstyles aesthetic, start with a deep side part. Keep the waves soft but defined, and pair with a bold, dark lip.
You can add a few face-framing pieces for a touch of vampire haircut drama. The contrast of soft, textured waves with a darker, moodier makeup look is absolutely stunning and so easy to achieve from this same foundation.
Adapting Waves for a Hime Cut or Sharp Bob
Structured cuts like the hime cut or a blunt quiet luxury bob look amazing with a slight wave. It breaks up the severity and adds movement. Focus the wave product and styling on the mid-lengths and ends.
For a hime cut, you might just wave the long front pieces. For a bob, use the robe belt method or small braids just on the ends to create a subtle, inward or outward flip. It modernizes the cut instantly.
The Perfect Day-Old Hair Refresh
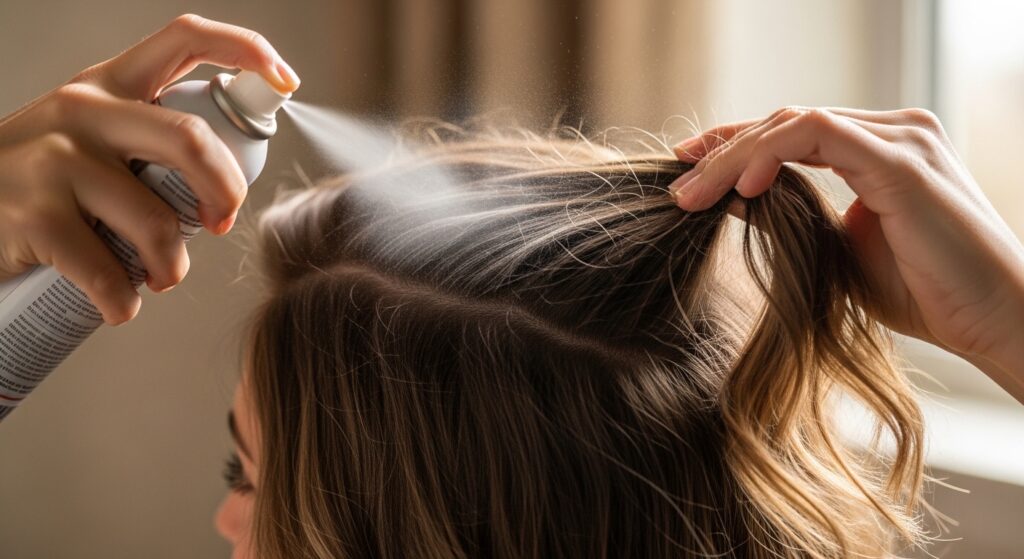
Let’s be honest, second-day hair is often the best hair. To revive your waves, start at the roots. A light dry shampoo will soak up oil and give your volume a major boost. Spray it in, let it sit for a minute, then massage it in.
Then, lightly mist your waves with a mix of water and a drop of leave-in conditioner in a spray bottle. Scrunch gently. The water reactivates the product from yesterday, and you’re left with even better, more lived-in waves than day one.
Protecting Waves at the Beach & Pool
Chlorine and saltwater can be drying. Before swimming, wet your hair with fresh water and apply a little leave-in conditioner. It acts as a barrier, so your hair absorbs less of the harsh stuff.
Keep your hair in a loose braid or a low, loose bun while you swim. This prevents massive tangles. After, rinse thoroughly with fresh water as soon as you can. Your waves will survive the day and be much easier to restyle.
My Favorite Drugstore Products for This
You don’t need to spend a fortune. Some of my favorite wave-makers are from the drugstore. Look for a sea salt spray with aloe or glycerin to avoid dryness. A flexible-hold mousse is key for body without crunch.
A lightweight, silicone-free leave-in conditioner will be your hydration hero. I test a lot of products, and the best results often come from these simple, affordable finds. The technique matters more than the price tag.
Common Mistakes & How to Fix Them
The biggest mistake? Brushing your waves out when they’re dry. This turns them into frizz. Only use a wide-tooth comb on wet/damp hair. If you need to smooth dry hair, use your fingers only.
Another error is using too much product. Start with less—you can always add more. Too much will weigh hair down or make it feel sticky. Remember, we’re going for effortless, not overdone.
Creating Volume at the Root
Flat roots can deflate the whole beachy look. While your hair is still damp, flip your head over and spray a root-lifting spray at your part and crown. Scrunch your roots gently as you dry.
Once completely dry, flip back and use the end of a rattail comb to gently lift sections at the root. A light mist of texturizing spray here holds the lift. This small step makes your hair look twice as thick.
When to Use a Diffuser (Low-Heat Option)
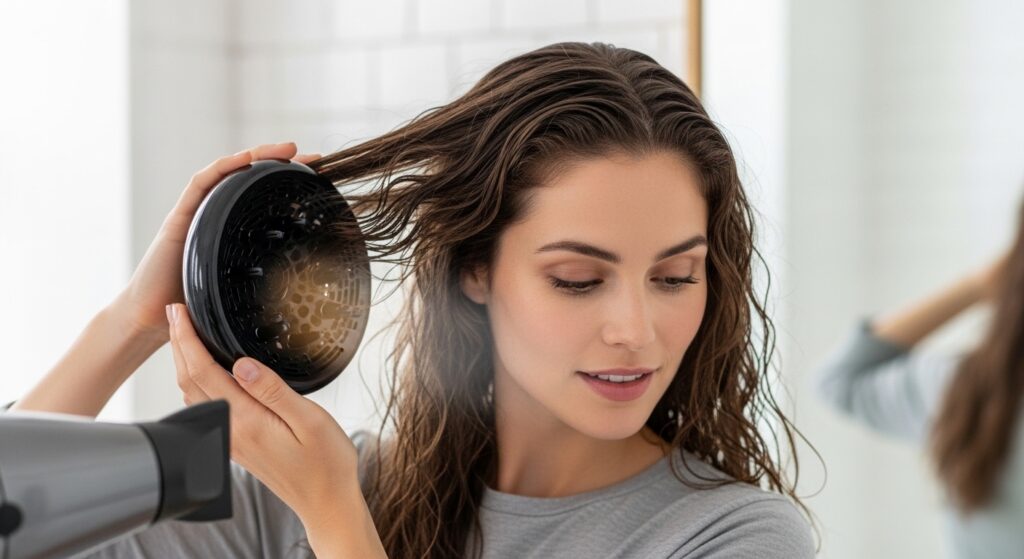
If you’re short on time or have very dense hair that takes forever to dry, a diffuser is your low-heat friend. Use it on the cool or low heat setting. Never use high heat.
Scrunch sections of hair into the diffuser cup, hold it at your roots for a bit, then move to the ends. This speeds drying while enhancing your natural wave pattern. It’s about gentle encouragement, not forceful styling.
Why This Style is Truly Timeless
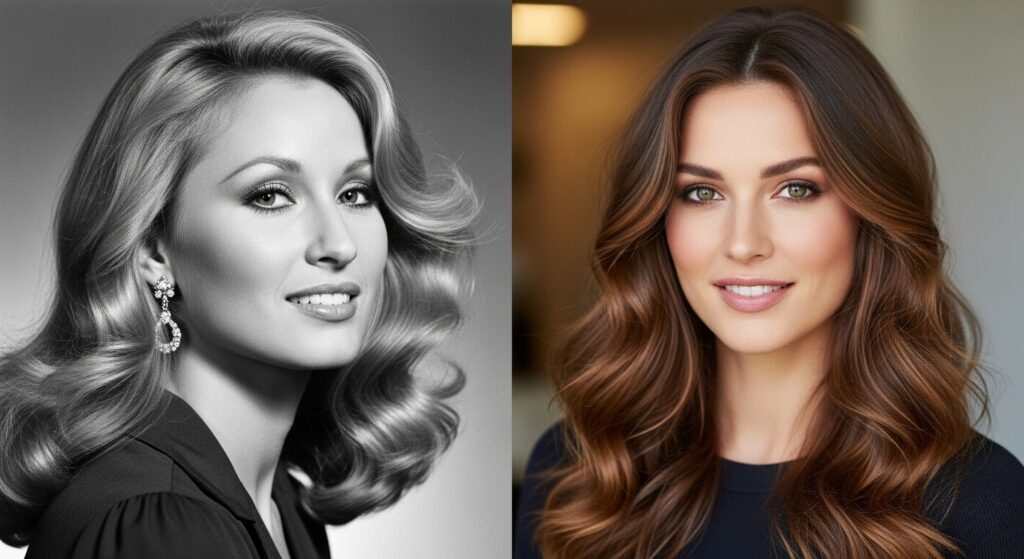
Beachy waves never go out of style because they mimic a natural, healthy, joyful state. It’s the hair of vacations, of freedom, of good times. While trends like glitchy glam hair or specific cuts come and go, this texture remains a constant.
It works for every age and face shape. It speaks of effortlessness and confidence. That’s why it’s the perfect foundation to build on, whether you’re channeling old money hair simplicity or a more modern, edgy look.
Your Summer Hair Wellness Checklist
Great styles start with healthy hair. Get a trim to ditch split ends. Use a deep conditioning mask once a week to combat summer dryness. Always use a hair product with UV protection when you’ll be in the sun.
And finally, drink plenty of water! Hydration from the inside out makes your hair shinier and healthier. This simple checklist ensures your hair is in the best possible shape to hold those beautiful, no-heat waves all season long.
And there you have it—your complete guide to getting off the heat styling treadmill this summer. The best part is that with each day you skip the hot tools, your natural hair health improves, making these styles look even better.
I want you to feel confident and glowing, with more time to enjoy your morning coffee or that extra chapter of your book. Your perfect summer hair is waiting, and it doesn’t need a single cord to come to life.
Was this guide helpful? Save this post to Pinterest to keep it handy all season! And tell me in the comments—which no-heat method are you most excited to try first? I love hearing from you!