Now 20 Precision Heat Mitts Styling Extensions Without Damage
Okay, let’s be real. We’ve all been there. You finally get those gorgeous extensions or invest in a killer cut, and then… the heat damage sets in. Your dream hair starts feeling like straw, and that expensive style loses its magic way too fast. It’s heartbreaking, and honestly, a total waste of time and money.
But what if I told you there’s a simple, genius tool that changes everything? It’s not a new serum or a secret treatment. It’s a precision heat mitt, and it’s about to become your styling best friend.
I’ve been testing them for months, and the difference is unreal. No more fried ends or melted bonds. Just flawless, protected styles that last. Let me walk you through exactly how to use this little miracle worker to master every look, from a sleek quiet luxury bob to full romantic goth hairstyles, all without the damage.
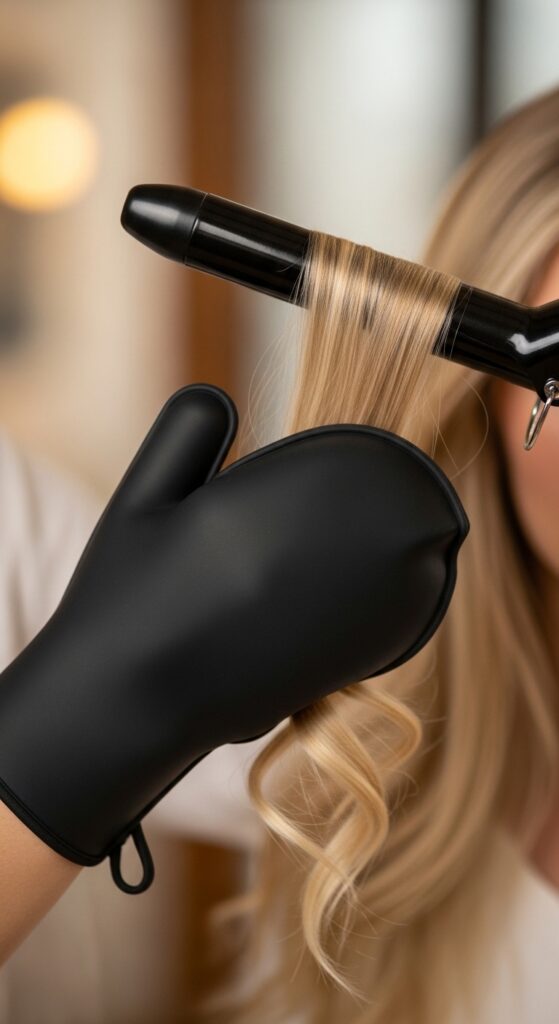
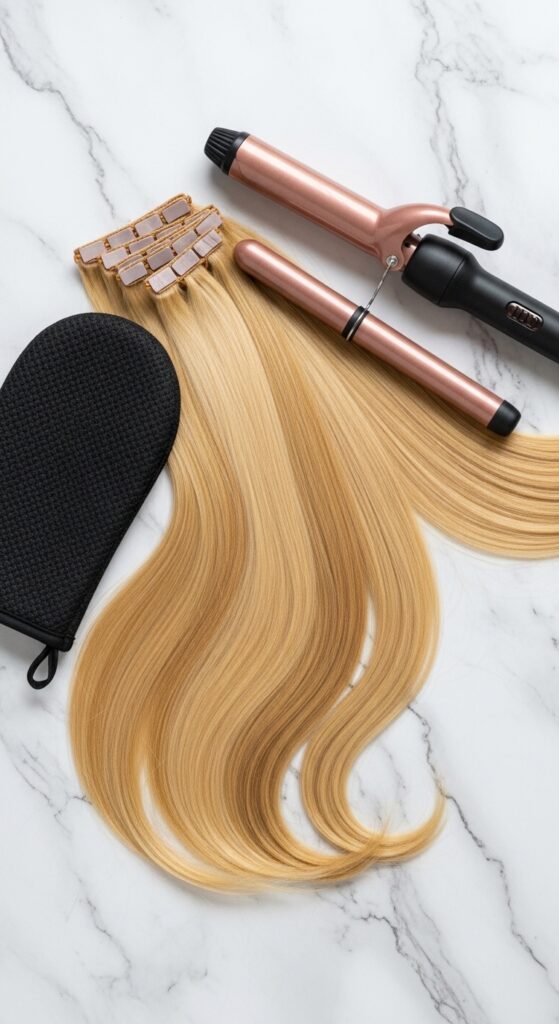
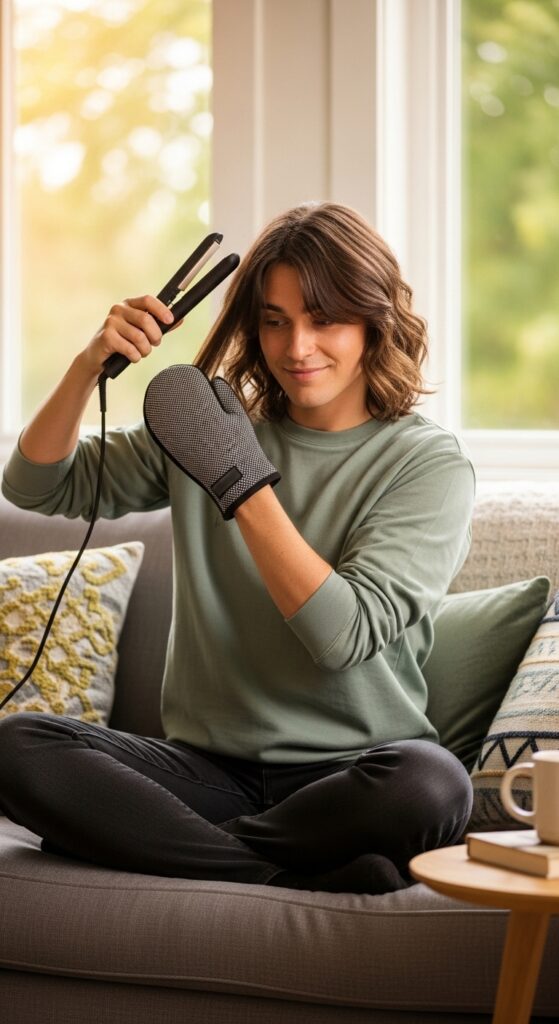
What Is a Precision Heat Mitt, Anyway?
Think of it as a tiny, heat-resistant glove just for your fingers. You slip it on your non-dominant hand (usually your left). It’s made from materials like silicone or aramid fabric that can withstand direct heat from your curling iron or flat iron.
Instead of using a regular clamp or your bare fingers to hold sections, you use the mitt. This creates a barrier between the intense heat and your hair, especially the delicate ends and the bonds or tapes of your extensions. It gives you salon-level control without salon-level damage.
Why Your Extensions Deserve This Protection
Extensions, whether tape-in, clip-in, or weft, are an investment. They’re also more vulnerable than your natural hair. The bonds, tapes, and even the hair itself can be damaged by direct high heat, leading to slippage, tangling, and a shorter lifespan.
Using a heat mitt means you can style them with confidence. You protect the most expensive parts of your style. It lets you blend your natural hair and extensions seamlessly with heat, knowing you’re not compromising their integrity. It’s a game-changer for longevity.
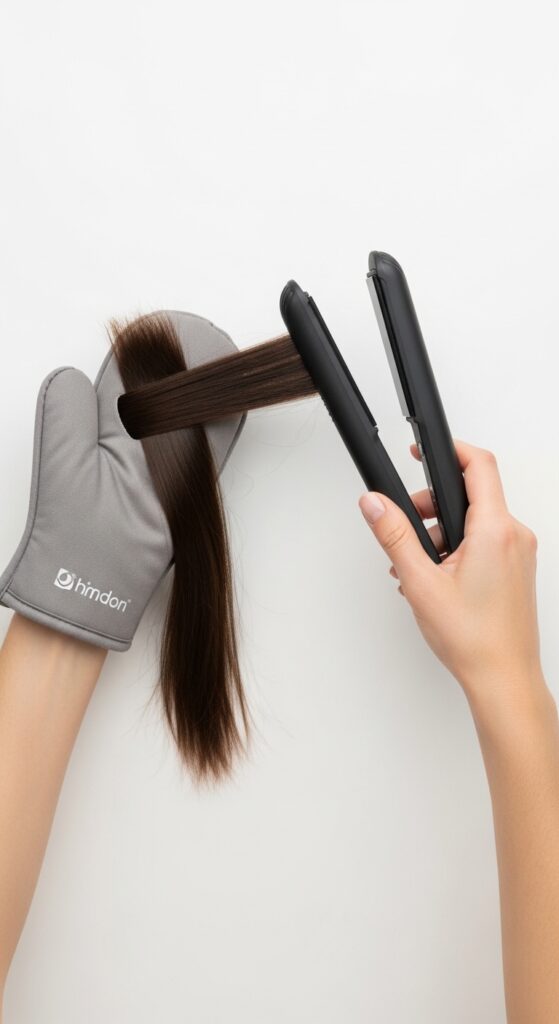
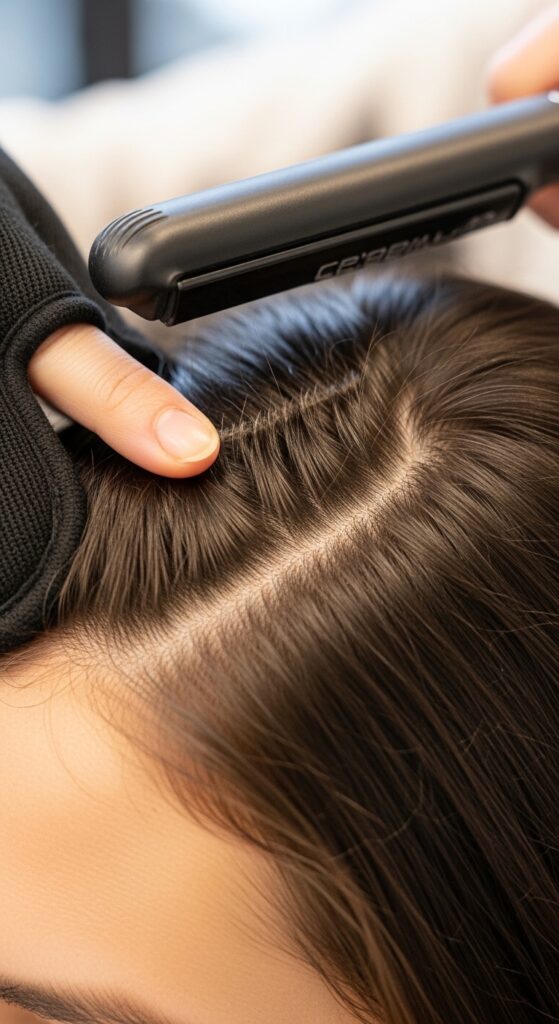
The Absolute Basics: How to Hold It
This is simpler than it sounds. Slip the mitt onto the hand you DON’T use to hold the styling tool. If you iron with your right hand, the mitt goes on your left.
Use your mittened fingers to grip the hair section firmly, just like you would normally. The heat-resistant material allows you to hold the hair close to the root or guide the ends through the iron safely. It feels strange for the first two sections, then becomes second nature.
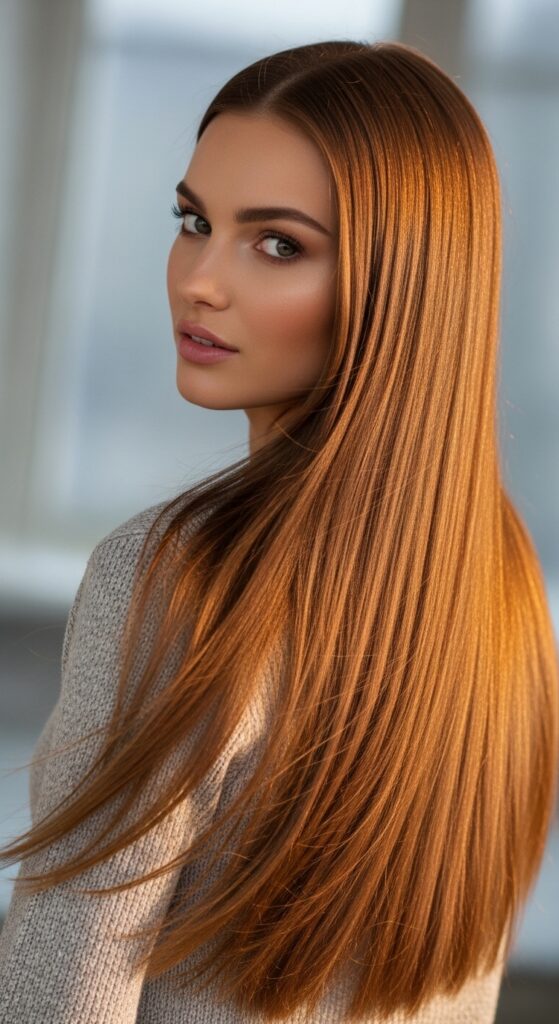
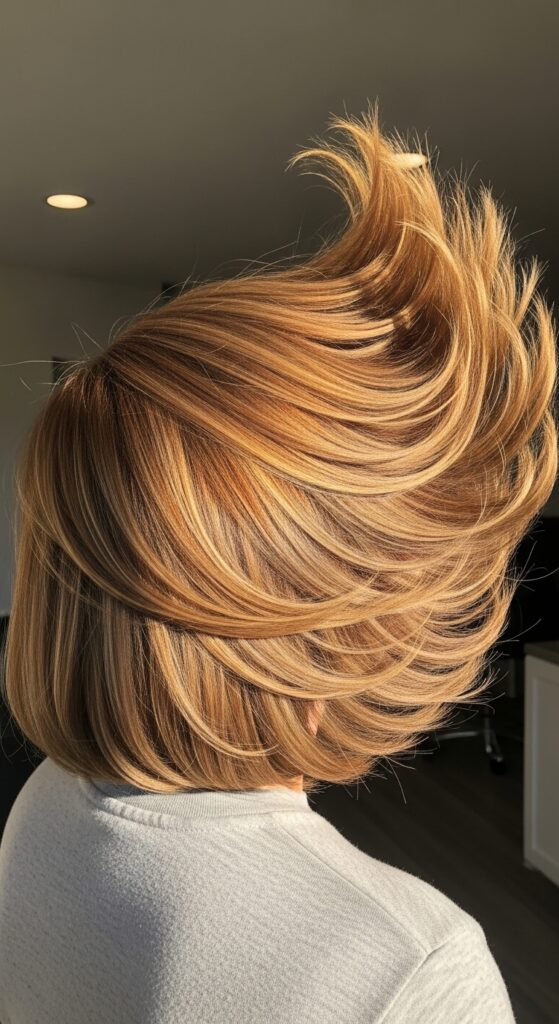
Mastering the Sleek, “Old Money Hair” Blowout
That perfectly smooth, glossy old money hair look is all about tension and a polished finish. Start with a round brush and your blow-dryer to get hair 90% dry and straight.
For the final pass, use your flat iron with the mitt. Hold a thin section taut with the mitt, and glide the iron down slowly. The mitt lets you pull the section completely straight without burning your fingers, sealing the cuticle for insane shine. It’s the secret to that “effortlessly perfect” vibe.
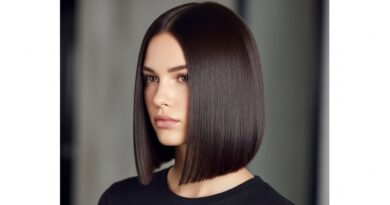
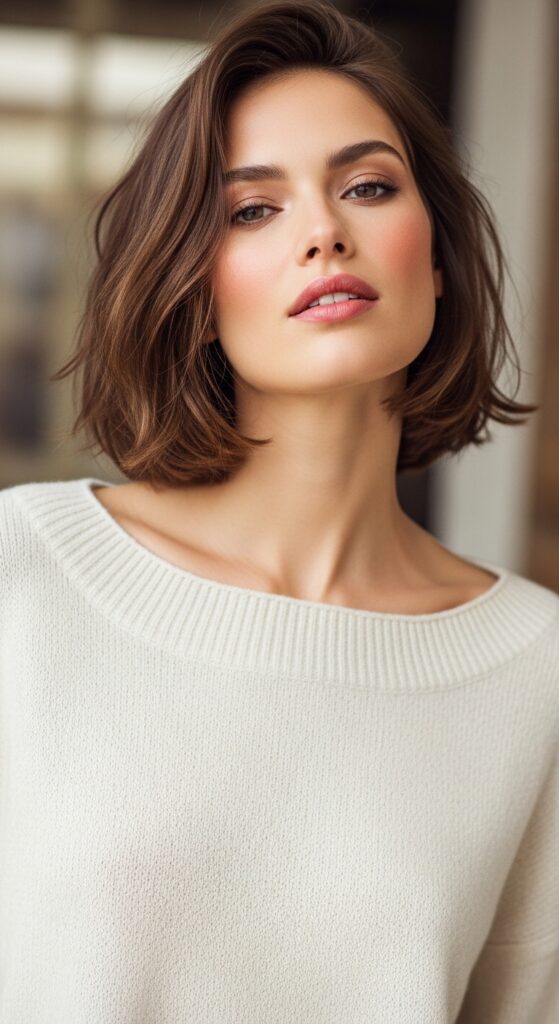
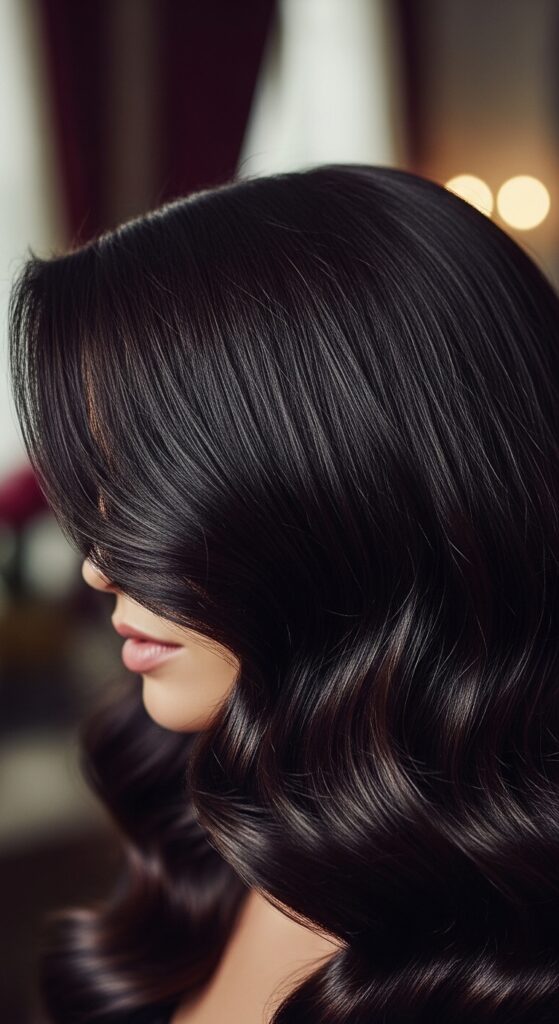
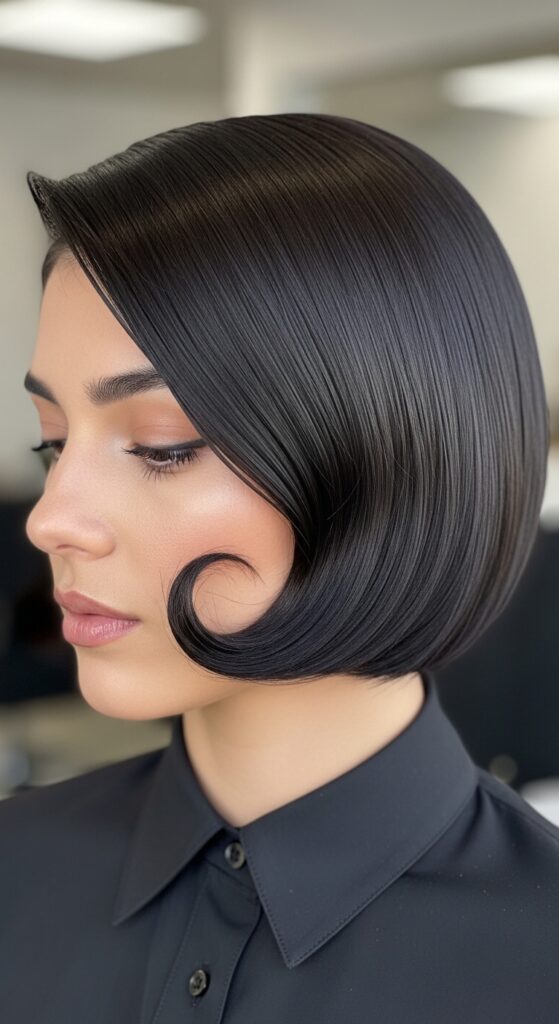
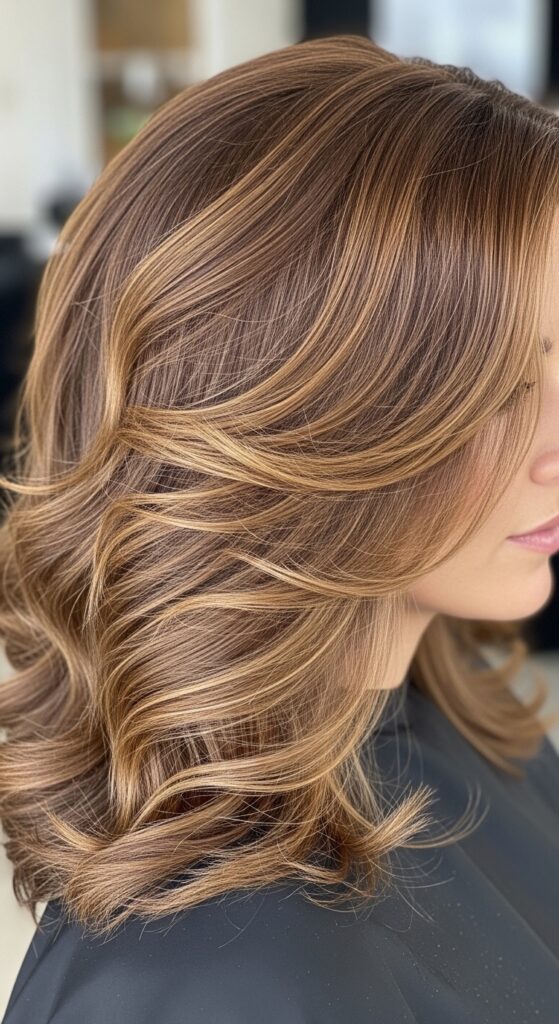
Creating the Perfect “Quiet Luxury Bob” Waves
The quiet luxury bob is soft, undone, and expensive-looking. The key is loose, alternating waves. Use a medium-barrel curling iron. Wrap a section around the iron, but instead of clamping the end, use your heat mitt to hold the very tip of the hair.
This prevents the ends from getting that crispy, over-curled look. After a few seconds, slide the mitt off and drop the curl. You’ll get a soft, lived-in wave with a smooth, undamaged end. It looks polished but never overdone.
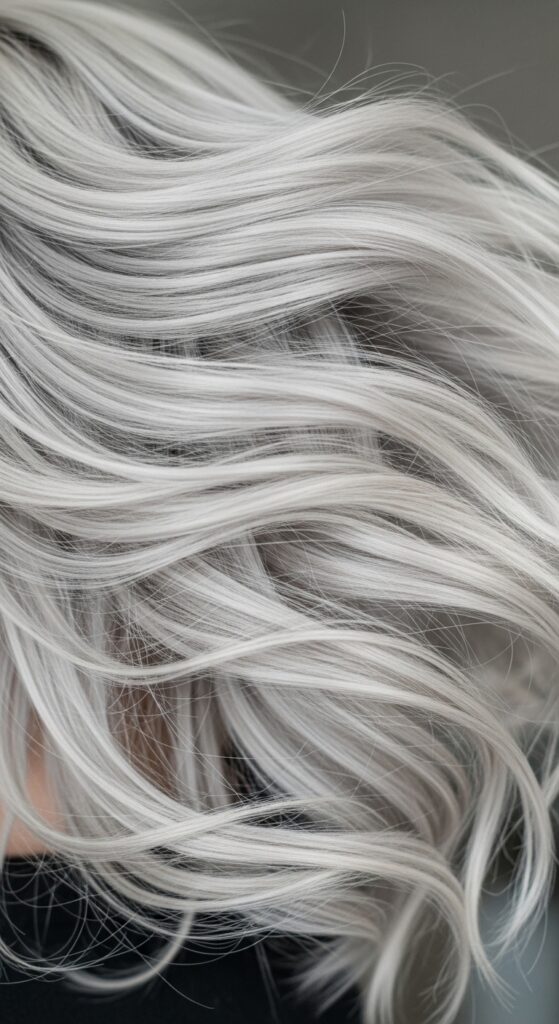
Styling a Voluminous “Romantic Goth” Wave
Romantic goth hairstyles are all about dramatic volume and texture. You’ll need a large-barrel iron. Take vertical sections for maximum lift. Wrap the hair around the iron, and use your mitt to firmly hold the end of the section against the barrel.
This gives you control to create a tight curl at the root that loosens as it goes down. Once released and gently brushed out, you get that beautiful, cascading Victorian-inspired volume without flattening the roots or frying the ends that give you that soft texture.
Achieving “Glitchy Glam Hair” Texture
Glitchy glam hair is playful, textured, and a little unpredictable. It mixes waves, bends, and straight pieces. A flat iron is your best tool here. Use your mitt to hold small, random sections.
Create sharp bends by clamping the iron and giving it a quick 90-degree turn. For other pieces, just glide straight down. The mitt allows you to quickly handle and twist small, precise sections without fear of burns, making this edgy look surprisingly easy to create.
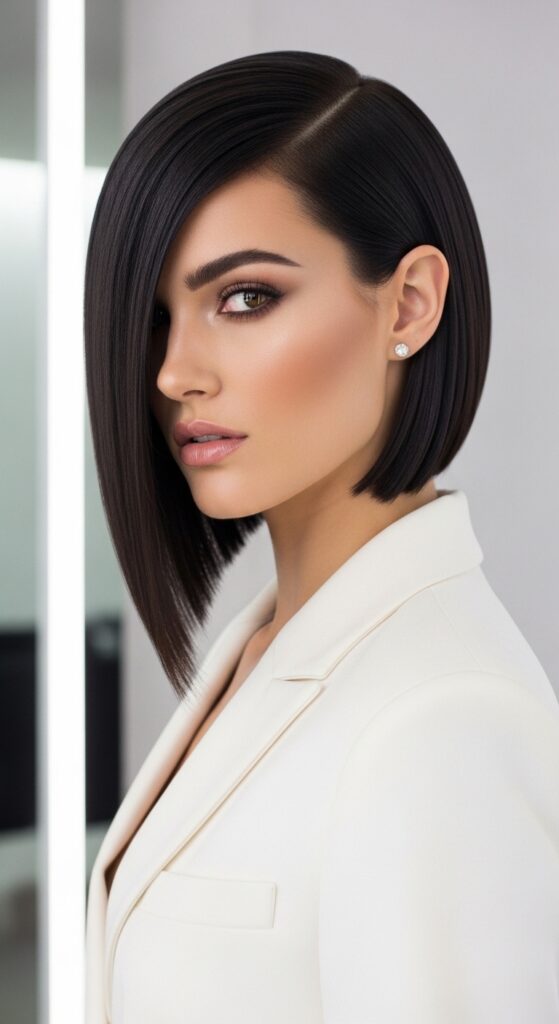
Polishing the Chic “Asymmetrical Lob”
An asymmetrical lob needs sharp lines and a sleek shape. The longer side often needs extra styling to hold its line. Use your flat iron and mitt to focus on that longer section.
Hold the hair taut with the mitt and use the iron to curve the ends under or flip them out with precision. The barrier protects the ends from getting frayed, which is crucial for maintaining that sharp, geometric cut that makes this style so striking.
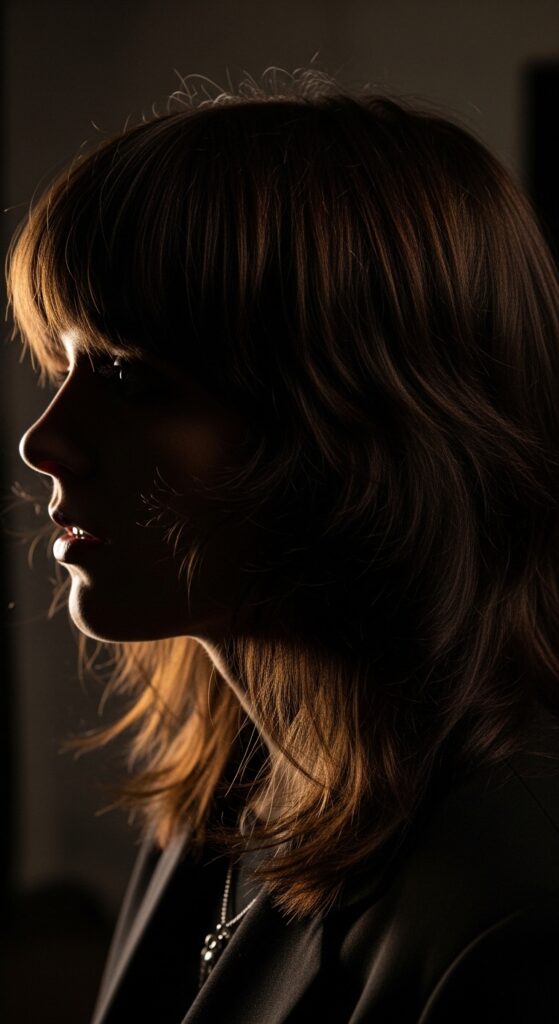
Defining the Edgy “Vampire Haircut” Layers
The vampire haircut is full of shaggy, piece-y layers and curtain bangs. To style it, you need to define each layer without making it poofy. Use a small-barrel iron or a wand.
Pin up the top layers. Take individual, thin pieces from the lower layers. Wrap them around the iron and use the mitt to hold the end for a second before releasing. This gives each layer a separate, defined bend, creating that perfectly undone, “just awakened” texture.
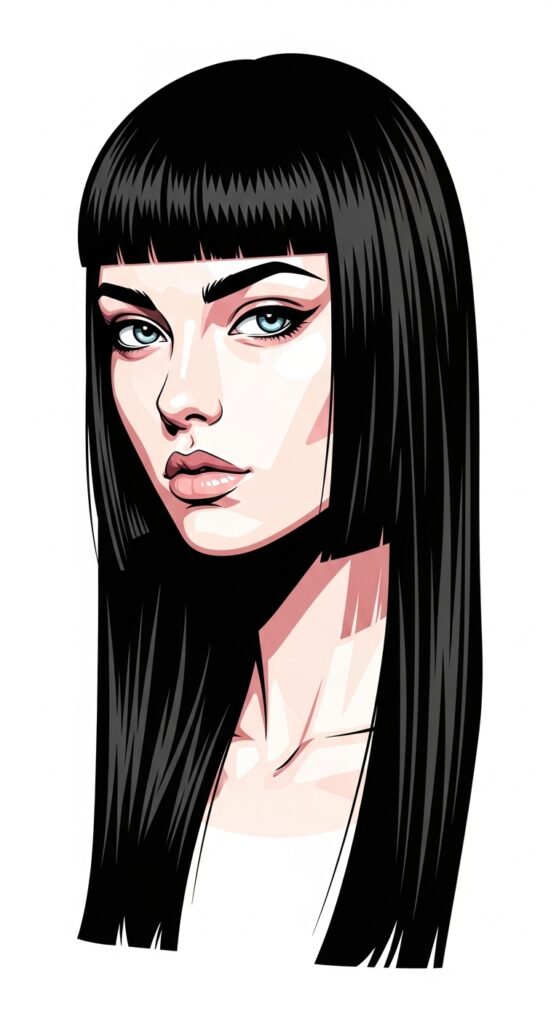
Styling the Bold “Hime Cut” Straight Lines
The hime cut, with its straight-across bangs and sharp, blunt lengths, demands absolute smoothness. A flat iron is essential. For the bangs, use the mitt to hold them slightly taut away from your forehead.
Glide the iron slowly from root to tip. For the long lengths, use the mitt to grip sections and pull them completely straight and vertical. This technique ensures no bends or kinks, giving you those iconic, graphic, and super-straight lines the style is known for.
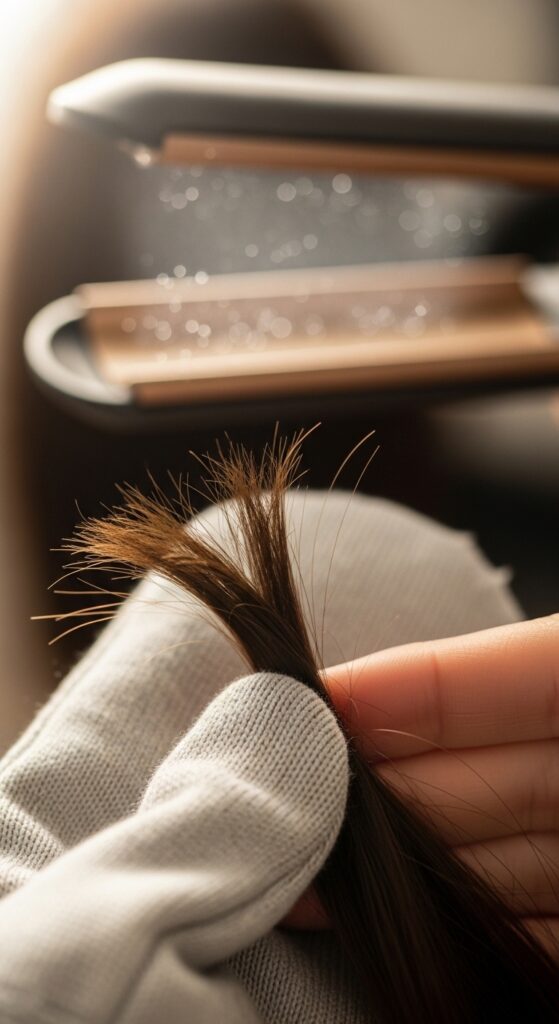
Protecting Your Ends During Every Style
Ends are the oldest, most fragile part of your hair. The heat mitt is their guardian. Whenever you’re using an iron, use your mittened fingers to hold the very tips of your hair section.
You can either guide them through the iron last or hold them away from the direct heat if you’re curling. This simple step prevents split ends and that dry, brittle feeling, keeping your blowout or waves looking fresh for days longer.
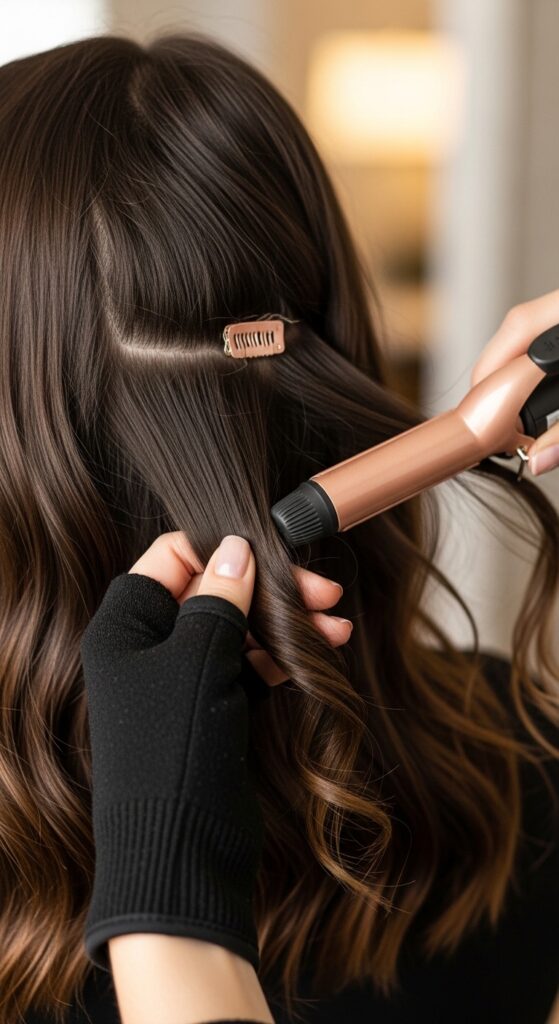
Blending Extensions with Your Natural Hair
The goal is a seamless blend. The heat mitt is perfect for this. Style your natural hair first, then move to your extensions. Use the mitt to hold the extension hair right at the point where it meets your natural hair.
Apply the heat tool, blending the styles together. Because you can hold it so close without burning yourself, you can create an identical wave or smoothness across both textures, making the line completely invisible.
Curling Under for a Classic, Rounded Look
This retro-inspired look is coming back strong. Use a flat iron or a large-barrel curling iron. Hold the end of a section with your heat mitt, wrap the hair under and around the iron.
The mitt lets you tuck the ends under neatly and hold them in place against the heat. This creates a smooth, rounded curl at the ends, perfect for a polished bob or a vintage-inspired 2026 hairstyles twist. It’s so elegant and damage-free.
Flipping Ends Out for a Playful Vibe
For a fun, flirty flip, the technique is similar but opposite. After straightening a section, take the last inch or two. Use your heat mitt to hold the ends and place your flat iron just above them, clamping down.
Gently push the iron upward and outward, using the mitt to guide the ends in the opposite direction. The heat protection means you can play with this motion until you get the perfect flip without any singeing.
Adding Root Lift for Volume
Flat roots can kill a style. For instant lift, take a section at the crown. Use your round brush and blow-dryer to get volume, then set it with a curling iron. Hold the root section vertically with your heat mitt.
Wrap the iron around the hair close to the scalp and hold for a few seconds. Because you can safely hold the hair upright right at the root, you set that lift directly, giving you lasting volume without backcombing or damage.
Taming Flyaways and Baby Hairs
Those tiny hairs can ruin a sleek look. Use a small, skinny flat iron or the edge of your regular iron. Gather the flyaways with your heat mitt—they stick to the silicone perfectly!
Hold them taut and quickly glide the edge of the hot iron over them. The mitt protects the rest of your fingers and allows you to target only the unruly hairs, leaving you with a perfectly polished hairline.
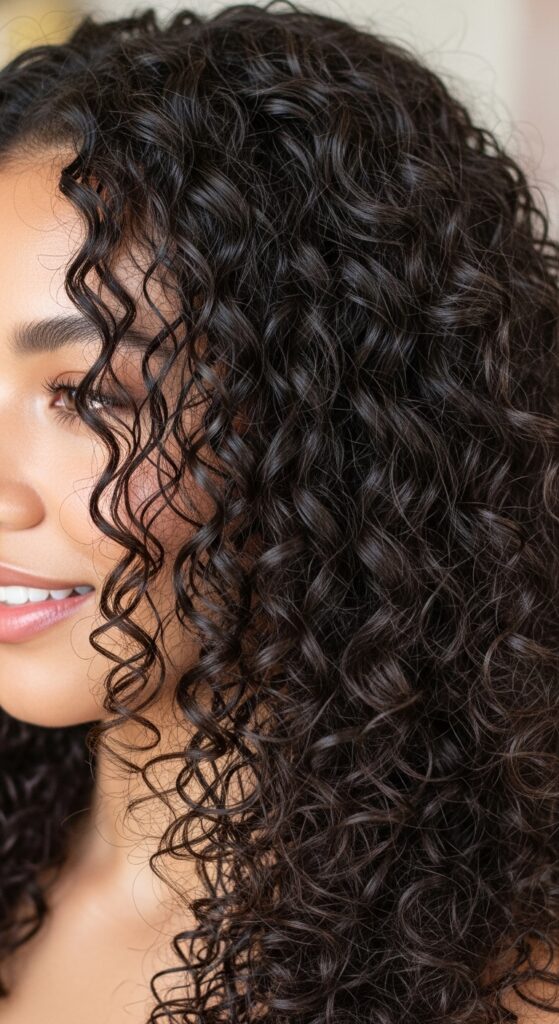
Creating Perfect, Protected Ringlets
For defined ringlets, smaller sections are key. Use a small-barrel wand. Wrap the entire section around the wand, but don’t let the end touch the hot metal.
Instead, use your heat mitt to hold the end and keep it wrapped in place for the duration of the heat. This creates a uniform, springy curl from root to tip where the very end is protected and just as bouncy as the rest.
Quick Refresh Without Full Re-Styling
Second or third-day hair just needs a touch-up. Pin up the top layers. Use your mitt and iron to only style the bottom, visible layers that have fallen flat.
Because you can grip and style so quickly with the mitt, you’re not applying heat to all your hair again. You’re just spot-fixing, which minimizes overall heat exposure and saves so much time in your morning routine.
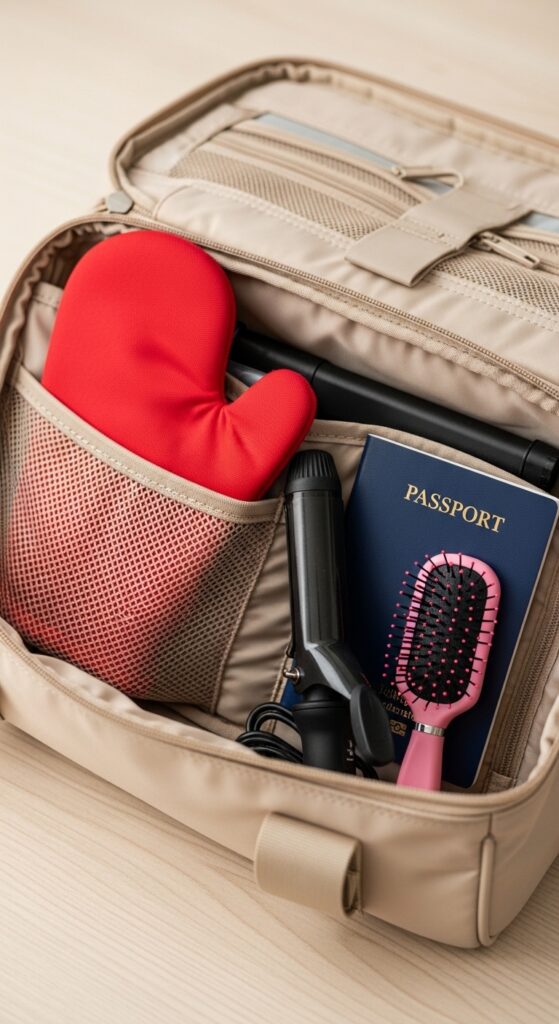
Traveling with Your Heat Mitt
This tool is a travel essential. It lays flat, takes up zero space, and protects your hair when you’re using potentially unpredictable hotel styling tools. Toss it in your makeup bag.
It gives you consistency on the road. You can achieve your signature style without packing five different heat-protectant products, knowing your hair has a physical barrier against damage from unfamiliar, often too-hot irons.
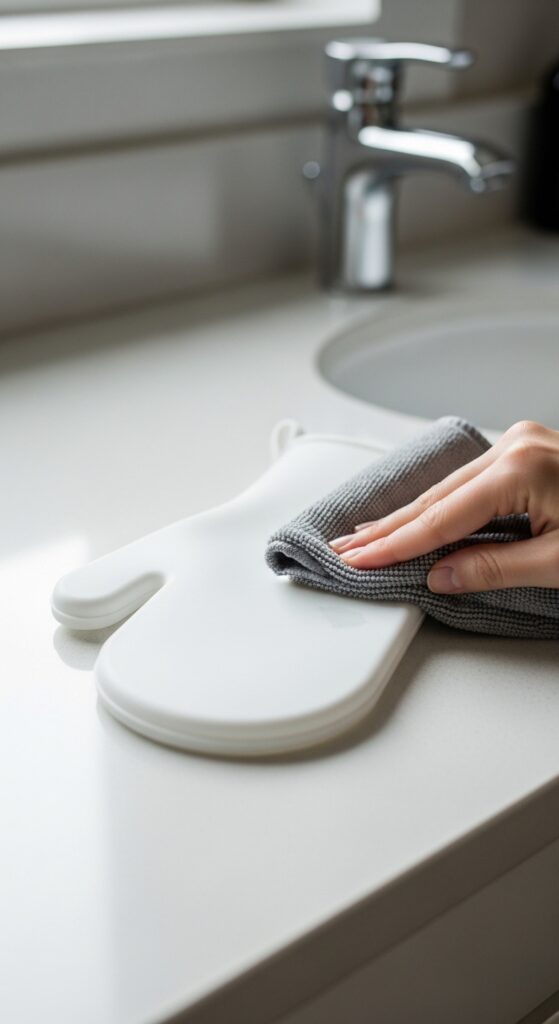
Cleaning and Caring for Your Mitt
To keep it effective, keep it clean. Silicone mitts just need a wipe with a damp cloth and a little soap. For fabric ones, check the label, but most can be hand-washed gently.
Let it air dry completely before using it again. A clean mitt won’t have product buildup that can transfer to your hair, and it will maintain its heat resistance for years. It’s the easiest tool in your kit to maintain.
My Final, Can’t-Live-Without Tip
Make it a habit. Leave the mitt right next to your styling tools. The two-second act of putting it on is what becomes your ultimate hair-saving ritual. It forces you to be more mindful and precise with your styling.
After a week, you won’t even think about it. You’ll just have healthier, shinier hair and extensions that last months longer. It’s the simplest upgrade with the biggest payoff for your hair health and your style.
So, there you have it. My complete guide to using this tiny, powerful tool. It honestly feels like I’ve been let in on a major salon secret that’s too good not to share. The best part? It works for every single style you want to try, letting you play with trends while keeping your hair strong.
Healthy hair is always the best foundation for any look, whether you’re rocking a classic blowout or experimenting with the latest 2026 hairstyles. This little mitt just makes it all so much safer, easier, and more fun.
I’d love to hear from you! Which style are you most excited to try with your heat mitt? Have you found any other cool tricks with it? Let me know in the comments below! And if you found this guide helpful, save this post to Pinterest so you can always come back to these tips and share them with your friends!