Ombre Hair Guide: Seamless Color Transition Tips
Few hair color trends have shown the enduring power and widespread appeal of ombre. From red carpets to city streets, this iconic style continues to evolve, captivating everyone with its sun-kissed, effortless vibe. But what separates a stunning, head-turning ombre from a harsh, DIY-gone-wrong block of color? The secret lies entirely in the seamless transition.
Achieving that soft, melting effect where one color gracefully bleeds into the next is the holy grail of this technique. It’s the difference between hair that looks like it was colored by a professional and hair that looks like it had a unfortunate encounter with a dip-dye bucket. Fear not! This comprehensive guide is your roadmap to understanding, achieving, and maintaining a flawless, seamless ombre hair color transition that will have people asking, “Who is your colorist?”
What Exactly is Ombre? Understanding the Basics
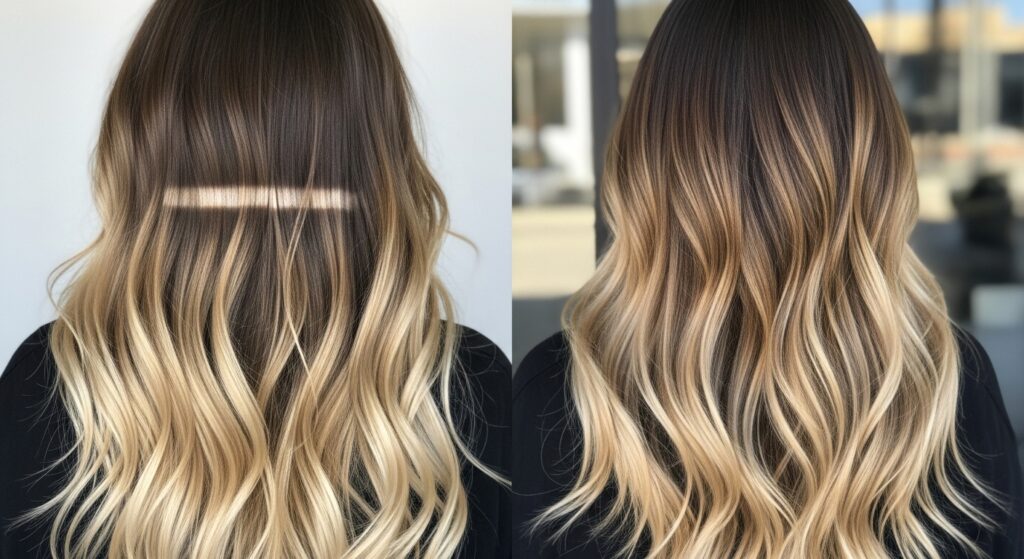
Before we dive into the technical tips, let’s clarify what we’re working with. The word “ombre” is derived from the French word meaning “to shade.” In hair terms, it describes a coloring technique where the hair is darker at the roots and gradually becomes lighter towards the ends. The key characteristic is the gradual shift in hue.
It’s crucial to distinguish ombre from its popular cousin, balayage. While often used interchangeably, they are different techniques. Balayage is a method of application—a free-hand painting technique that creates soft, natural-looking highlights. Ombre is a color effect—the actual result of a dark-to-light gradient. Often, the balayage technique is used to achieve a beautiful, soft ombre effect, but ombre can also be created with other methods like foiling.
The modern ombre is far from the stark, two-toned look of the early 2010s. Today, it’s all about subtlety, dimension, and a blend so smooth it looks like it grew out of your head that way.
Laying the Foundation: The Consultation is Key
You cannot create a masterpiece without a plan, and for ombre, that plan starts with a thorough consultation. Whether you’re in the salon chair or planning a meticulous at-home job, this step is non-negotiable.
Assess Your Starting Canvas: Your natural hair color and condition are the most important factors. A seamless transition is easier to achieve on hair that is only a few shades lighter or darker than the target mid-length and end color. A jet-black base trying to achieve platinum ends will require more steps and skill to avoid a brassy, noticeable band of color. The health of your hair is also paramount; damaged hair won’t hold color evenly and can lead to a patchy, uneven result.
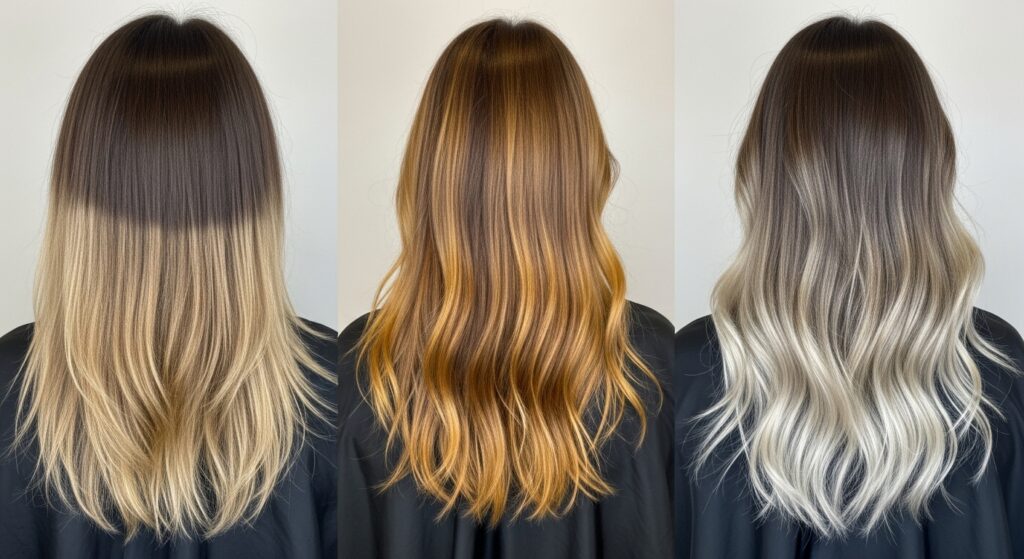
Choose Your Color Story: Ombre doesn’t have to be brunette to blonde. The possibilities are endless. Consider caramel tones melting into honey-blonde, rich chocolate fading to a warm toffee, or even adventurous options like deep burgundy transitioning to a rose gold. The goal is to choose shades that are within a harmonious color family. A good rule of thumb is to stay within two to three shades of your base color for the most natural-looking blend.
Bring Visual Inspiration: A picture is worth a thousand words, especially with hair color. Gather 3-5 photos of ombre looks you love. Pay attention to the models’ base hair color—does it resemble yours? This gives you and your colorist (or yourself) a concrete visual target.

The Professional’s Playbook: Techniques for a Seamless Blend
So, how do the pros make it look so easy? They rely on tried-and-true techniques that break up harsh lines and encourage color melting.
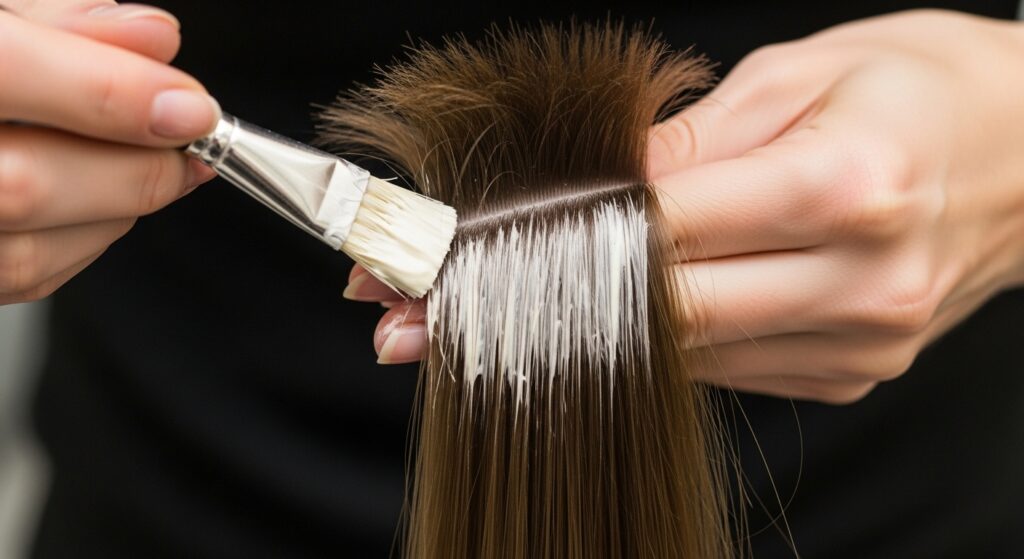
1. The Balayage Hand-Painting Method: This is the gold standard for creating a soft, natural-looking ombre. Instead of using foils, the colorist paints the lightener directly onto the surface of the hair in sweeping, vertical motions. This free-form approach allows for maximum control over placement and density, resulting in a truly bespoke gradient with no two sections looking exactly the same. The vertical placement is crucial—it prevents a horizontal line from forming.
2. Teasing or Backcombing the Roots of the Section: This is a classic hairdresser’s trick for the ultimate blur. Before applying the lightener, the colorist will gently backcomb (tease) the hair at the point where the color transition will begin. The lightener is then applied over this teased section. As the product settles, it penetrates the fuzzy, broken-up hairs at different lengths, creating a diffused, soft-edged effect rather than a solid block of color.
3. The “V” Sectioning Technique: Instead of taking horizontal sections across the head, expert colorists often use vertical or “V”-shaped sections. This technique ensures that the color is applied in a staggered, irregular pattern across the head. When the hair falls naturally, these staggered endpoints blend together seamlessly, avoiding a uniform, “helmet-head” line of demarcation.
4. Meticulous Color Melting: Sometimes, achieving the perfect gradient requires a two-step process. After lightening, the colorist might apply a “mid-tone” or “transition shade” between the natural root and the lightened ends. This intermediate color acts as a bridge, filling the gap and creating a more gradual, melted appearance. This is especially important when there’s a significant contrast between the root and end colors.
Can You Do It at Home? A Cautious DIY Guide
While a professional salon visit is always recommended for best results, a successful at-home ombre is possible with the right kit, patience, and a healthy dose of caution.
Choose an Ombre-Specific Kit: Do not use a standard all-over hair bleach kit. Look for a kit specifically labeled for “ombre,” “balayage,” or “root fading.” These often come with tools like a special applicator brush or a blending brush designed to create softer lines.
Start Lower Than You Think: When selecting your lightener shade, choose one that is only one or two levels lighter than your mid-lengths. You can always go lighter in a second session, but you can’t go darker after you’ve over-bleached.
The Application Strategy:
Section Your Hair: Divide your hair into four quadrants: two in the front and two in the back.
Work in Vertical Subsections: Within each quadrant, take small, vertical subsections. This is key to avoiding a straight line.
Feather Upwards: Using your applicator brush, start applying the lightener about 3-4 inches down from your roots. Use a flicking motion to feather the product upwards, ensuring the top of the application is wispy and uneven. Do not apply color in a straight, horizontal band.
Leave the Ends for Last: Often, the ends of your hair are more porous and will process faster. Apply the lightener to the mid-lengths first, then go back and saturate the ends in the last 10-15 minutes of processing.
Tip for Blending: Once the lightener is applied, use a wide-tooth comb to very gently comb through the colored sections from mid-lengths to ends. This can help to further blur the top line of the application. And remember, always do a strand test first!

Beyond the Color: The Crucial Role of a Great Haircut
This is the secret weapon that many people overlook. A flawless color application can be undermined by a blunt, one-length haircut. The hard, solid line at the ends of your hair can create a visual stop that emphasizes the color transition rather than letting it flow.
The solution? Layers and texture. A haircut with long layers, face-framing pieces, or a feathered “shag” type of cut creates movement and breaks up the ends. When the ends of your hair are soft and piecey, the ombre color can dance and shimmer through the layers, enhancing the seamless effect. Before you even pick up the color, consider getting a trim or reshape to ensure your cut is working in harmony with your color goals.

Maintaining Your Masterpiece: Post-Color Care
Your journey doesn’t end when the color is rinsed out. Maintaining a seamless ombre is about preserving both the color and the health of your hair.
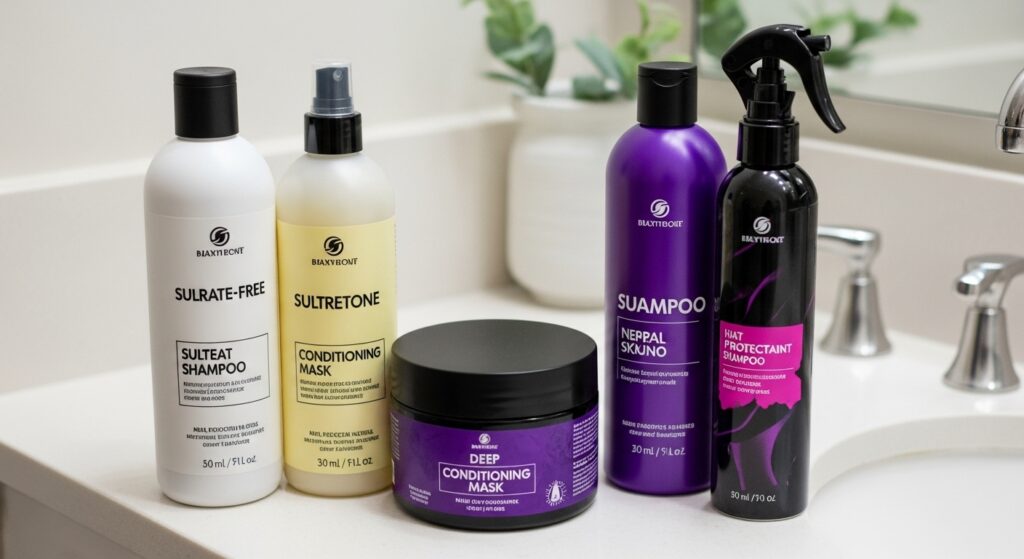
Invest in a Color-Safe, Sulfate-Free Shampoo System: Sulfates are harsh detergents that strip color and moisture. Switching to a gentle, sulfate-free shampoo and a deeply hydrating conditioner will help your color last longer and prevent your ends from becoming dry and brittle.
Embrace Purple or Blue Shampoo: To combat brassiness in your lightened ends, use a toning shampoo. Purple shampoo neutralizes unwanted yellow tones in blonde hair, while blue shampoo cancels out orange tones in brunette hair. Use it once or twice a week, or as needed, focusing on the lightened sections only to avoid dulling your darker roots.
Deep Condition Weekly: The lightening process is demanding on your hair. A weekly deep conditioning treatment or hair mask is essential for restoring moisture, managing frizz, and keeping your hair shiny and healthy. Healthy hair reflects light better, making your color blend look even more luminous and smooth.
Heat Protectant is Non-Negotiable: Always use a heat protectant spray before using any hot tools. Bleached hair is more susceptible to heat damage, which can lead to breakage and a dull, frayed appearance at the ends, ruining the seamless look.
Troubleshooting Common Ombre Issues
Even with the best plans, things can happen. Here’s how to fix common ombre problems.
The Harsh Line: If you’re left with a noticeable line of demarcation, don’t panic. A professional colorist can perform a “color melt” or “root shadow” service, where they apply a demipermanent color halfway between your root and lightened color to blur the line. For a subtle at-home fix, a colored gloss or glaze can help soften the contrast.
Brassy or Yellow Ends: This is a classic issue. As mentioned, a toning shampoo is your best friend. For a more intense fix, a professional toner application can neutralize the brassiness and give you a clean, beautiful blonde or neutral brown.
Patchy or Uneven Color: This often results from uneven application or hair of varying porosity. The best solution for this is to see a professional for a color correction. They can strategically re-apply color to even out the blend and create a cohesive look.
Conclusion: Your Journey to Seamless Color Starts Now
Ombre hair is a beautiful and versatile style that, when done correctly, can add incredible depth, dimension, and a touch of sun-kissed magic to your look. The journey to a seamless transition is paved with careful planning, the right technique, and dedicated maintenance. It’s an art that balances science and skill.
By understanding the principles behind the blend—from the initial consultation to the final flick of a toning shampoo—you are now equipped to either communicate your dreams effectively to a colorist or embark on a careful at-home transformation. Remember, the goal is softness, flow, and a color story that looks beautifully, effortlessly yours. So go forth, embrace the gradient, and let your hair tell a story that seamlessly unfolds from root to tip.