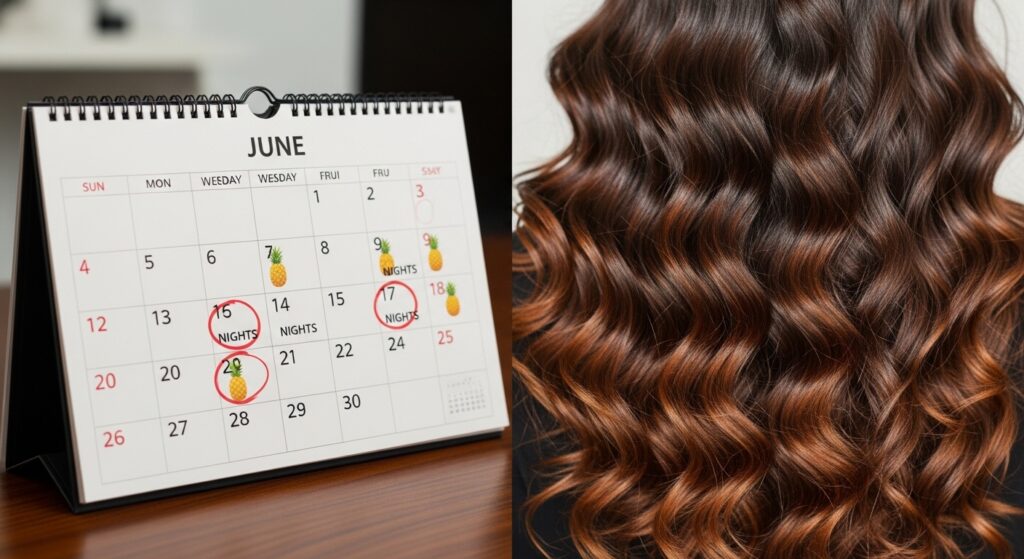
Pineapple Updo Step-by-Step for Curly Hair Lovers
Hey friend! If you have curly hair, you know the nightly struggle. You go to bed with perfect definition and wake up looking… well, let’s just say it’s a whole different vibe. For years, I wrestled with my curls every morning until I learned one simple trick that changed everything: the pineapple updo.
This isn’t just a hairstyle; it’s a lifesaver for preserving your curl pattern while you sleep. It takes two minutes, requires zero skill, and actually works. No more flat, frizzy mornings or wasting precious time re-wetting and re-styling.
Think of this as your ultimate guide to perfecting the pineapple. We’re going to walk through every step, from choosing the right hair tie to positioning it just right for your length. Whether you’re rocking tight coils or loose waves, this method is about to become your new best friend. Let’s get into it!
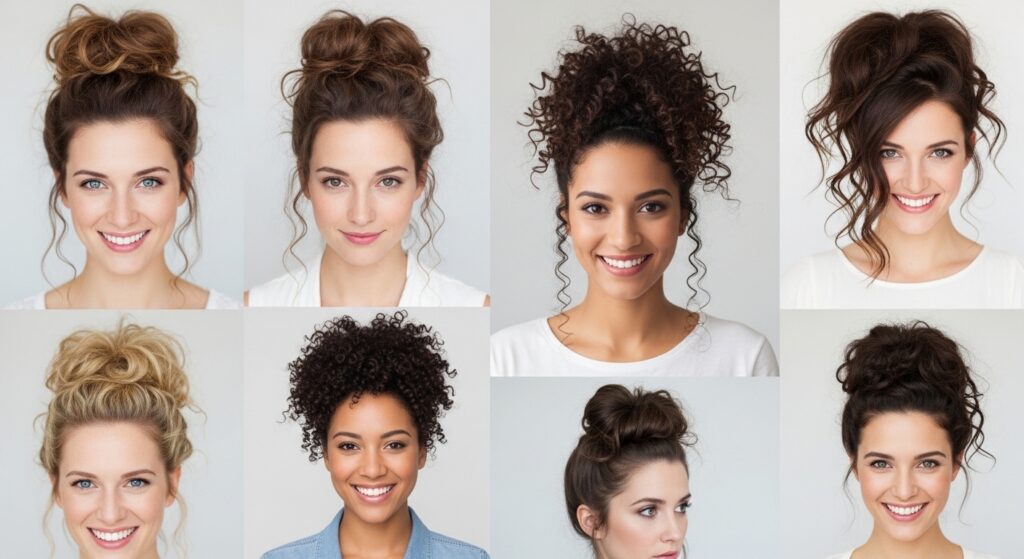
What Exactly Is a Pineapple Updo?
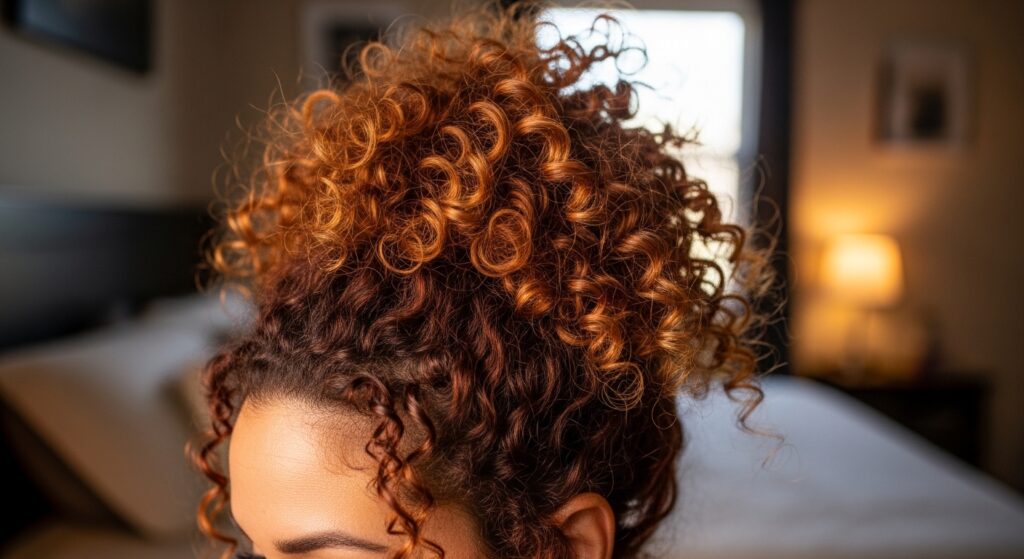
Simply put, a pineapple updo is a loose, high ponytail gathered at the very top of your head before bed. The name comes from the way your curls fan out at the crown, resembling the leaves of a pineapple. It’s the gold standard for overnight curl protection in the natural hair community.
The goal is to keep your curls lifted and away from the friction of your pillowcase. This prevents them from getting smashed, tangled, or losing their shape. It’s the opposite of restrictive; it’s all about gentle, elevated support.
Why This Method Beats Everything Else
You might be used to sleeping with a satin bonnet or scarf, which are great. But the pineapple adds an extra layer of protection by creating height. It maintains volume at the roots and protects the ends, which are the oldest and most fragile part of your hair.
Combining a pineapple with a satin pillowcase or bonnet is the ultimate dream team for curl care. You’ll notice less frizz, more defined morning curls, and a routine that finally feels easy and effective. It’s a core technique for maintaining those gorgeous, head-turning 2026 hairstyles that start with healthy hair.
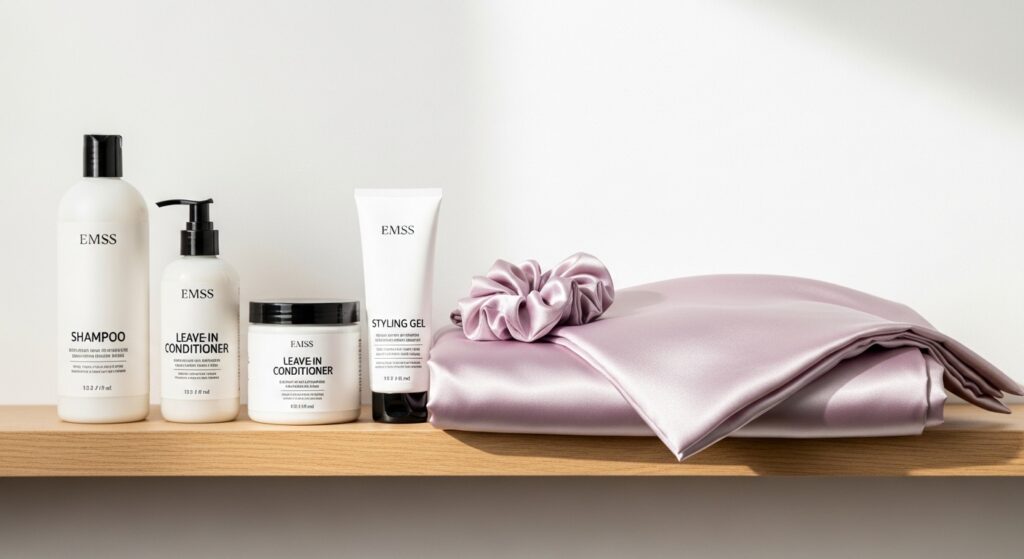
The Only Tools You’ll Need
You don’t need fancy gadgets. Here’s your simple toolkit:
- A Soft Hair Tie: Use a spiral hair tie or a scrunchie. Never a regular elastic! It should be loose and snag-free.
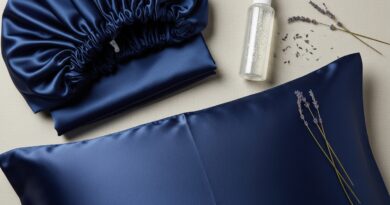
- A Satin Pillowcase or Bonnet (Optional but Recommended): This reduces friction even further.
- Your Hands: That’s it! No brushes or combs needed for this style.

Step 1: Prep Your Curls Before Bed
This step is crucial. You should only pineapple hair that is completely dry or at least 90% dry. Pineappling damp or wet hair can lead to mildew and wonky curl patterns as it dries in a stretched position.
If you need to refresh, use a light mist of water and a curl cream, but let it settle before you gather it up. Starting with well-defined, dry curls means you wake up with well-defined, dry curls.
Step 2: The Perfect Lean-Forward Flip
Bend all the way over at the waist so your hair hangs down toward the floor. This feels silly but it’s key! It gets all your hair falling in one direction and makes the next step effortless.
Gently shake your head from side to side to let all your curls fall forward. This is also a great moment to flip your perspective and give yourself a little boost—self-care starts with simple acts!

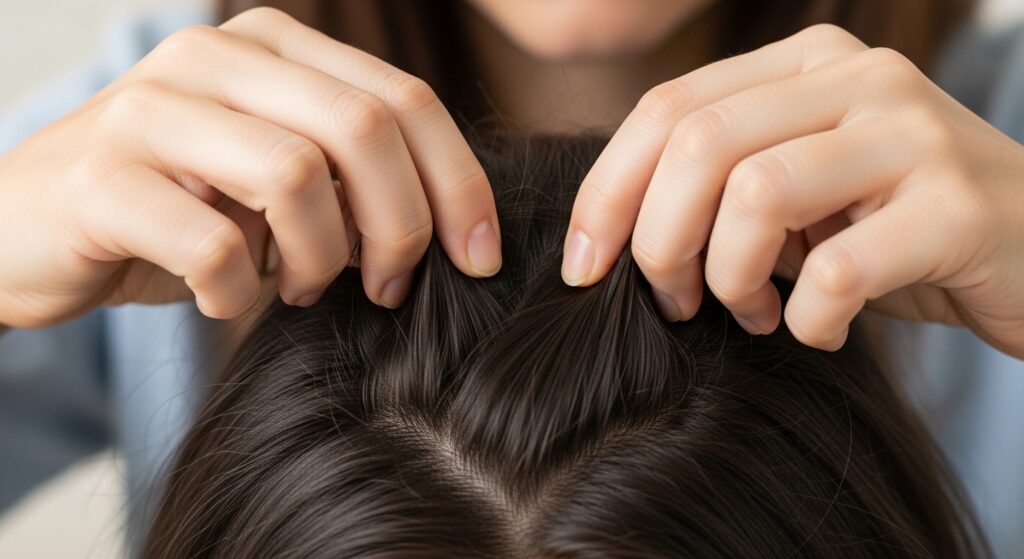
Step 3: Gather Gently at the Crown
With your head still down, use your fingers to gently gather all your hair at the very top of your forehead, as if you’re making a ponytail on the crown of your head. Do not brush or comb; just gather.
The key word is gentle. You’re not pulling hair tight. You’re simply collecting it. Think of it like gathering flowers, not tying a knot.
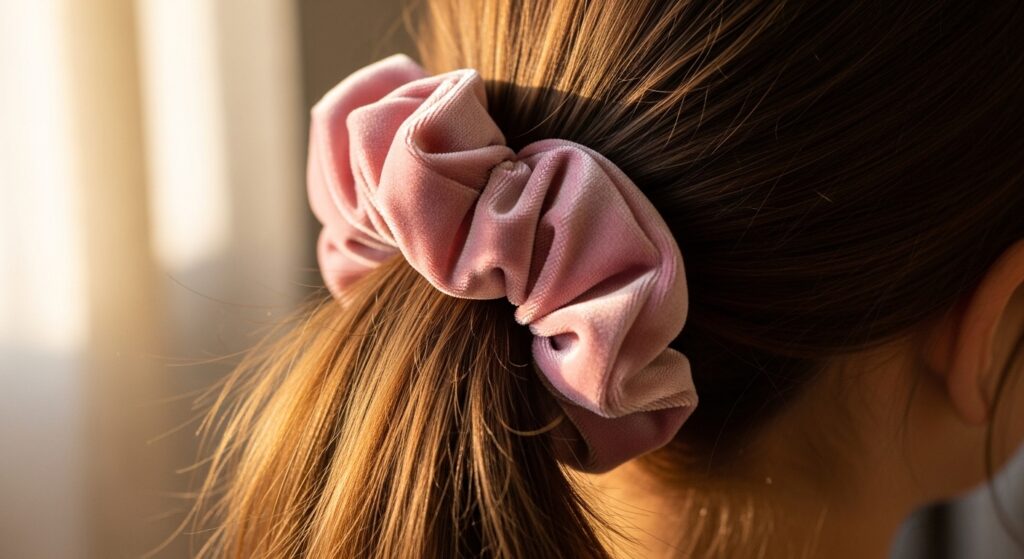
Step 4: Secure With a Loose Scrunchie
Once gathered, slide your soft scrunchie or spiral tie over your hair. Wrap it only once, maybe twice if your hair is very thick. The base should feel secure but not tight.
You should be able to fit two fingers easily between the tie and your scalp. This loose hold prevents tension and breakage along your hairline, which is so important for long-term health.
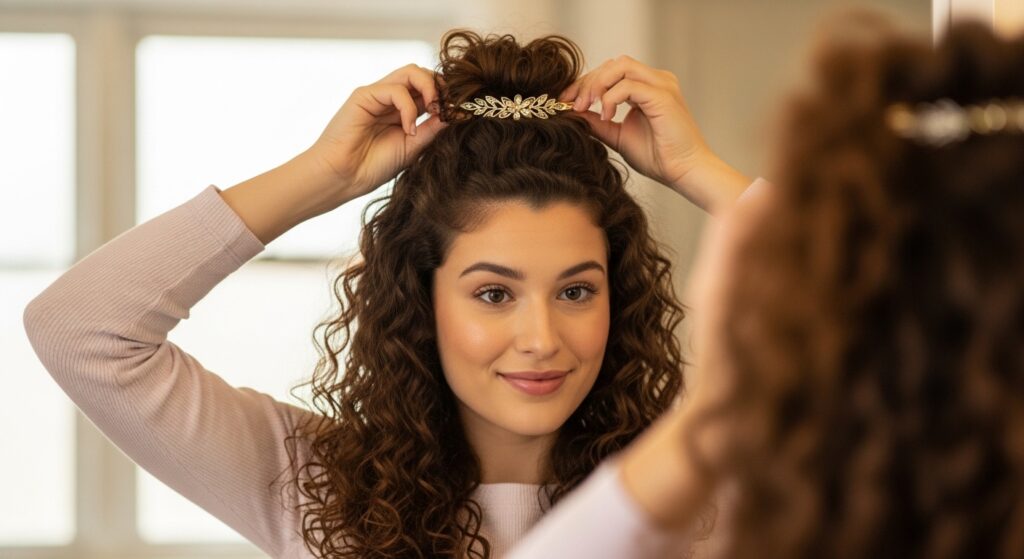
Step 5: Stand Up & Adjust the Volume
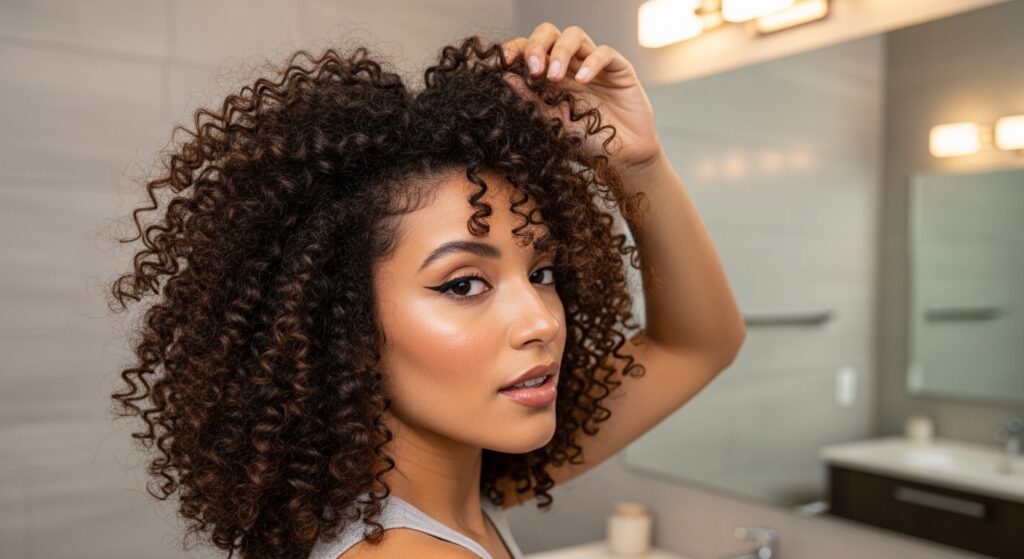
Slowly stand back up. Your curls will now be piled high on top of your head. Don’t panic if it looks a little wild! Gently use your fingertips to fluff the curls at the crown and adjust the position so it feels balanced and not pulling.
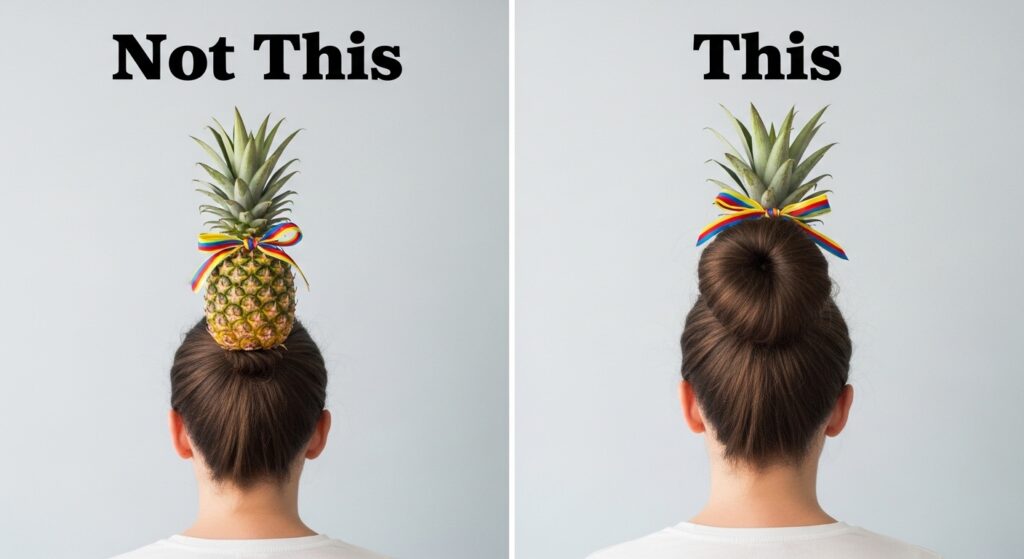
You want the ponytail to sit proudly on the very top, not the back, of your head. This is what creates that beautiful, voluminous shape in the morning.

Pineapple Variations for Short Curls
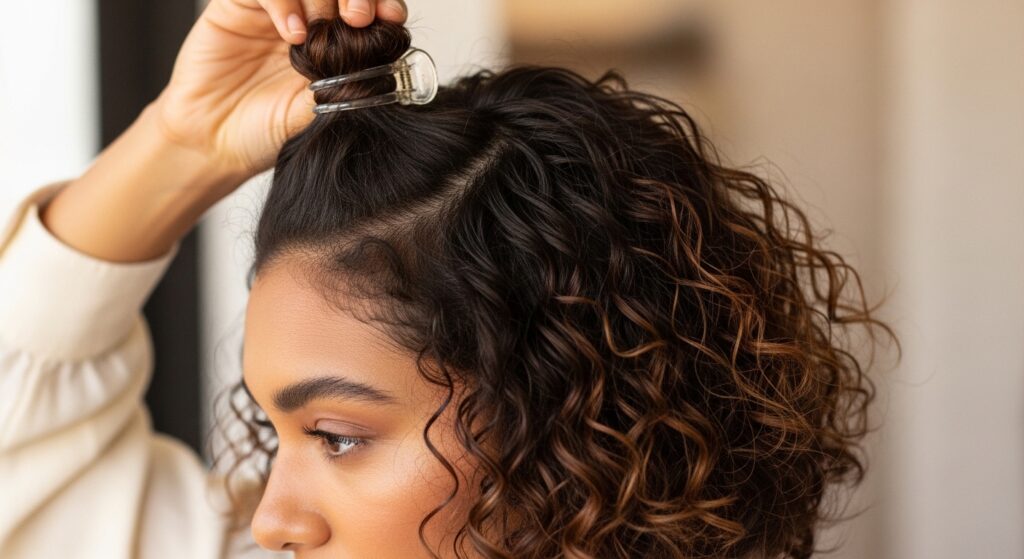
If your hair is a shorter curly bob or an asymmetrical lob, you might not have enough length for a traditional pineapple. No problem! The “mini-pineapple” is your solution.
Follow the same steps, but use a small, jaw-style clip instead of a scrunchie to secure just the very top section of your hair. This still protects the crown’s curl pattern and adds volume. It’s a perfect trick for those trending quiet luxury bob styles with texture.
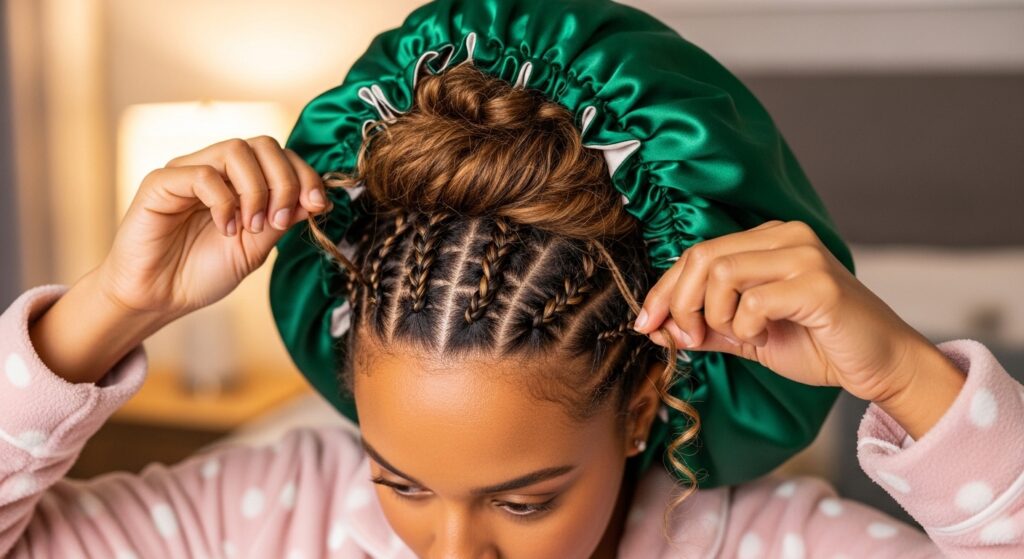
The “Pineapple & Bonnet” Power Combo
For maximum protection, especially if you toss and turn, put on a satin or silk bonnet after creating your pineapple. Tuck all the loose ends inside the bonnet.
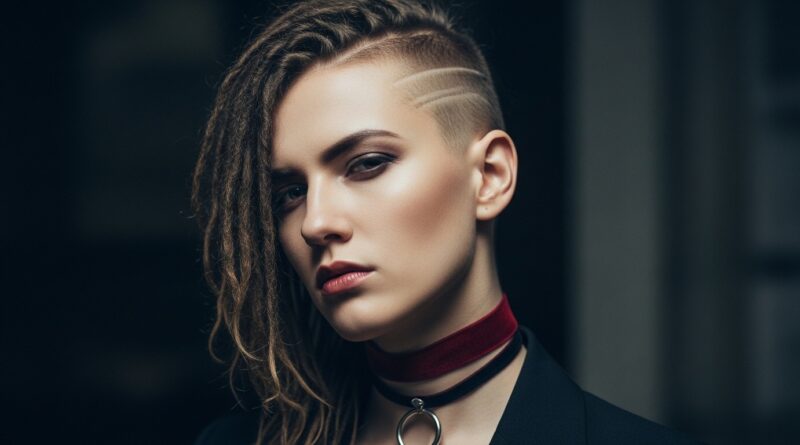
This double-method locks in moisture and virtually eliminates frizz. It’s the secret behind many flawless next-day styles, from glamorous waves to edgier romantic goth hairstyles that rely on perfect texture.
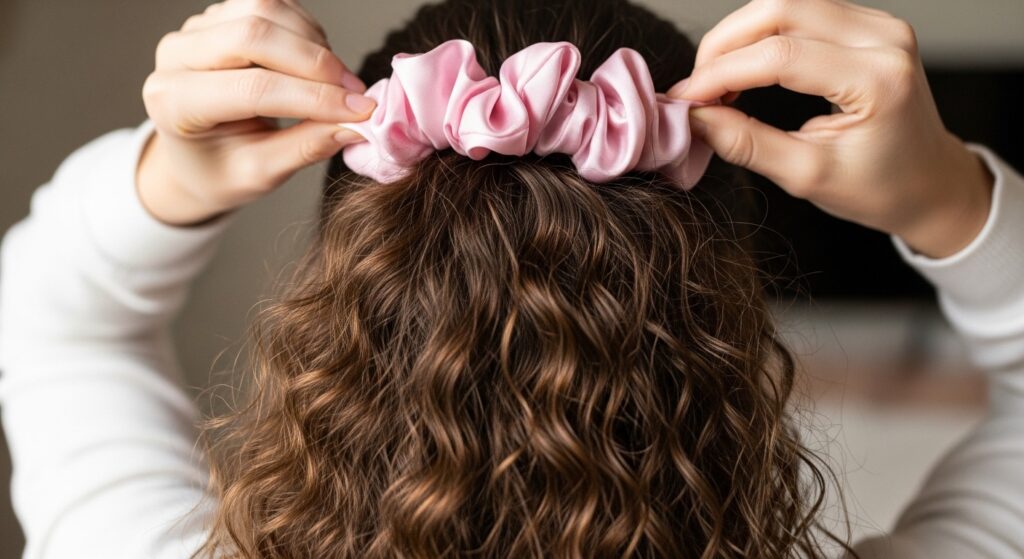
Morning Take-Down: The Right Way
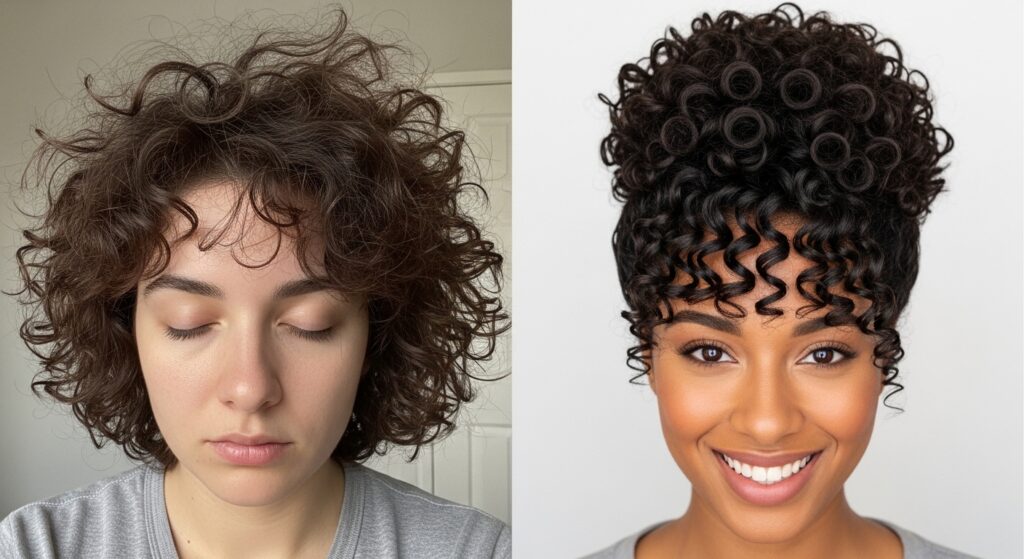
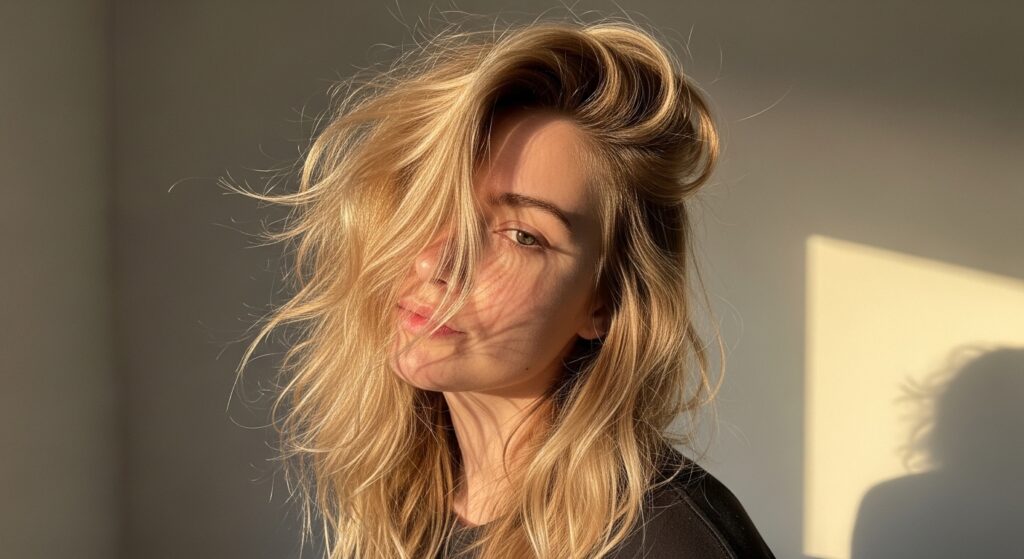
In the morning, take the scrunchie off slowly. Don’t just yank it! Let your curls fall down naturally. You will likely have a bit of a kink where the hair tie was—this is normal.
Flip your head over again and gently shake your roots. Lightly mist any kinked areas with water or a leave-in conditioner spray and scrunch. Your curls will bounce back to life in minutes.
Fixing Flat Roots & Adding Volume
If your roots look a little flat after take-down, don’t worry. Flip your hair upside down and gently massage your scalp with your fingertips to lift the roots.
You can also use a light-hold root-lifting spray. For a more dramatic volume that fits a glitchy glam hair aesthetic, try separating a few face-framing pieces and pinning them back loosely for a textured, lived-in look.

Styling Your Pineapple Curls for Day
Your pineapple-preserved curls are the perfect base for so many styles. Pull the front sections back for a half-up, half-down look. Or, gather the sides with cute clips for an effortless vibe.
With this great volume and definition, you’re already halfway to styles like a modern vampire haircut or soft hime cut-inspired looks—just add some strategic pinning or accessories.
Common Pineapple Mistakes to Avoid
Let’s troubleshoot fast. Avoid these pitfalls:
- Pulling Too Tight: Causes tension headaches and breakage.
- Pineappling Wet Hair: Can cause odor and weird dry patterns.
- Placing it Too Low: If it’s on the back of your head, it’s just a ponytail and won’t protect your crown curls.
For Extra-Long or Thick Curly Hair
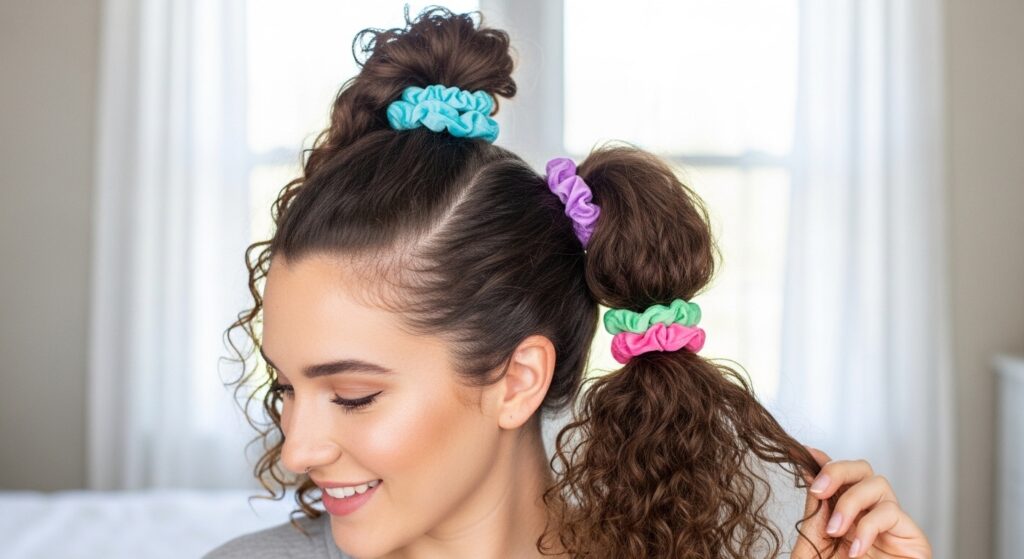
If your hair is very long or dense, one pineapple might feel heavy. Try the “double pineapple” method. Create one pineapple as usual, then gather the remaining length and secure it with a second scrunchie halfway down the length.
This distributes the weight and prevents straining the roots. It also keeps your ends extra protected and is a game-changer for maintaining length and health.
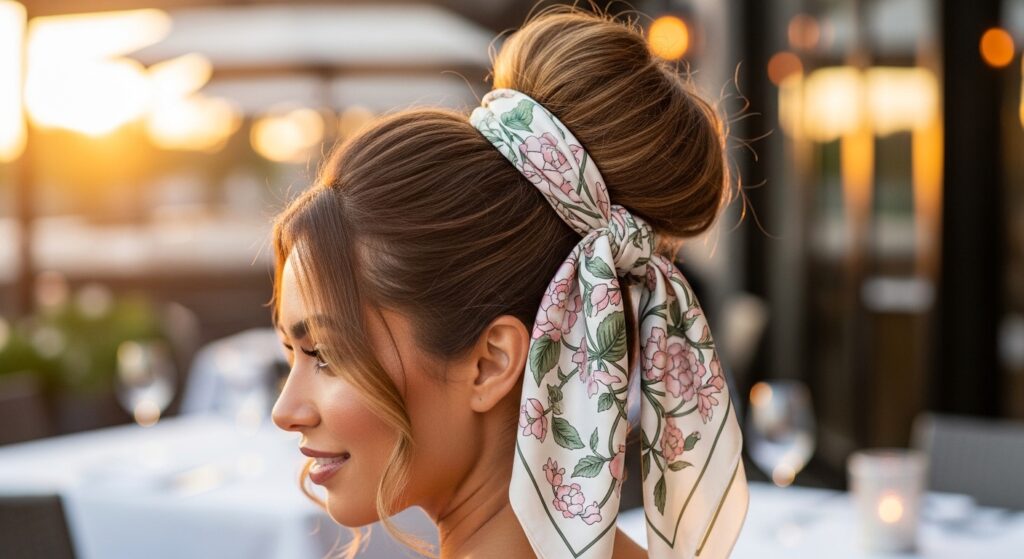
Pineapple Updos for Special Occasions
This isn’t just for sleep! A slightly neater, daytime pineapple updo is a stunning and quick hairstyle. Add a pretty scarf around the base or some pearl pins for an instant elegant look.
It gives off major old money hair energy—effortlessly chic and perfectly undone. It works for the office, a weekend brunch, or even a last-minute dinner date.
How This Fits Your Bigger Hair Goals
Consistently protecting your curls at night is the single biggest thing you can do for hair health. It reduces breakage, retains length, and makes your styling routine so much faster.
When your hair is healthy, you can experiment with any trend, from bold color to precision cuts. Think of the pineapple as the foundation for all the fun stuff.
Your Curly Hair Community Tips
I asked my blog readers for their best pineapple hacks. Here are their top two:
- “I use a satin scarf to loosely tie down my edges after pineappling. It keeps my baby hairs laid and my style intact.” – Maya, TX
- “On day 3 or 4 hair, I pineapple before I shower. The steam acts as a deep refresh for my curls!” – Jess, CA
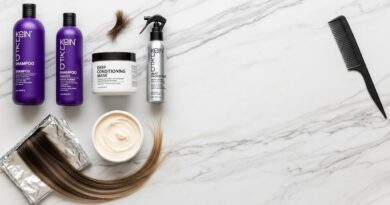
Pair With a Healthy Curly Routine
The pineapple works best when your curls are hydrated and happy. Make sure you’re using a good cleanser, a hydrating conditioner, and a defining stylist suited for your curl porosity.
Protection at night plus good care during the day is the unbeatable formula. This simple updo is the missing link in so many routines.
Adapting for Wavy Hair Texture
Wavies, you can do this too! The method is identical. You might find you need to secure the ponytail a bit more loosely, as waves can be weighed down more easily.
In the morning, you might have more of a beachy wave texture than tight curls, which is absolutely gorgeous. It’s a perfect way to get that “I woke up like this” wave without any heat.
Answering Your Top Questions
Will this work on 4C hair? Absolutely! The principle is the same. You may prefer a satin bonnet alone or in combination, but gathering your hair high reduces tangling and preserves stretched styles.
Can men do this? 100%! Anyone with curls or waves who wants to protect their hair while they sleep can use this technique. It’s all about the hair, not the gender.

Making It a Habit You’ll Keep
The best routine is one you can actually stick with. Tie your pineapple routine to something you already do every night, like brushing your teeth. After a week, it will feel automatic.
Celebrate the small win of easier mornings and better hair days. That positive reinforcement is what makes a habit last. You’ve got this!

Ready to Love Your Morning Hair?
And that’s it, my friend! The humble pineapple updo might just be the easiest, most effective thing you ever do for your curls. It’s free, fast, and truly works.
This isn’t about adding more steps to your life; it’s about simplifying. It’s about waking up feeling good about your hair, saving time, and letting your natural texture shine. Give it a try for a week and see how your curls transform.
I really hope this step-by-step guide takes the guesswork out of overnight curl care for you. Sometimes the simplest tricks make the biggest difference in our routines. Your curls deserve that gentle protection, and you deserve those extra minutes of sleep in the morning.
If this method works for you, imagine it helping a friend who’s always fighting with their morning frizz. Sharing what we learn is how we build our best routines together.
Save this post to Pinterest so you can always find these steps when you need them! And I’d love to know—what’s your biggest curly hair challenge? Tell me in the comments below, and let’s chat!