Refresh Gray Roots Blending Highlights Flawlessly at Home
Okay, let’s be real. That line of bright new growth peeking through your part is the universal sign that it’s time for a refresh. And while the salon is a dream, sometimes your schedule (and budget) just says “nope.” I get it. I’ve been there more times than I can count.
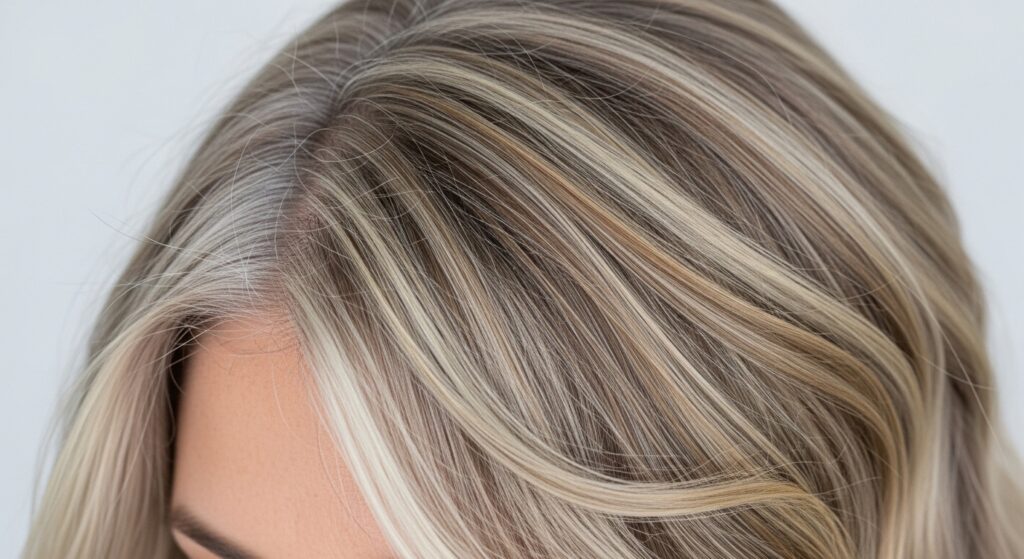
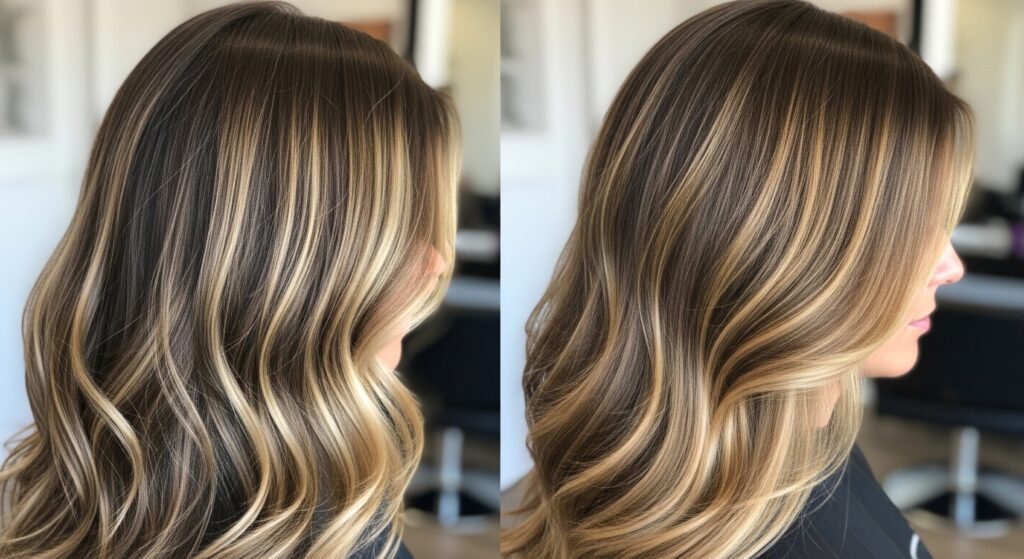
But here’s the good news: blending those gray roots at home is totally doable. It doesn’t have to be scary or end in a color disaster. With the right approach, you can create soft, natural-looking highlights that melt away that harsh line and give you a gorgeous, multi-dimensional look.
This guide is your step-by-step playbook. We’re going to walk through everything, from choosing the perfect product to applying it like a pro. It’s all about working smarter, not harder, to get that flawless, lived-in color you love. Let’s get your hair looking fresh and fabulous again.
Why Blending Beats a Solid Color Every Time
When those grays first appear, the instinct is often to cover every single one with an all-over color. I totally understand that urge! But a solid block of color can look flat and, honestly, make regrowth even more obvious as it comes in.
Blending with highlights or lowlights is the secret weapon. It creates movement and dimension, so the transition from your natural gray to your colored hair is soft and gradual. The result? Way less maintenance, because you’re not fighting a stark line every few weeks. It looks expensive and natural.
Gathering Your At-Home Salon Kit
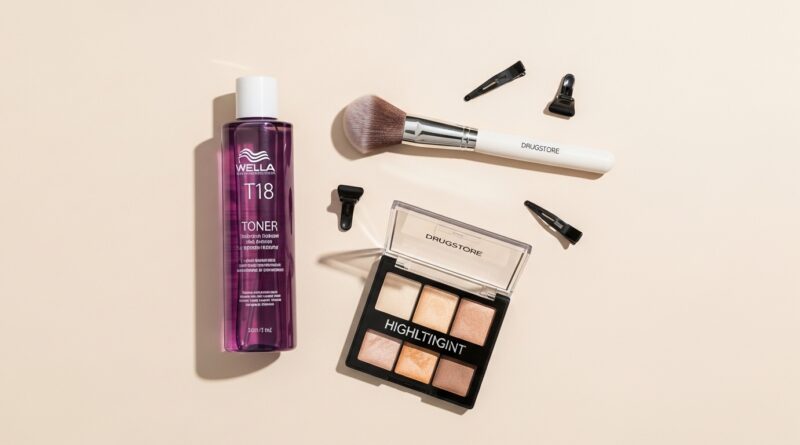
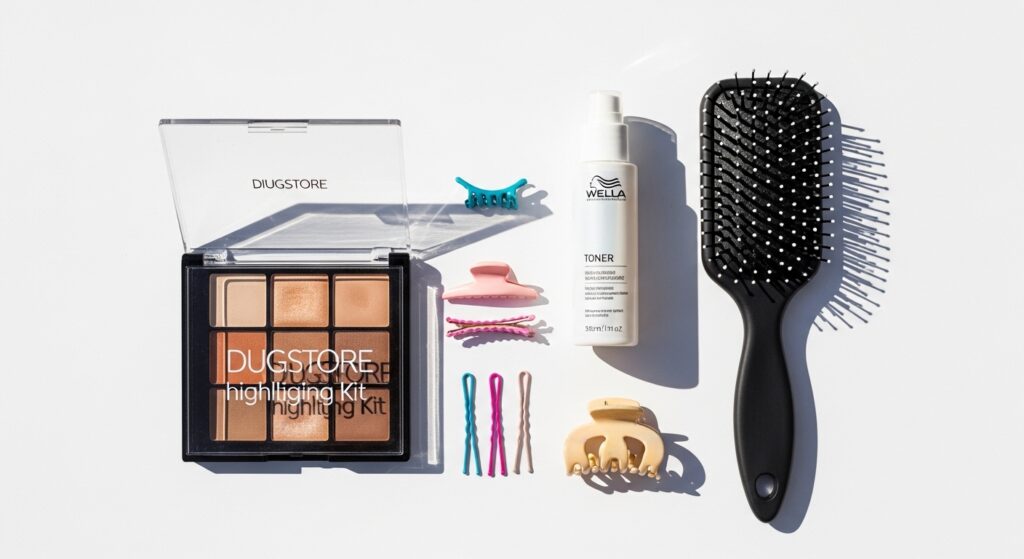
You can’t build a beautiful look without the right tools. Don’t just grab any box dye. For root blending, you’ll need a few specific items to get pro-level results.
- Highlighting Kit: Choose one specifically for “fine” or “subtle” highlights. A cap or a brush-and-comb kit works.
- Toner (Optional but Game-Changing): A violet or blue toner can neutralize brassiness in highlighted grays.
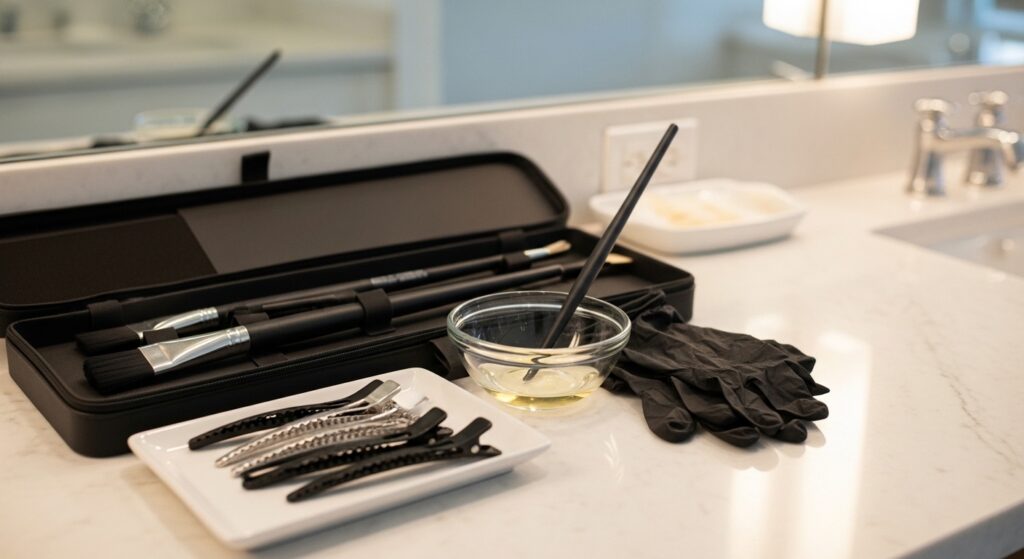
- Tools: A tail comb for sectioning, clips, a mixing bowl, an applicator brush, and gloves.
- Protection: Petroleum jelly to protect your hairline and old towels you don’t mind staining.
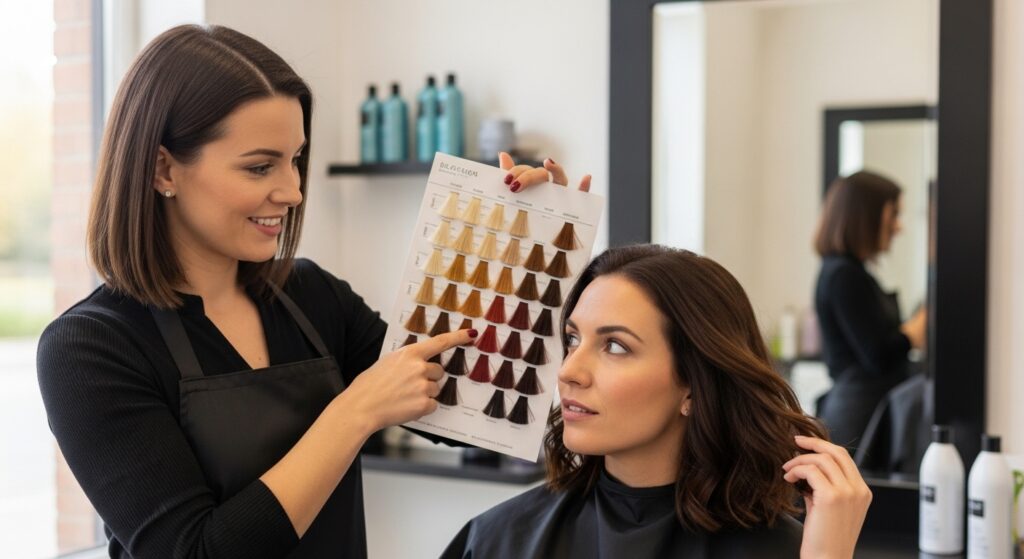
Choosing the Perfect Shade for Your Base
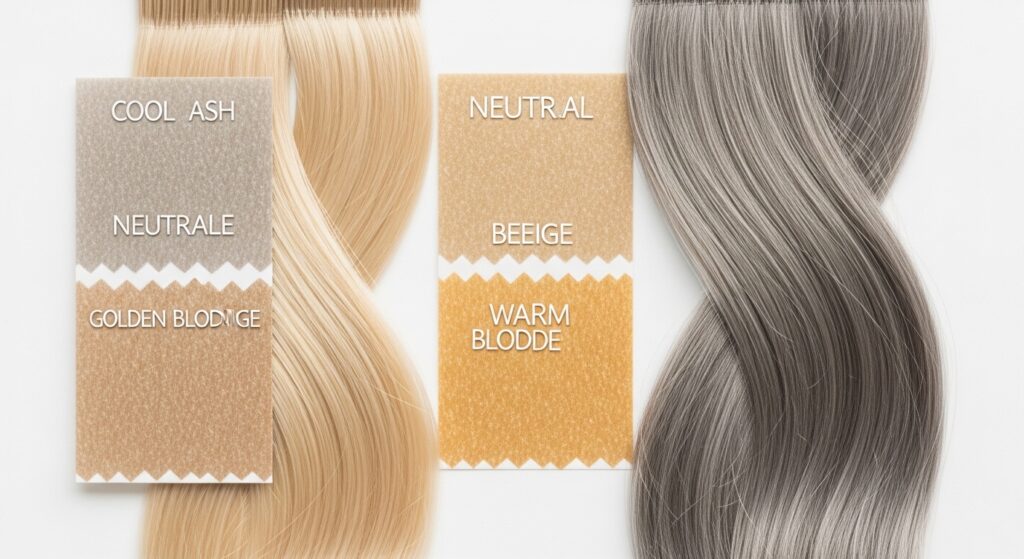
This is the most important step. Picking the wrong shade is where things go sideways. You want to complement your natural gray, not fight it.
If your base color is cool-toned (ash brown, dark blonde), lean toward cool highlight shades. If it’s warm (golden brown, auburn), warm tones will blend better. When in doubt, go one shade lighter than you think you need. It’s always easier to go darker later than to fix highlights that are too bright.
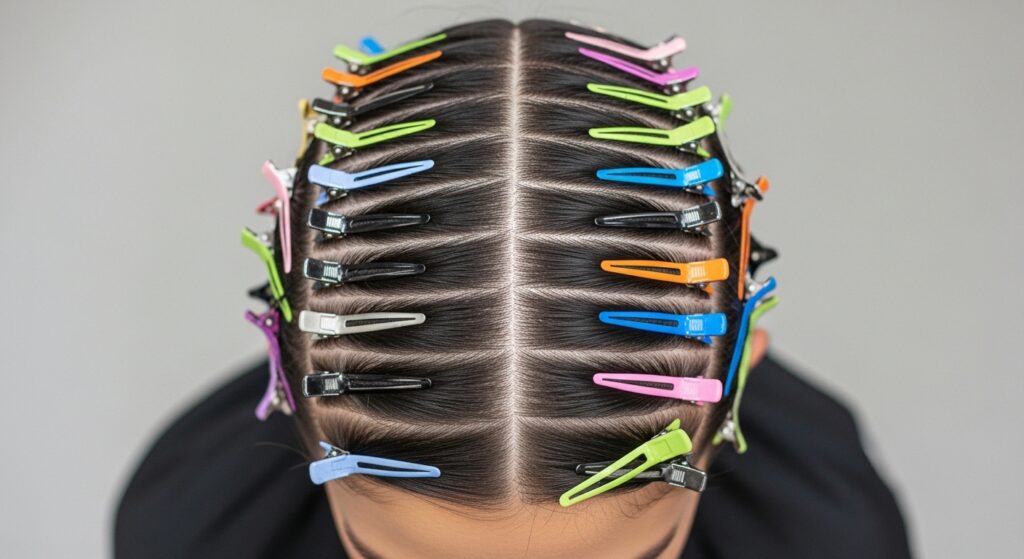
The Sectioning Strategy for Natural Results
Random painting can lead to patchy color. We’re going for strategic. Start with completely dry, unwashed hair (the natural oils protect your scalp).
Part your hair as you normally wear it. Then, using the tail of your comb, create a series of horizontal partings from your front hairline back to your crown, about half an inch apart. Clip the top layers up. You’ll work from the bottom sections upward.
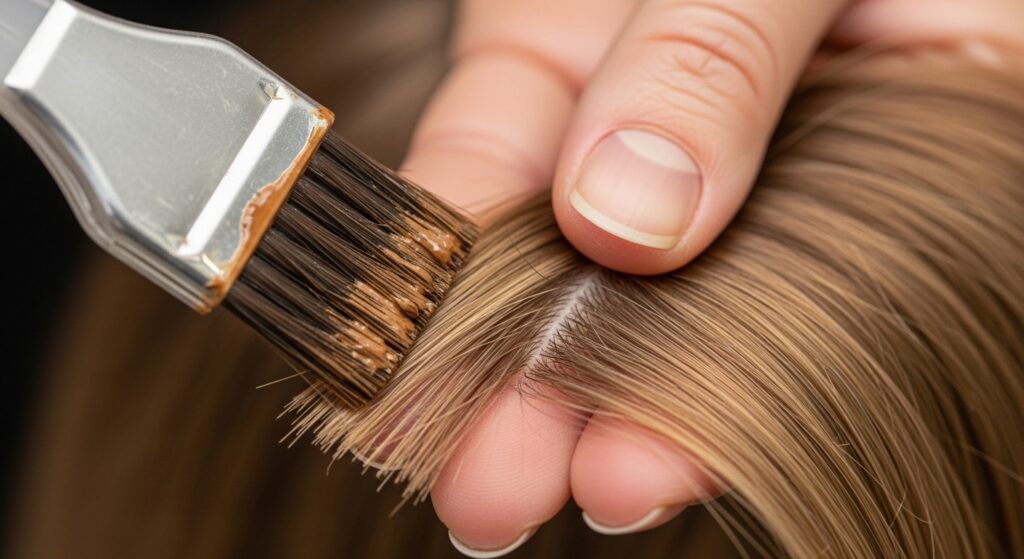
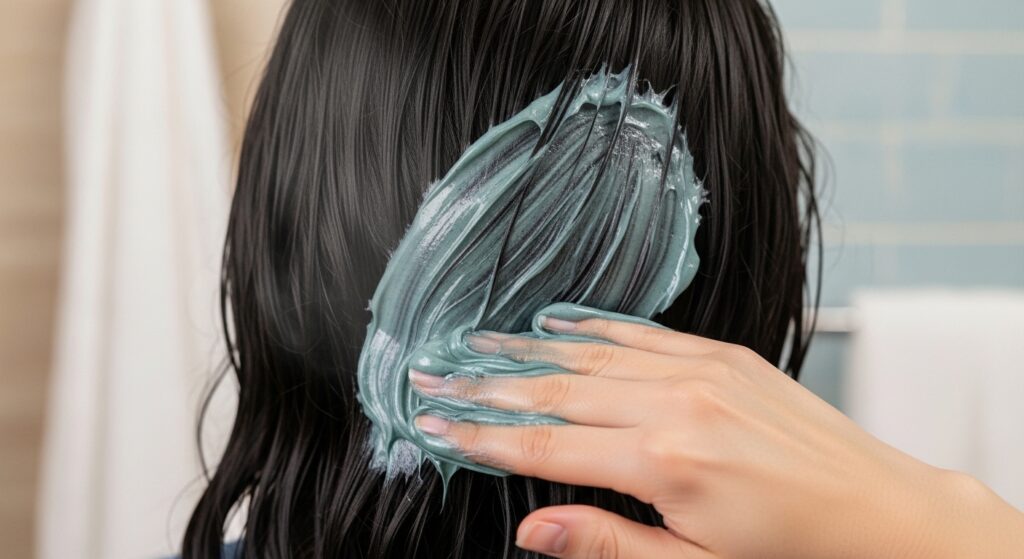
How to Apply Color to the Root Area Only
The goal is to target just the new growth, not your already-colored lengths. This is called a “root smudge” or “shadow” technique and it’s magic for blending.
Take very thin, vertical slices of hair from your section. Using your applicator brush, paint the color only onto the first inch to inch-and-a-half of gray regrowth. Gently feather the color down slightly to soften the line, but avoid saturating the mid-lengths.
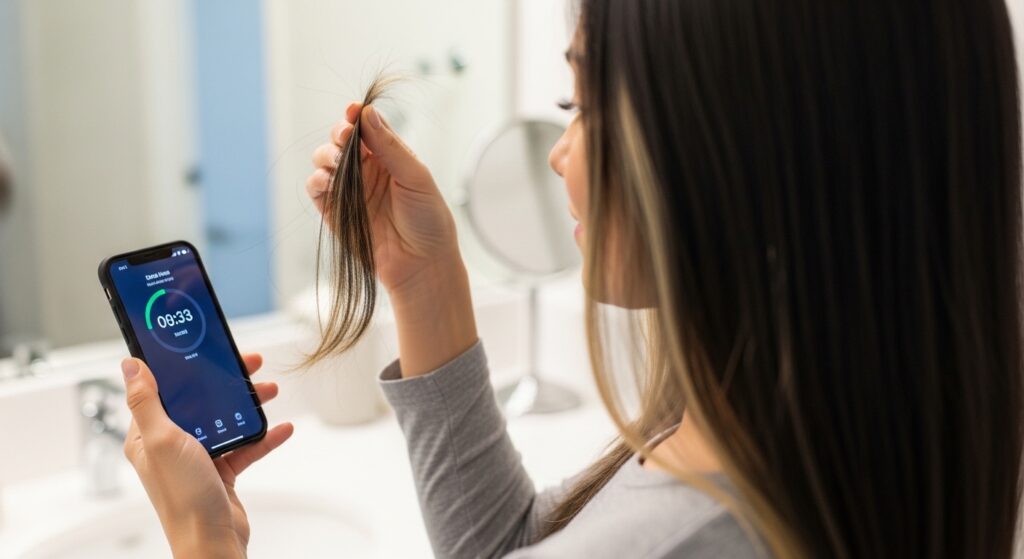
Processing Time: Less is Often More
Always, always follow the instructions on your specific kit. However, a good rule of thumb for blending is to check your color a few minutes before the maximum time.
Gray hair can be more resistant, but it can also grab color quickly. Set a timer! Check a strand by wiping off a bit of color. You’re looking for the gray to have softened and warmed up, not turned a stark, contrasting blonde.
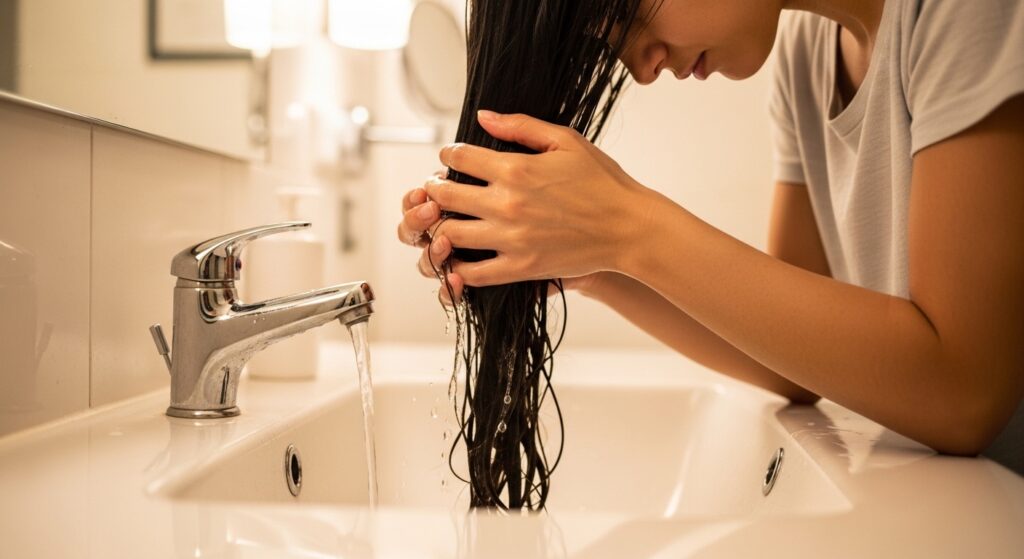
The Gentle Rinse-Out Process
When time’s up, it’s time to rinse. Don’t just hop in the shower. Rinse your hair thoroughly with lukewarm water at the sink until the water runs clear.
Then, apply the conditioner or treatment that came in the kit. Let it sit for the full recommended time. This step closes the hair cuticle, seals in color, and adds shine. It’s non-negotiable for healthy-looking hair.
Drying and Styling for Maximum Dimension
How you dry your hair can make the highlights pop. Gently blot your hair with a towel—no rough rubbing. If you can, let it air dry partially to see the true, natural result of your work.
When blow-drying, use a round brush to add volume at the roots. This lifts the hair and lets the light catch those new, blended highlights. A shine serum on the ends will make everything look polished and intentional.

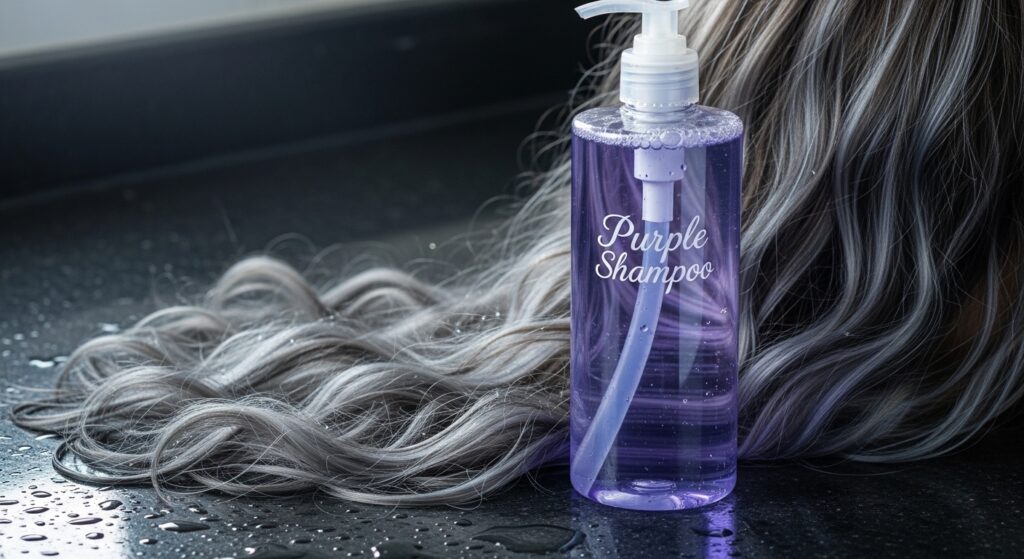
What to Do If Your Color Turns Brassy
Sometimes, especially with gray hair, highlights can pull a little yellow or orange. Don’t panic! This is an easy fix. A purple shampoo is your new best friend.
Use it once a week, leaving it on for 3-5 minutes to neutralize unwanted warm tones. For more intense brassiness, a demi-permanent violet toner (applied like a gloss) will work wonders.
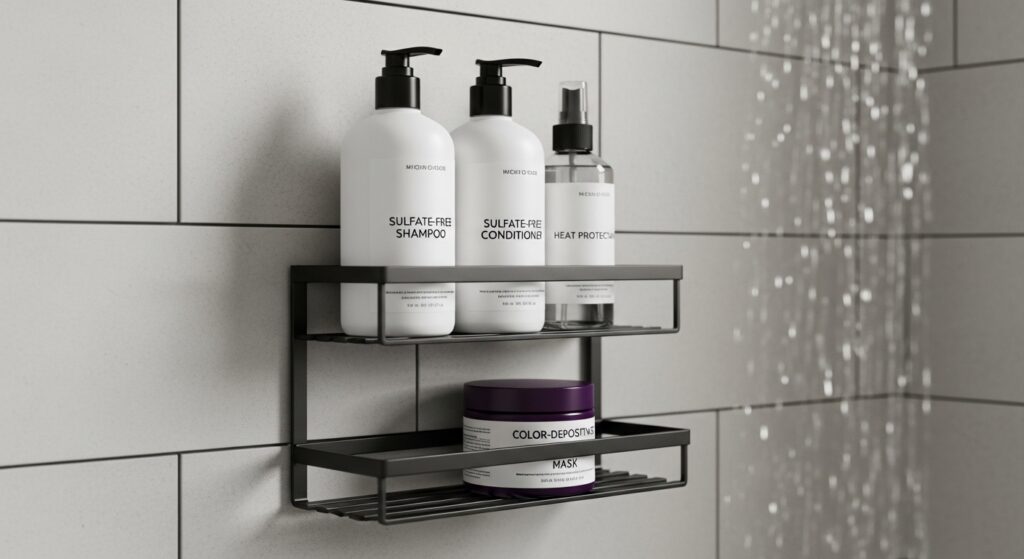
Maintaining Your Blended Look at Home
To make your hard work last, switch to color-safe, sulfate-free shampoos and conditioners. Wash your hair in cool water when you can. Heat styling can fade color, so always use a heat protectant.
Consider a color-depositing conditioner in your shade for a quick refresh between sessions. And remember, you only need to touch up the new growth, so your next application will be even faster.
Adapting This Technique for 2026 Hairstyles
This root-blending method is perfect for modern cuts. Think of the asymmetrical lob or a sharp hime cut—blended roots add a lived-in, cool-girl edge that feels fresh. It keeps the look from being too severe.
Even for 2026 hairstyles trending toward more structure, softness at the root is key. It creates that “I woke up like this” texture that’s so desirable right now.
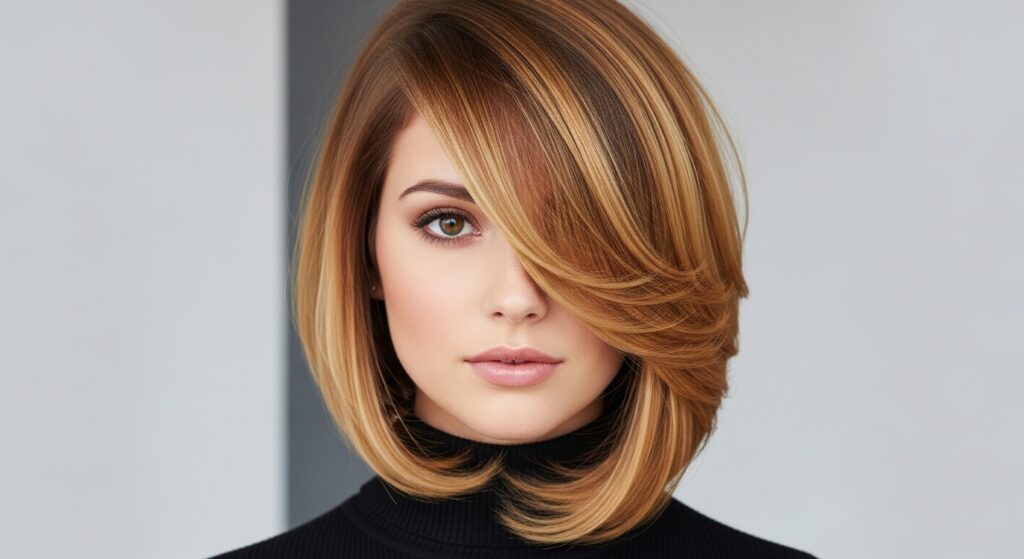
Quiet Luxury Bobs and Root Blending
The quiet luxury bob is all about impeccable, understated quality. Nothing screams “cheap dye job” faster than a solid block of color with a harsh root line.
A softly blended root on a bob or lob is the epitome of this aesthetic. It looks expensive, natural, and like you have better things to do than worry about your roots. It’s the ultimate low-maintenance, high-style move.

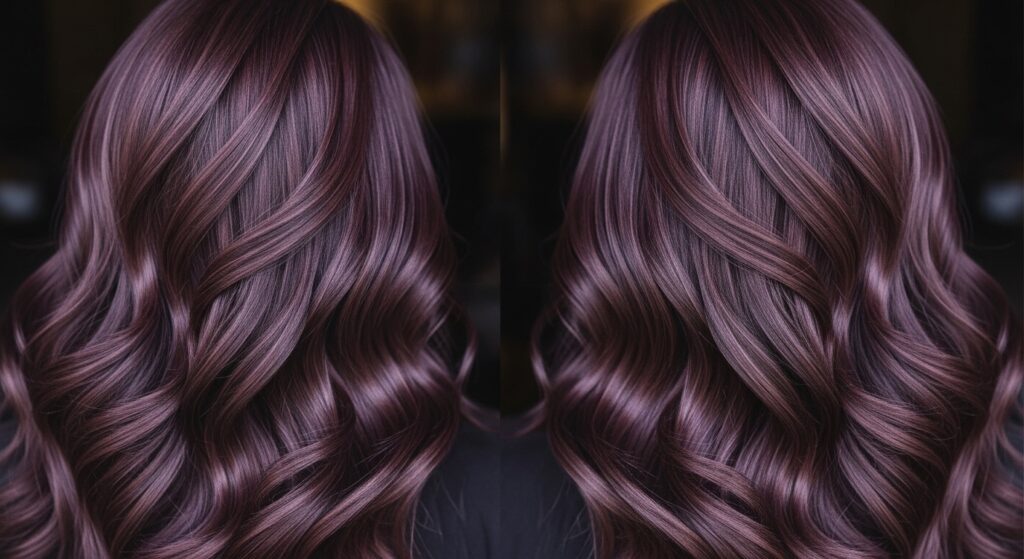
Creating Romantic Goth or Vampire Vibes
For a romantic goth hairstyles or that iconic vampire haircut, contrast is everything. But even dark, rich colors benefit from blending.
Instead of a single jet black, try blending your gray roots with a very dark chocolate or plum-brown. This creates a mysterious, shadowy depth that looks far more compelling and natural than a flat, one-dimensional color.
Adding Glitchy Glam Texture
Glitchy glam hair plays with unexpected pieces and texture. Your newly blended highlights are the perfect starting point for this look.
After blending, you can use a small amount of wax or pomade to piece out a few face-framing highlights, or braid damp hair for a crimped texture. The blended base color makes these “glitches” look artistic, not messy.
When to Call in a Professional
If you have more than 50% gray, very resistant gray, or want a major color change (like going from dark brown to platinum), please see a pro. They have stronger tools and the expertise for complex corrections.
Also, if you feel any burning or extreme discomfort during processing, rinse immediately. Your comfort and hair health are always the top priority. A stylist can also give you a perfect cut to complement your new color.
Protecting Your Hair’s Health
At-home color means taking extra care. Deep condition weekly. Use a bond-building treatment (like Olaplex No. 3) if you’re lightening your hair. Always do a strand test 48 hours before a full application to check for allergies and color results.
Trim your ends regularly to prevent dryness from traveling up the hair shaft. Healthy hair holds color better and looks shinier, making your blending work look even more flawless.
Budget-Friendly Product Picks
You don’t need to spend a fortune. Drugstore highlighting kits from L’Oréal or Clairol are great for beginners. For toners, Wella Color Charm is a salon favorite available at beauty supply stores.
Invest in a good applicator brush from a beauty supply store—it gives you more control than the bottles that come in kits. Your old t-shirt makes a perfect cape!
Common Mistakes and How to Avoid Them
- Applying to wet hair: Color spreads on wet hair, leading to blotchy results. Always start dry.
- Taking sections that are too thick: Thin slices are the secret to naturalness.
- Skipping the strand test: This is your safety net. Never skip it.
- Overlapping on already-colored hair: This causes banding and breakage. Focus on new growth only.
Your FAQs Answered Quickly
How often should I do this? Every 6-8 weeks, or when you see about an inch of regrowth.
Can I use this on curly hair? Absolutely! The technique is the same; just be extra gentle when sectioning to not disrupt your curl pattern.
What if I miss a spot? Wait at least 48 hours, then just apply color to that specific spot for the remaining processing time.

Final Confidence Boost Before You Start
You’ve got this. Seriously. Hair color is just paint, and it grows back. The worst-case scenario is a quick trip to the salon for a fix, but by following these steps, you’re setting yourself up for success.
Take a deep breath, put on your favorite podcast, and take your time. The satisfaction of doing it yourself and loving the result is an amazing feeling. I’m cheering for you!
And just like that, you’re armed with everything you need to tackle those roots and come out the other side with gorgeous, dimensional hair. It’s one of those little acts of self-care that makes a big difference in how you feel all day. Trust the process, trust yourself, and enjoy the refresh.
Remember, the goal isn’t perfection—it’s progress. A softly blended root looks modern, chic, and gives you so much more freedom between salon visits. Here’s to looking in the mirror and loving what you see, roots and all.
Save this post to Pinterest so you have your guide handy for next time! Did you try this method? I’d love to hear how it went—leave a comment below and tell me about your at-home color victory.