Reveal 28 Protective Twist-Outs Nourishing Curls Without Daily Effort
Hey friend. Let’s talk about the dream we all share: gorgeous, defined curls that don’t demand a full wash day ritual every single morning. If you’re tired of the daily scrunch-and-pray method, I’ve got your new favorite secret. It’s all about the protective twist-out.
This isn’t just a styling technique; it’s a lifestyle upgrade. By twisting your hair while it’s damp and letting it set, you create a shield that locks in moisture and defines your natural pattern for days. When you unravel, you get bouncy, nourished curls with zero daily heat or fuss.
Think of it as giving your hair a long, hydrating hug. It protects your ends, minimizes breakage, and lets you wake up with a style that’s already done. I’m sharing 28 ways to rock this look—from chic and sleek to boldly textured. Get ready to fall in love with your curls all over again, on your own effortless terms.
What Is a Protective Twist-Out, Really?
At its core, a twist-out is a two-step process. You start by twisting sections of damp, conditioned hair. As the hair dries completely inside the twists, it sets into a wave pattern. When you untwist, you reveal uniform, springy curls.
The “protective” part is key. By keeping your strands twisted, you tuck away the fragile ends. This drastically reduces friction, tangling, and moisture loss. It’s the ultimate low-manipulation style that lets your hair thrive and grow while looking amazing.
The Non-Negotiable Prep Work
Great twist-outs start in the shower. You need a clean, well-moisturized base. I always start with a clarifying shampoo once a month to remove any product buildup that could weigh curls down.
Then, it’s all about moisture. Use a rich conditioner and really let it soak in. After rinsing, apply your leave-in conditioner and a curl cream or butter to sopping wet hair. This is when your hair drinks up hydration best. Seal it all in with a light oil on your ends.
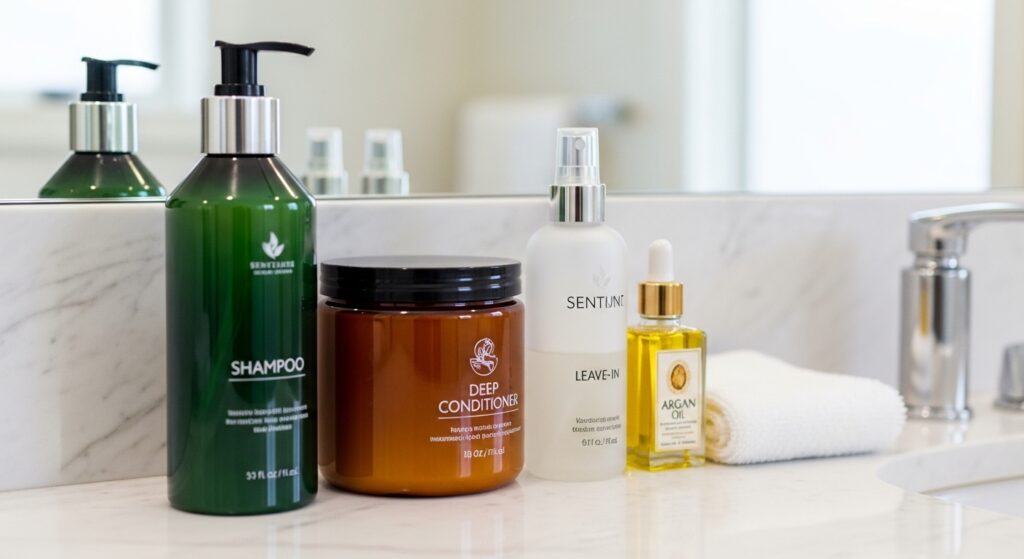
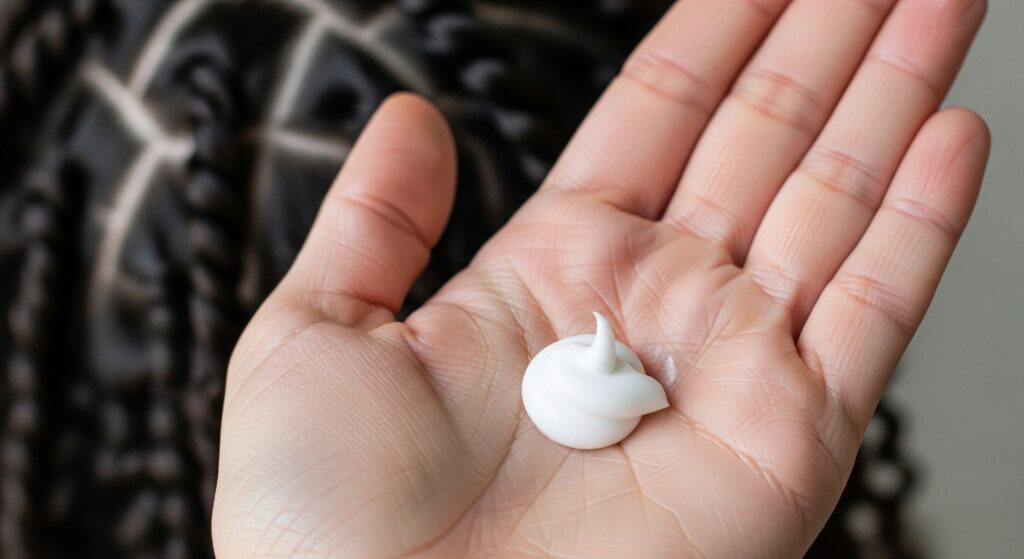
Choosing Your Twisting Product
This can make or break your results. You want a product with good slip for easy twisting and enough hold to last, but not so much it leaves your hair crunchy or sticky.
- For Definition: A thicker curl cream or butter.
- For Softness & Movement: A leave-in conditioner mixed with a light mousse.
- For Maximum Hold: A styling gel, but make sure it’s one that doesn’t flake.
Experiment to find your holy grail combo. I often layer a leave-in under a cream for the perfect balance.
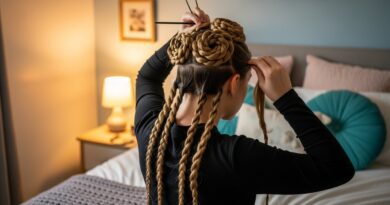
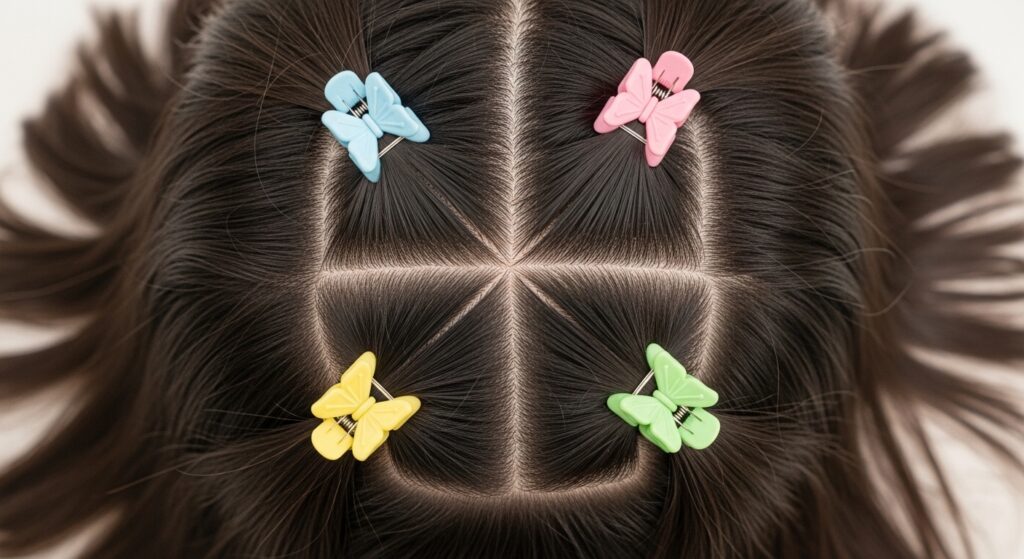
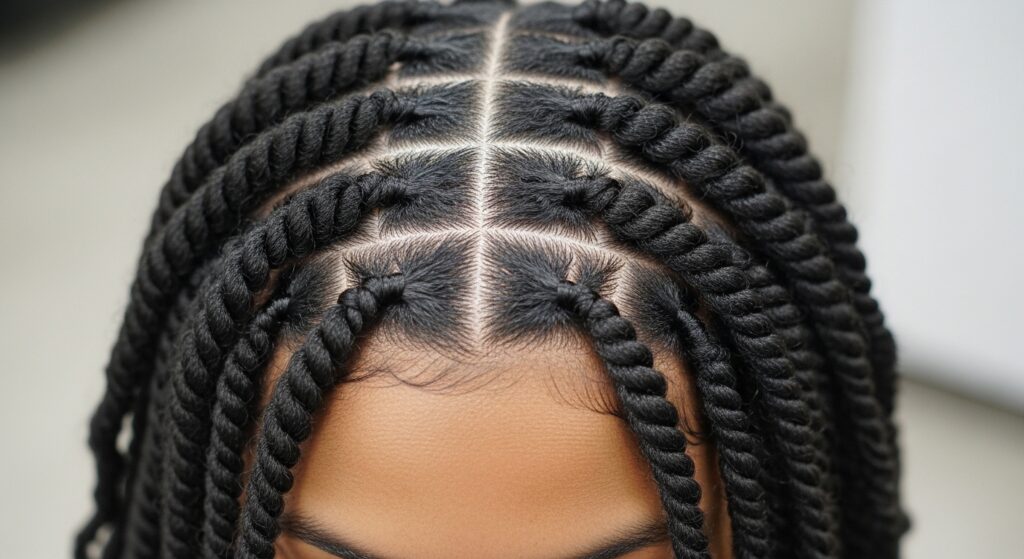
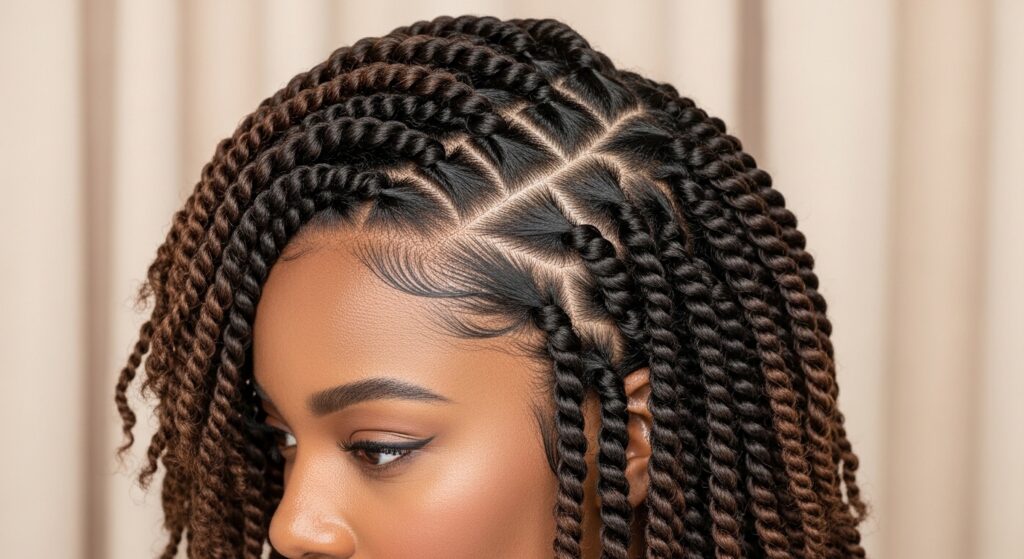
Sectioning Is Your Secret Weapon
Don’t just start twisting randomly. Clean sections are everything. Use hair clips to divide your hair into four main quadrants first: left, right, top, and back.
Then, work one quadrant at a time, creating smaller, neat sections. The size of these sections determines your curl size. Smaller sections give you tighter, more defined curls. Larger sections give you bigger, looser waves. Keep them even for a uniform look.
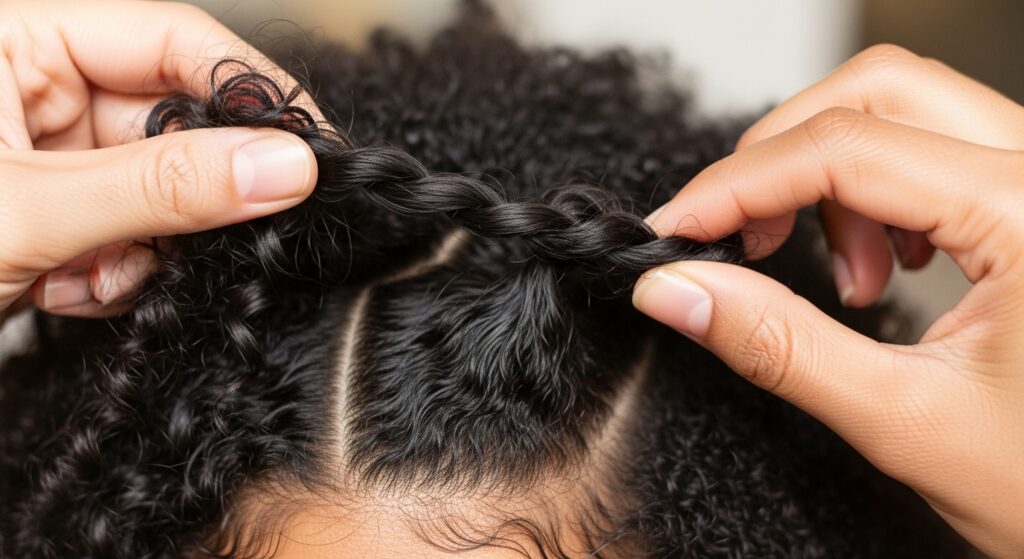
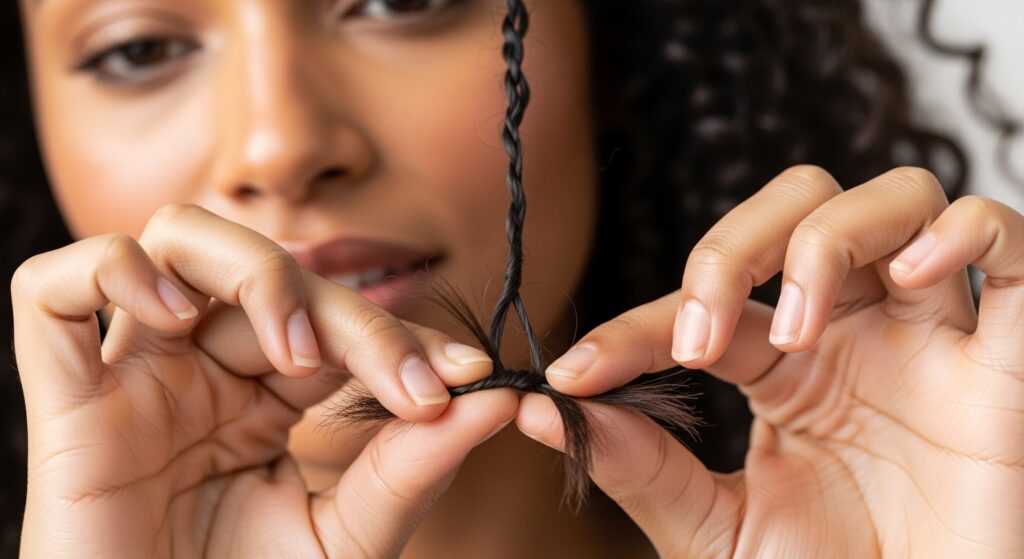
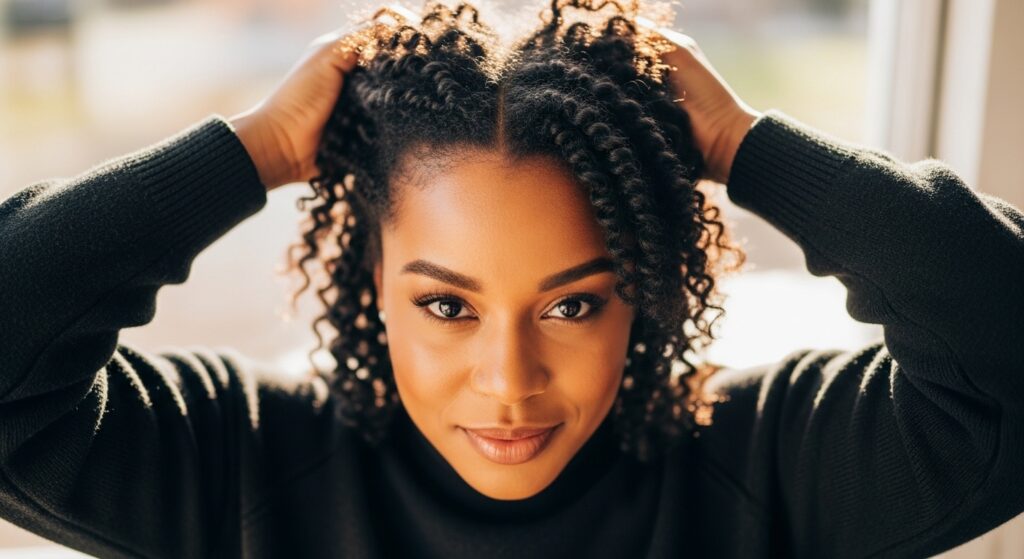
The Classic Two-Strand Twist
This is the foundational method everyone should master. It’s simple: take a section of hair and split it into two equal strands. Twist one strand over the other, just like you’re tying a rope.
Continue twisting all the way down to the ends. The tension should be firm but not pulling. Make sure the ends are neatly twisted to prevent frizz. You can twist away from your face or toward it, depending on the direction you want your curls to fall.
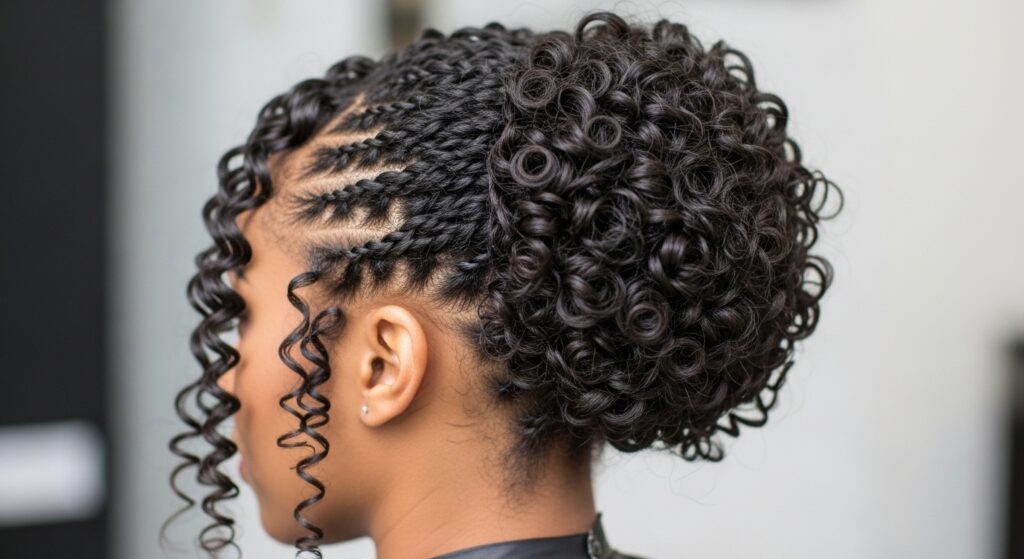
Flat Twists for a Sleeker Look
Flat twists are like cornrows, but you’re only adding hair at the top. They lie flat against your scalp, creating beautiful, raised patterns and giving you a stunning, sleek look when unraveled.
They take a bit more practice, but they’re worth it. They’re perfect for creating a styled look even before you take the twists down. Think of them as a protective style and a fabulous hairstyle in one.

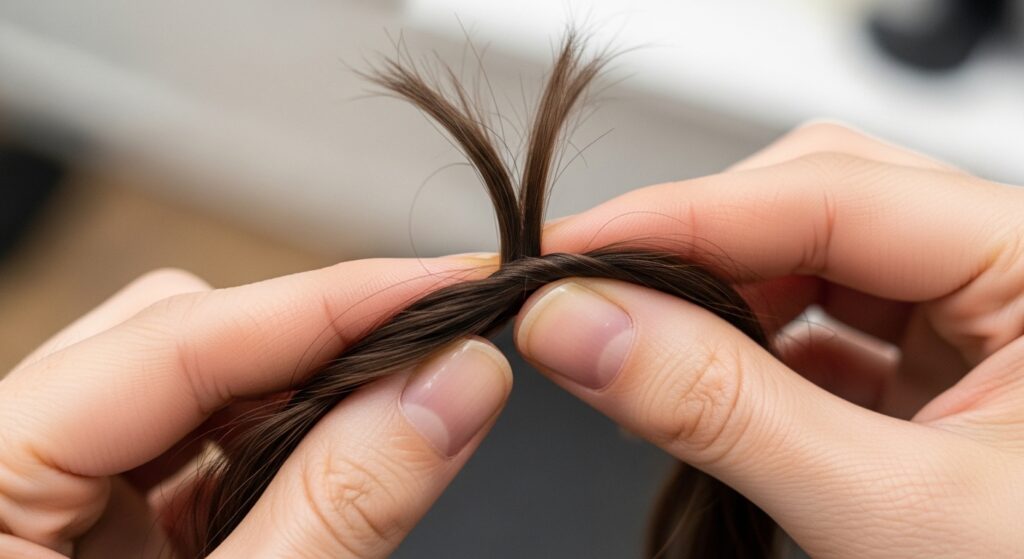
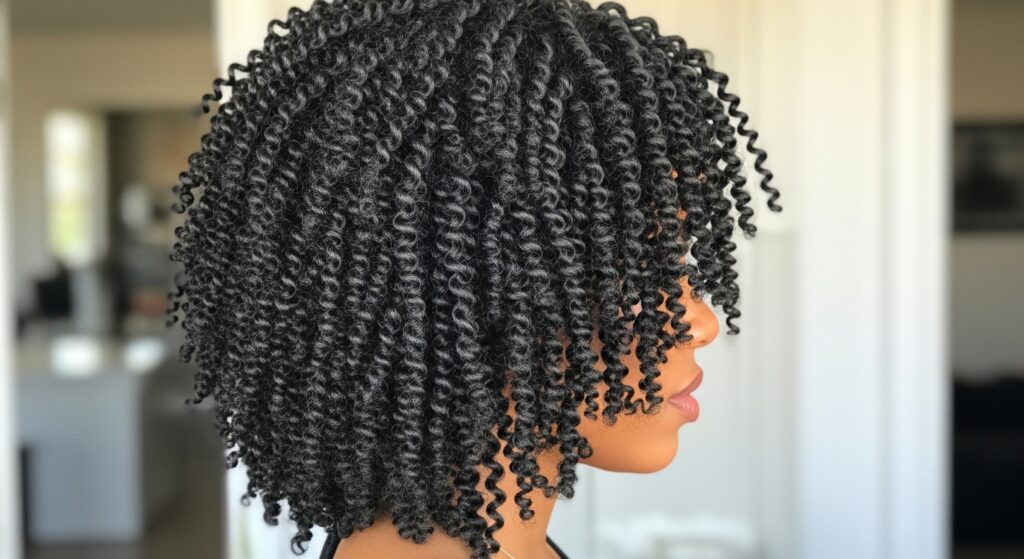
Three-Strand Twist for Extra Definition
If you crave super-defined, almost rope-like curls, the three-strand twist is your friend. It’s like braiding, but just twisting the strands together instead of crossing them under.
It takes a little longer, but the results are incredibly elegant and elongated. This method is fantastic for finer hair textures that might need a bit more help holding a defined shape.
How Many Twists Should You Do?
There’s no magic number, but more twists generally mean more definition and longer-lasting results. For a full head, you might have anywhere from 15 to 50 twists.
- For a Chunkier, Loose Wave: 15-25 large twists.
- For Defined, Springy Curls: 30-50 smaller twists.
- For a Mix: Do smaller twists in the front for definition and larger ones in the back for volume.
Let your desired final look guide you.
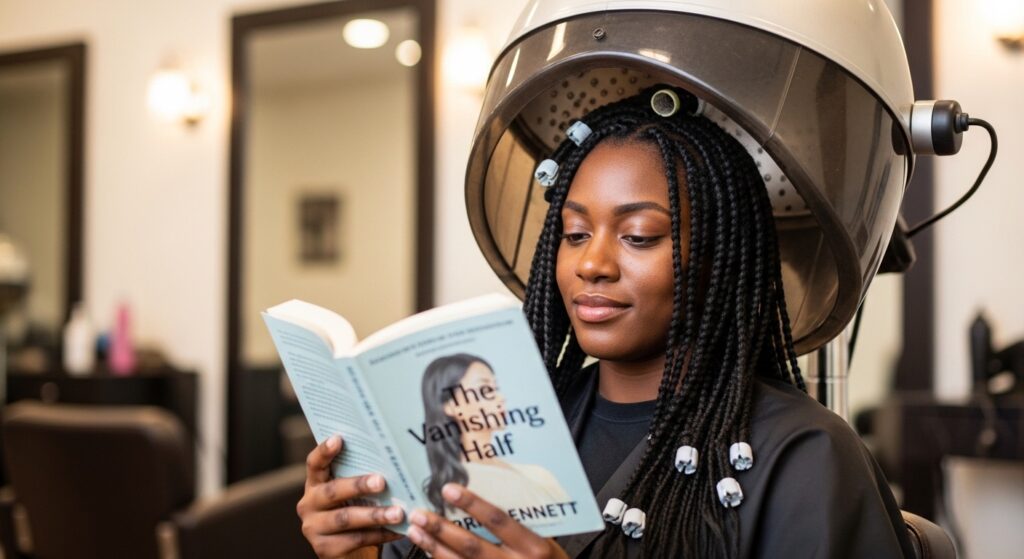
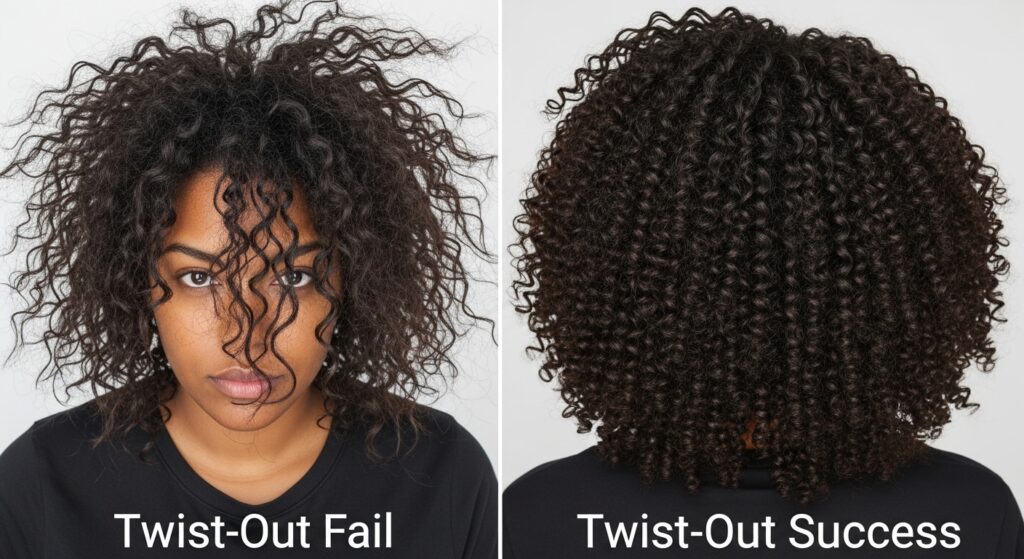
The Perfect Dry-Down Method
Patience is key. You must let your twists dry 100% completely. If you take them down while damp, you’ll get frizz and lose definition. Air-drying is gentlest, but it can take hours.
To speed things up, use a hooded dryer or a diffuser on low heat and low speed. Gently cup the twists in the diffuser without disturbing them. Never rub or rough dry.
The Art of the Take-Down
This is the exciting part! Once bone-dry, it’s time to unravel. Start with the twists you did last (usually the bottom back). Gently untwist each one with your fingers.
Do not use a comb or brush at this stage. After untwisting, you can gently separate the curl into 2-3 pieces for more volume. Be delicate—over-separating leads to frizz.

Fluffing for Epic Volume
After all twists are out and separated, it’s time to fluff. Flip your head upside down. Use your fingertips at your roots to gently lift and massage your scalp. This breaks up the roots and adds major volume.
You can also gently shake your hair at the roots. Turn right-side up and use a pick or your fingers to style any front pieces. A light oil sheen on your hands can help tame any halo frizz while adding shine.
Making Your Twist-Out Last All Week
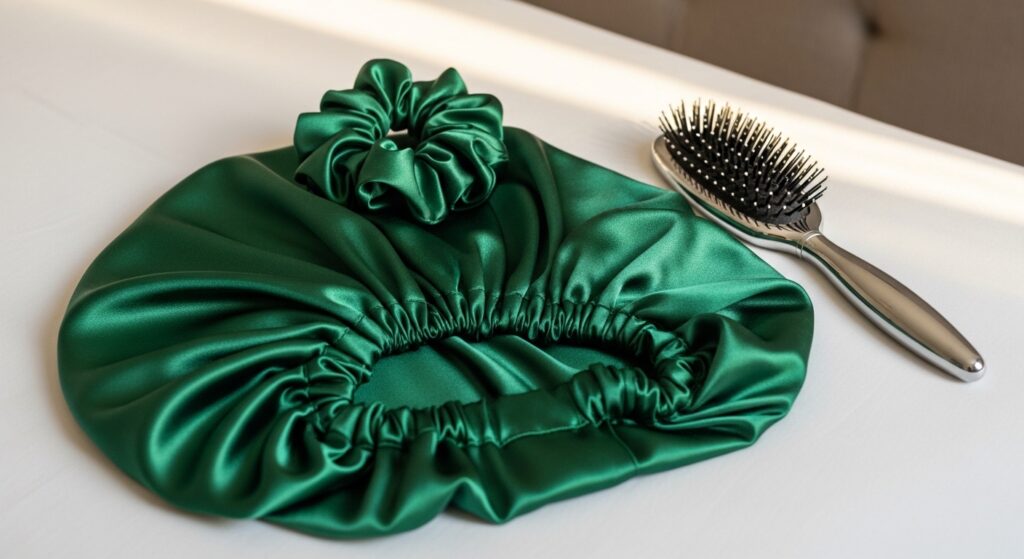
Your style can last 5-7 days with the right nighttime routine. The goal is to preserve the curls without crushing them. The pineapple method is a savior: loosely gather your hair into a very high ponytail on top of your head using a satin scrunchie.
If you have shorter hair, use a satin bonnet or scarf. In the morning, simply take it down, flip your head, give the roots a shake, and you’re good to go. Refresh with a mix of water and leave-in in a spray bottle if needed.
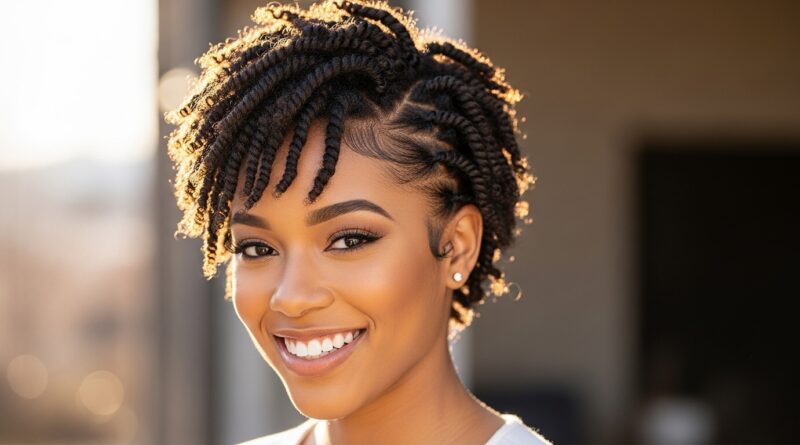
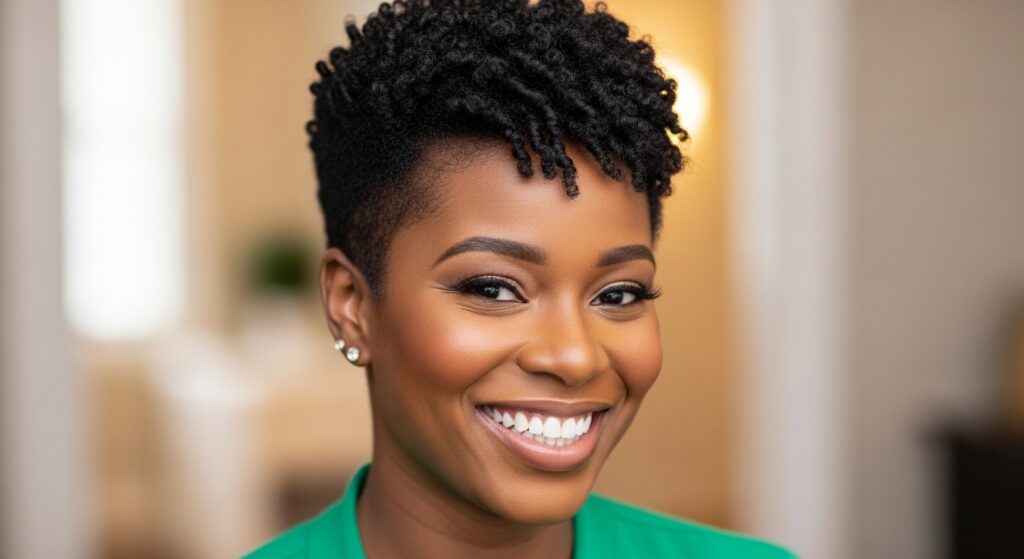
Twist-Outs on Short Hair & TWA
Short hair does twist-outs beautifully! The key is smaller sections for maximum definition. Flat twists can create amazing crown volume and style. Don’t be afraid to play with direction.
Twist some sections forward for bang-like pieces, or all back for a sleek look. A twist-out on a TWA (Teeny Weeny Afro) creates incredible texture and body, giving you a chic, low-fuss style that’s full of personality.
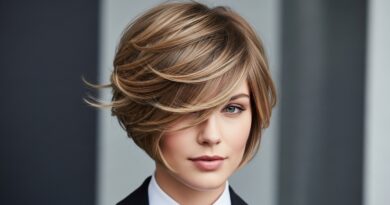
Twist-Outs on Medium-Length Hair
This is the perfect length for versatility. You get great swing and movement. Try a middle part for a classic look, or a deep side part for more drama. You can also experiment with half-up, half-down styles using the twisted-out curls.
Medium hair is ideal for creating that coveted asymmetrical lob shape with your twist-out, where one side is slightly longer or fuller than the other for a modern edge.
Twist-Outs on Long, Thick Hair
On long hair, twist-outs create breathtaking, cascading curls. The weight of your hair might stretch the curls a bit, giving you gorgeous, flowing waves. To maintain volume at the roots, focus on fluffing.
Consider doing larger twists to cut down on drying time. Long hair also lets you play with 2026 hairstyles trends like adding a few face-framing hime cut-inspired pieces for a soft, romantic feel.

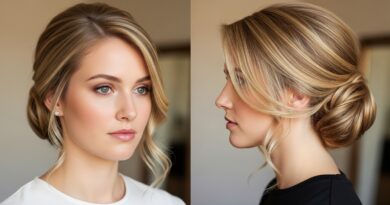
The Chic Side-Parted Twist-Out
For instant elegance, go for a deep side part. It adds volume at the crown and creates a beautiful, face-framing effect. This style exudes a timeless, old money hair vibe—it’s polished, healthy, and looks expensive without trying too hard.
When twisting, direct all twists back or slightly toward the heavier side. When you take them down, the curls will fall in a gorgeous, cohesive wave.
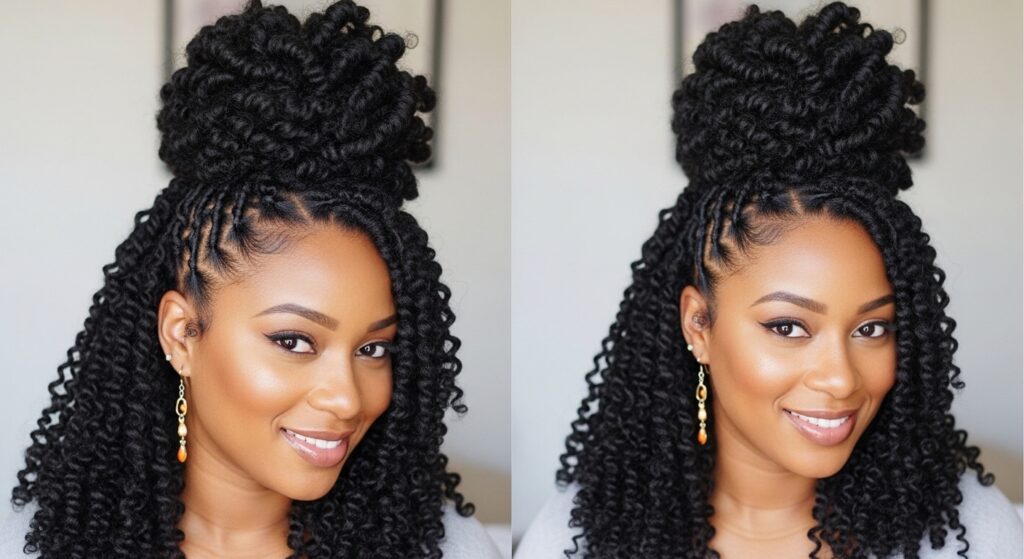
The Crown Glory High-Puff Twist-Out
Want to show off your amazing curl definition while keeping hair off your face? Create a twist-out, then gather the top half of your hair into a high puff. Leave the back and sides down.
This style is playful, cute, and perfect for hot days or workouts. It gives you the best of both worlds: a styled look and protected hair. It’s a go-to for a reason.
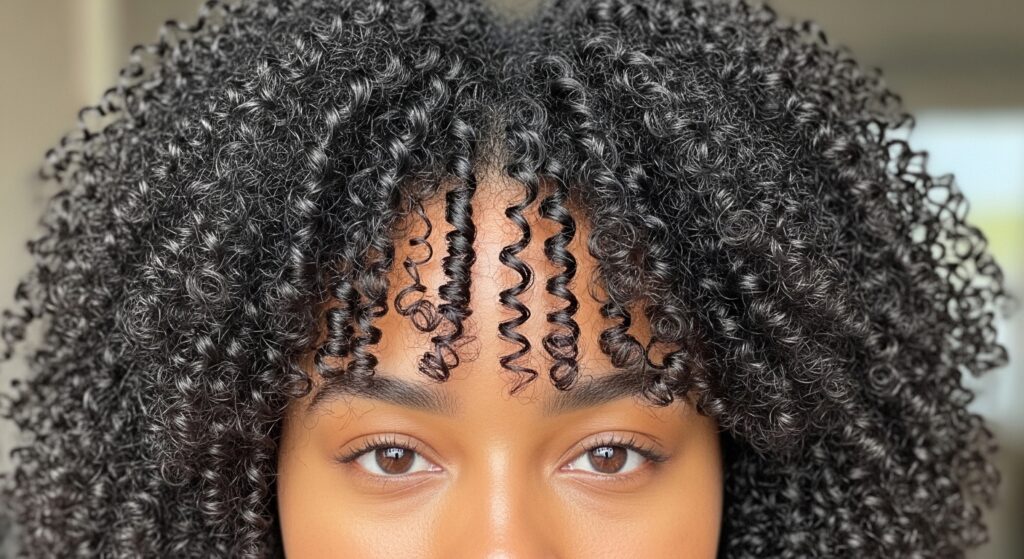
Twist-Outs with Bangs & Face Framers
If you have bangs or face-framing layers, twist them separately. For curly bangs, twist a few small sections away from your face. For a blended look, incorporate them into larger twists with the top hair.
This technique can create soft, romantic goth hairstyles vibes—think defined, beautiful curls with a touch of dramatic, face-framing shape. It’s all about playing with texture around your features.
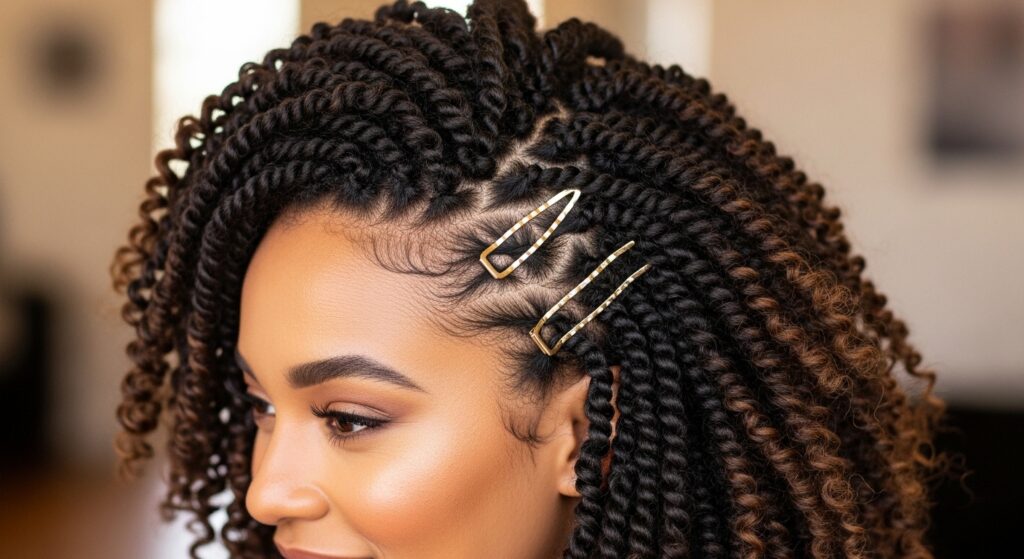
Accessorize Your Twist-Out
Don’t just wear your twist-out plain! Accessories take it to the next level. Try a bold silk scarf as a headband. Use decorative hair pins to pin back one side.
- For a quiet luxury bob feel: A simple, gold-tone clip.
- For glitchy glam hair energy: Metallic cuffs or mismatched barrettes.
- For edge: A thin leather headband for a hint of vampire haircut cool.
Color-Treated Hair & Twist-Outs
If your hair is colored, twist-outs are a godsend. They minimize wash days, which helps preserve your color. The protective nature also helps prevent color fade from friction and the elements.
Just be sure to use extra moisturizing products, as color can be drying. A weekly deep conditioner is non-negotiable to keep your colored curls vibrant, soft, and defined.

Common Twist-Out Mistakes to Avoid
We’ve all been there. Here’s how to sidestep common pitfalls. First, twisting soaking wet hair without product leads to frizz. Second, using a heavy butter can cause buildup and weigh curls down.
Third, not drying completely is the biggest cause of a failed twist-out. And finally, over-manipulating the curls after take-down with a brush will ruin your hard work. Stick to finger-separating.
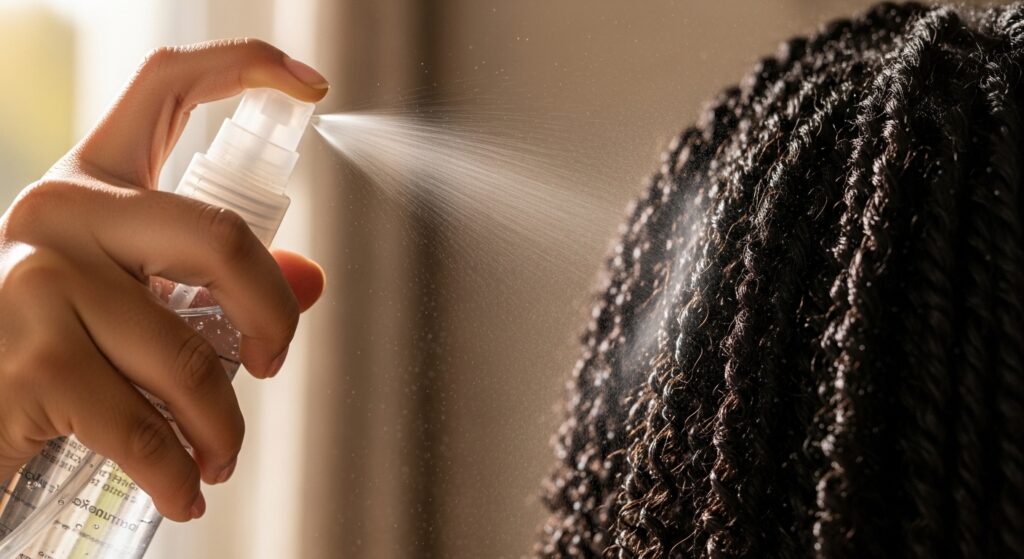
Frizz Rescue & Mid-Week Refreshing
Got some day-3 or day-4 frizz? Don’t panic. Mix water and a little leave-in conditioner in a spray bottle. Lightly mist your hair—don’t soak it.
Then, using praying hands, gently smooth over the frizzy areas. You can even re-twist a few of the most unruly sections and let them dry for 30 minutes. This is a quick fix that adds life back into your style.
From Twist-Out to Updo
Your twist-out is the perfect foundation for an updo. The texture gives grip and volume. On day 3 or 4, try a low, textured bun. Or, create a half-up crown with a few twisted pieces.
Pull the front sections back into a clip for an effortless, dressed-up look. The definition of the curls makes any updo look intentional and chic, not messy.
When to Wash & Start Over
How do you know it’s time? When your roots feel itchy, your curls have lost all definition and just look puffy, or your hair feels product-heavy and sticky. That’s your cue.
Typically, a good twist-out can last 5-7 days. Listen to your hair and your scalp. A fresh start with a clarifying wash will reset everything and prep for another amazing set of twists.
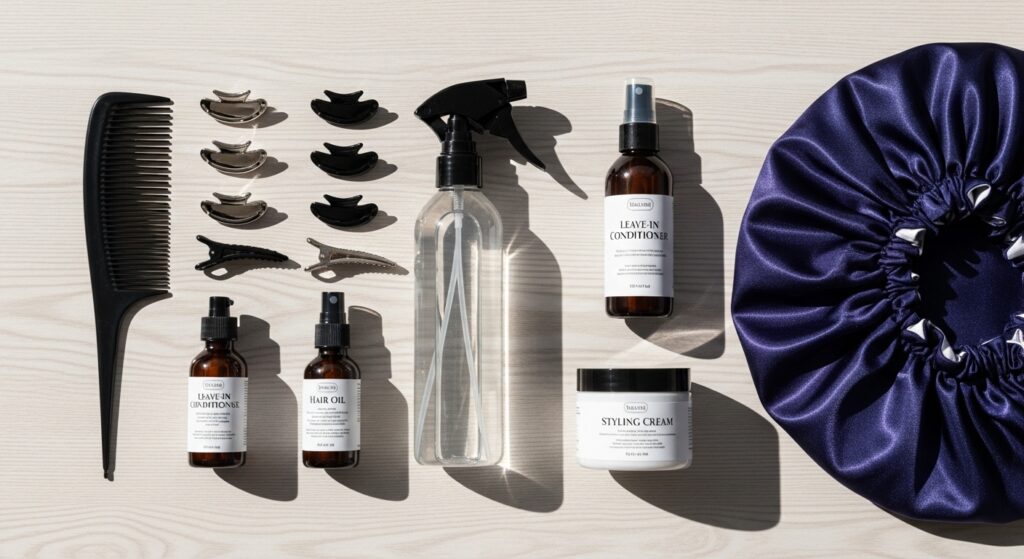
Your Essential Twist-Out Toolkit
To make the process smooth, have these items ready: a wide-tooth comb for detangling, butterfly clips for sectioning, your chosen styling products, a spray bottle with water, a microfiber towel or t-shirt, a satin bonnet or scrunchie, and a hooded dryer or diffuser attachment.
Having your toolkit ready turns styling from a chore into a relaxing, self-care ritual.
Embrace Your Unique Pattern
The most beautiful part of this journey? Discovering your hair’s unique personality. Your twist-out might not look like someone else’s, and that’s the point. Your pattern is yours alone.
Embrace the tighter coils, the looser waves, the mix of both. This process is about nourishing and celebrating what grows from your head. That confidence is the best accessory you can wear.
So there you have it, my complete guide to living your best, most effortless curly life with protective twist-outs. It’s more than a hairstyle; it’s a way to give your hair a break and still feel put-together and beautiful. The freedom it gives you is honestly priceless.
Remember, like any skill, it gets easier and faster with practice. Don’t get discouraged if your first attempt isn’t perfect. Your hair is learning a new pattern, and you’re learning its language. Be patient with yourself.
I’d love to hear from you! Which of these 28 ideas are you most excited to try? Have you discovered a twist-out trick that changed your game? Spill your secrets in the comments below—let’s keep the conversation going and help each