Revive 11 60s Beehive Updos Modernized with Textured Volume
Okay, let’s be real. The classic 60s beehive is iconic, but it can feel a bit… costume-y for everyday life. I used to think it was all about sky-high backcombing and a whole can of hairspray. But then I started playing with the idea, and wow, was I wrong.
The secret to a modern beehive isn’t height, it’s texture. It’s about that lived-in, effortless volume that feels cool, not stiff. Think less “Mad Men” and more “effortlessly chic.”
This revival is all about softness, movement, and a vibe that works with your natural texture. I’ve been obsessed with finding ways to make this look feel fresh, and I’m sharing my favorite modernized updos that you can actually do. They’re perfect for when you want a statement look that doesn’t take all day.
Ready to get that gorgeous, textured volume? Let’s dive into the styles that are giving the beehive a major 2026 energy makeover.
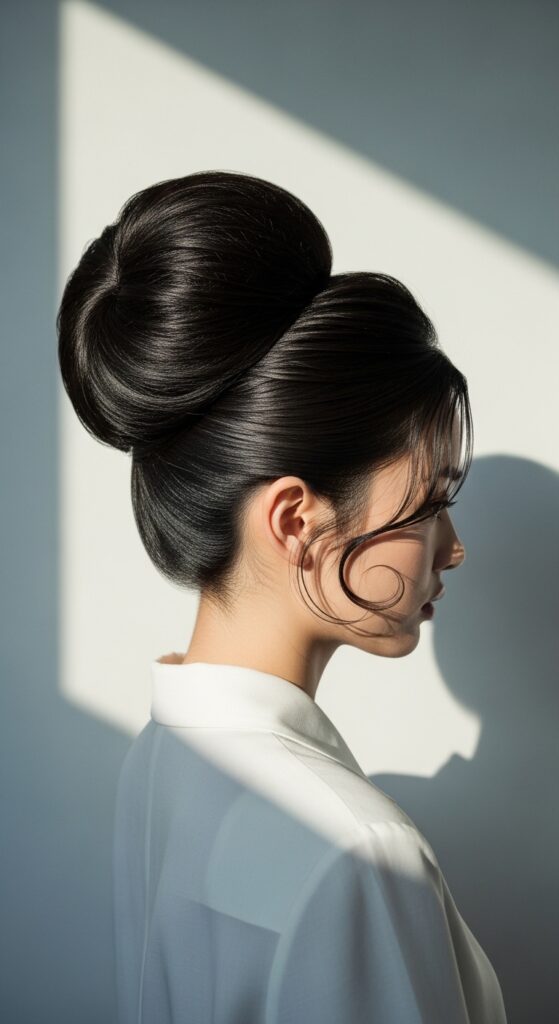
1. The Soft Sculptural Beehive
This is your gateway beehive. We’re ditching the helmet-head shape for something that looks more like art. The goal is soft, rounded volume that follows the shape of your head, with lots of piece-y texture.
Start with day-old hair or use a texturizing spray. Gently backcomb only the roots at your crown for lift, then smooth the top layer over it. Twist and pin sections loosely, letting ends fray out.
- Focus lift at the crown, not the back.
- Use bobby pins that match your hair color.
- Pull out a few face-framing pieces for softness.
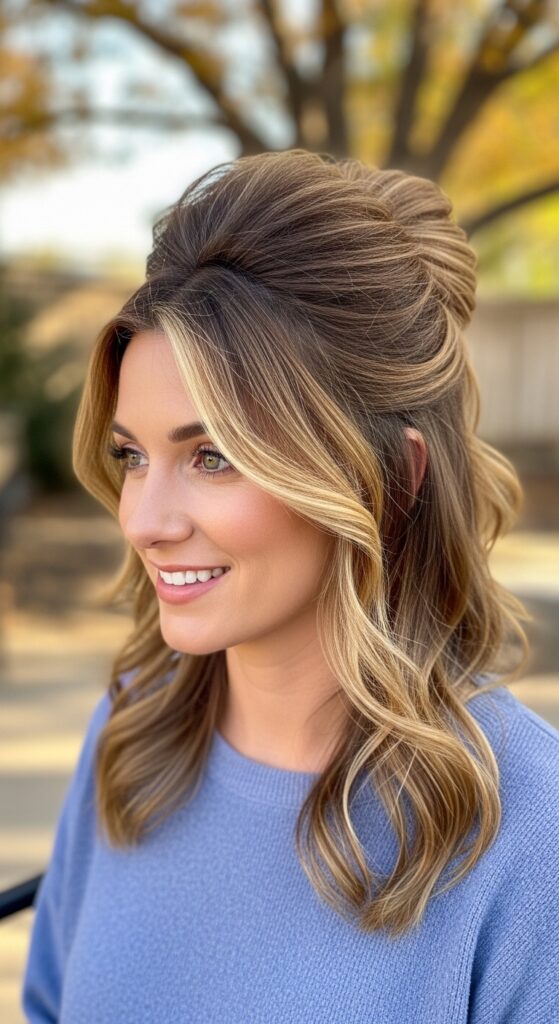
2. The Textured Half-Up Beehive
Can’t commit to a full updo? The half-up version is your best friend. It gives you that iconic volume and shape while letting the rest of your hair do its thing. This look pairs perfectly with 2026 hairstyles like the asymmetrical lob.
Take a deep section from your temples back. Tease gently at the roots, then gather it into a loose, high ponytail base. Don’t pull the hair through all the way on the last loop of the hair tie, creating a mini pouf. Fan it out and pin.
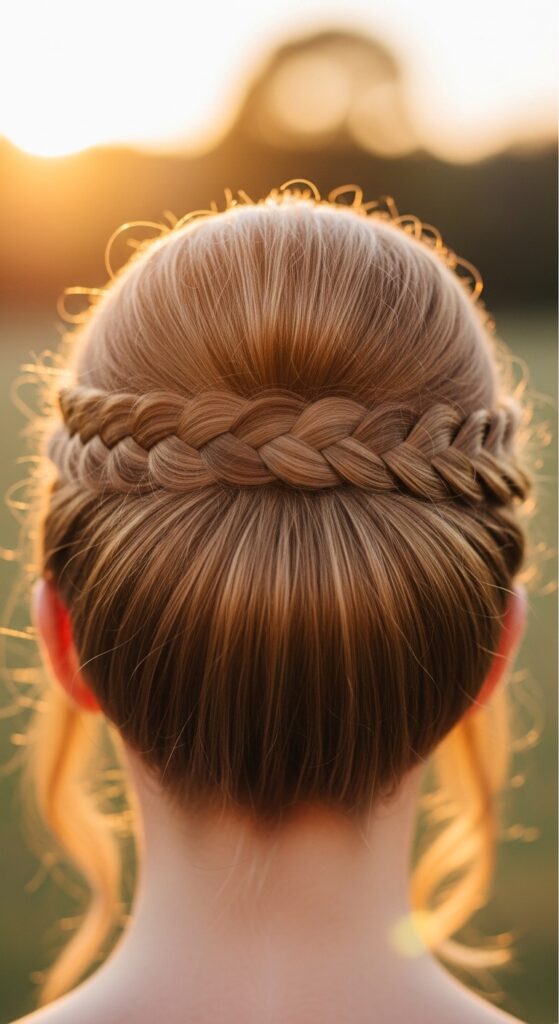
3. The Braided Crown Beehive
Add a romantic, intricate detail by incorporating braids. This builds volume in a structured way and looks incredibly elegant. It’s a beautiful blend of vintage and boho that feels very now.
Create two Dutch braids starting at your temples, going back towards your crown. Secure them loosely. Gather all your hair, including the braids, into a high ponytail. Then, twist and wrap the length around the base to form the beehive, pinning the braids into the design.
- Keep braids slightly loose for texture.
- Let small hairs escape for a lived-in feel.
4. The Low, Messy Beehive Bun
Take the volume to the nape of your neck. A low beehive bun is unexpectedly chic and so comfortable. It has that old money hair vibe—polished but not perfect, like you just threw it up after the tennis match.
Create a low, loose ponytail. Tease the length of the ponytail lightly. Then, twist it around the base, coiling it outward to create width, not just height. Secure with pins and pull at the sides to expand the shape.
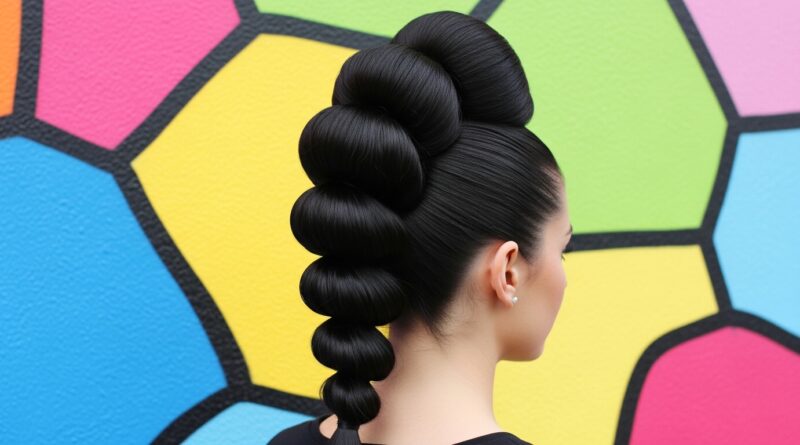
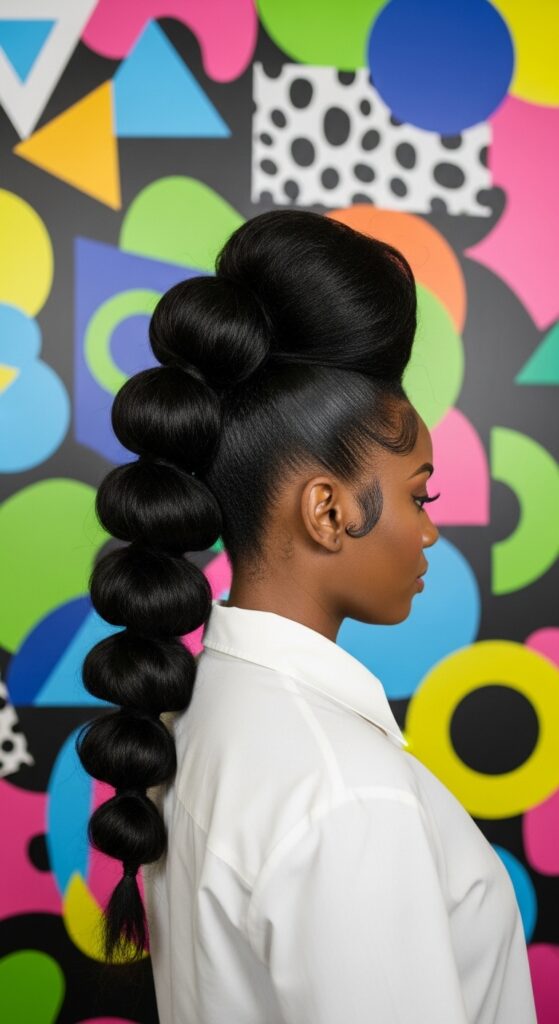
5. The Bubble Beehive Ponytail
This is playful and modern. By creating “bubbles” or sections down the length of a high ponytail, you build the beehive volume vertically in a really fun, graphic way. It’s a statement look.
- Create a very high, tight ponytail.
- Place small hair ties every few inches down the length.
- Gently pull and expand each section between the ties to create full bubbles.
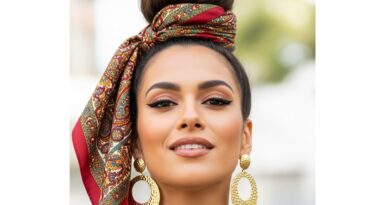
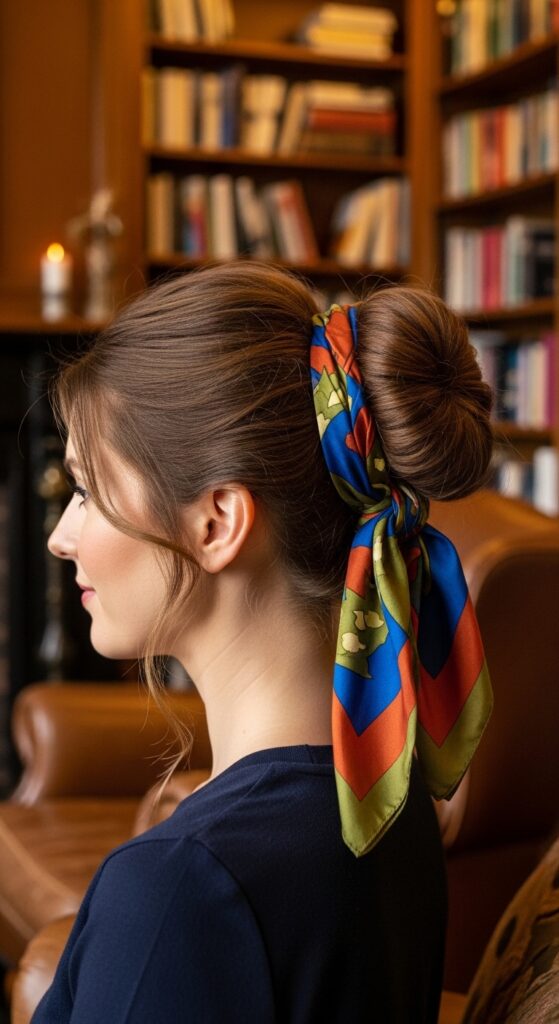
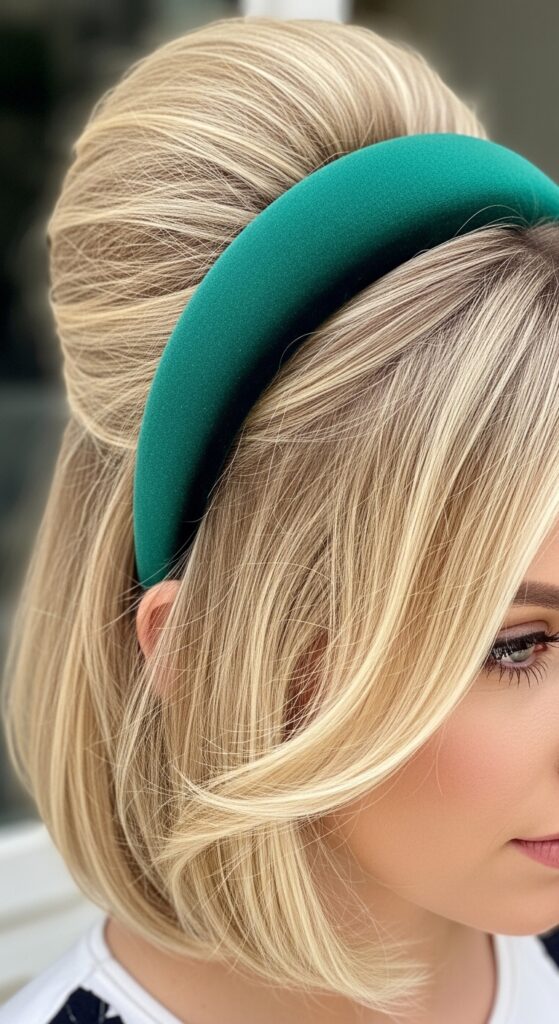
6. The Accessorized Headband Beehive
A wide headband or scarf is the ultimate tool for a modern beehive. It helps hide the “construction” at the front and adds a major style element. This screams quiet luxury bob when done on shorter hair.
Place a wide fabric headband over your hair after styling. Push it back so it sits about two inches from your hairline. Gently pull the hair up and over the band from behind, teasing at the crown for volume, then tuck and pin underneath.
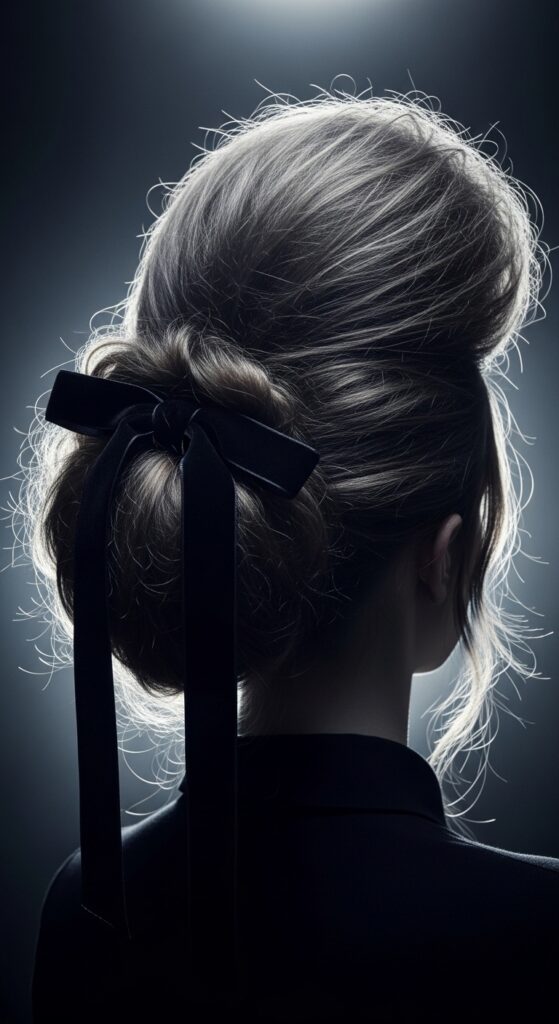
7. The Gothic Romantic Beehive
Infuse some drama for a romantic goth hairstyles moment. This version uses deep side parts, dramatic volume on one side, and incorporates dark accessories like velvet ribbons or silver clips.
Create a deep side part. Backcomb heavily on the higher side for extreme, dramatic volume. Smooth the top layer, then gather all hair into a low, twisted bun on the opposite side. Weave a black ribbon through the style.
- Embrace a more disheveled, intentional mess.
- Use strong-hold hairspray for this dramatic shape.
8. The “Glitchy Glam” Beehive
For that edgy, glitchy glam hair aesthetic, introduce asymmetry and unexpected pieces. Think of it as a deconstructed beehive with pieces sticking out at odd, artistic angles.
Build your beehive shape loosely. Instead of tucking all the ends in, leave several long, sharp pieces out. Crimp or zig-zag these pieces for a textured effect. The look should feel intentionally “broken” and cool.

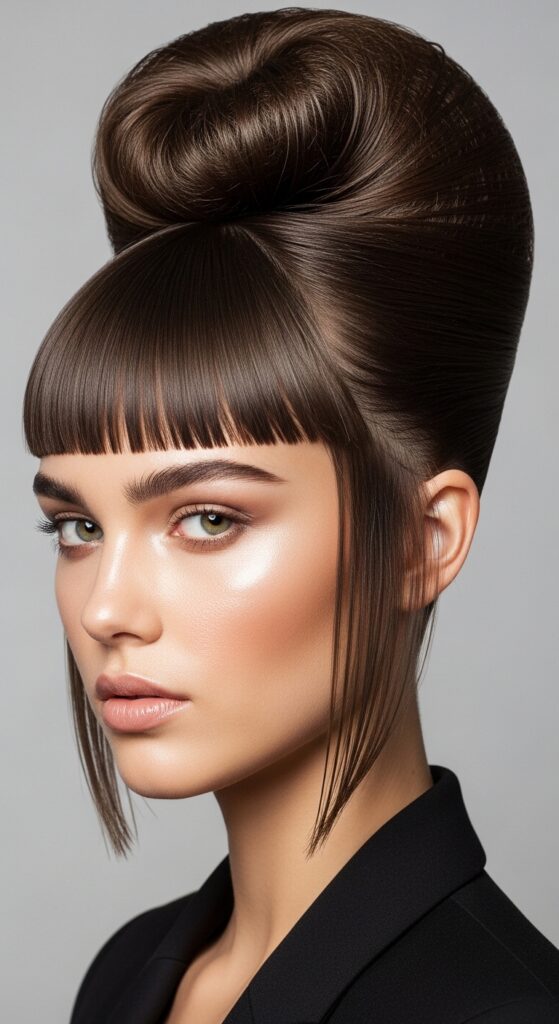
9. The Beehive Meets Hime Cut
This is for my friends with the iconic hime cut (those sharp, straight-across bangs and face-framing layers). The beehive volume contrasts beautifully with the severe, structured front pieces.
Keep your hime bangs and long sidelocks perfectly smooth and straight. Pull the remaining back hair up into a high, textured beehive. The juxtaposition of sleek front and chaotic back volume is stunning.
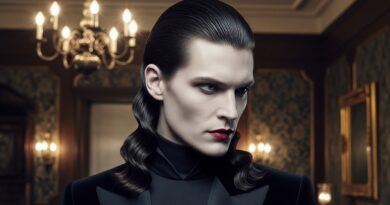
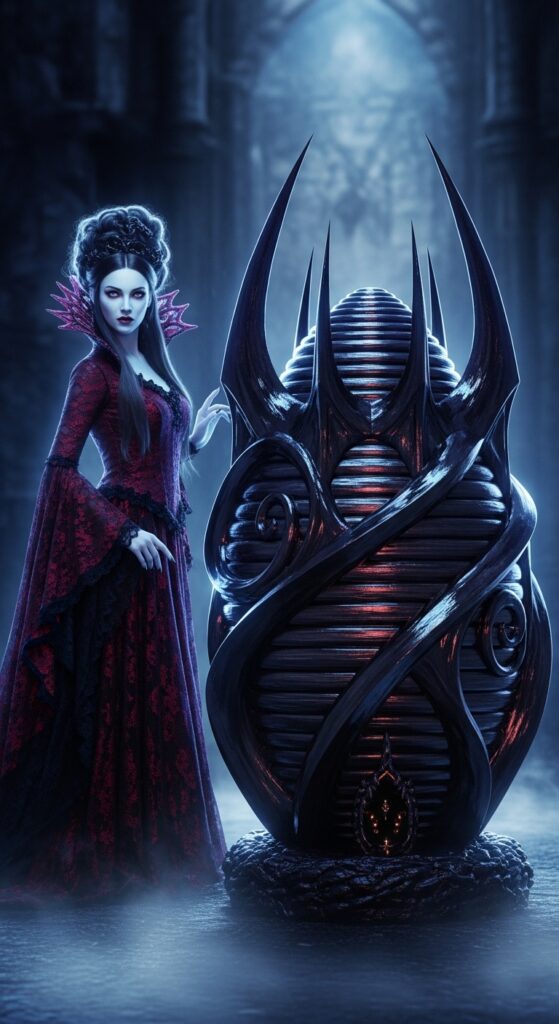
10. The Vampire Hive
Inspired by the vampire haircut trend, this version is all about sharp, pointy ends and a slightly undone, “undead” elegance. It’s a beehive that looks like it survived a thrilling night.
Create your beehive base, but when pinning, leave the ends of sections free. Twist these ends into sharp points, using a bit of wax. Aim for a shape that’s full but slightly collapsed in places.
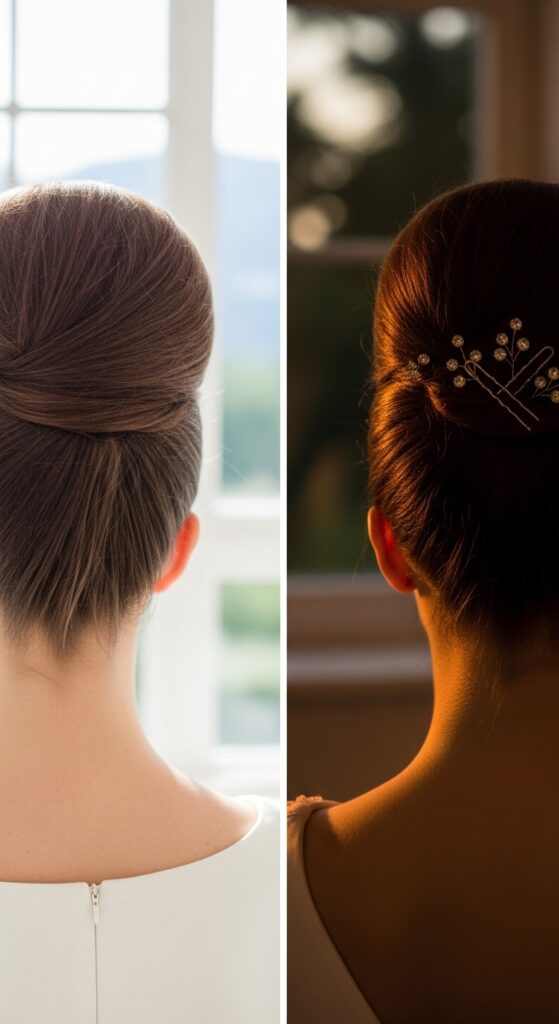
11. The Minimalist Pin-Up Beehive
Sometimes, you want the polish without the pomp. This is a cleaner, more minimalist take. The volume is subtle and controlled, perfect for a professional setting or a quiet luxury event.
Use a fine-tooth comb for smoothness. Tease only at the very roots, then smooth the surface hair impeccably. The shape should be neat, with all ends tucked away cleanly. A light-hold spray keeps it pristine.
- Perfect for fine hair that needs elegant volume.
- Pair with pearl or simple gold hair pins.

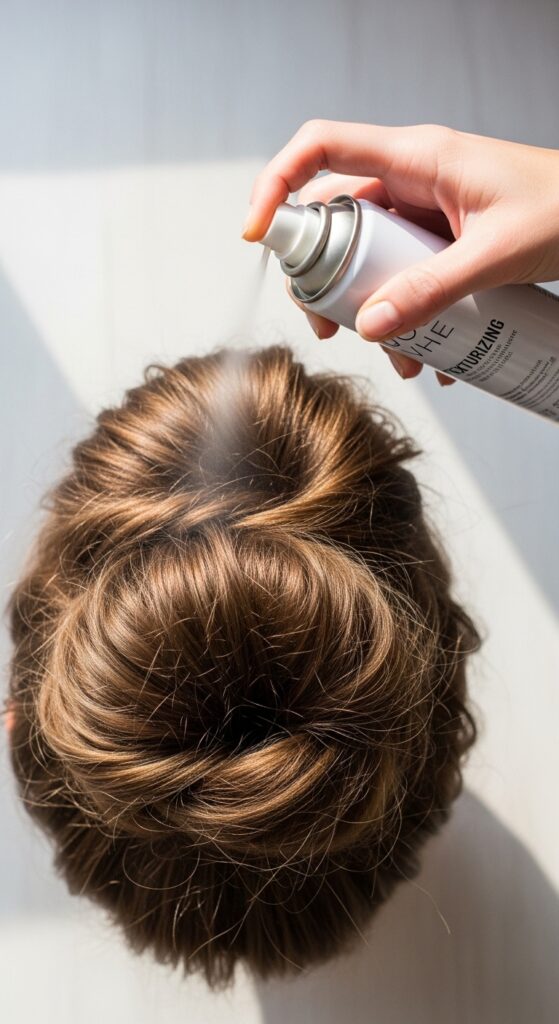
12. The Tool You Need: A Good Texturizing Spray
Forget the solid-hold hairsprays of the past. Your modern beehive’s best friend is a texturizing spray or sea salt spray. It gives grit, grip, and that all-important lived-in texture without stiffness.
Spray it on roots and lengths before you start styling. It gives hair something to “hold onto” when you tease it. You can also spray it on after to break up any sections that look too smooth.
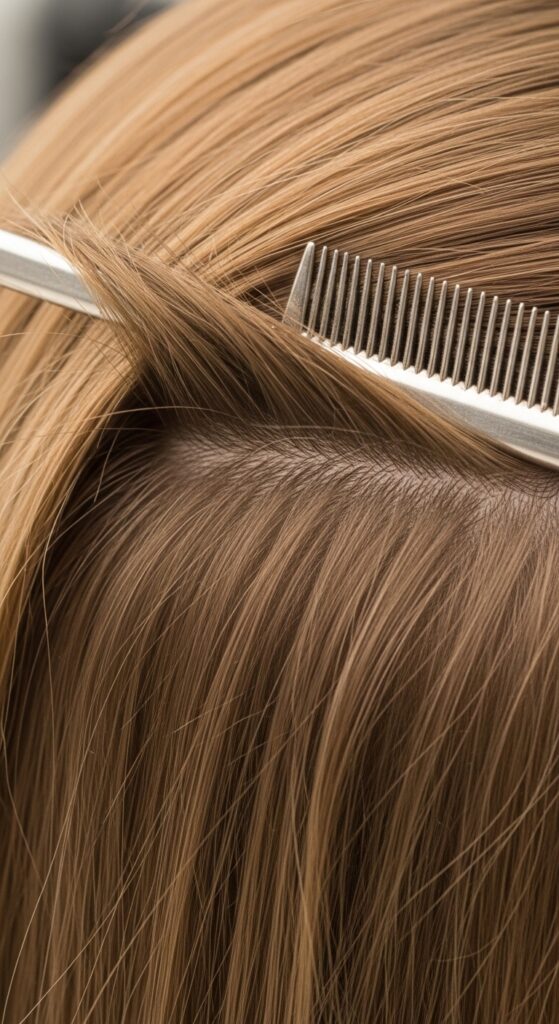
13. How to Tease Without the Damage
Backcombing has a bad rap, but done gently, it’s fine. Always work on small, vertical sections. Hold the hair straight up, and using a fine-tooth comb, make small, gentle strokes downward towards the scalp, only on the under-layers.
Never drag the comb from the ends down. That’s what causes breakage. The goal is to create a tiny, tangled nest at the roots, which you then smooth the top layer over.
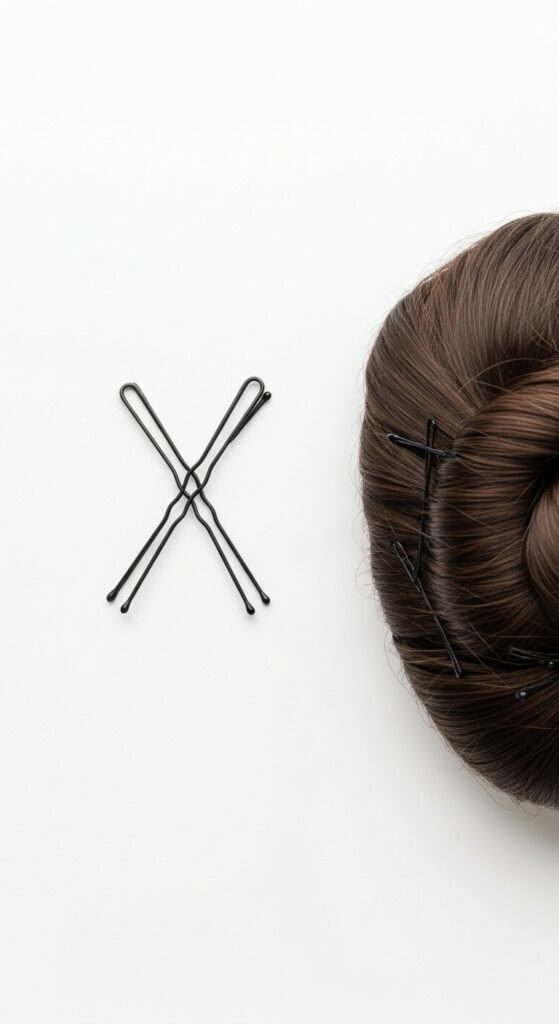
14. The Magic of Bobby Pin Placement
Pinning is what holds your masterpiece. Always cross two bobby pins into an “X” for maximum hold. Insert them with the wavy side down against your scalp—this grips better.
For a beehive, insert pins vertically or at an angle, catching hair from the style and anchoring it to the base hair. Don’t just pin horizontally around the bun.
- Match pin color to your hair for invisibility.
- Start with more pins than you think; you can remove loose ones.
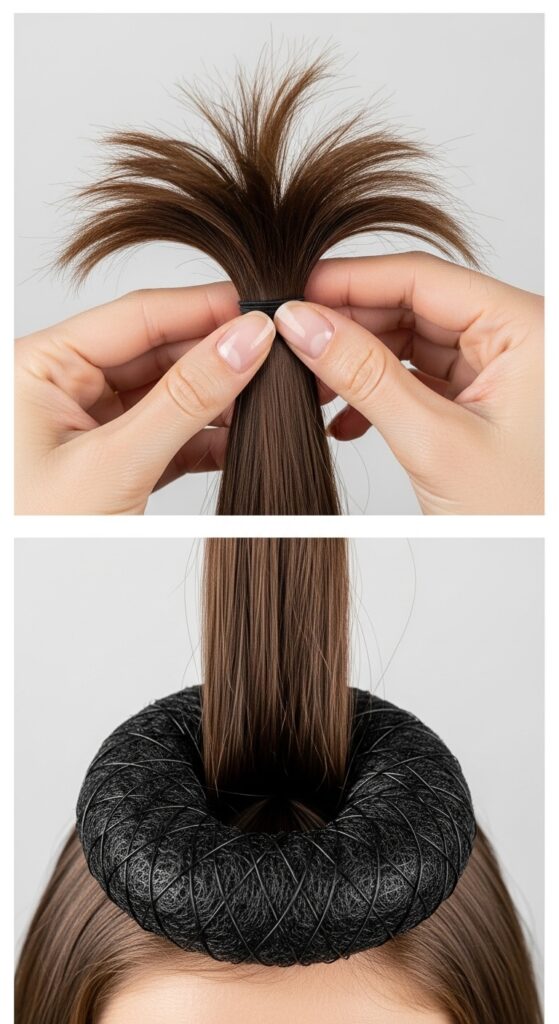
15. Incorporating Hair Donuts (The Easy Way)
A small, donut-shaped foam roller is a cheat code for instant, uniform volume. Choose one close to your hair color. Pull your hair into a high ponytail and thread it through the donut.
Then, fan your hair evenly over the donut, tucking the ends under, and secure with pins around the base. It creates a perfect, rounded shape every time that you can then pull pieces from for texture.
16. For Fine Hair: The Volume Trick
If your hair is fine and slippery, creating volume can feel impossible. The trick is dry shampoo or volumizing powder. Apply it generously at the roots before you start. It adds tremendous grip and thickness instantly.
Also, try curling all your hair with a 1-inch iron before putting it up. The waves create way more body and texture to work with than straight, fine hair.
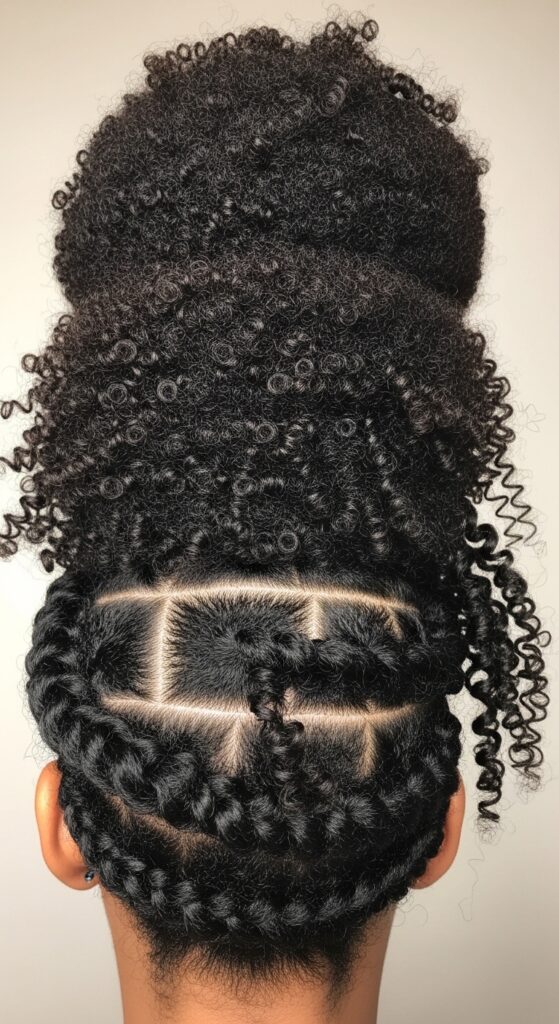
17. For Curly & Coily Hair: Embrace Your Texture
Your natural texture is the ultimate volume tool. Start with defined, moisturized curls. Gather your hair high on your head, allowing the curls to stack and create volume naturally.
Use a stocking cap or a large, stretchy hairnet to gather the bulk, then tuck and pin. The goal isn’t a smooth beehive, but a magnificent, textured crown of curls. It’s absolutely stunning.
18. The 5-Minute “I’m Late” Beehive
We’ve all been there. For a quick version, put your hair in a high, loose bun without brushing it too much. Then, gently pull at the sides and top of the bun to expand it.
Take two sections from the front, twist them back, and pin them into the bun to create a faux “pouf” effect. Spray with texturizer and go!
- Messy high bun.
- Pull to expand shape.
- Twist front pieces for instant lift.

19. Day-to-Night Beehive Transition
Wore your textured beehive all day and need an upgrade for night? This is easy. Gently remove a few key pins to loosen the shape. Pull out a few more strategic face-framing pieces.
Then, add your glam: slide in sparkly hair pins, weave a delicate chain, or swap a simple hair tie for a silk scarf. The extra texture from the day gives the accessories something gorgeous to grip onto.
20. Maintaining Your Style (And Your Hair Health)
To keep your beehive looking fresh, carry a travel texturizing spray for touch-ups. Gently finger-fluff the roots if they fall. At night, take it down gently, finger-comb through the teasing, and braid it loosely to sleep.
Always use a heat protectant and a good conditioner. Deep condition once a week. Healthy hair holds style better, and gentle teasing on healthy hair causes far less damage.
- Touch up with texture spray.
- Take down gently; never brush out teasing.
- Prioritize hair health with deep conditioning.
And there you have it! The 60s beehive has officially left the costume department and walked into our everyday style toolbox. It’s no longer about rigid perfection, but about expressing volume and texture in a way that feels uniquely you.
Whether you’re leaning into the romantic goth vibe or keeping it minimalist, the core idea is the same: build from the roots, embrace the mess, and let your personality shine through. I love that these styles work on every hair type—they just look different, which is the best part.
I’d love to hear which one you’re trying first! Did you go for the soft sculptural look or the daring vampire hive? Tell me in the comments below. And if you found this helpful, do me a huge favor and save this post to Pinterest so you can always find these ideas when you need a hair refresh. Happy styling!