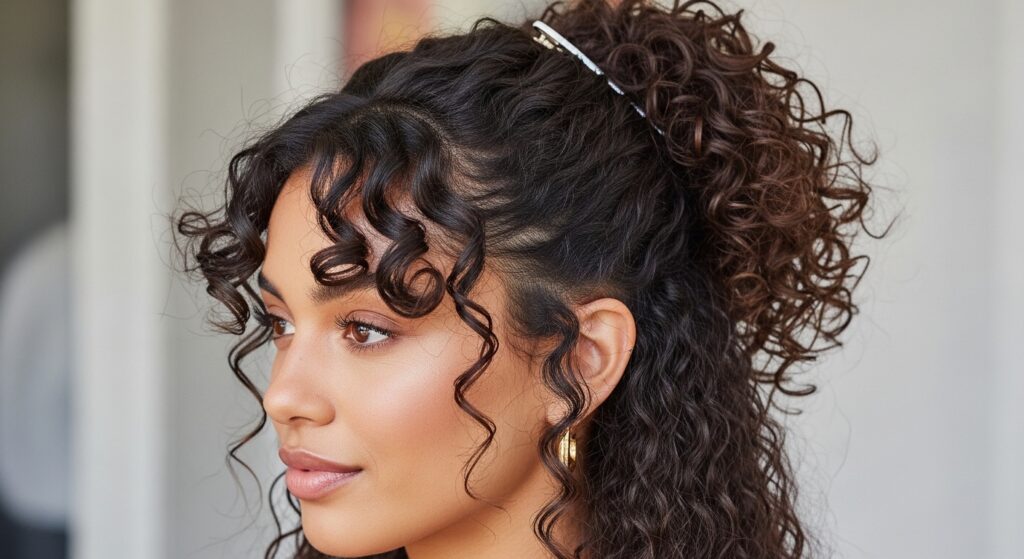
Ringlets 20 Foam Finger Wraps Setting Tight Spirals Overnight
Okay, let’s be real. We’ve all seen those perfect, bouncy ringlets on our feeds and thought, “I could never.” Between the heat damage from curling wands and the sad, droopy results from old-school rollers, getting tight, lasting spirals feels impossible. I was right there with you.
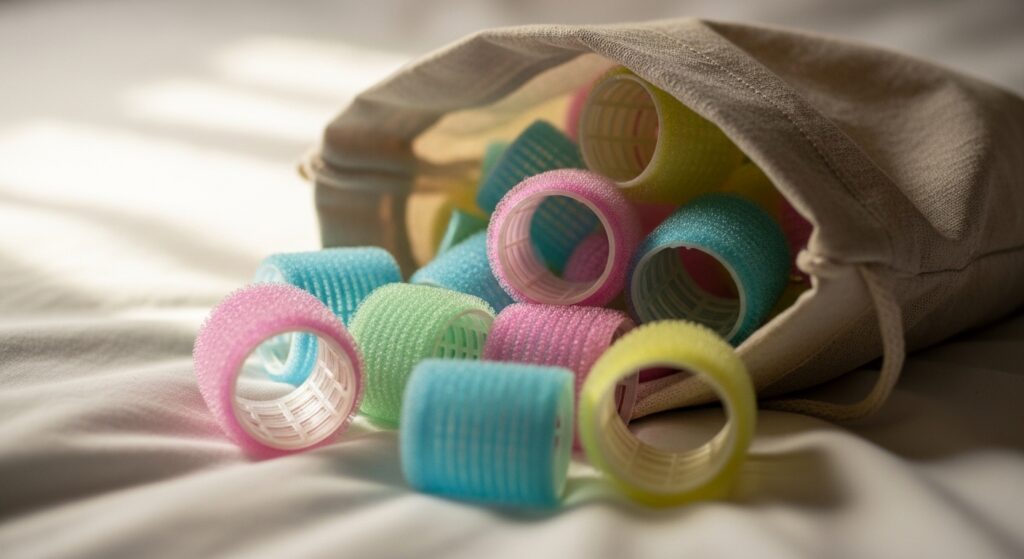
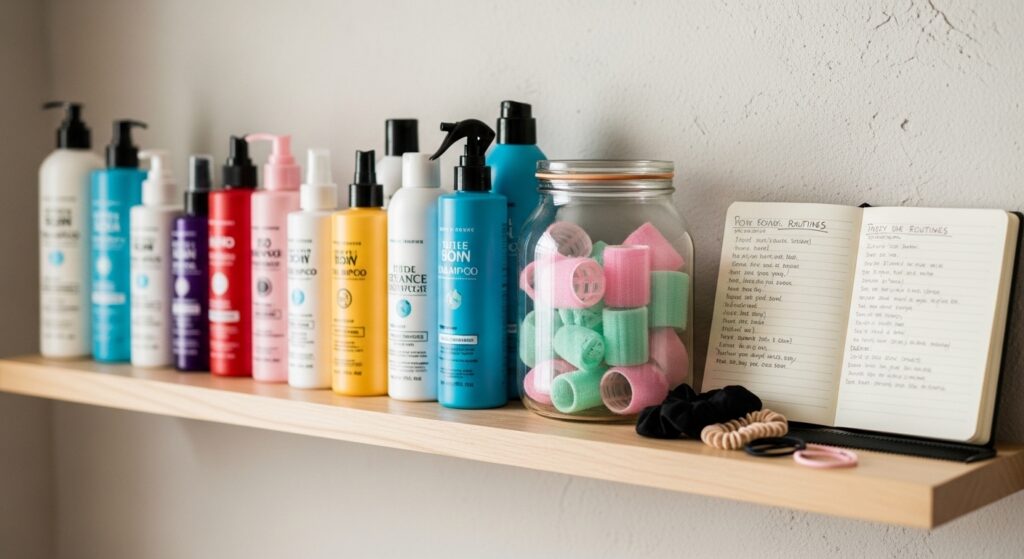
But what if I told you the secret weapon is already in your bathroom? It’s probably hiding under your sink. We’re talking about foam hair curlers—yes, those squishy finger wraps from the 90s.
This method is the ultimate hack for defined, touchable ringlets with zero heat. It’s perfect for creating a base for so many 2026 hairstyles, from romantic goth volume to old money hair texture. Let’s dive into how to use them for an overnight set that actually works.
Why Foam Curlers Are a Game-Changer
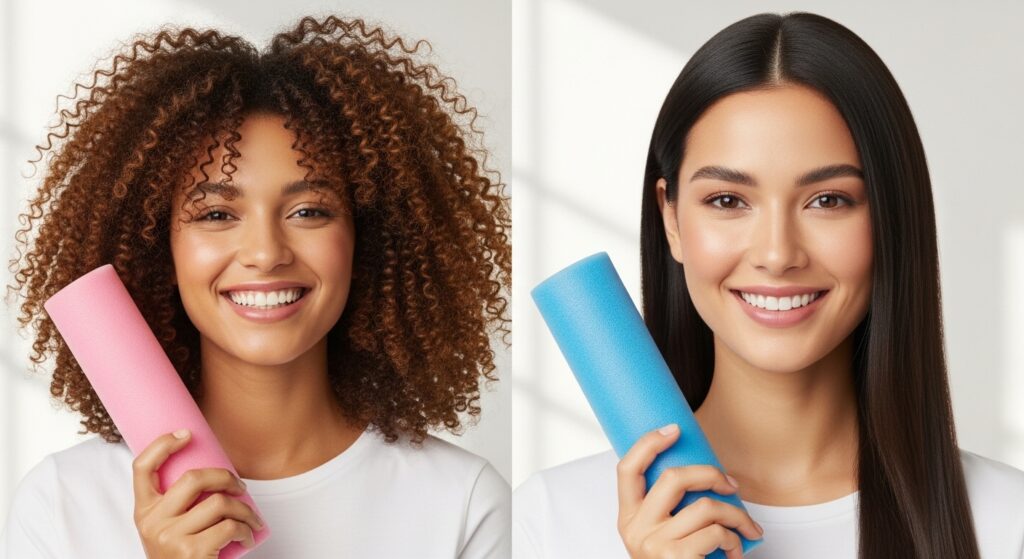
Unlike hard rollers or velcro, foam is gentle. It doesn’t crease your hair or pull it out as you sleep. The squishy material lets your hair dry in a perfect spiral shape without tension.
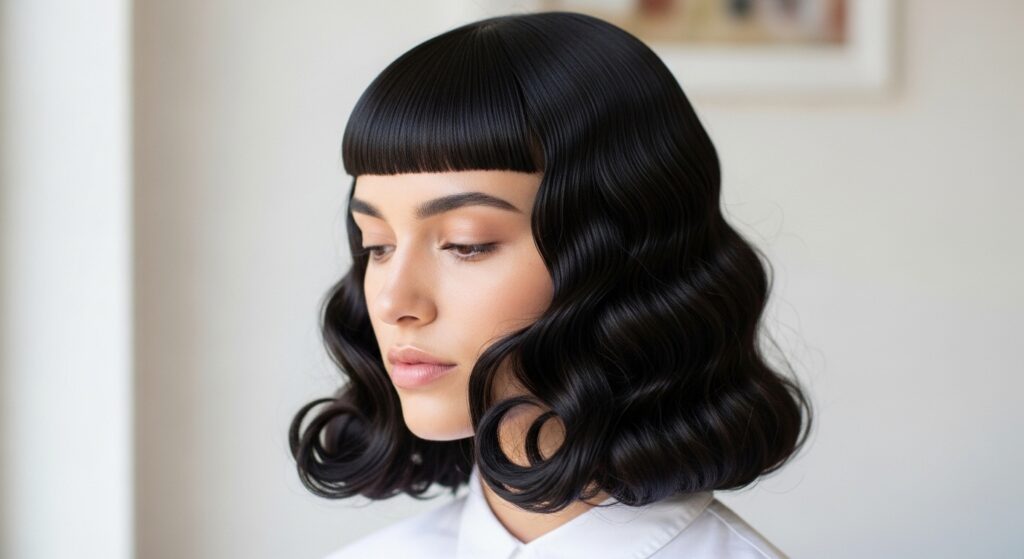
The result? Consistent, springy ringlets from root to tip. This technique gives you that coveted “lived-in but luxurious” texture that’s the heart of quiet luxury bob styling. It’s all about effortless, healthy volume.
What You’ll Need to Get Started
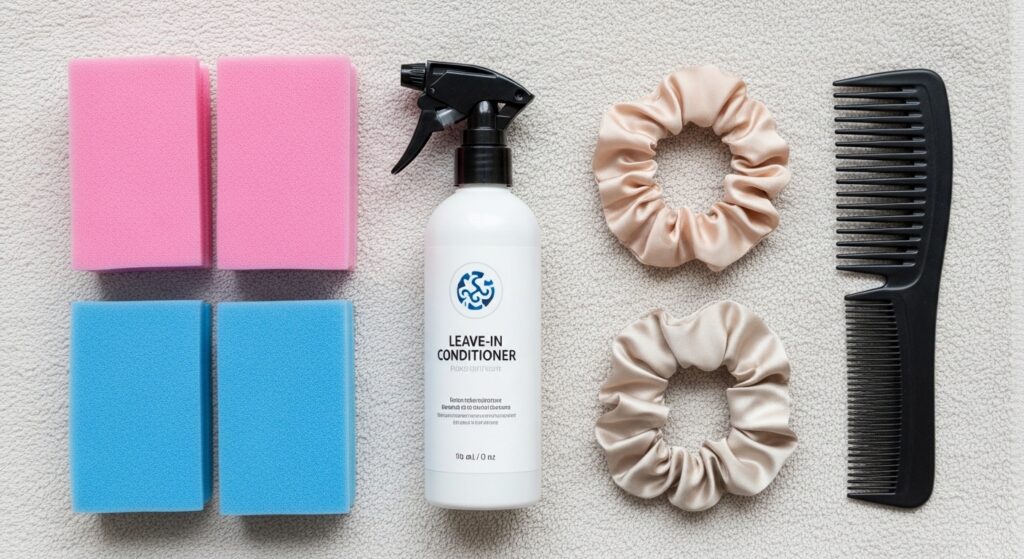
Gathering your tools is step one. You don’t need much, but having it all ready makes the process smooth.
- Foam Finger Wrap Curlers: Get a pack with different sizes. I use smaller ones for tighter spirals.
- Light Hold Mousse or Setting Lotion: A flexible hold is key.
- Leave-In Conditioner or Detangler: For slip and protection.
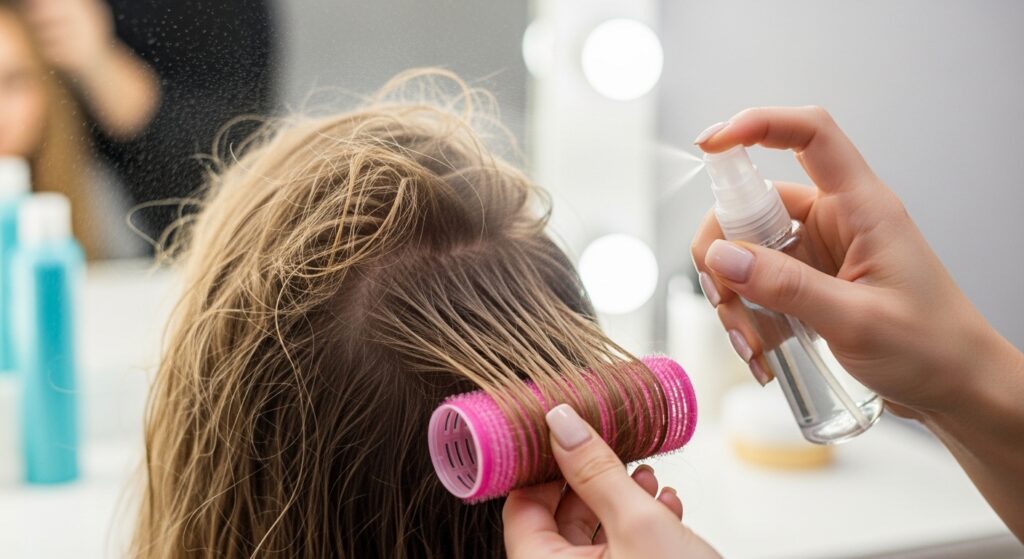
- A Spray Bottle with Water: For dampening hair.
- A Wide-Tooth Comb & Clips: For sectioning.
- A Silk Scrunchie or Bonnet: To protect the set overnight.
Prepping Your Hair: The Crucial First Step
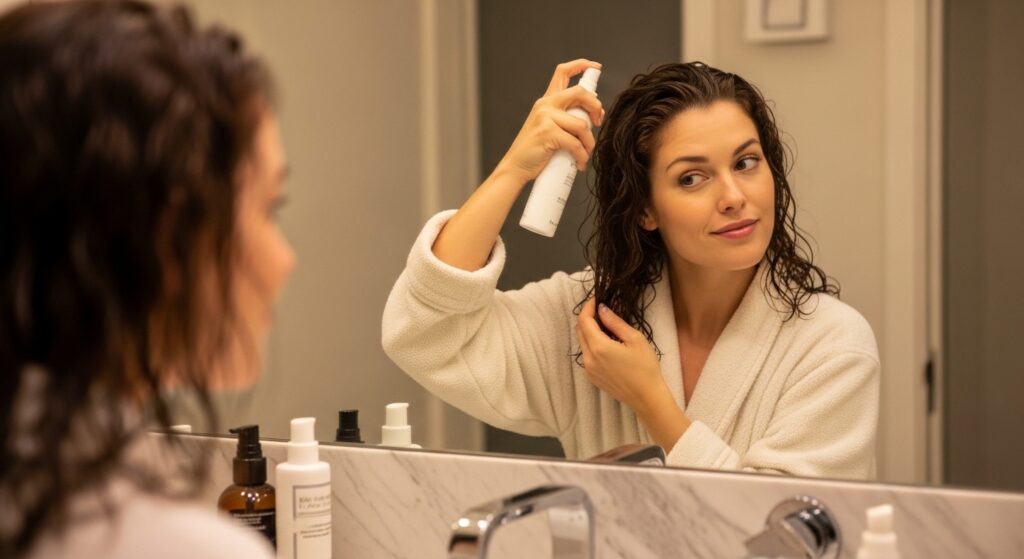
Always start on clean, towel-dried hair. Your hair should be damp, not soaking wet. I gently squeeze out excess water with a microfiber towel.
Then, I apply a generous amount of leave-in conditioner from mid-lengths to ends. This prevents frizz and makes the curls clump together beautifully. For extra hold, I follow with a golf-ball-sized amount of mousse, raking it through the same sections.
How to Section Hair for the Best Results
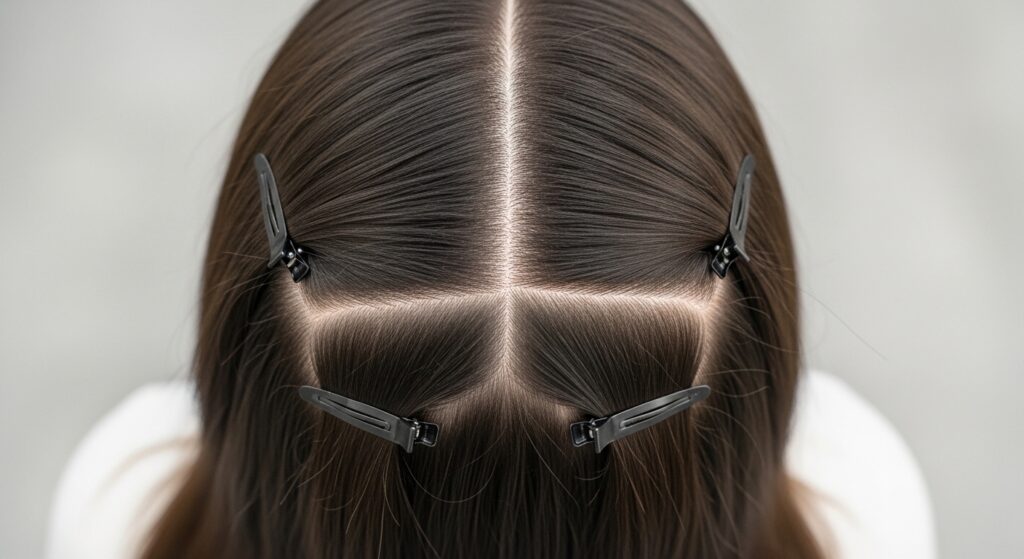
Sectioning is non-negotiable for a uniform set. I start by parting my hair down the middle. Then, I clip the top half up and out of the way.
I work from the nape of my neck upwards. I divide the bottom half into two sections (left and right), clipping one side. Taking small, horizontal subsections (about 2 inches wide) is the secret to ensuring every piece gets wrapped.
The Wrapping Technique: Step-by-Step
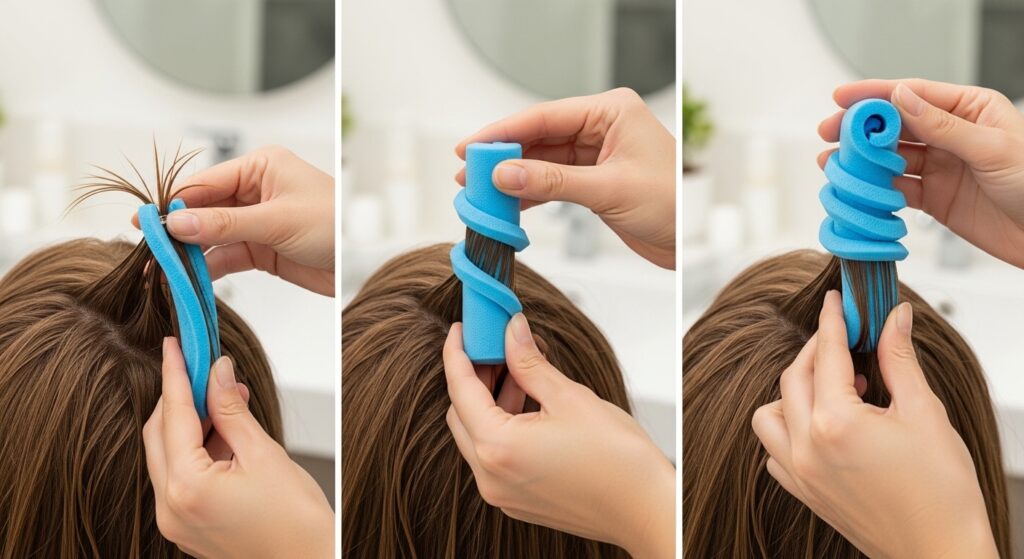
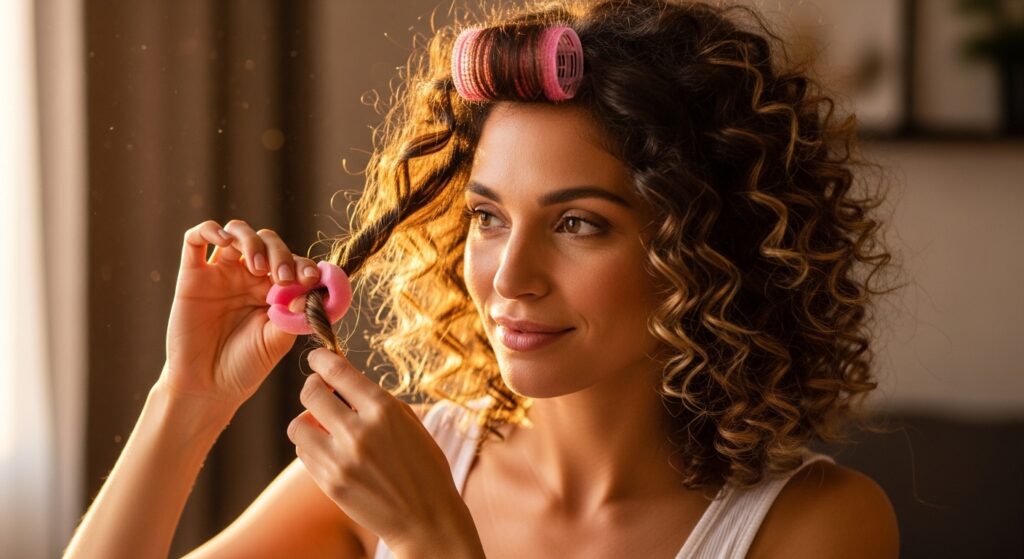
- Take your first small, horizontal subsection.
- Comb it through gently to smooth it.
- Place the end of the foam curler at the very tips of your hair.
- Begin rolling downwards toward your scalp, keeping the hair smooth and taut.
- Once rolled all the way, bend the curler into a circle and press the ends together to secure it.
It should feel snug but not painful. If it pulls, the section is too thick.
Navigating Different Hair Textures
This method works for all hair types, but prep is key. If your hair is very straight or silky, use a stronger setting lotion and make sure your hair is only slightly damp.
For naturally curly or coily hair, this technique is amazing for defining and stretching curls. Use a rich cream or gel for hold and wrap on soaking wet hair for the most defined spiral pattern.
Securing Curlers for a Comfortable Night’s Sleep
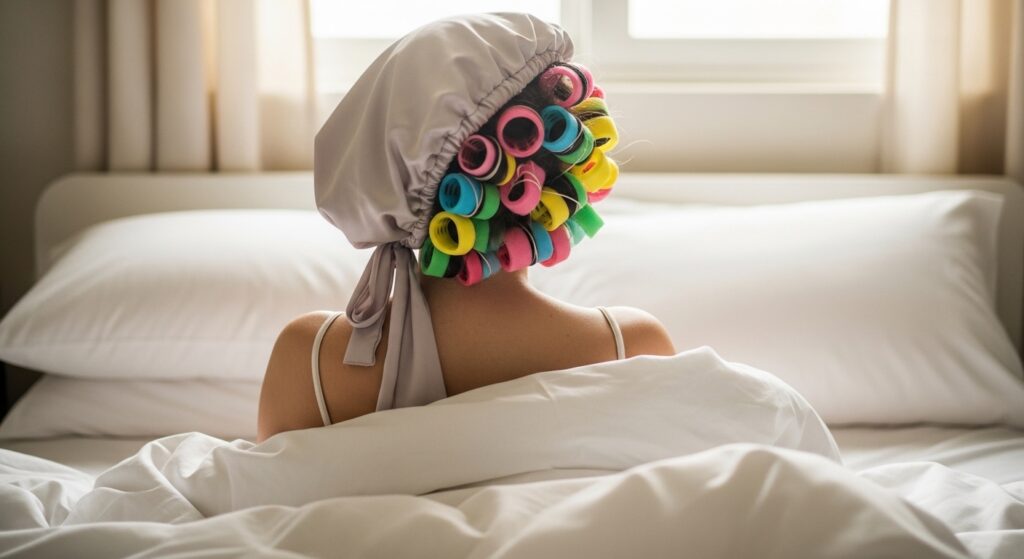
Once all curlers are in, I gently tousle the roots to lift them. This prevents flatness. Then, I always, always protect the set.
I pile everything into a loose, high ponytail with a silk scrunchie or put on a satin or silk bonnet. This keeps the curlers in place and reduces friction. Trust me, it makes a huge difference in comfort and curl longevity.
What to Expect While You Sleep

Yes, you will feel them. The first few times, it’s a bit strange. But foam is the most comfortable option out there. I promise you get used to it.
I recommend sleeping on your back if you can, or on your side with a satin pillowcase. The goal is to let your hair dry completely overnight. If your hair is very thick, you might need a few extra hours in the morning.
The Big Reveal: How to Take Them Out
In the morning, take off your bonnet or scrunchie. Don’t just pull! Gently unbend each curler and unroll it slowly, letting the spiral fall.
Let all your hair down before you touch it. You’ll have very defined, sometimes even crunchy, spiral shapes. This is perfect. Do not brush them out yet.
Shaking Out & Defining Your Ringlets
Now, flip your head over. Gently shake your roots with your fingers to add volume. Then, turn your head back up.
Take a small amount of hair oil or serum on your palms, rub them together, and gently scrunch your hair upwards. This breaks the “cast” from the mousse without causing frizz, leaving soft, bouncy ringlets.
Styling Your New Ringlets for Day One
Day one hair is for showing off! I love wearing my ringlets down and full. For a romantic goth hairstyles vibe, add a deep side part and some texturizing spray.
You can also pull the front sections back for a soft, face-framing look. These curls are incredibly versatile and hold their shape amazingly well without any extra product on day one.
Making Your Ringlets Last for Days
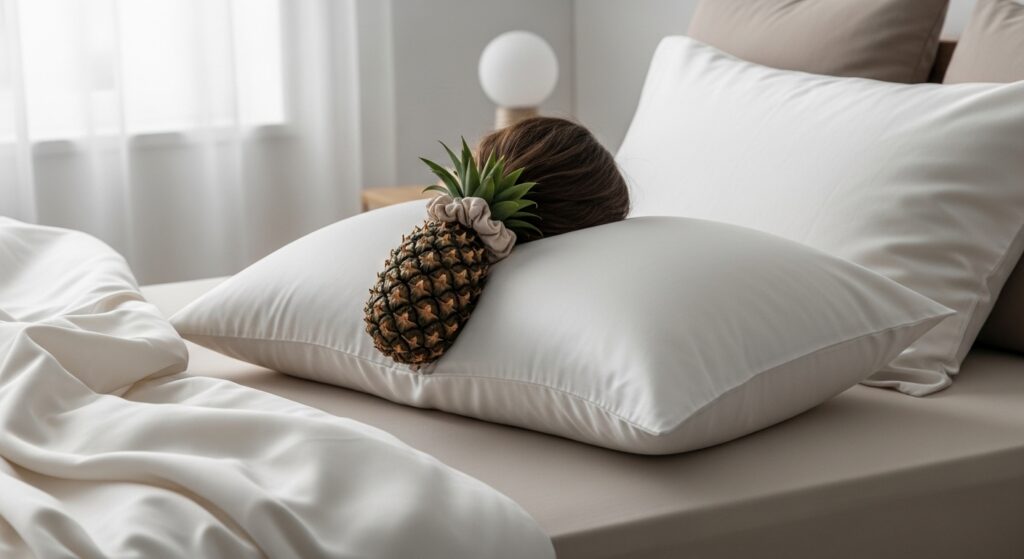
To preserve the curls, sleep with your hair in a loose “pineapple” ponytail on top of your head using a silk scrunchie. Use a satin pillowcase.
On day two and three, revive curls by lightly misting them with water and a bit of conditioner, then scrunching. You can also use a curling wand on low heat to touch up any fallen pieces.
Transforming Ringlets into Other 2026 Trends

This set is the perfect base for so many looks. Brush them out for incredible, voluminous waves perfect for an asymmetrical lob.
For glitchy glam hair, pin back random sections with cool clips. To channel the vampire haircut, create a deep side part and let the curls cascade dramatically over one eye.
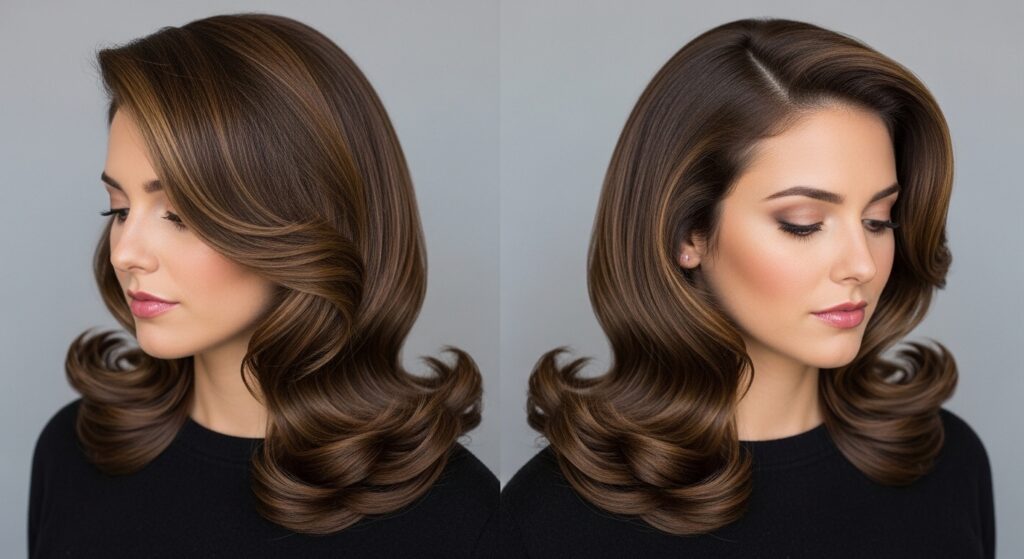
Achieving the “Old Money Hair” Texture
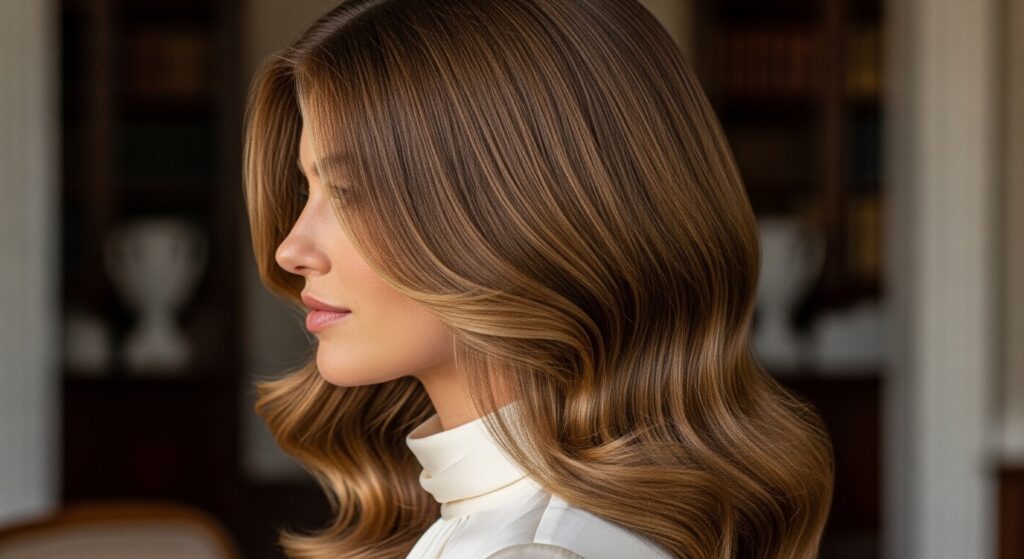
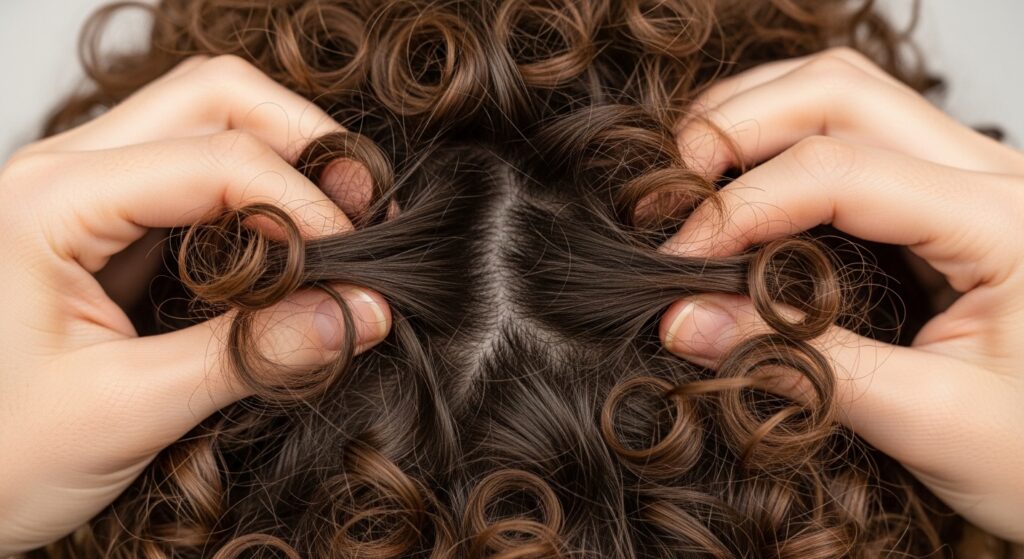
Old money hair is all about looking naturally abundant and healthy. Once your ringlets are set, gently run your fingers through them to loosen.
Then, use a wide-tooth comb to carefully blend the spirals into soft, luxurious waves. The volume at the root from this method is exactly what gives that “born-with-it” thickness.
Creating Romantic Goth Volume
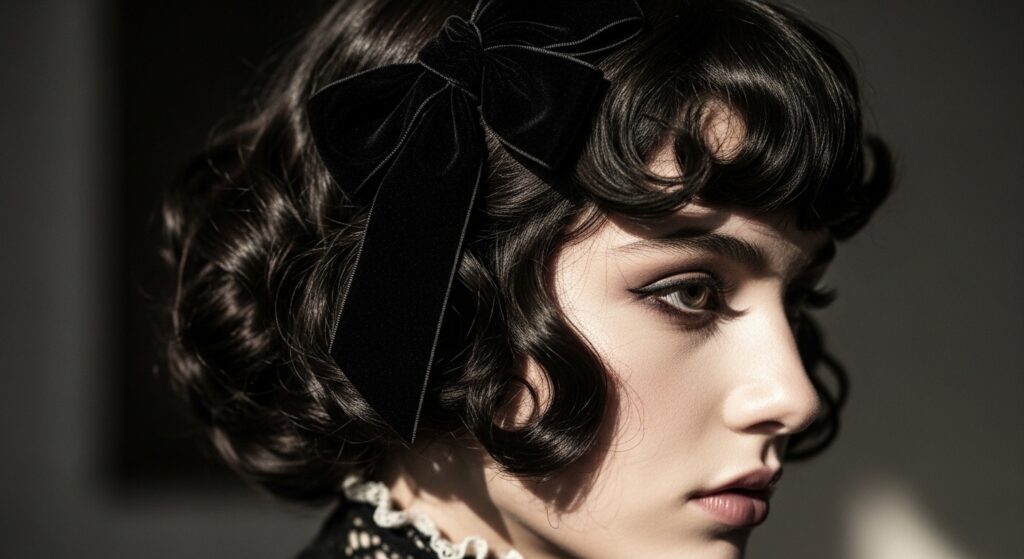
This style is darkly romantic and full of texture. The tight spirals from this set are the ideal foundation. Once released, backcomb the roots slightly for extra height.
Accessorize with velvet ribbons, lace, or delicate silver chains woven through the curls. Keep the finish matte with a light-hold hairspray to enhance the ethereal, romantic goth hairstyles feel.
Adapting the Method for a Hime Cut
The hime cut relies on dramatic, face-framing sections. If you have this cut, focus on wrapping those front pieces with extra care using smaller curlers.
You can leave the back sections straighter or wrap them with larger curlers for a subtle wave. This creates beautiful contrast and makes the bold, blunt lines of the haircut even more striking.
Adding Glitchy Glam Accents
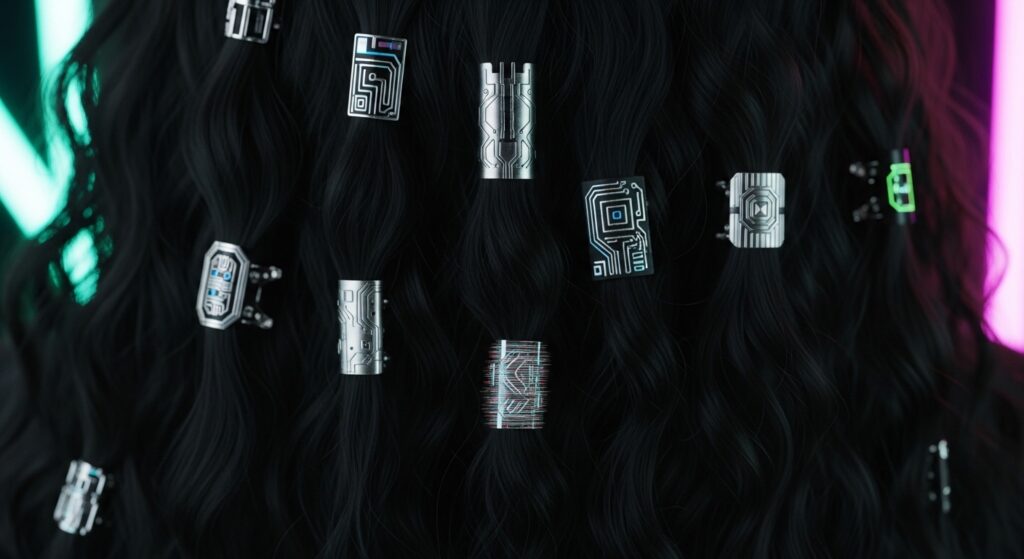
Glitchy glam hair is playful and futuristic. Start with your head full of perfect ringlets. Then, get creative.
Take small, random sections and twist them away from the face, securing them with shiny, geometric clips or even safety pins. The contrast between the soft, romantic ringlets and the hard, shiny accessories is the whole point.
Fixing Common Foam Curler Problems
- Frizzy Results: Your hair was too dry when wrapped. Always start damp.
- Flat Roots: You didn’t tousle roots after wrapping or your sections were too large at the top.
- Curls Won’t Hold: You need more or a stronger hold product. Try a light gel.
- Discomfort: You’re wrapping too tightly or your sections are too thick.
Why This Beats Heat Styling Every Time
Heat styling, even with protectant, causes cumulative damage. It dries out your hair, leading to breakage and preventing you from growing the healthy, long hair you want.
This method gives you stunning results with zero heat. It actually helps your hair by locking in moisture as it dries. Over time, your hair will be stronger, shinier, and more resilient.
My Personal Routine & Pro Tips
I do this every Sunday night. It’s my self-care ritual. I wash my hair, wrap it while watching a show, and wake up ready for the week. My biggest tip? Be patient with yourself. The wrapping gets faster every time.
Also, invest in good-quality foam curlers—the cheap ones can lose their squish. And always, always use a silk pillowcase. It’s a game-changer for all 2026 hairstyles, not just this one.
Your Questions, Answered
Can I use this on short hair or a quiet luxury bob? Absolutely! Use smaller curlers for tighter curls that will brush out into amazing texture.
How long do the curls last? With proper care, I get 3-4 days of great wear. They gradually soften into lovely waves.
Can I use them on dry hair? For a refresh, yes. Mist a section lightly with water before wrapping to reactivate the style.
Final Thoughts on Your Curl Journey
Mastering this technique feels like unlocking a superpower. It might feel fiddly at first, but the payoff is so worth it. You get incredible, healthy hair that turns heads.
This isn’t just about ringlets—it’s about learning to work with your hair’s natural potential. The confidence that comes from a great hair day? That’s the real trend that never goes out of style.
So there you have it—my complete, no-secrets guide to perfect overnight ringlets. This method has saved me so much time and heat damage, and I truly believe it can revolutionize your hair routine too.
It’s the kind of classic technique that works for any trend, from quiet luxury bob texture to full romantic goth volume. Give it a try this weekend. I promise, once you get the hang of it, you’ll be hooked.
Save this post to Pinterest so you always have the steps handy! And tell me in the comments—what’s the first hairstyle you’re going to try with your new ringlets? I love hearing from you!
Xoxo, Hailey & Team