Rope 28 Thick Base Twists Thickening Ponytail Anchors Securely
Okay, let’s talk about ponytails. We’ve all been there. You want that sleek, high pony that looks chic and effortless, but your hair slips down after an hour. Or you go for a low, thick style, and it feels flat and lifeless.
What if I told you the secret isn’t a tighter hair tie, but a smarter base? It’s all about creating a foundation that holds everything up and adds serious volume.
Today, I’m breaking down a technique my stylist friend taught me. It’s called the Rope 28 Thick Base Twist. Sounds fancy, but it’s just a clever way to anchor your ponytail securely and make it look twice as thick. It’s a game-changer, promise.
Let’s get into the step-by-step. It’s easier than you think and works for almost every hair type and length.
What You Need to Get Started
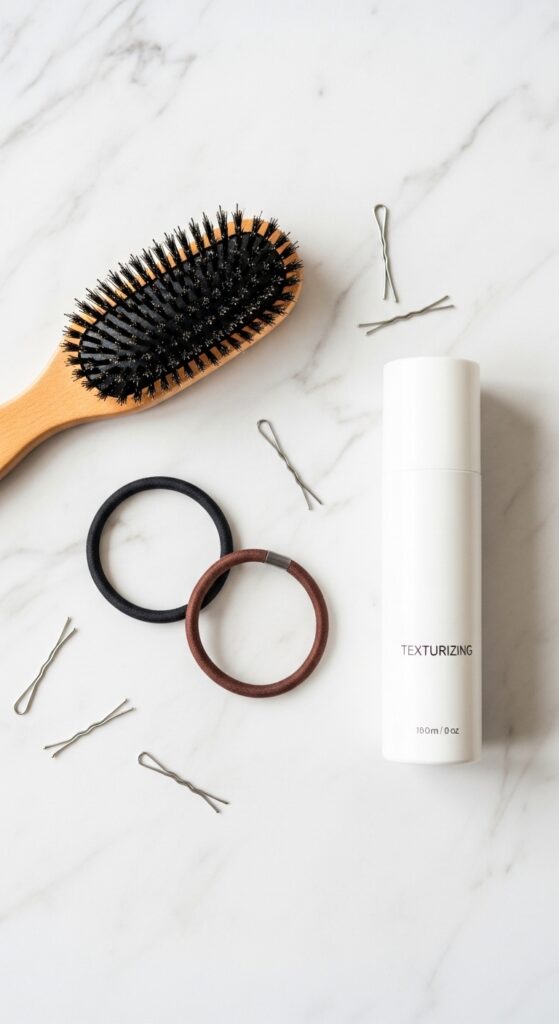
Gathering the right tools makes this process smooth. You don’t need much, but the right items make a huge difference.
First, a good brush. A boar bristle or paddle brush helps smooth the hair and distribute natural oils. Next, you’ll need two strong, snag-free hair ties. I like the spiral kind for extra grip.
Finally, a texturizing spray or dry shampoo. This gives your hair a bit of grit, so the twists hold better. That’s really it! Optional: a few bobby pins for securing ends.
Step 1: Prep Your Hair for Hold
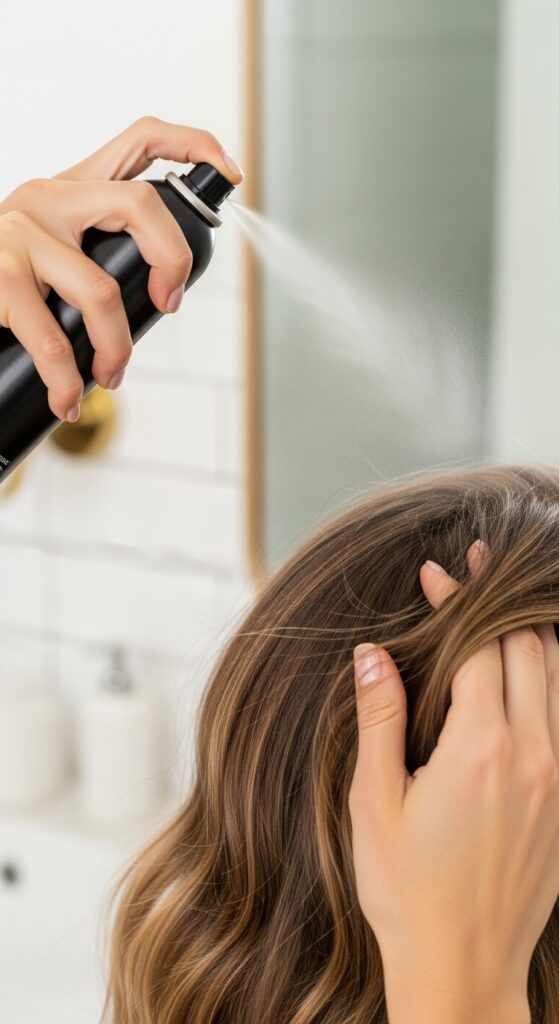
Start with day-old or dry hair. Freshly washed hair is often too slippery. Lightly spray a texturizing product at your roots and through the mid-lengths.
This isn’t about making your hair dirty. It’s about adding a tiny bit of texture so the twists have something to grip. Don’t overdo it—a few spritzes are enough.
If your hair is very fine or silky, you can also lightly backcomb the crown area. Just a gentle tease at the very roots for hidden volume.
Step 2: Sectioning for the Thick Base

This is the key step. Using a comb, create a deep horizontal part from the top of one ear, over the crown, to the top of the other ear.
Clip the top section up and out of the way. You should now have two sections: the entire lower back of your hair and the top crown section.
This top section will become our “rope” and anchor. The size of this section determines your ponytail’s final height. For a mid-height pony, take a section about three inches deep.
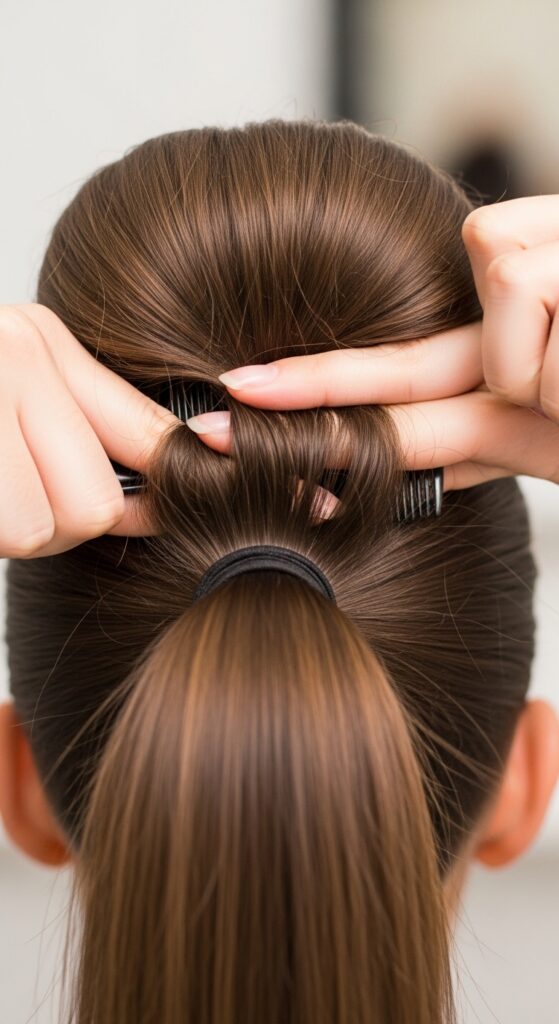
Step 3: Creating the First Rope Twist
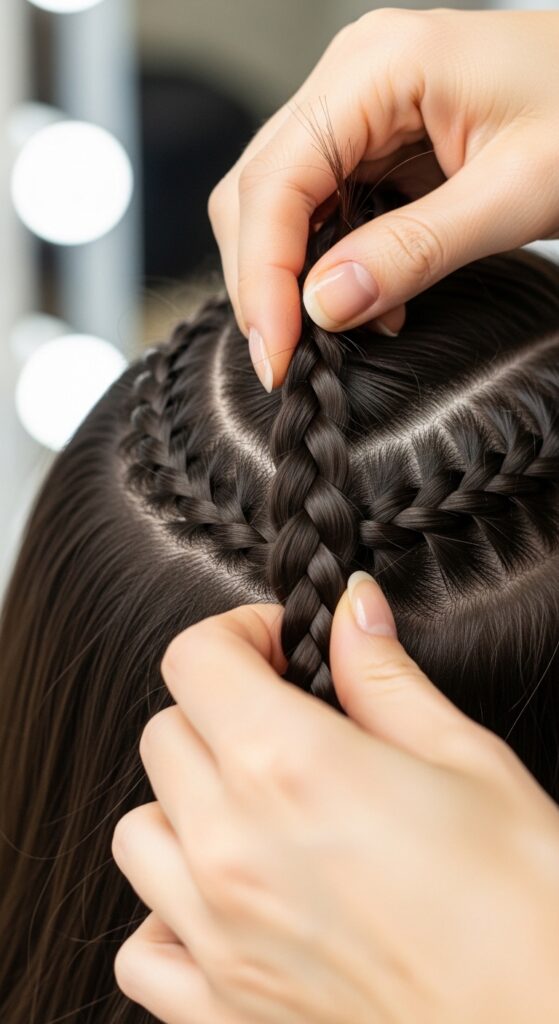
Unclip the top section. Divide it into two equal strands. Now, simply twist these two strands around each other tightly, as if you’re making a simple rope.
Twist it all the way down its length, keeping the twist tight and close to your scalp at the roots. This creates immediate tension and lift.
Hold the end of this twisted rope. You’ll feel how firm and strong this section is compared to loose hair. This is your anchor starting to form.
Step 4: Positioning Your Ponytail Height
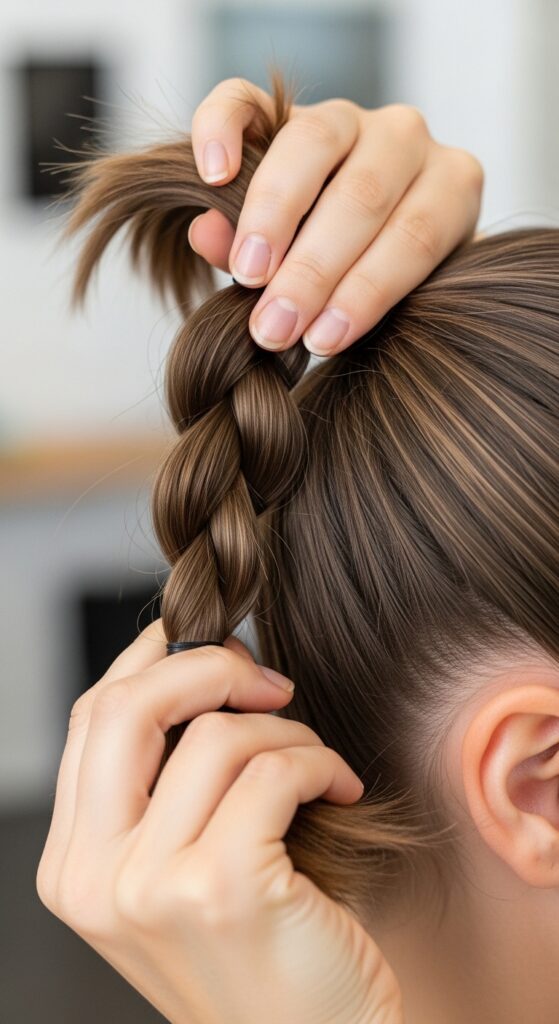
Decide where you want your ponytail to sit. High, mid-height, or low? Pull the entire twisted rope section up to that spot.
Hold it firmly with one hand. The twist should feel secure and your scalp should feel a gentle lift. This is the base your whole style will build on.
Use your other hand to gently smooth any bumps at the sides near your temples. The goal is a smooth transition from the front into this anchored twist.
Step 5: Gathering the Full Ponytail
With your other hand, now gather all the remaining hair from the lower section. Bring it up to meet the twisted rope you’re holding.
Combine all the hair—the twisted rope and the loose lower hair—together in one hand at the same central point. Keep the tension firm.
You should now be holding a full, thick ponytail. The twisted rope is nestled inside it, acting like a strong internal spine.
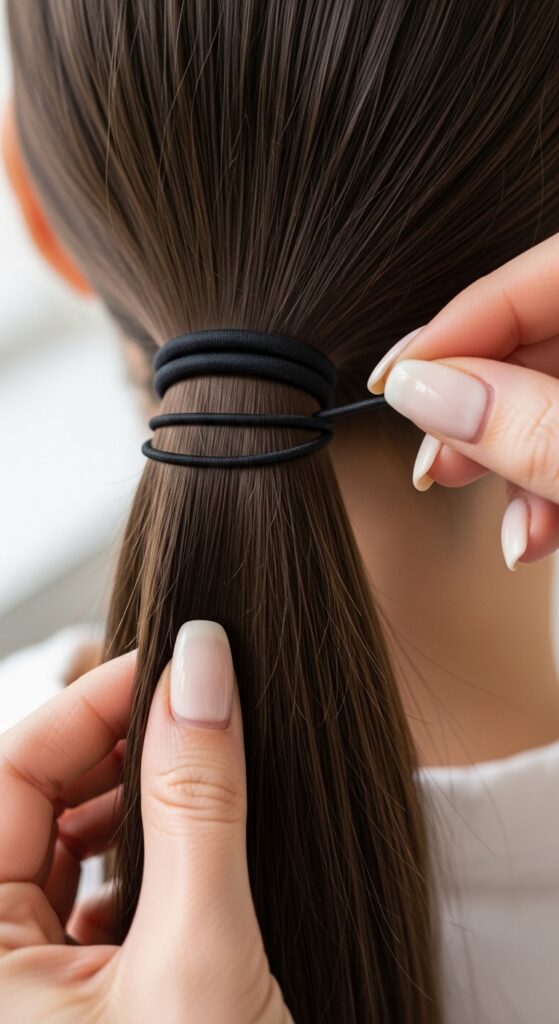
Step 6: Securing with the First Hair Tie
This is important. Take your first strong hair tie and wrap it around the base of the combined ponytail. Wrap it tightly three times.
Because of the twisted rope inside, the ponytail will feel incredibly secure immediately. It won’t wobble or sag.
Give it a gentle tug test. It should feel anchored to your head, not just sitting on top of it. This is the magic of the technique.
Step 7: The Thickening Back-Comb Trick
For even more volume, lightly back-comb the underside of the ponytail. Just lift the top layer and tease the hair close to the base.
Be gentle. You’re not going for 80s rockstar volume, just enough to plump it up from within. This works especially well for fine hair.
Then, smooth the top layer back over the teased section. This hides the texture and creates a perfectly thick, full-looking tail.
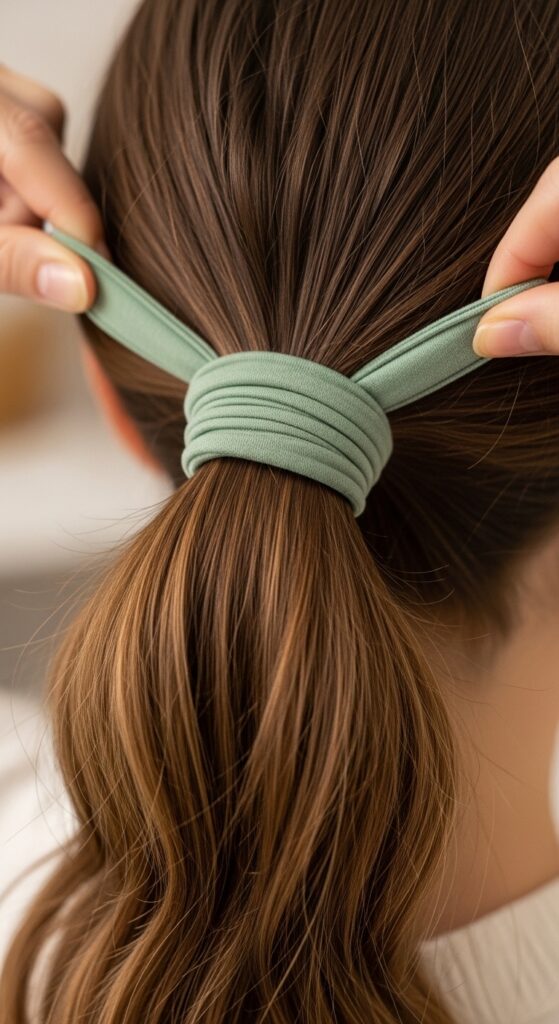
Step 8: The Second Security Tie
For all-day security and a polished finish, add a second hair tie about a half-inch down from the first.
This locks everything in place and prevents any slipping throughout the day. It also gives a cute, segmented look if you’re into that.
If you’re going for a sleek look, use a hair tie that matches your hair color. For a more athletic or intentional look, a contrasting tie works great.
Step 9: Final Smoothing & Polishing
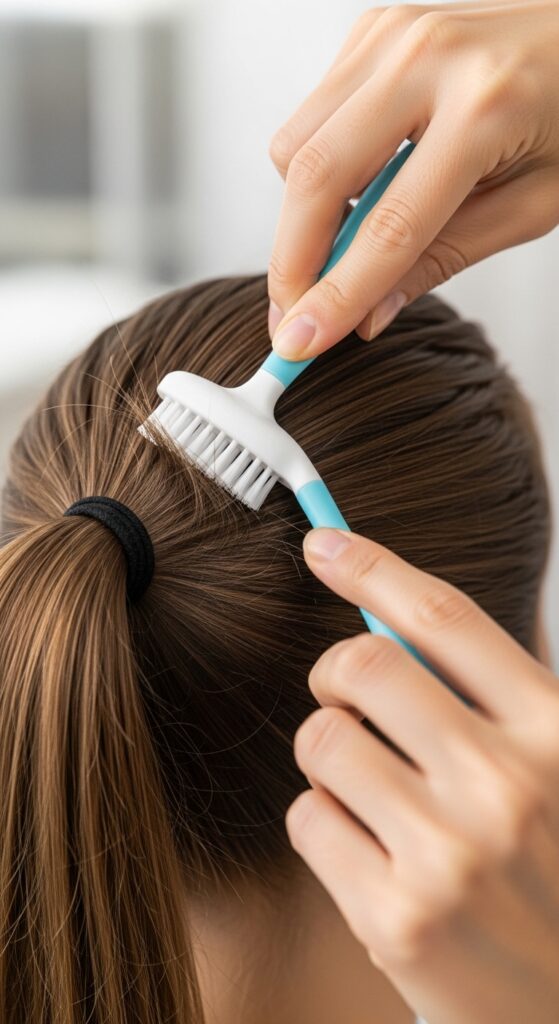
Spritz a little hairspray on a soft-bristle toothbrush or a clean mascara wand. Use it to tame any baby hairs or flyaways around your hairline.
Gently smooth the surface of the ponytail with your hands. You can also wrap a small piece of hair around the base hair tie to hide it for an even sleeker finish.
Secure the end of that wrap with a bobby pin tucked underneath. This is a pro-trick for a truly seamless look.
Why This Technique Works for Fine Hair
If you have fine or thin hair, regular ponytails can be a struggle. They slip and look sparse. This method solves both problems.
The twisted base acts as a grip-enhancing anchor that standard hair can’t provide. It gives the hair tie something substantial to hold onto.
The back-combing step adds visual thickness without making the hair look damaged. It’s the ultimate fine-hair hack for a luxe, full pony.
Making It Work for Thick, Heavy Hair
Those with thick, heavy hair know the headache—literally—of a tight ponytail. This method distributes the weight smarter.
The anchored twist supports the weight from the roots, so the tension isn’t just on the hairline. It lifts the hair up from the crown.
This means you can wear it slightly looser at the tie because the structure is internal, reducing scalp strain while keeping it sky-high.
Styling Your Anchored Ponytail for Day
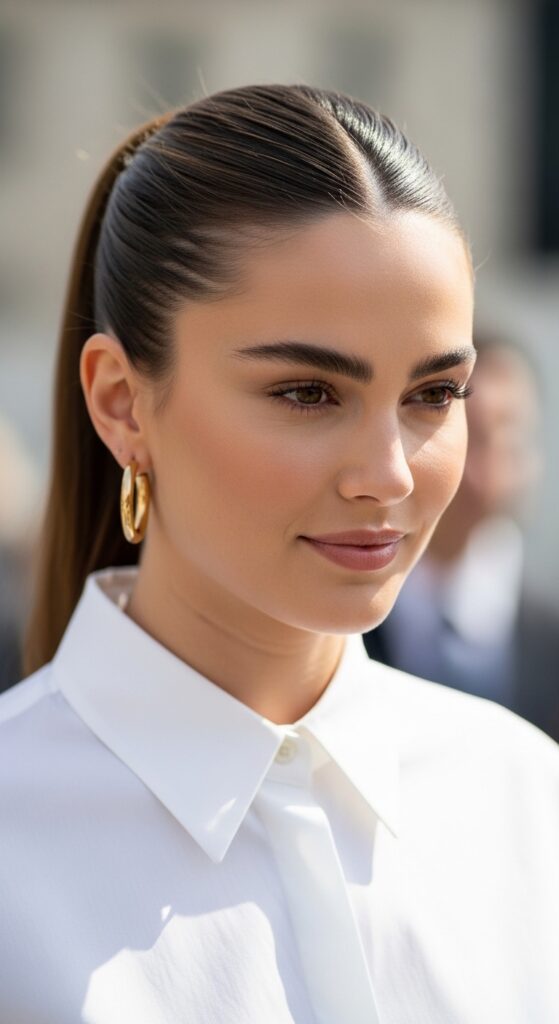
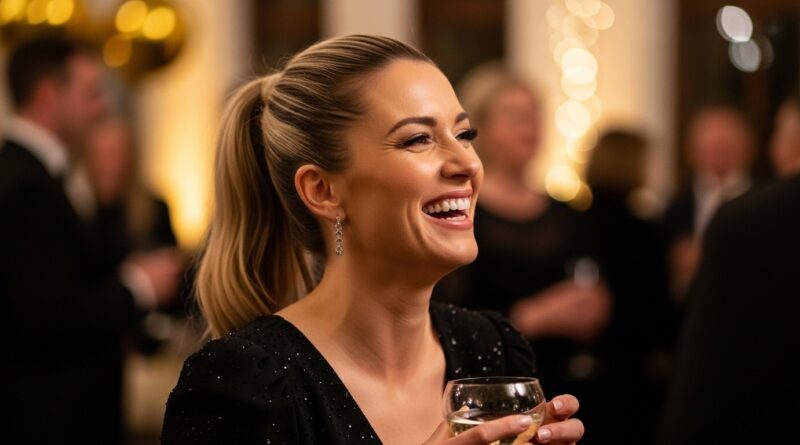
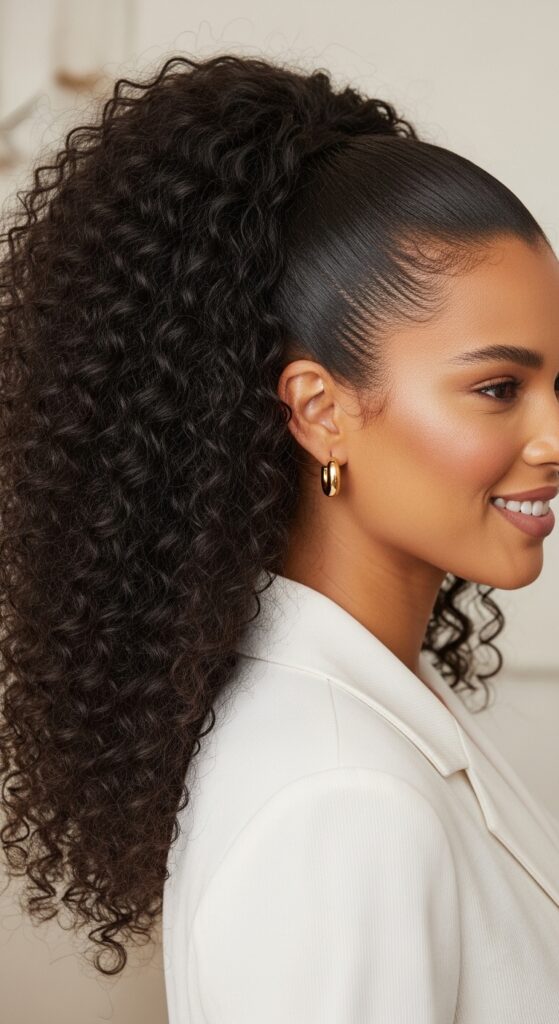
This ponytail is the perfect base for a clean, quiet luxury bob-inspired vibe. Think sleek, minimal, and polished.
Pair it with a middle part, smoothed sides, and statement earrings. It’s that effortless “old money hair” aesthetic that’s always in style.
It looks professional, put-together, and works from the office to a weekend brunch. It’s my go-to when I want to look pulled together in five minutes.
Styling Your Ponytail for Night
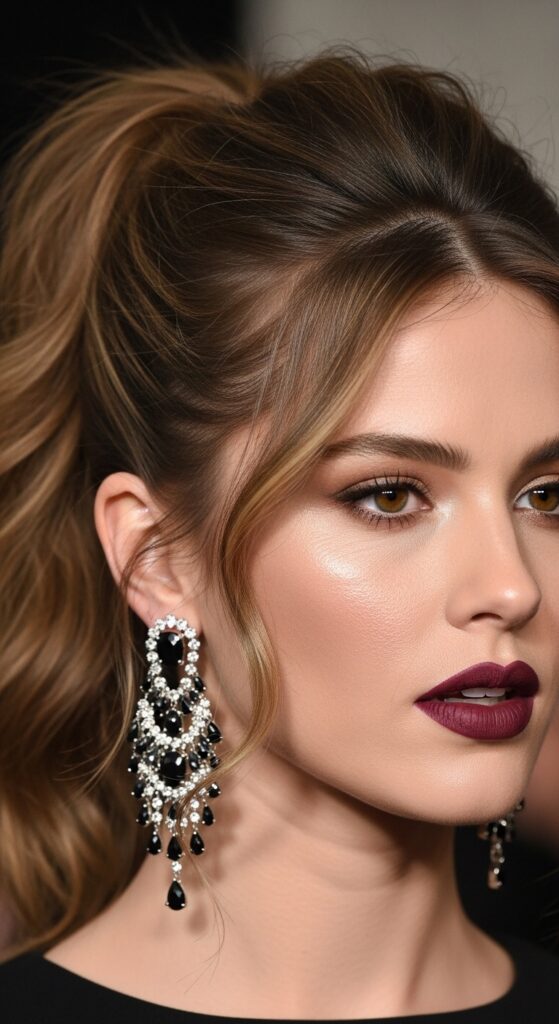
Take your anchored base and amp it up. Pull out a few face-framing pieces or wispy bangs. Add more texture with a sea salt spray.
For a touch of romantic goth hairstyles or vampire haircut edge, keep it super sleek but pair it with a deep lip color.
Or, for glitchy glam hair energy, add a few glitter strands or a contrasting hair cuff. The secure base lets you get creative with accessories.
Pairing with Trending Cuts & Styles
This technique isn’t just for long hair. If you have an asymmetrical lob or a hime cut, you can use a mini-version.
It’s perfect for securing the longer pieces of a lob into a chic, low side pony. It adds interest and keeps hair out of your face.
It works with the pieces of a vampire haircut or the front sections of a hime. It’s a versatile trick to have in your arsenal for 2026 hairstyles.
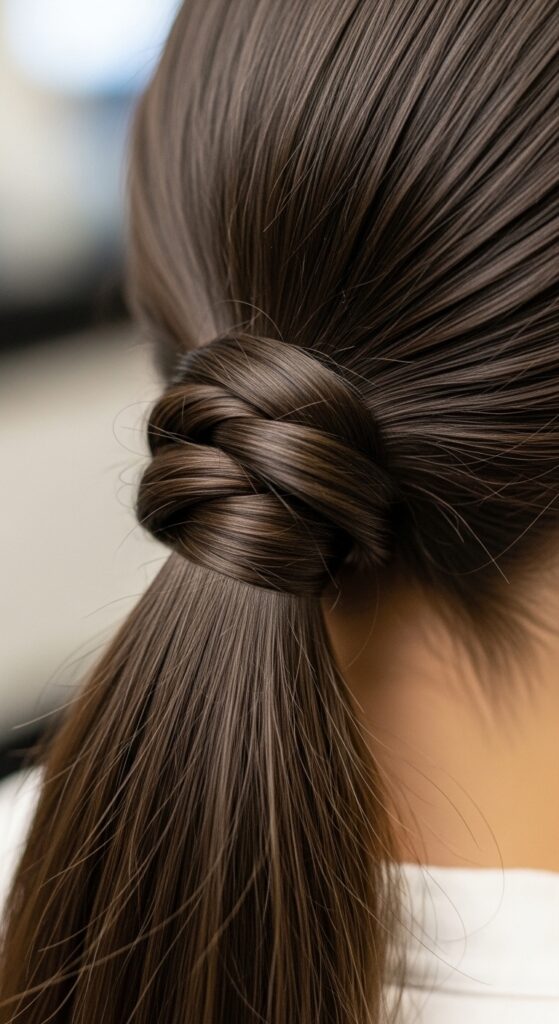
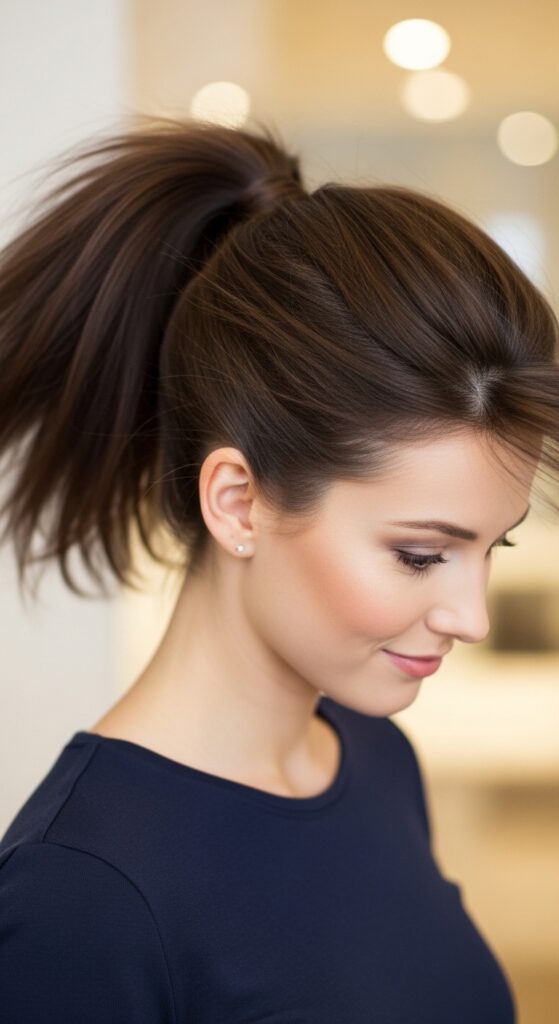
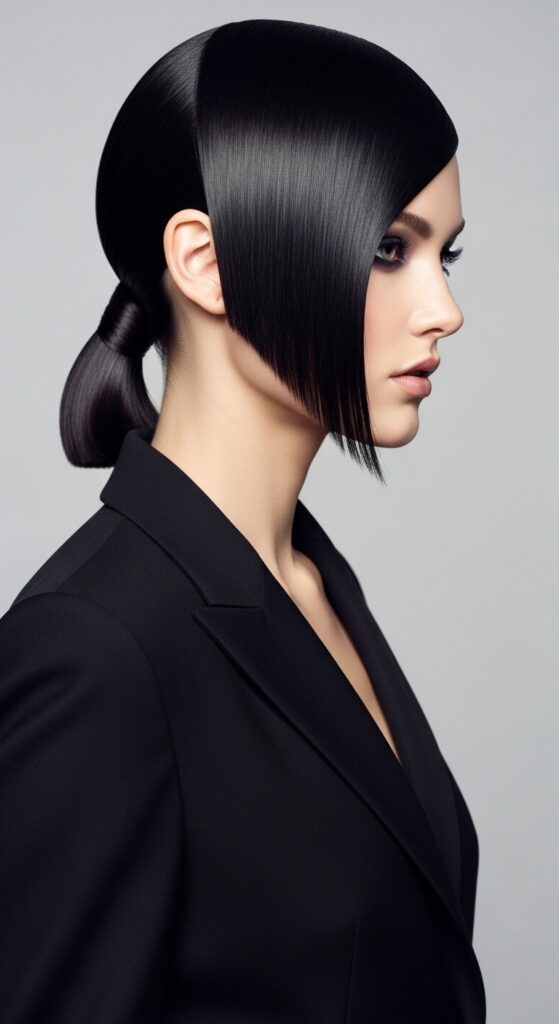
The Low, Thick Anchored Ponytail
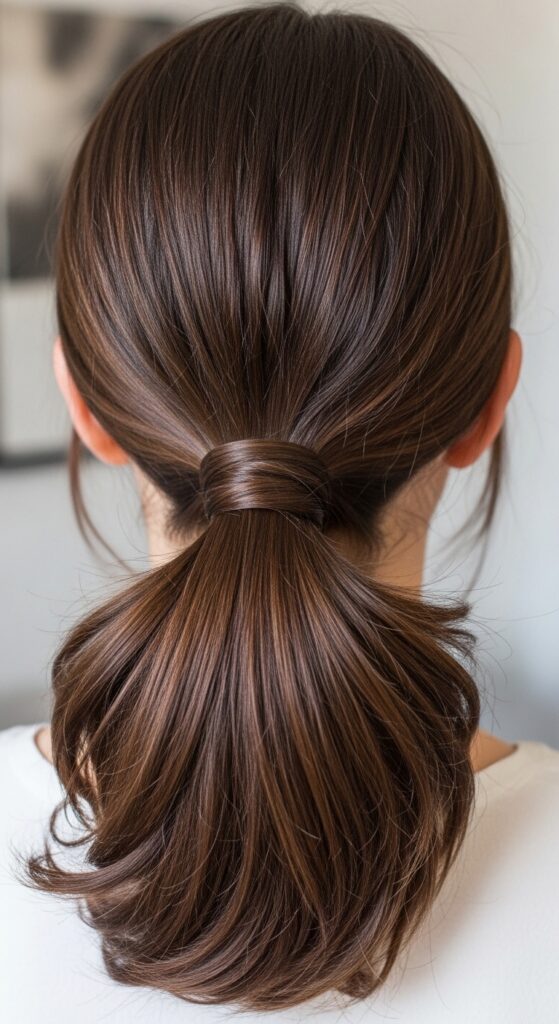
For a low, sophisticated look, position your initial twist lower on the crown. Follow all the same steps.
The result is a low pony that defies gravity—it sits away from the neck and looks incredibly lush and full. It’s very chic.
This is a beautiful style for weddings, dates, or when you want to show off statement earrings or a back detail on your top.
The Messy, Textured Version
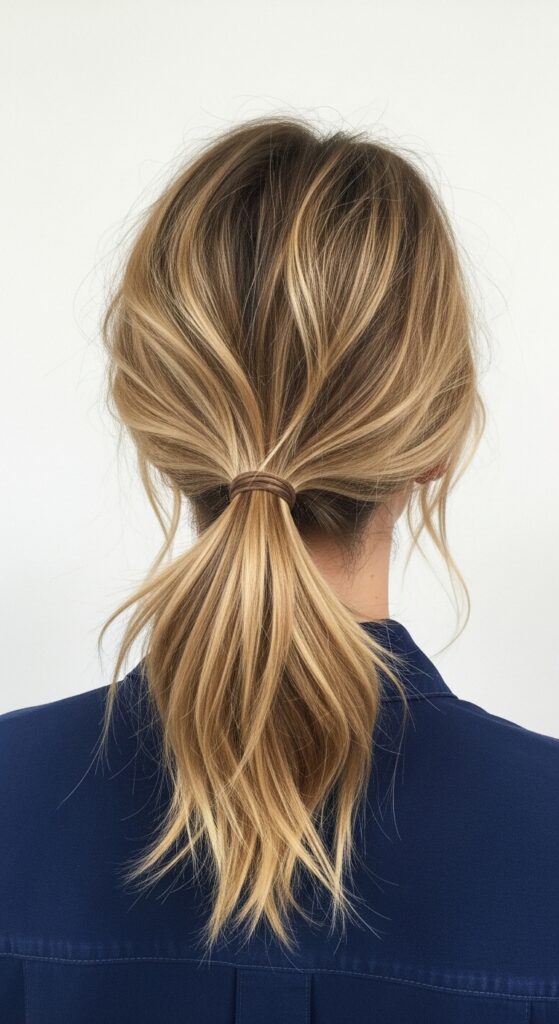
Don’t smooth it! After securing, gently pull on the sides of the twist to loosen it slightly for a lived-in texture.
Pull out small sections around your face and at the crown. Spray with a texturizing spray and scrunch with your hands.
This version is perfect for casual days, adding a cool, effortless feel. The base is still secure, but the top has that relaxed “I just threw this together” look.
Adding Hair Accessories Easily
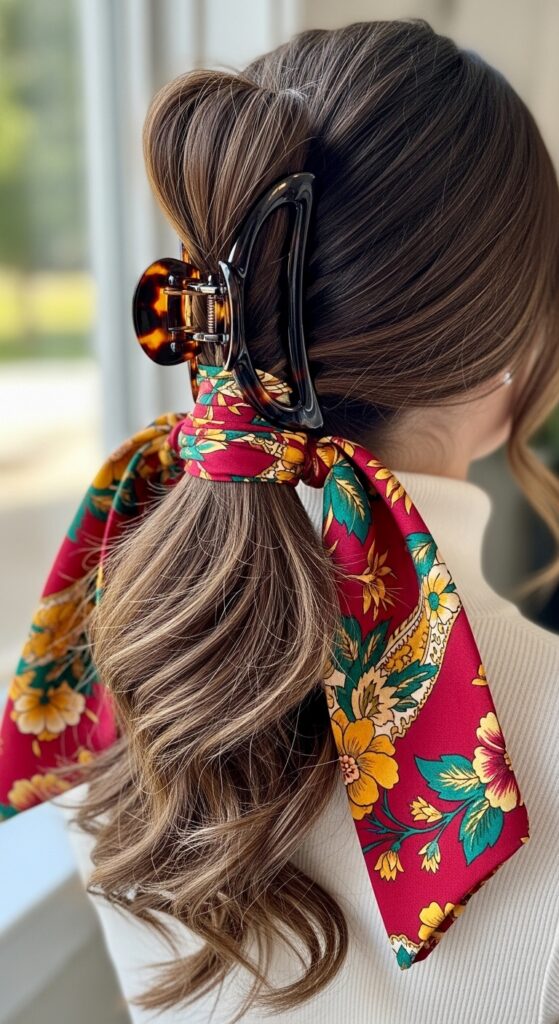
Because this ponytail is so secure, it’s the perfect foundation for accessories. Slide a decorative clip onto the base.
Wrap a silk scarf around the hair tie. The thickness of the pony means accessories sit beautifully and don’t slide off.
Try those trending pearl-embellished pins or a bold, colorful tie. Your accessory will stay put all day long.
Converting to a Half-Up, Half-Down Style
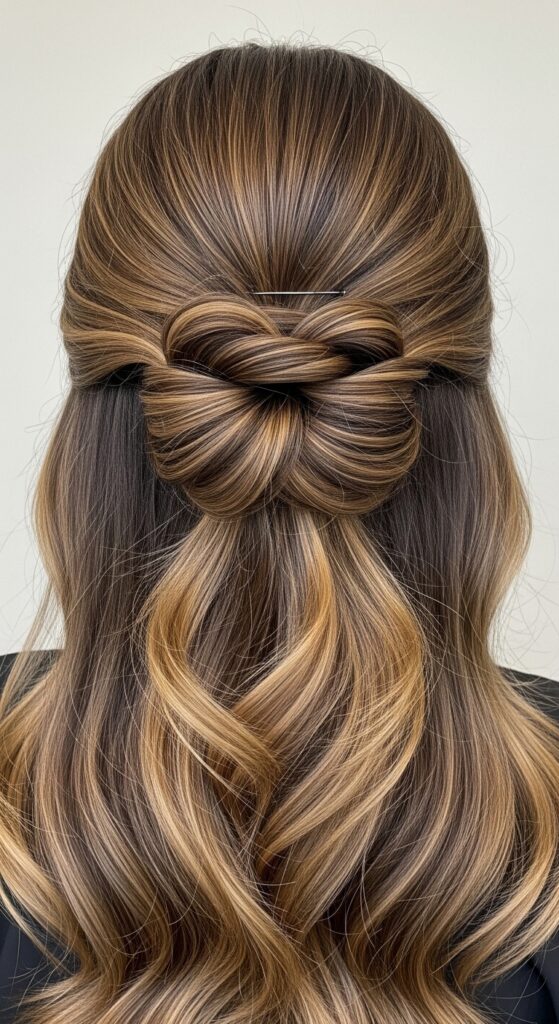
Use the same initial technique, but only on the top section of your hair. Create your rope twist and secure it at the crown.
Leave the rest of your hair down. This gives you a half-up style with amazing volume and lift at the roots that won’t fall flat.
It’s a gorgeous way to wear your hair down but keep it off your face with built-in volume. Perfect for showing off your length or layers.
Common Mistakes & How to Fix Them

Mistake 1: Taking a top section that’s too small. This won’t anchor well. Fix: Use a section at least 2-3 inches deep.
Mistake 2: Not twisting tightly enough at the roots. Fix: Ensure the first few twists are snug to the scalp for real lift.
Mistake 3: Placing the ponytail too low with a high twist. Fix: Pull the twist to your desired height before adding the rest of the hair.
How to Make It Last All Day & Night
A light mist of flexible-hold hairspray at the base after styling locks in the flyaways and the hold.
If you’re dancing or have a long night, carry a few extra hair ties and bobby pins. A quick touch-up at the bathroom takes 30 seconds.
For the gym, this style is also a winner. The internal anchor holds through sweat and movement better than a standard pony.
My Final Thoughts on This Staple Technique
Honestly, this Rope 28 technique changed my ponytail game. It sounds like a small thing, but having a style that actually lasts and looks expensive is a confidence booster.
It’s one of those foundational tricks that works with so many trends, from old money hair to glitchy glam. Once you get the muscle memory, it takes no extra time.
It’s made me actually enjoy wearing a ponytail again, instead of seeing it as a last-resort hair day. And that’s a win in my book.
So, there you have it. Your new go-to method for a ponytail that actually stays put and looks incredibly full. It’s practical, it’s quick, and it genuinely works.
I love hearing how these tips work for you. This is the kind of simple, effective technique I built my blog on—real solutions for real hair days.
Save this post to Pinterest so you can find it the next time you’re fighting with a slipping ponytail! And tell me in the comments—what’s your biggest ponytail struggle? Is it slip, flatness, or headaches? Let’s chat!