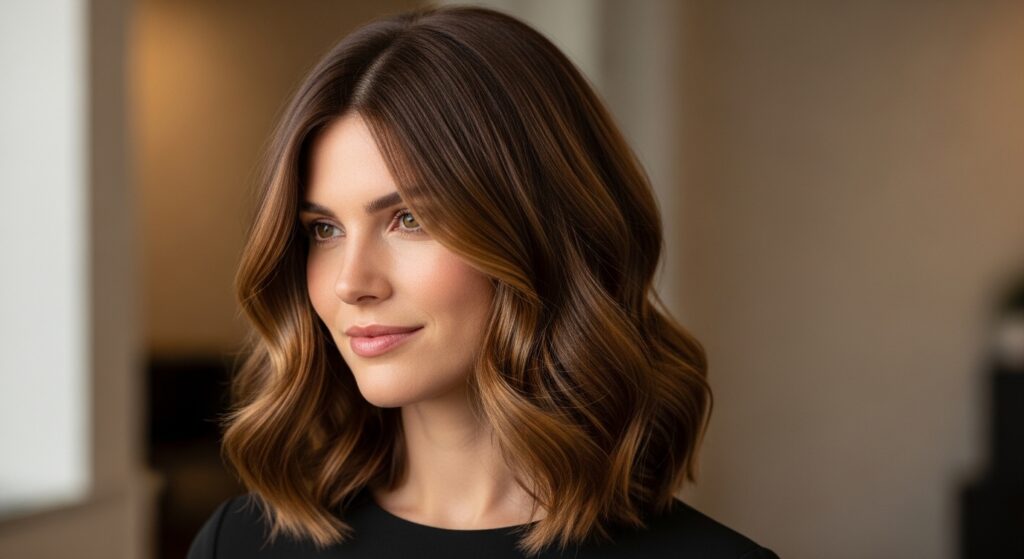
Saltwater Hair Vacation Hacks for Perfect Waves
Okay, let’s be real. We’ve all spent a small fortune on sea salt sprays, trying to bottle that perfect, just-got-out-of-the-ocean wave. You know the look: effortless, a little wild, and impossibly cool. But the real thing? It’s a vibe that’s hard to fake.
I just got back from a beach trip, and my hair had never looked better. No fancy products, just sun, saltwater, and a few simple tricks I figured out along the way. I was getting so many compliments, and it got me thinking—why can’t we have this look all the time?
So, I decided to reverse-engineer it. This post is your cheat sheet. I’m breaking down exactly how to get—and keep—those perfect saltwater waves, whether you’re oceanside or just dreaming of it from your bathroom. Consider this your guide to vacation hair, no flight required.
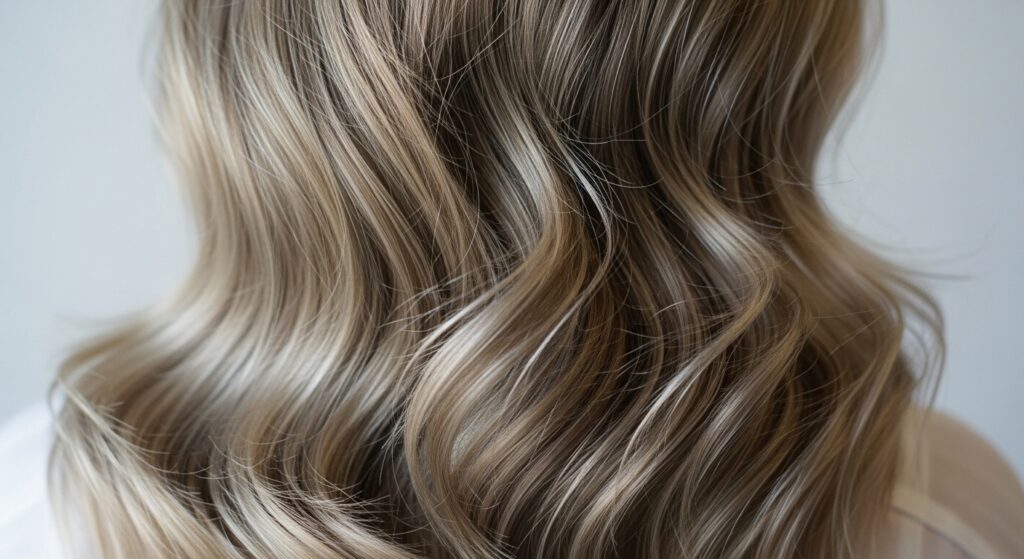
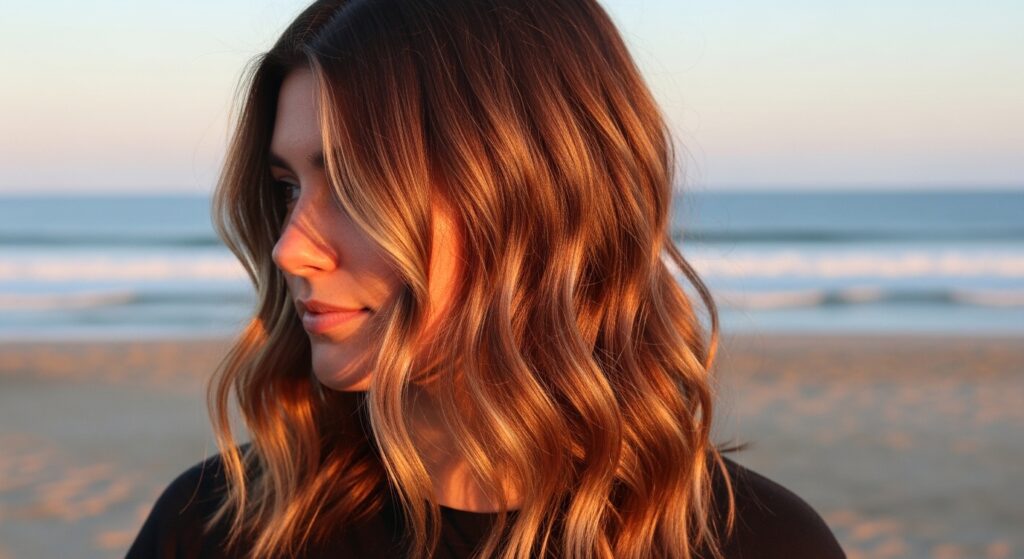
Why Saltwater Waves Are So Good
There’s a reason this look never goes out of style. Saltwater is nature’s perfect texturizing spray. It adds grit, volume, and that perfectly imperfect bend to your hair without any heavy product buildup.
It creates a lived-in, “I woke up like this” texture that’s the foundation of so many great styles, from 2026 hairstyles predictions to that timeless old money hair aesthetic. It’s all about enhancing your natural texture.
Prep Your Hair Before You Even Get Wet
This is the most important step everyone misses. Don’t just dive in! A little prep protects your hair from drying out and helps the style last. Think of it as priming a canvas.
I always do these two things:
- Soak hair with fresh water. Hair is like a sponge—if it’s already full of clean water, it absorbs less damaging salt.
- Apply a leave-in conditioner or a light hair oil to the mid-lengths and ends. This creates a barrier against brittleness.

The Best Haircut for Effortless Texture
If you’re planning a chop soon and love this look, ask for lots of layers. Layers are your best friend for creating movement and helping those waves form naturally. They remove weight so your hair can bounce.
This works for any length! A shaggy asymmetrical lob is a dream for waves, and even a polished quiet luxury bob gets amazing piece-y texture from a good layer structure. The right cut does half the work for you.
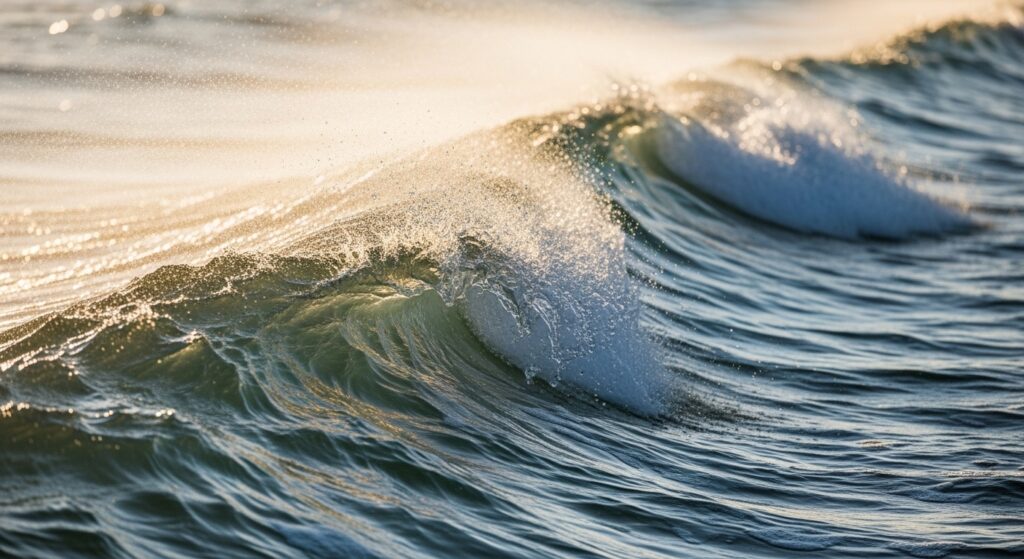
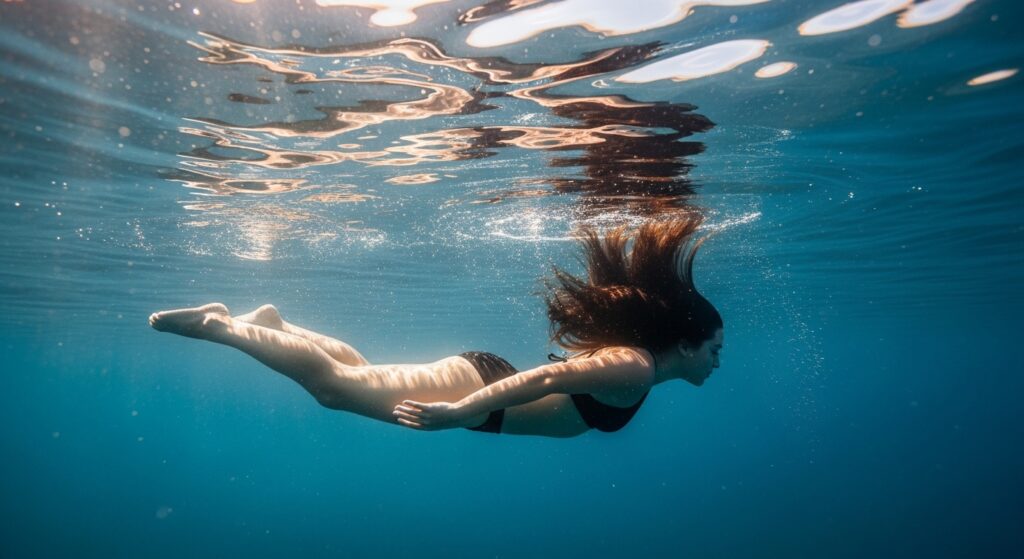
How to “Swim” for the Best Waves
Yes, there’s a technique! It’s not just about getting your hair wet. You want to encourage the wave pattern from the very beginning while you’re in the water.
After your hair is soaked, gently scrunch it upwards towards your scalp while you’re floating or diving under. Don’t rake your fingers through it. This gentle scrunching motion helps form the initial clumps that will turn into beautiful waves later.
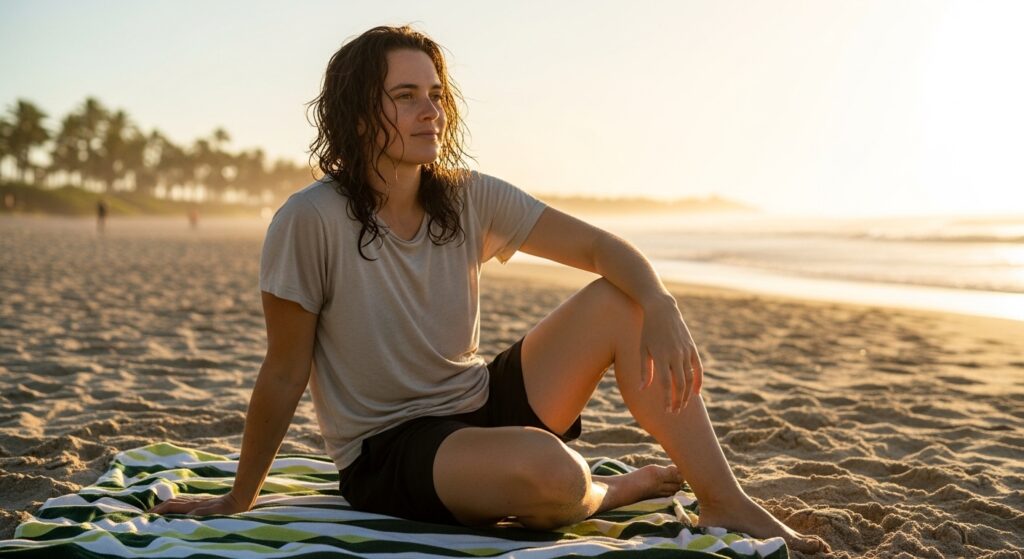
The Magic of Air-Drying (The Right Way)
Resist the urge to touch it too much! The key to perfect saltwater waves is a hands-off air-dry. Over-handling breaks up the wave clumps and leads to frizz.
Once out of the water, gently squeeze out excess water with a microfiber towel or an old cotton t-shirt—never a rough bath towel. Then, simply flip your head over, shake it out gently at the roots for volume, and let it be. Go read a book or have a snack while it does its thing.
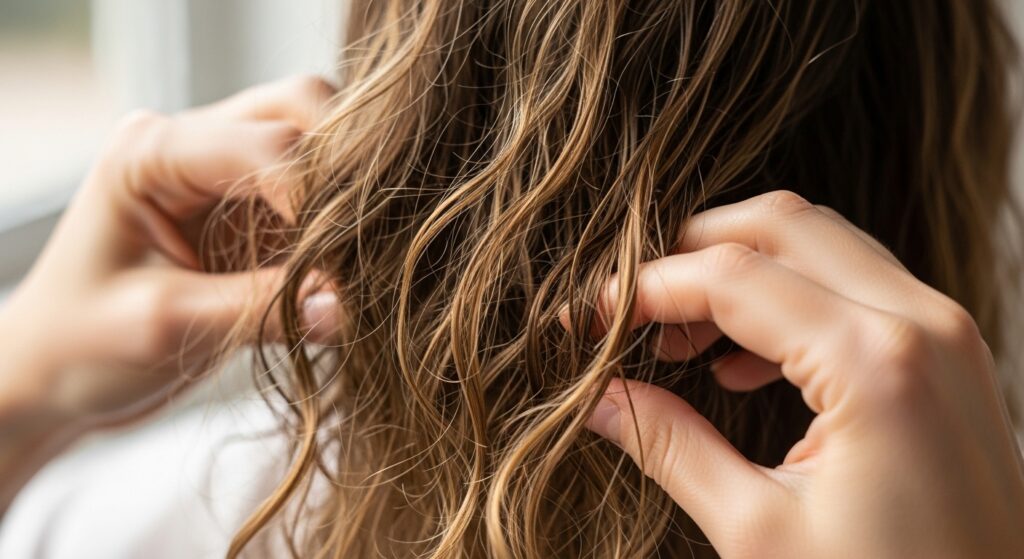
When to Use Your Fingers (And When Not To)
Your fingers are your only styling tool here, but timing is everything. Only touch your hair when it’s about 80% dry. This is the sweet spot.
At this stage, take a tiny bit of the saltwater still in your hair and re-scrunch any sections that fell flat. You can also gently twist a few face-framing pieces for more defined curls. Avoid combing or brushing at all costs until the style is completely set.
Protect Your Waves Overnight
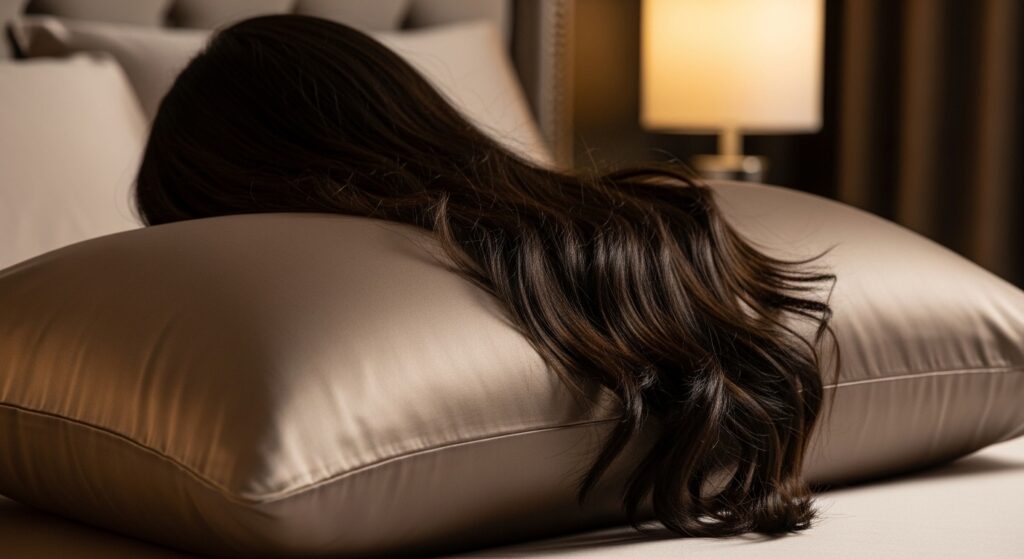
You worked hard for this look—make it last! Sleeping on cotton pillowcases creates friction and flattens your waves. The solution is simple and game-changing.
Before bed, loosely gather your hair into a very high, loose ponytail on top of your head (a “pineapple”). This preserves the volume at the roots. Even better, use a silk or satin pillowcase. It reduces friction so you wake up with your waves intact and just need a quick refresh.
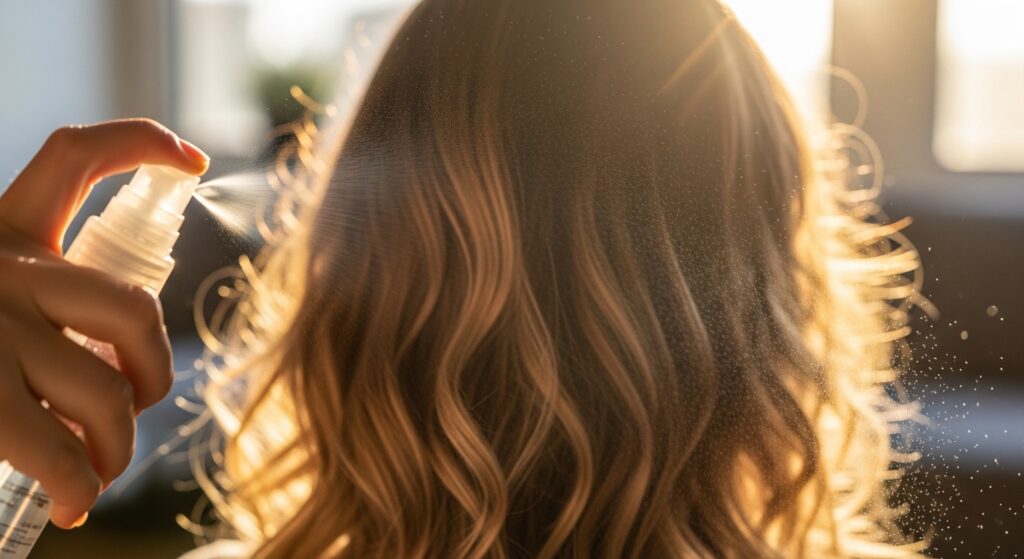
The Next-Day Refresh Secret
Waking up with second-day saltwater waves is the real goal. They’re even better—softer and more lived-in. Don’t wash them out! A simple refresh is all you need.
Mix a spray bottle with one cup of warm water and a teaspoon of leave-in conditioner. Lightly mist your hair, then scrunch upwards. Let it air-dry again. The water reactivates the salt and the conditioner adds back softness without weighing it down.
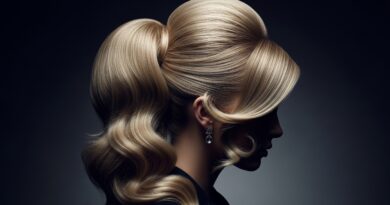
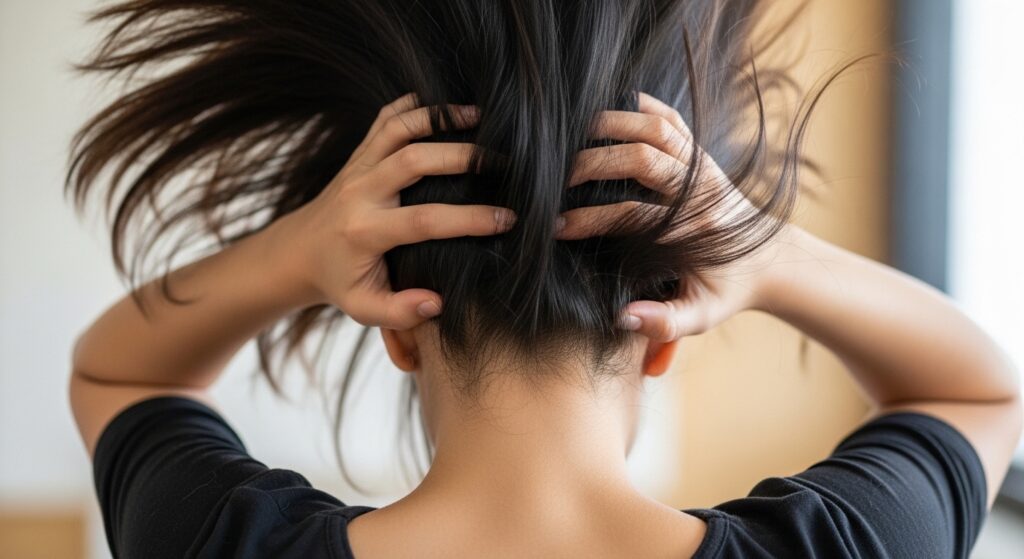
Add Volume at the Roots
As the days go on, your roots might get a little flat. Easy fix! Flip your head upside down and gently massage your scalp with your fingertips. This breaks up any oil and lifts the roots.
For extra oomph, you can also lightly tease the very root area at your crown with a comb, then smooth over the top layer. This gives you that coveted volume that makes waves look even more dynamic and modern.
Embrace the “Messy” Look
Perfection is not the point here. The beauty of saltwater waves is in their slight disarray. A little frizz, a piece out of place—it’s all part of the charm. This is the core of that effortless, cool-girl aesthetic.
This intentionally undone texture is what makes it work for edgier trends, too. Think of it as a softer base for romantic goth hairstyles or the lived-in feel of a vampire haircut. It’s all about texture with attitude.
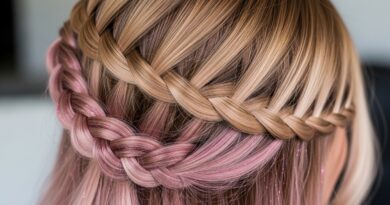
Style It Half-Up, Half-Down
This is my go-to vacation style. It keeps the hair off your face but still shows off those beautiful waves. It’s practical, cute, and looks like you put in effort when you really didn’t.
Simply take a small section of hair from the front on each side, twist them gently back, and secure them at the back of your crown with a clip. Pull out a few tiny pieces around your face. It’s elegant, easy, and works with everything from a hime cut to long layers.

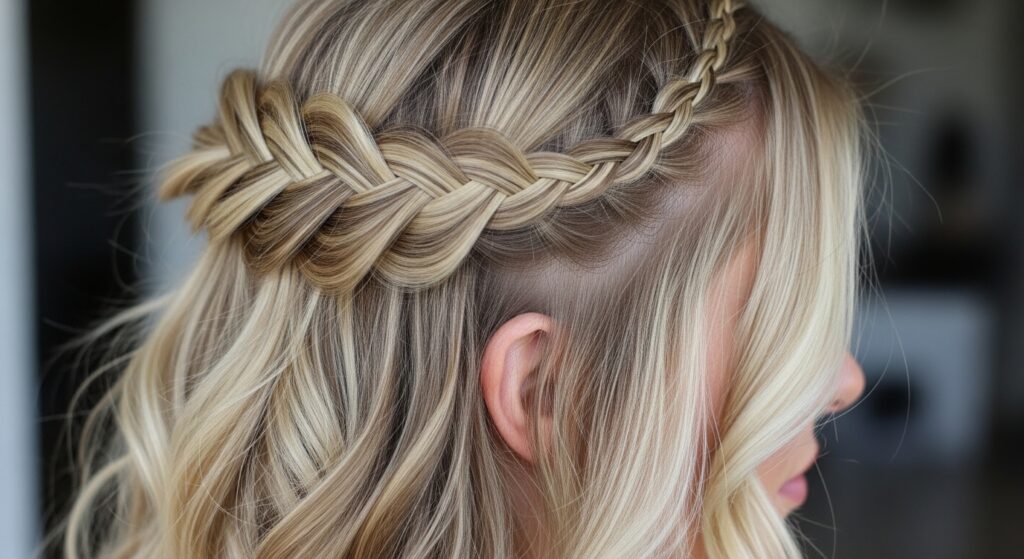
Create a Boho Braid Accent
Add some festival or boho flair to your waves with a simple braid. It’s a great way to manage hair on a windy day while still looking styled. The waves make the braid look fuller and more textured.
Try a Dutch braid along your hairline, or just braid a small section from the front and pin it back. When you take it out later, you’ll have even more crimped, beautiful texture—a perfect match for glitchy glam hair details.
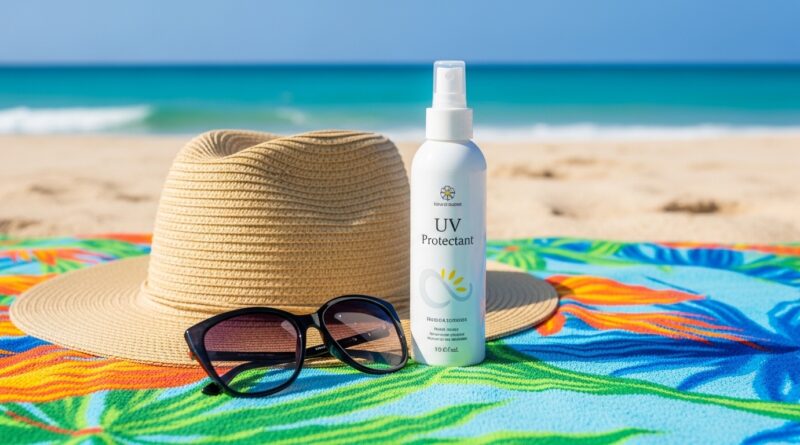
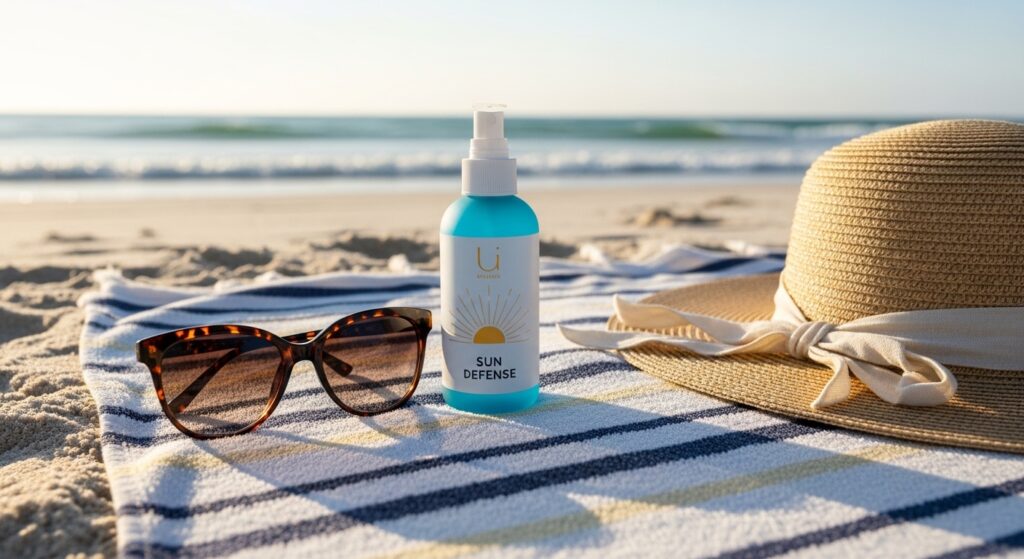
Protect Your Hair from the Sun
Salt and sun are a drying combo. While we’re chasing the wave, we need to protect our hair’s health. Sun protection for hair is a real thing and prevents your color from fading and your ends from becoming straw-like.
Look for a leave-in conditioner or a dedicated hair mist with UV filters. Apply it after your pre-swim leave-in and before you hit the sand. Your future self (and your hair’s shine) will thank you.
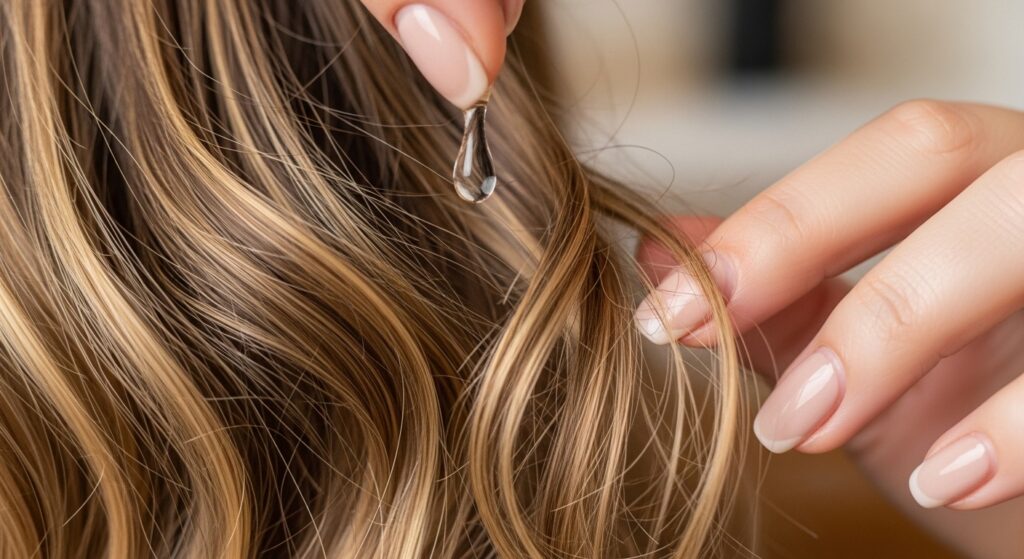
The Final Touch: A Drop of Oil
Once your hair is 100% dry and styled, you might see a little frizz or want more shine. This is where hair oil becomes your secret weapon. But less is absolutely more.
Rub one single drop between your palms and then gently smooth it over the surface of your hair, focusing on the ends. Avoid the roots. This tames flyaways, adds a gorgeous shine, and makes your waves look luxurious and healthy.
What If You Have Straight Hair?
Don’t worry, you can still get this look! The salt will give you texture and volume, even if you don’t get tight waves. The trick is to enhance what the salt starts.
After swimming and air-drying, take small sections and twist them, then let them sit or gently blow-dry with diffuser attachment on low heat. When you unravel the twists, you’ll have soft, bendy waves. It’s a perfect way to experiment with texture.
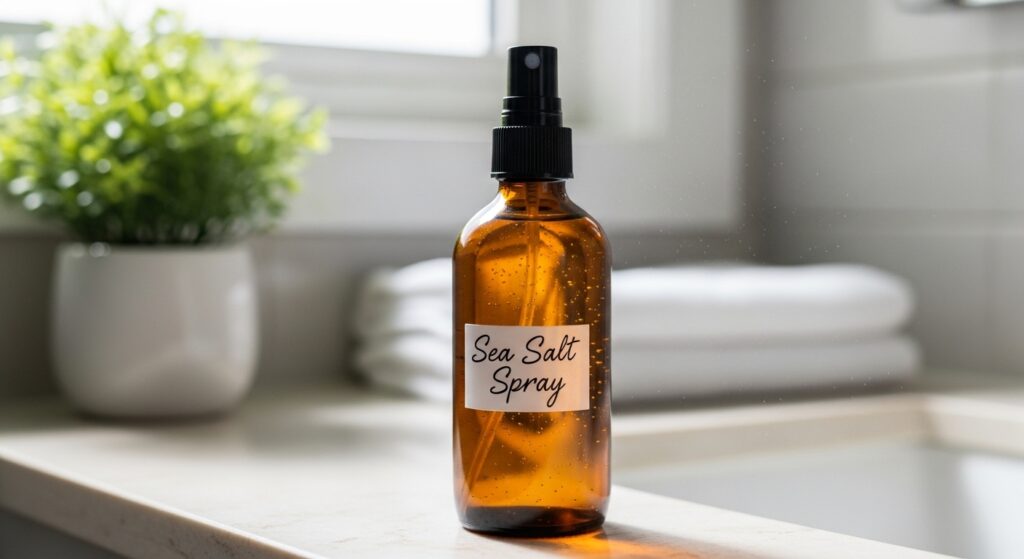
Make Your Own Saltwater Spray at Home
Want to keep the vacation going at home? Ditch the expensive sprays with weird ingredients. You can make an effective one in your kitchen.
Mix in a spray bottle:
- 1 cup warm water
- 1 tablespoon sea salt (fine grain)
- 1/2 teaspoon of lightweight hair oil or conditioner
Shake well, spray on damp hair, and scrunch. It’s not exactly the ocean, but it’s a pretty great backup plan.
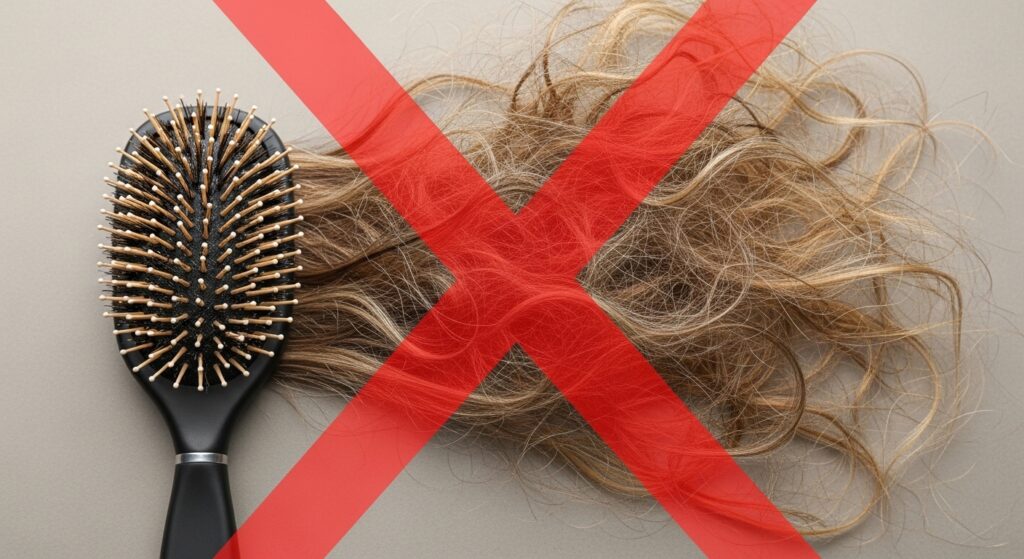
Avoid These Common Mistakes
A few missteps can turn waves into a frizzy mess. First, don’t brush your hair dry once the waves form. Second, avoid using heavy creams or butters—they weigh down the delicate texture salt creates.
Also, don’t overwash. This look gets better on day two and three. Stick to refreshing with water. And finally, don’t skip the pre-soak with fresh water—it’s the #1 tip for preventing that dreaded straw-like feeling.
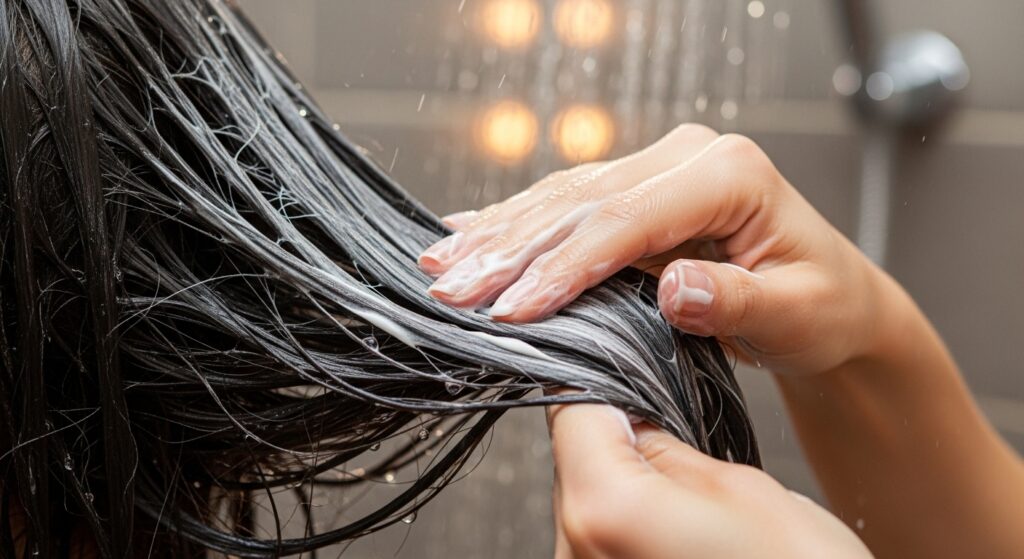
When It’s Time to Wash It Out
All good things must come to an end. When you’re ready to wash, you’ll want to reset your hair gently. Salt and minerals can build up, so a clarifying shampoo once a week is a great idea if you’re doing this often.
Always follow with a deeply hydrating mask or conditioner. Focus on the ends where hair is driest. This replenishes the moisture the salt pulled out and keeps your hair healthy for the next “swim.”
Adapt These Hacks for Pool Water
Pool hair is a different beast—chlorine is much harsher than saltwater. But you can still use a similar method! The pre-soak with fresh water is even MORE critical here.
After the pool, rinse your hair immediately with fresh water. Then, use a leave-in conditioner. The texture might be slightly different, but the air-dry and scrunch method will still give you a great, piece-y finish.

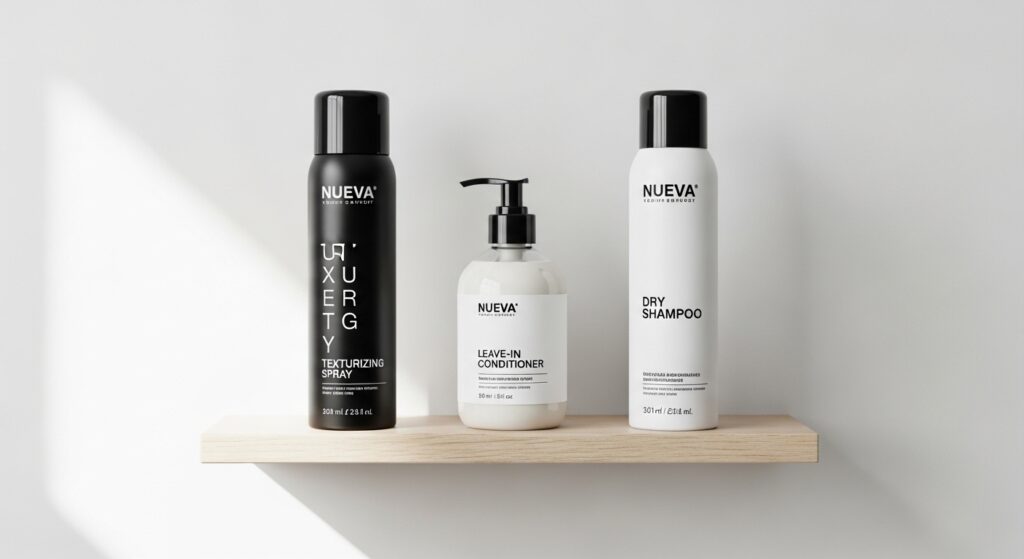
My Favorite Products to Boost the Look
While you don’t *need* products, a few can help enhance or maintain the texture. I keep it simple: a good texturizing spray (or my DIY one), a lightweight leave-in, and a dry shampoo for day-two volume at the roots.
Look for words like “beach wave,” “texturizing,” “mist,” or “spray” on labels. Avoid anything labeled “smoothing” or “anti-frizz” for this style, as they often work against the desired texture.
Your Quick-Start Cheat Sheet
Let’s simplify. Here’s your no-fail, step-by-step routine to follow next time you’re by the sea (or your shower).
- Pre-soak hair with fresh water.
- Apply a light leave-in to ends.
- Swim, scrunching hair gently underwater.
- Air-dry with minimal touching.
- Scrunch again at 80% dry.
- Sleep on silk with hair pineappled.
- Refresh next day with water mist.
And just like that, you’ve got the manual for the best hair days of your life. It’s not about complicated routines or a suitcase full of products. It’s about working with what nature gives you and knowing a few simple tricks to make it shine.
This look is all about confidence and ease. When your hair looks effortlessly good, you feel it too. It’s that I-just-had-the-best-day vibe, captured in your waves.
Save this post to Pinterest to keep these hacks handy for your next adventure! And I’d love to know—what’s your biggest hair challenge on vacation? Drop a comment below and let’s chat!