Secrets 28 Follicle Stimulant Rollers Massaging Growth Pre-Braiding
Okay, let’s get real for a second. We’ve all seen those miracle hair growth serums and wild gadgets that promise Rapunzel-length locks overnight. I’ve tried more than my fair share, and honestly? Most are just expensive letdowns.
But recently, my stylist friend whispered about a simple, almost old-school technique her clients swear by for thicker, stronger hair. It’s not a magic potion. It’s a specific way of massaging your scalp before you do protective styles like braids.
It involves these little roller tools that look straight out of a vintage salon. The idea is to stimulate your follicles to prep them for growth, making your hair healthier from the root up. I was skeptical, but the results I’ve seen? Incredible.
So, I dug deep, talked to experts, and tested it myself. This post is your no-BS guide to follicle stimulant rollers. Think of it as pre-gaming for your hair’s healthiest chapter yet. Let’s dive in.
What Are Follicle Stimulant Rollers, Really?
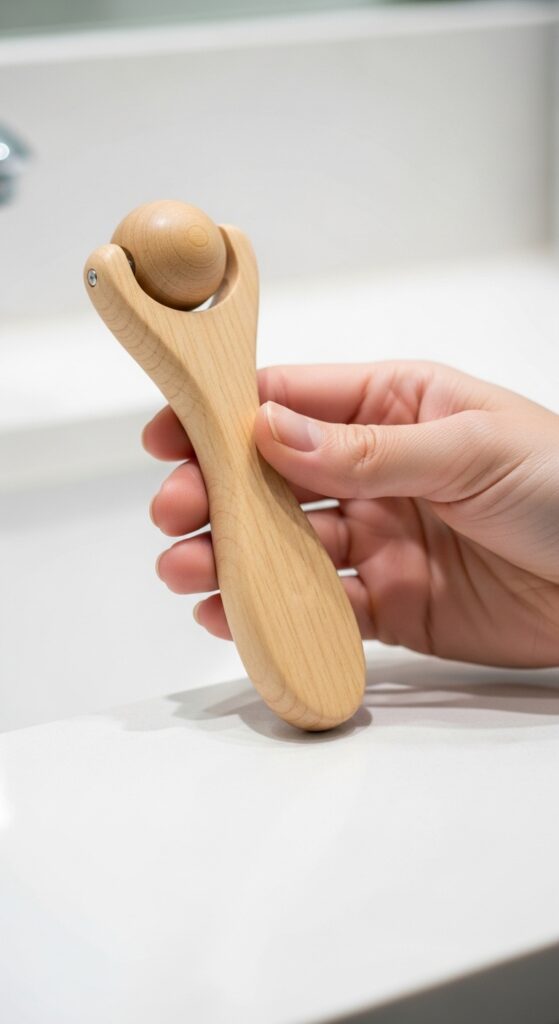
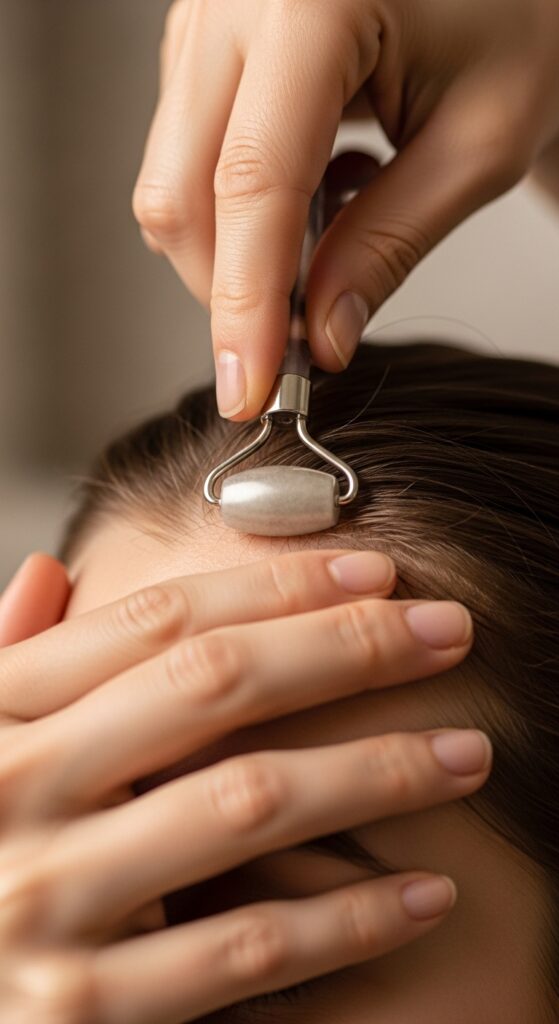
They sound fancy, but they’re wonderfully simple. Follicle stimulant rollers are small, handheld tools, usually with a textured or spiky roller ball on the end. You use them to gently massage your scalp in circular motions.
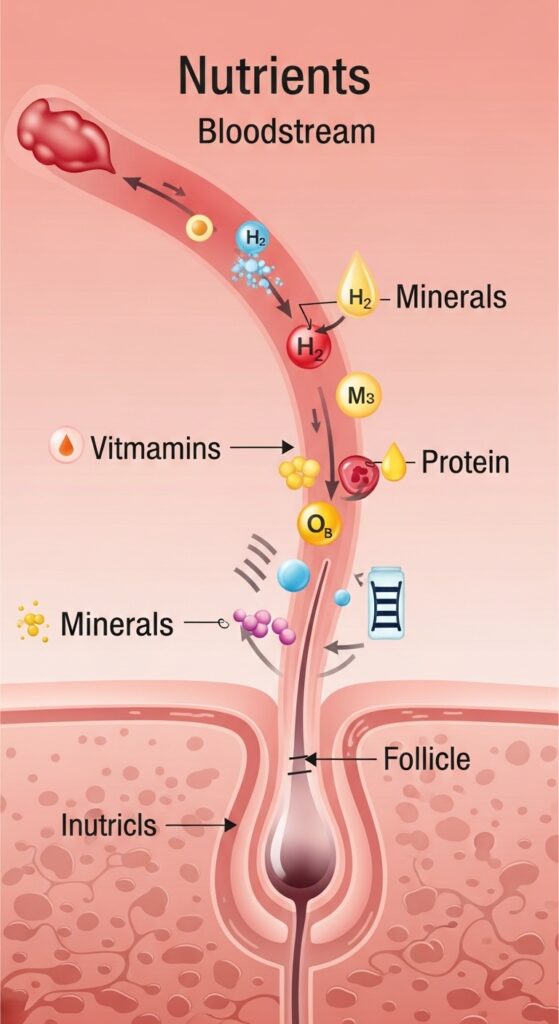
The goal isn’t detangling or styling. It’s pure stimulation. By increasing blood flow to your hair follicles, you’re delivering more oxygen and nutrients right where growth begins. It’s like giving your roots a mini-workout.
The Science Behind Scalp Massage for Growth
This isn’t just a feel-good trend; there’s real science here. Studies show that consistent scalp massage can increase hair thickness by stretching the cells within hair follicles. This stimulates them to produce thicker, more robust strands.
It also helps relieve the tension and stress that we hold in our scalps, which is a sneaky culprit behind hair thinning. Think of it as a two-for-one: you’re boosting growth potential while also practicing a moment of self-care.
Why Timing Matters: Pre-Braiding is Key
This technique shines when used before installing braids, twists, or any protective style. A stimulated, healthy scalp is the best foundation for long-term wear. It can help minimize tension and prepare your follicles for the weight of the style.
Starting with a nourished scalp means your hair is in a better state to retain length while it’s protected. It’s the ultimate prep step that most of us skip, but it makes all the difference for growth retention.
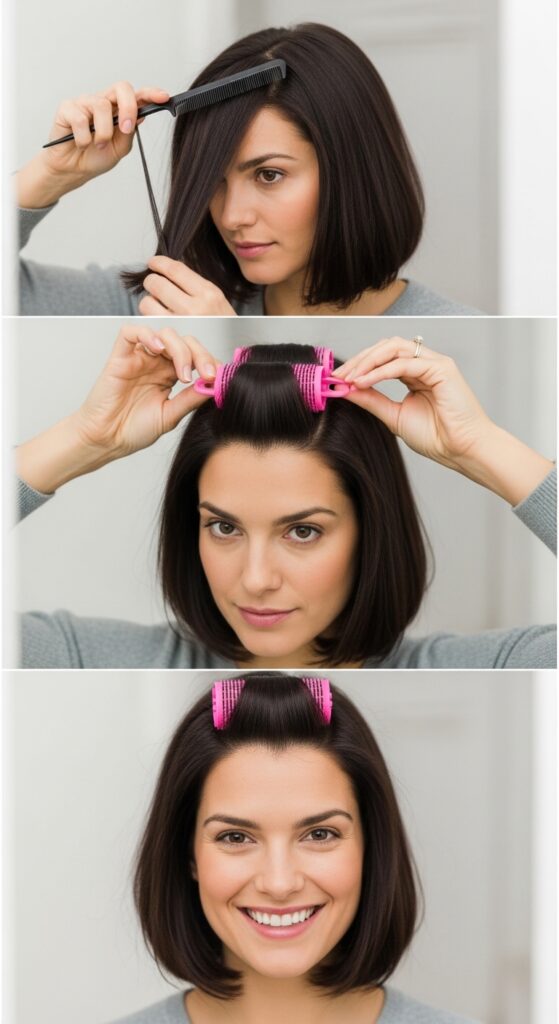
Step-by-Step: How to Use Your Roller Correctly
- Start on clean, dry, or slightly damp hair. You can use a light oil like jojoba or almond oil on your scalp.
- Section your hair to expose your scalp. Work in small, manageable parts.
- Hold the roller firmly and apply gentle pressure. Use small, slow circular motions for 10-15 seconds per section.
- Move methodically across your entire scalp. The process should feel relaxing, not painful.
The Perfect Pre-Braiding Routine
Integrating the roller is easy. Follow this simple routine 1-2 times a week before wash day, and especially before your braid appointment.
- Warm your chosen scalp oil in your hands.
- Apply it directly to your scalp along your parts.
- Use your roller for 5-10 minutes total across your whole head.
- Leave the oil in for at least 30 minutes, or overnight, then shampoo as usual.

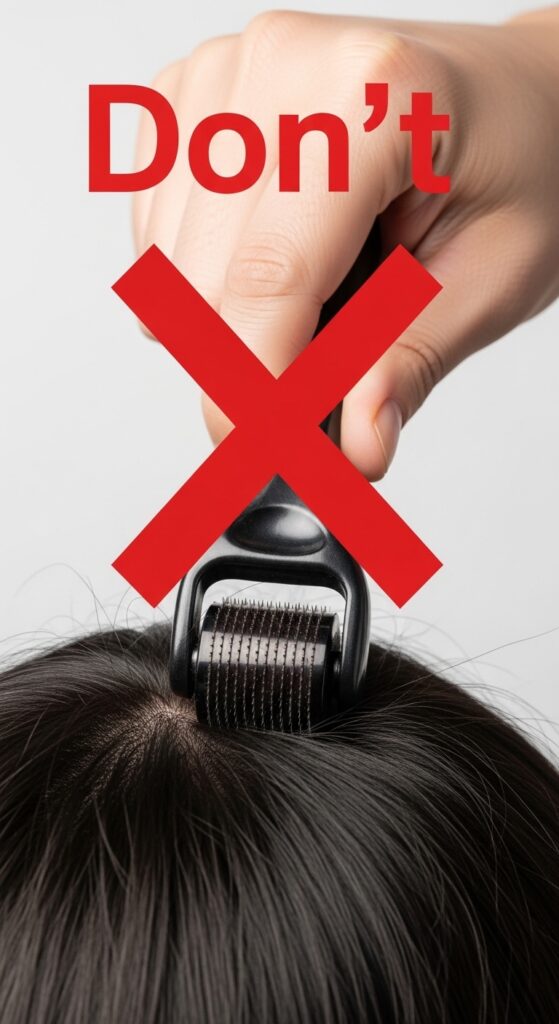
Common Mistakes to Avoid
More pressure is NOT better. Pressing too hard can irritate your scalp and cause inflammation, which is counterproductive. The motion should be firm but gentle.
Don’t rush. This isn’t a 30-second task. Dedicate time to do it properly. Also, keep your roller clean! Wash it with soap and water weekly to prevent product buildup.
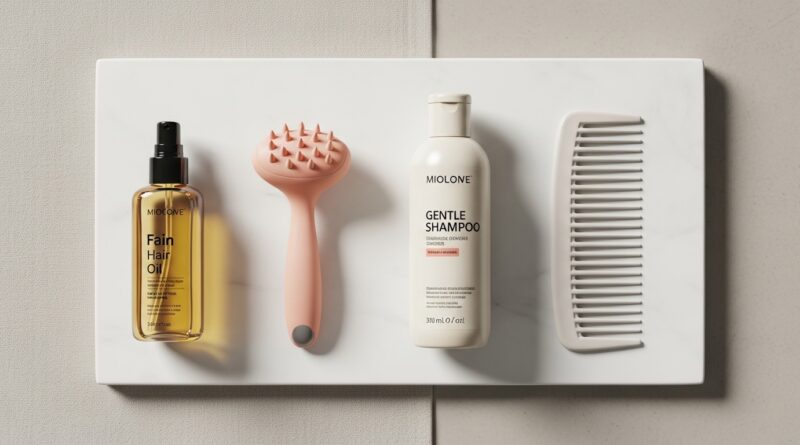
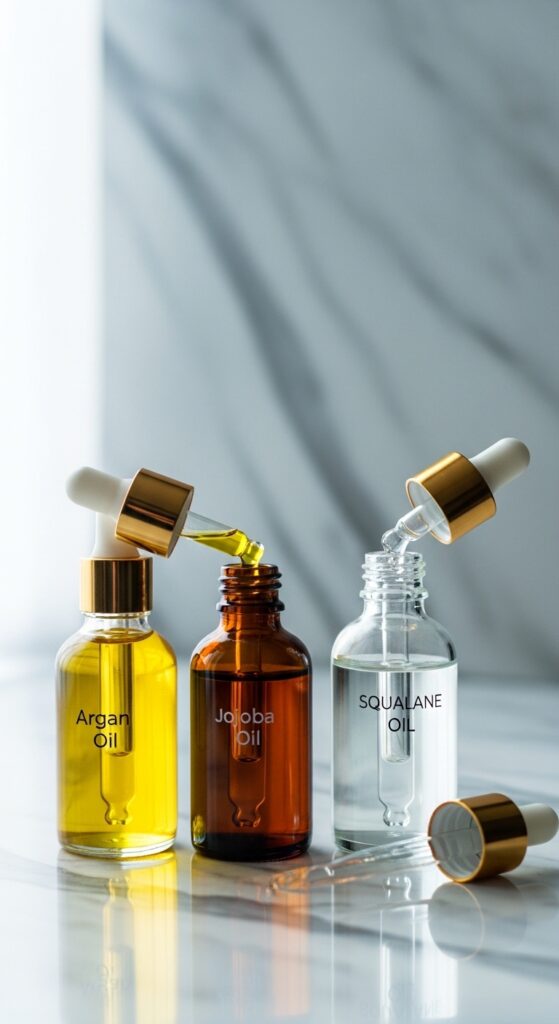
Pairing Rollers with Growth-Friendly Oils
For maximum effect, pair your massage with light, non-clogging oils. My top picks are rosemary oil (diluted!), peppermint oil (diluted!), and pure jojoba or squalane oil.
These oils have properties that further support circulation and follicle health. They create the perfect slip for the roller and add an extra layer of nourishment to your pre-braiding ritual.
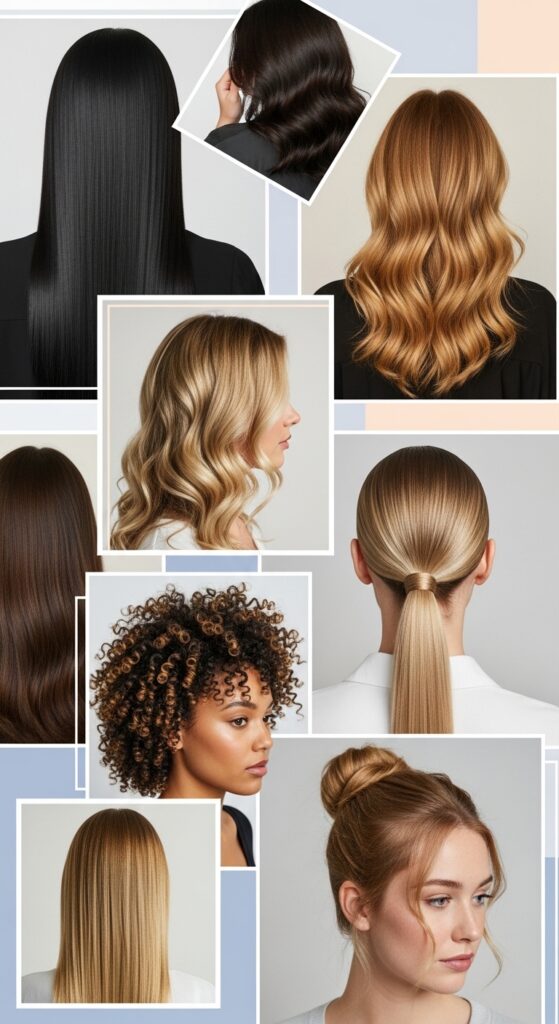
How This Fits into 2026 Hairstyle Trends
Healthy hair is the foundation of every great style. As we look ahead to 2026 hairstyles, the focus is on hair health and natural texture. This technique ensures your hair is in peak condition to rock any trend, from sleek bobs to voluminous curls.
Think of it as your secret weapon for achieving those glossy, healthy-looking styles you see on your mood boards. It’s all about the foundation.
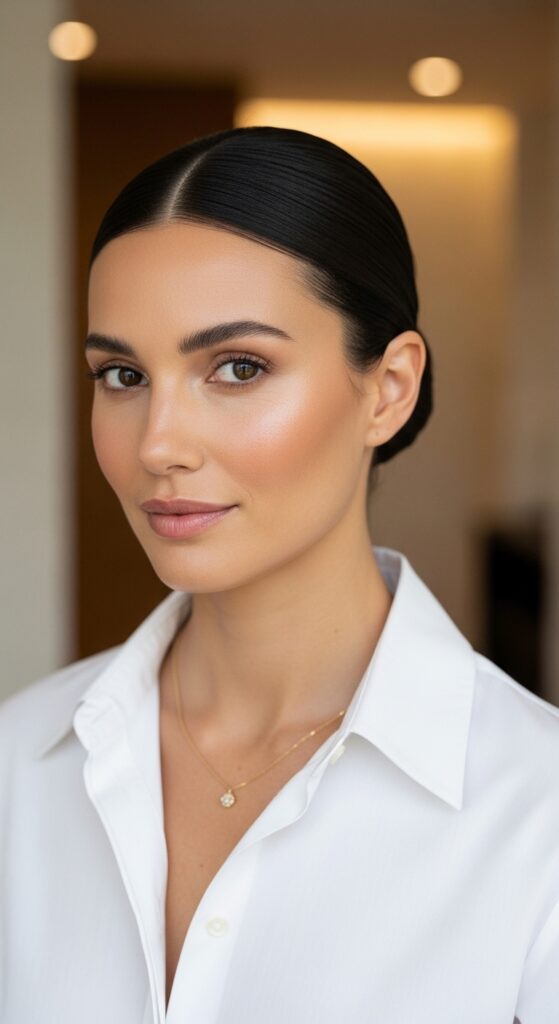
Building an Old Money Hair Vibe from the Root
Old money hair isn’t about a specific cut; it’s about an aura of untouched, innate health and perfect condition. It’s shiny, thick, and looks effortlessly maintained.
A consistent scalp massage routine with your roller builds that from the ground up. It promotes the thickness and shine that makes hair look expensive and well-cared-for, even in a simple low ponytail.
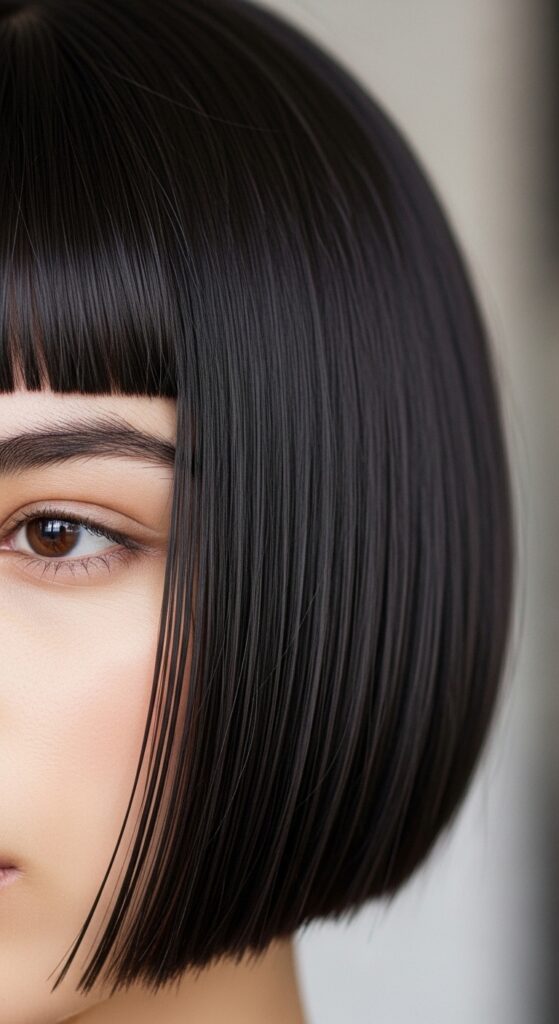
The Quiet Luxury Bob Secret
That iconic quiet luxury bob needs swing, shine, and impeccable health to look right. No amount of styling product can mimic the bounce that comes from truly healthy, strong hair.
Using a follicle stimulant roller strengthens the roots, reducing breakage and allowing for a fuller, more dynamic bob. It’s the behind-the-scenes step for that “I woke up like this” chic.

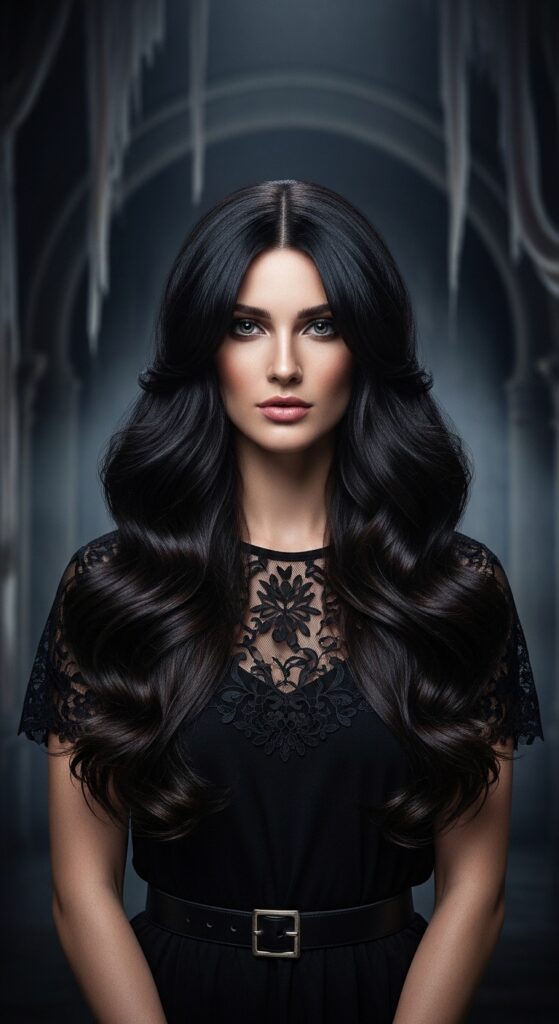
Even Edgy Cuts Need Healthy Bases
Whether you’re drawn to romantic goth hairstyles with dramatic volume or the sharp lines of an asymmetrical lob, hair health is non-negotiable. Thinning ends or weak roots will make any bold cut fall flat.
Scalp stimulation encourages uniform growth and strength, so your dramatic cut stays sharp and full, exactly as your stylist intended.
Prepping for a Statement Vampire Cut
The vampire haircut—with its heavy rocker layers and shaggy texture—relies on volume and movement. That texture looks best when the hair has lots of body and minimal breakage.
Stimulating your follicles pre-cut can lead to better density, so when those layers are cut in, they have maximum impact and look lived-in, not limp.

Supporting Delicate Styles Like the Hime Cut
The precise, straight lines of a hime cut require strong, resilient hair, especially at the front sections. Weak hair won’t hold that blunt, graphic line.
A follicle-focused routine strengthens each strand from the root, helping to maintain the integrity of those beautiful, sharp cuts and prevent fraying at the ends.
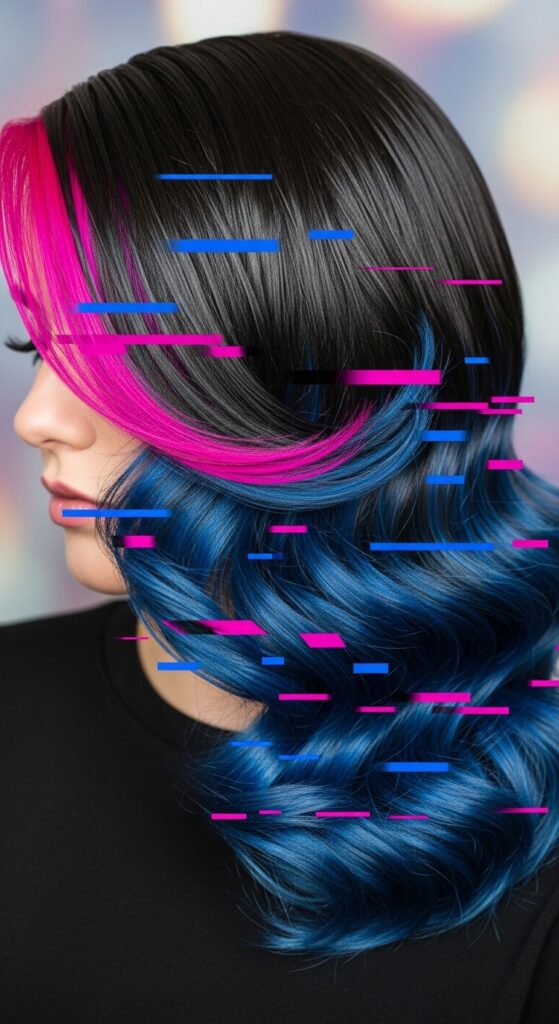
Creating the Foundation for Glitchy Glam
Glitchy glam hair is all about intentional, textured disruption—think misplaced waves or pops of color. This style often uses heat and product, which can be stressful on hair.
A healthy, stimulated scalp produces hair that’s more resistant to damage, so you can play with these creative styles without as much worry about compromising your hair’s health.
How Often Should You Really Do This?
Consistency beats intensity. For best results, aim for 2-3 times per week as part of your pre-shampoo routine. If you’re prepping for braids, do a thorough session the night before your appointment.
Even 5 minutes, 3 times a week, can yield noticeable improvements in scalp health and hair fullness over a few months. It’s a marathon, not a sprint.
What to Expect in the First Few Weeks
Don’t expect instant growth. What you’ll likely notice first is a healthier scalp—less itching, less flakiness, and a feeling of relaxation. Your hair may also feel thicker at the root.
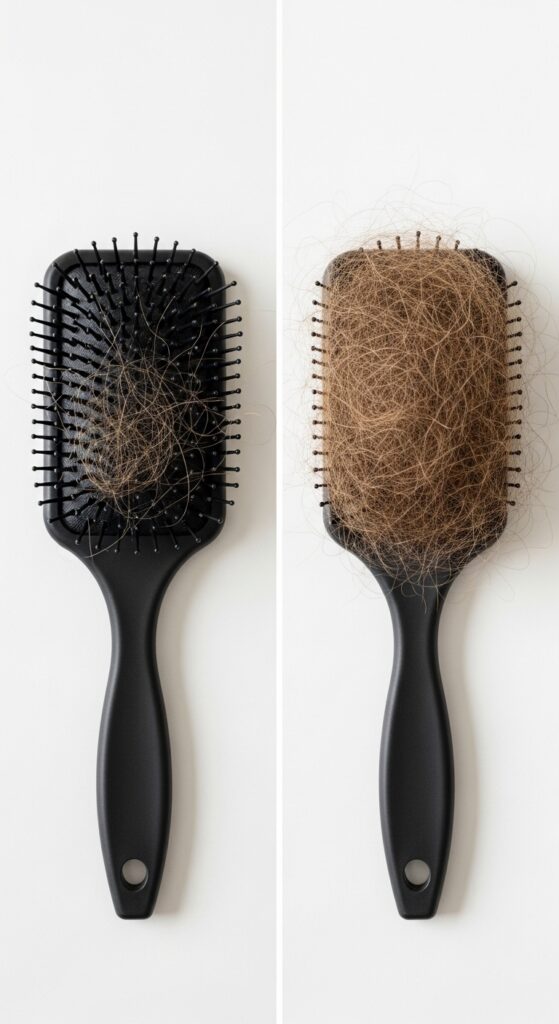
After 4-6 weeks, you might see less hair in your brush or shower drain. Improved growth and length retention become more apparent around the 3-month mark with consistency.
Can This Help with Thinning Edges?
Yes, but with patience and the right approach. Gently massaging the hairline area with your roller can increase circulation to follicles that may be dormant due to tension or styling stress.
Combine this with avoiding tight styles and using nourishing oils. It’s a holistic approach to gently encourage those baby hairs back to life.
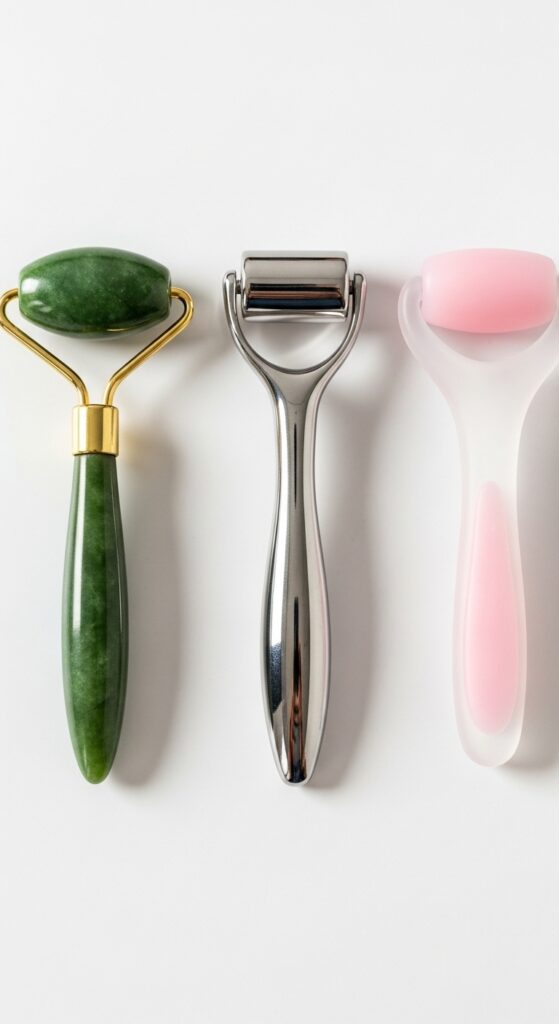
Choosing the Right Roller for You
Look for ergonomic handles for a comfortable grip. Roller heads come in different materials: jade (cooling), stainless steel (durable), or silicone (gentlest).
Choose based on your scalp sensitivity. If you have a sensitive scalp, start with a silicone or smooth wooden ball. You can always upgrade later.
DIY Alternatives if You Don’t Have a Roller
Your fingertips are a powerful tool! Use the pads of your fingers (not nails) to make small, firm circles across your scalp. The key is the same: methodical, gentle pressure.
You can also try a soft-boar bristle brush on a dry scalp before washing. The goal is stimulation, so any method that increases blood flow consistently will work.

My Personal Results & Final Thoughts
I’ve been doing this for four months now. My hair doesn’t grow faster, but it does grow stronger. I have way less breakage, my braids feel more comfortable at the root, and my hair just feels denser.
It’s become a form of meditation for me. Those few minutes of focused care make a tangible difference. It’s one of the simplest, most effective things I’ve added to my routine.

Your Questions, Answered
Can I use it on wet hair? Yes, but be extra gentle as hair is more fragile when wet. I prefer dry or damp hair with oil.
Does it cause hair to get oily faster? If you over-apply oil, yes. Use a light hand and shampoo thoroughly afterward. The massage itself doesn’t increase oil production.
Is it safe for color-treated hair? Absolutely! It’s just mechanical stimulation and can be done with oils safe for your color.
So, there you have it—the not-so-secret secret to building a stronger foundation for literally any hairstyle you dream of. It’s not a quick fix, but it is a profoundly simple one. And in a world of complicated beauty advice, simple often works best.
This little ritual has taught me that the most impactful things are often the quiet, consistent ones. Showing up for your scalp a few minutes a week is an act of care that pays off in stronger, happier hair.
I’d love to hear from you! Have you ever tried scalp massage with a roller tool? What’s your go-to pre-braiding step? Let me know in the comments below! And if you found this guide helpful, save this post to Pinterest to keep these tips handy and share them with your hair-care community.