Short 29 Clip-In Extension Placement Adding Length Without Bulk
Hey friend. Let’s talk about that moment when you want longer hair, but you don’t want the commitment or the bulk of a full set of extensions. I’ve been there. You love your short cut, but sometimes you just want to pull your hair into a real ponytail or add some drama for a night out.
That’s where the magic of short clip-ins comes in. Specifically, the 29-inch kind. It sounds like a lot, but the trick is all in the placement. When done right, it adds incredible length and movement without looking fake or feeling heavy.
This is your quick, practical guide to getting it right. We’re going to break down exactly where to place those clips to blend seamlessly with your shorter hair. It’s easier than you think, and the results are so good.
Why 29-Inch Extensions Are a Game-Changer for Short Hair
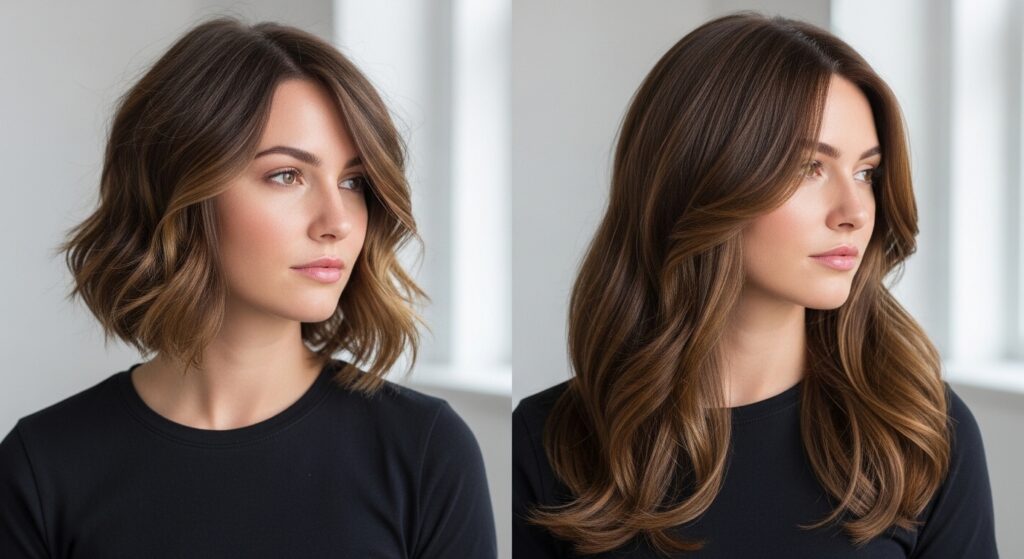
You might think extensions this long are only for already-long hair. But that’s the secret! The extra length gives you so much more styling flexibility. You can create layers, beautiful bends, and styles that shorter pieces just can’t achieve.
Because they’re so long, the weight is distributed down the length, which actually helps them lay flatter and more discreetly against your head. The key is to not use too many wefts. A few strategic pieces are all you need to completely transform your look without the bulk.
The Tools You Absolutely Need Before You Start
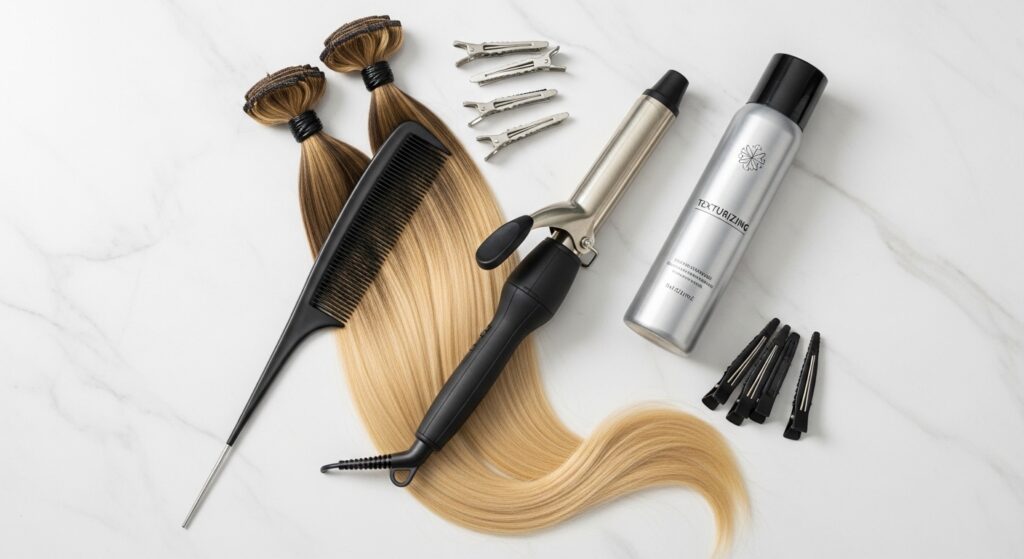
Gathering the right tools makes the whole process smooth and fast. You don’t need a professional kit, just a few essentials from your bathroom drawer.
- Tail Comb: For clean, precise sections.
- Sectioning Clips: To keep hair out of the way.
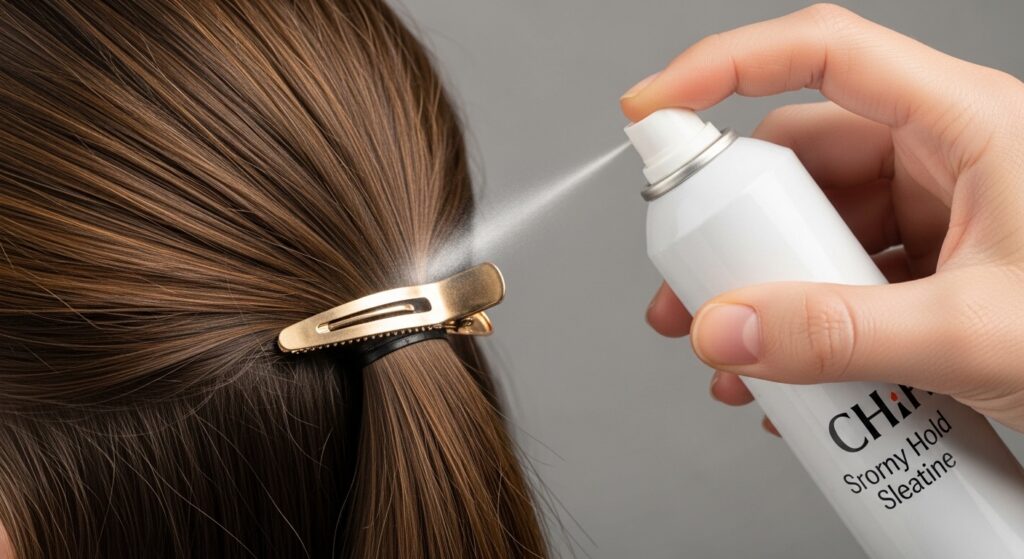
- Texture Spray or Dry Shampoo: This is crucial for grip on fine hair.
- A Curling Iron or Wand: To blend your natural hair with the extensions.
Step 1: Create the Perfect Base with Texture
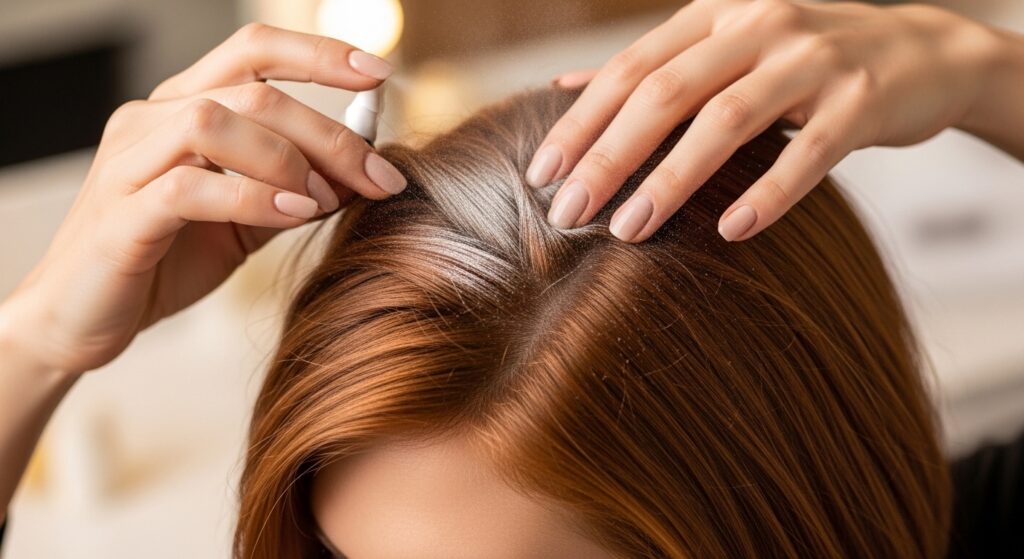
This is the most important step for avoiding slippage. Start with day-old hair or spray dry shampoo at your roots. This gives the clips something to grip onto, especially if your hair is silky or fine.
Lightly tease the area where you’ll place the first weft, just at the root. Don’t go overboard—you just want a little cushion. This base will hold the clips securely all day and night, so your secret stays perfectly in place.
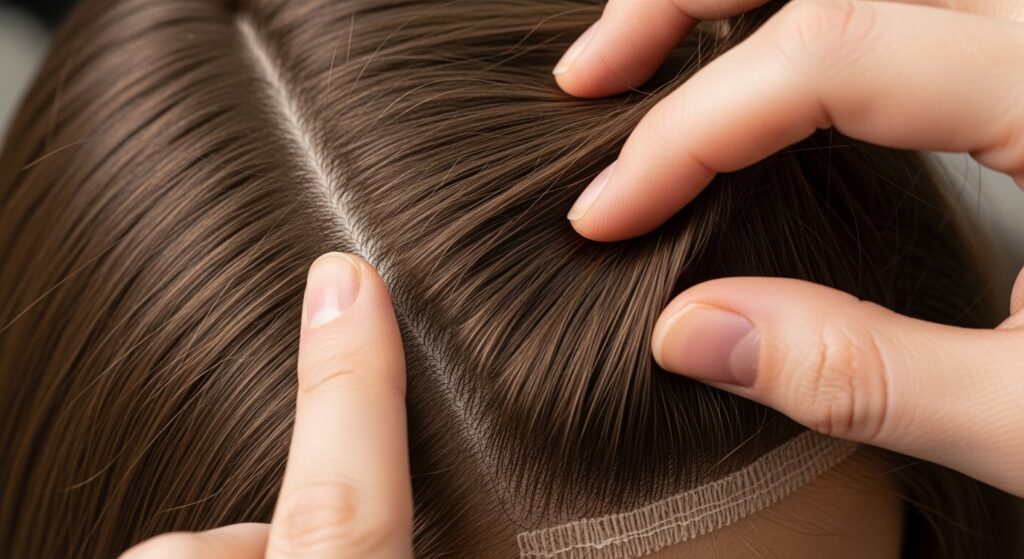
Step 2: Section Your Hair Like a Pro
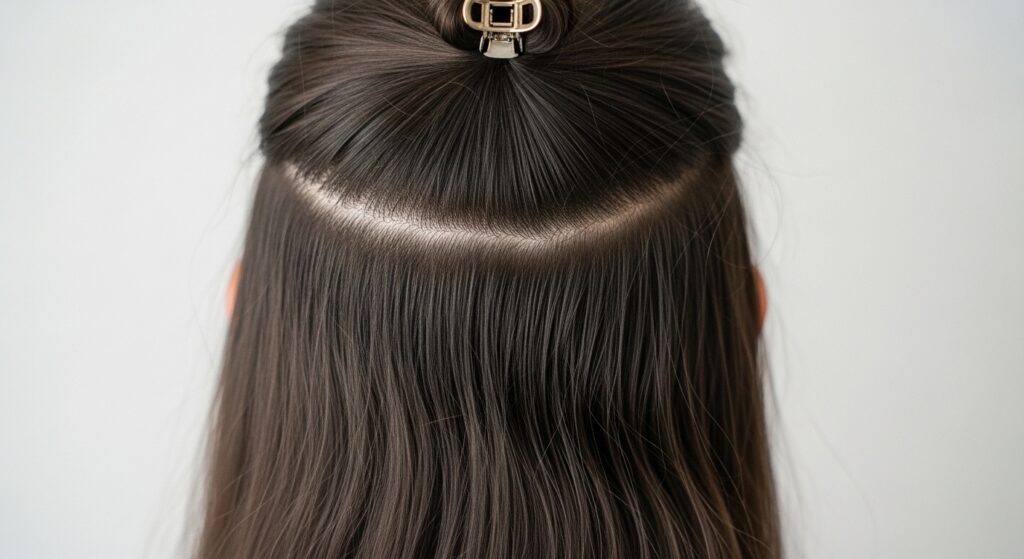
Using the tail of your comb, create a horizontal part from ear to ear. Clip the top section of your hair up and out of the way. You should now be looking at the back of your head, with the lower section free.
This lower section is where your first and most important weft will go. It anchors everything. Make sure the part is neat and follows your natural hairline. A clean section is the foundation of an invisible blend.
Step 3: Placing the First (and Most Important) Weft

Take your widest weft. Position it directly on that parted line, right in the center of the lower section. Snap the clips closed, moving from the center outwards. Make sure it’s lying flat against your head.
This weft does the heavy lifting of adding the main length. Once it’s secure, let down the top section of your hair. Gently brush it over the weft. See how it already starts to disappear? That’s the goal.
Step 4: Building Volume and Coverage with the Second Layer
Now, create a second horizontal part about two inches above the first one. Clip the new top section up. You’ll see the first weft hidden below, and a new strip of your natural hair above it.
This is where you add a second, sometimes slightly narrower weft. Place it directly on this new part line. This layer builds volume at your crown and covers the clips from the first weft, creating a seamless gradient of length.
Step 5: Side Placement for a Full, Framing Effect
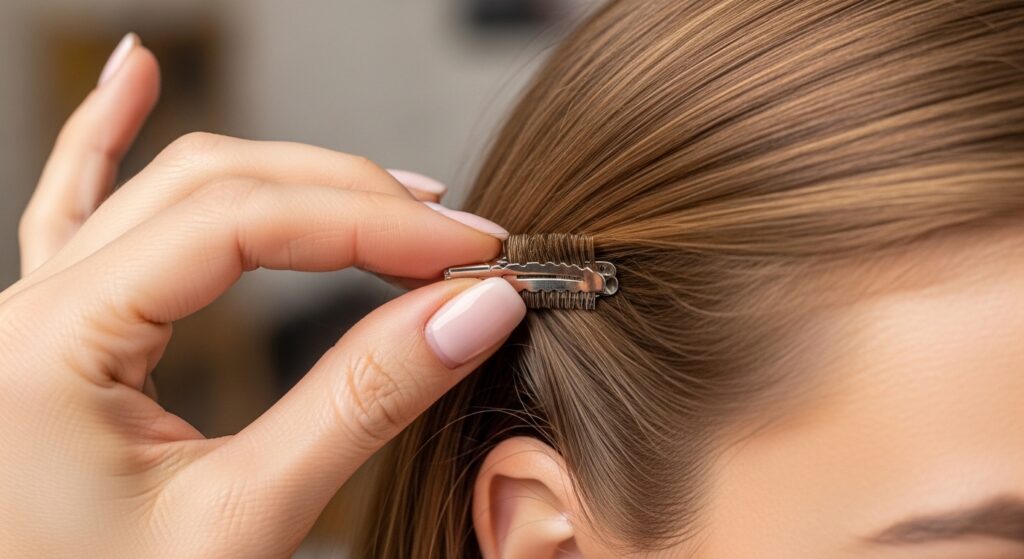
For a natural look that frames your face, you need side pieces. Take two smaller, narrower wefts. Part a small section of hair above each ear, going back towards the crown.
Clip these wefts in, angled slightly downward. They fill in the sides, making your hair look naturally full from every angle. This is especially key for styles like the asymmetrical lob or vampire haircut when you want that dramatic, face-framing effect.
The Blending Secret: Curl Your Hair & the Extensions Together
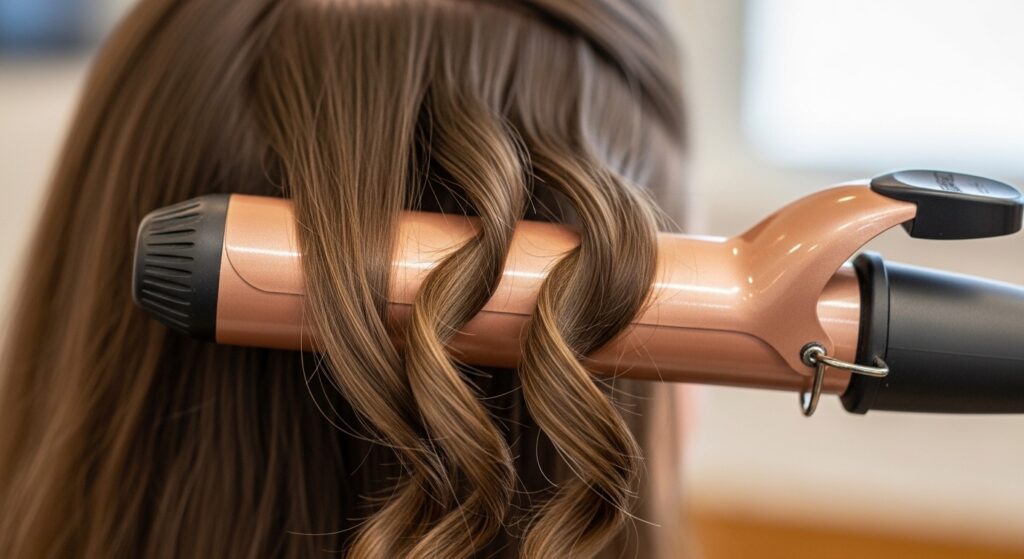
This is the magic step. Never curl your extensions and natural hair separately. Always take a section that includes both. Wrap them around the curling iron or wand together, starting mid-shaft and curling away from your face.
The heat will help the textures marry. As the curls cool, gently brush them out with your fingers or a wide-tooth comb. You’ll see your real hair and the extensions become one seamless flow of hair. This works for any texture, from old money hair waves to romantic goth hairstyles curls.
How to Hide the Top Clips for a Flawless Finish
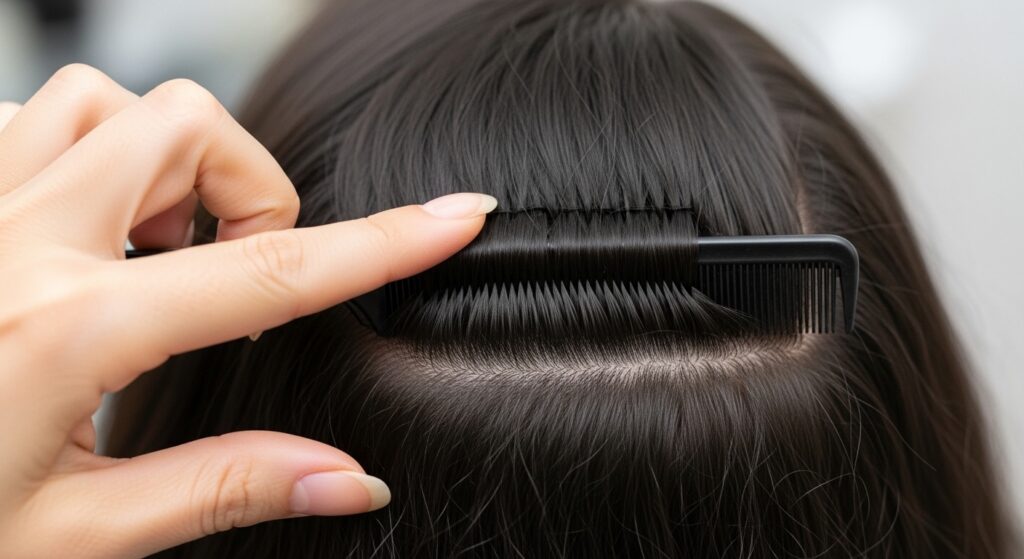
Even with perfect placement, sometimes a clip can peek through. The fix is simple. Take a small section of hair just above the part line where the top weft sits. Lightly tease just at the root with your comb.
Then, gently smooth the top layer over the teased base. This creates a tiny, natural-looking lift that acts as a curtain, covering any trace of the weft beneath. It adds volume and completes the illusion.
Styling Your New Length into a “Quiet Luxury Bob”
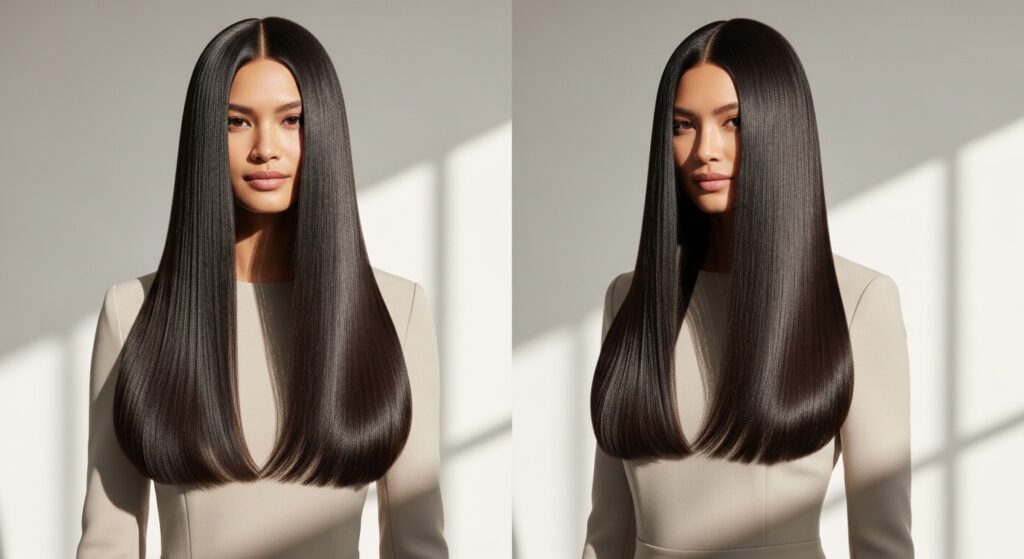
For that chic, quiet luxury bob look, focus on sleekness. After blending, use a flat iron on low heat to smooth everything into one sleek, blunt line. Add a shine serum to the mid-lengths and ends.
The beauty of using long extensions for a bob illusion is the weight it creates. It gives you that perfect, swingy movement that shorter hair sometimes lacks. It’s polished, elegant, and incredibly sophisticated for 2026 hairstyles.
Creating Romantic Goth Hairstyles with Volume
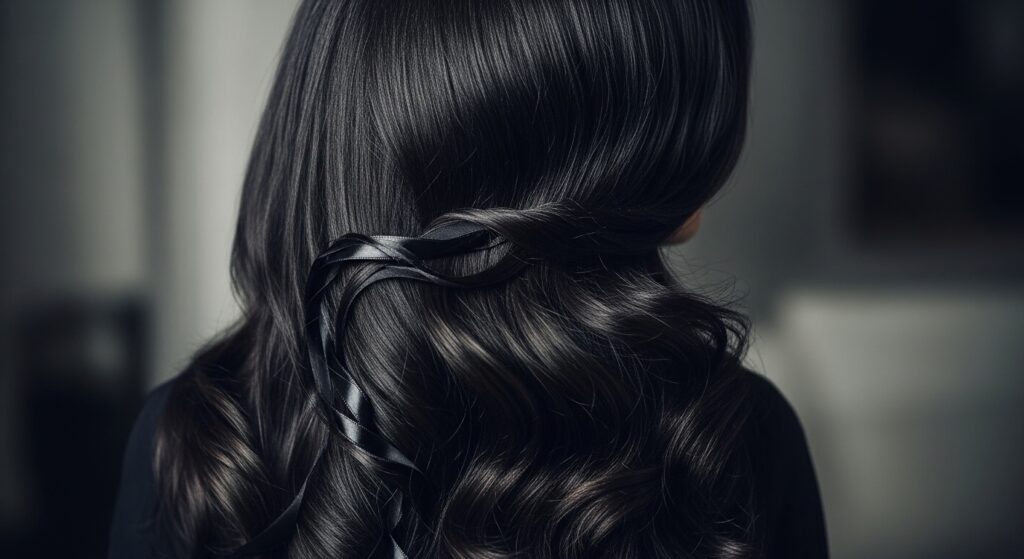
For romantic goth hairstyles, texture is your friend. After curling, don’t brush the curls out completely. Let them stay defined. Tease gently at the crown for Victorian-inspired volume.
Add accessories like velvet ribbons, delicate chains, or small barrettes. The long length provided by the extensions allows for beautiful, dramatic braids and intricate twists that are core to the aesthetic, blending softness with edge.
Getting the “Glitchy Glam Hair” Texture

Glitchy glam hair is all about intentional imperfection and texture. Once your extensions are in and curled, break up the curls with a texturizing paste or wax. Pull out a few random face-framing pieces and twist them.
Use pins to haphazardly secure small sections back, as if the style is “glitching.” The contrast of the long, sleek extensions with these messy, piecey details creates that cool, disrupted look that’s trending for 2026 hairstyles.
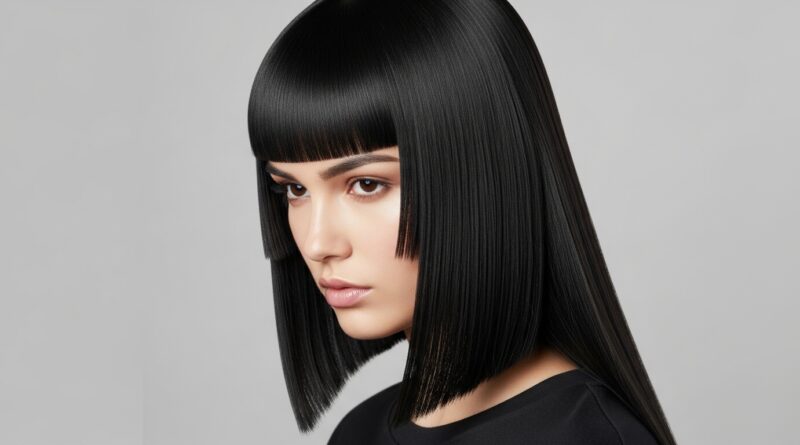
Adapting the Placement for a Hime Cut
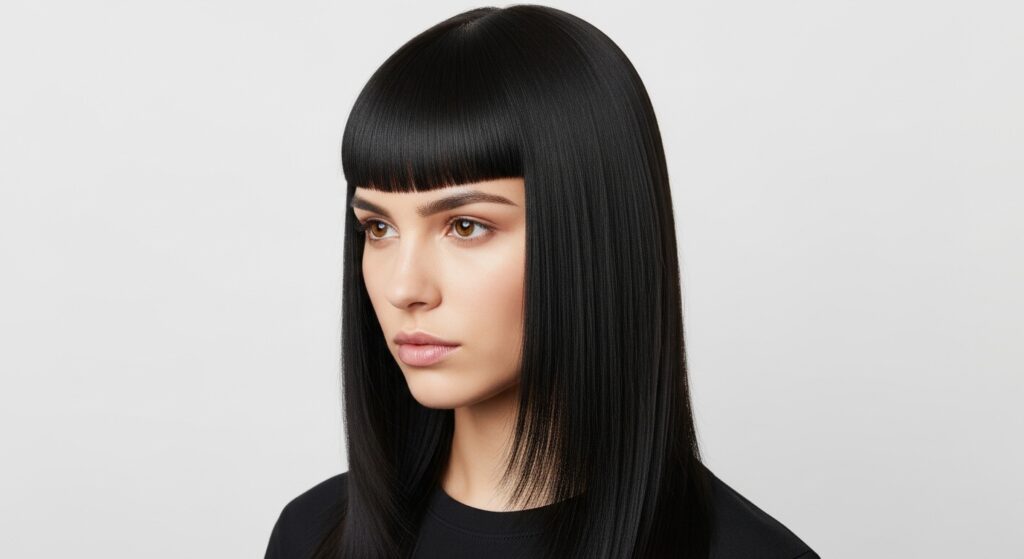
The hime cut is defined by its straight, long back and shorter, dramatic face-framing pieces. To achieve this with extensions, you’ll place your wefts as normal in the back for length.
But leave out your natural front sections. Style your real, shorter hair into the blunt fringe and sidelocks. The dramatic contrast between your natural short front and the incredibly long back from the extensions creates an authentic, striking hime silhouette.
Making a Ponytail That Actually Looks Real
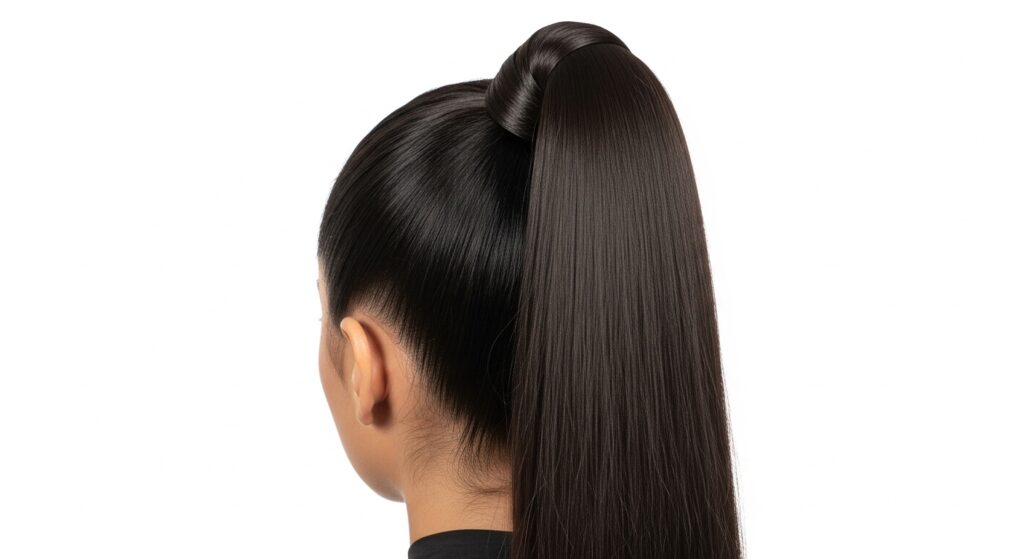
Yes, you can make a ponytail with short hair and extensions! Gather all your hair (including extensions) into a high or low ponytail. Use a strong, color-matched elastic. The key is to leave a small section of hair out from underneath.
After securing the ponytail, wrap that leftover section around the elastic and pin it underneath. This covers the elastic and any clips that might be gathered at the base. It looks incredibly polished and believable.
Day-to-Night Transformation in 5 Minutes
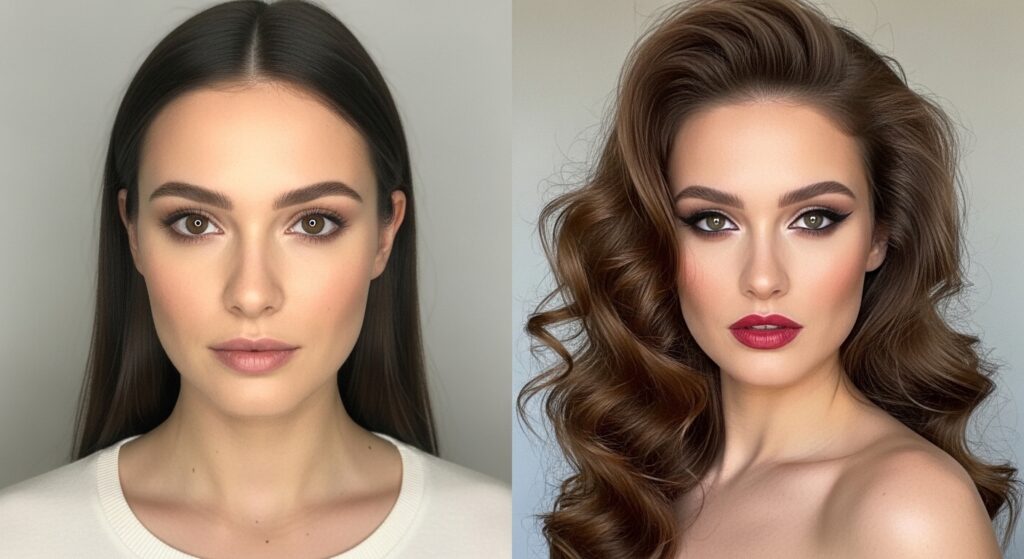
This is where clip-ins truly shine. Wear your short hair as-is for your workday or running errands. When it’s time to go out, just quickly section and clip in your wefts following the steps above.
Spend three minutes curling everything together, add some hairspray, and you’ve just gone from a cute bob to red-carpet length in less time than it takes to do your makeup. It’s the ultimate hair hack for a busy life.
Caring for Your 29-Inch Clip-In Extensions
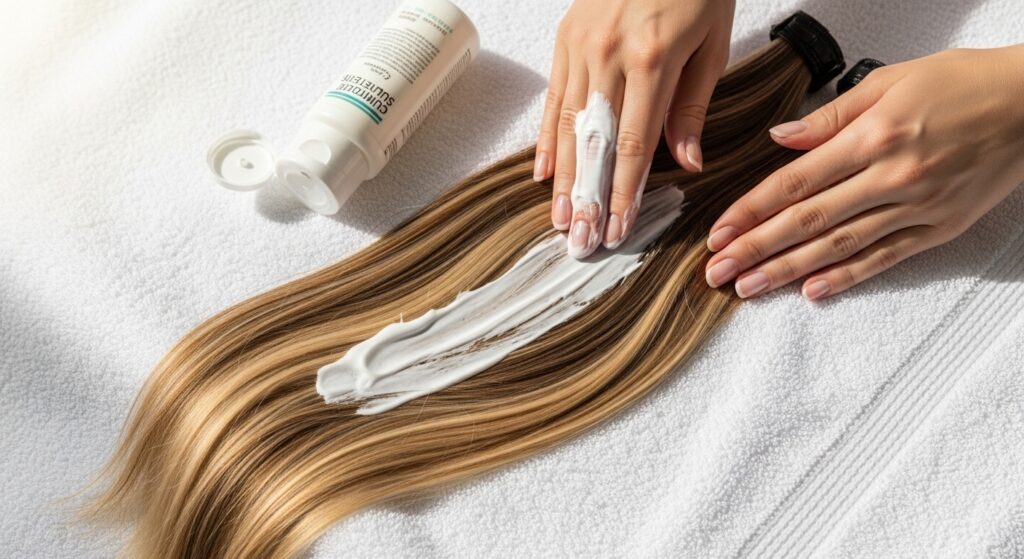
To keep your investment looking gorgeous, treat them gently. Wash them only every 15-20 wears in cool water with a sulfate-free shampoo. Condition from mid-length to ends, avoiding the clips.
Always let them air dry on a towel. Store them flat in the provided case or a silk bag. Never sleep in them or use high heat without a protectant. With good care, they’ll last you years.
Troubleshooting: If the Extensions Feel Slippery
If your hair is very fine or silky, the clips might slide. First, ensure you’re using that texture spray at the roots. You can also lightly mist the clips themselves with hairspray before clipping them in for extra grip.
Another trick is to criss-cross the clips when you snap them shut, rather than having them all face the same direction. This creates a stronger, more locked-in hold that won’t budge.
Troubleshooting: Avoiding the “Helmet Head” Bulk
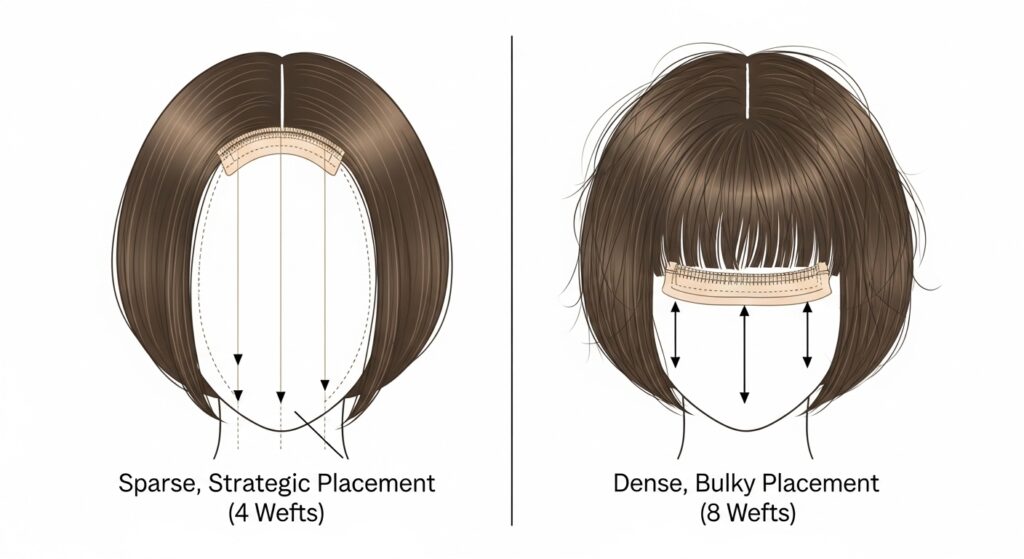
Bulk happens when you use too many wefts too close together. Remember, with 29-inch hair, you need fewer pieces because each one covers more area. Stick to 2-4 wefts total for a short hair base.
Focus on strategic placement—one low, one higher, two sides—instead of layering weft on top of weft. The length gives the illusion of fullness, so you don’t need the actual bulk at the root.
Choosing the Right Color for a Seamless Blend
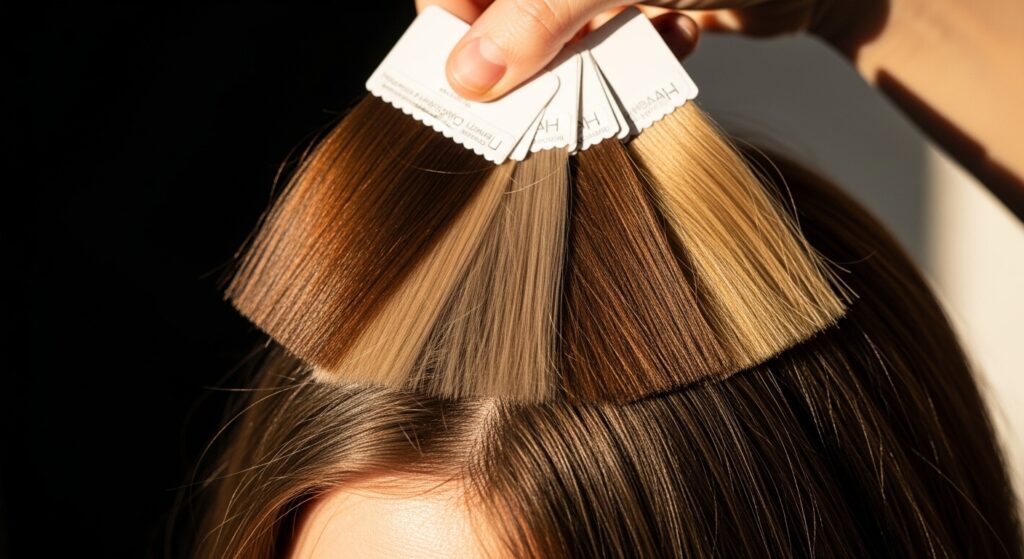
Match to the color at your crown, which is often darker than your ends. If you have highlights, choose a blended or balayage set. When in doubt, go slightly lighter rather than darker; it’s easier to tone down with makeup or temporary spray.
Many brands sell individual wefts. Consider buying two shades to create a custom, multidimensional blend that looks exactly like your natural hair, especially for complex colors like old money hair or romantic goth shades.
Why This Method Beats a Full Head of Extensions
A full head of permanent extensions can be heavy, damaging, and high-maintenance. This clip-in method gives you all the drama with zero damage. You control the density and the wear time.
It’s also a fraction of the cost. You can achieve multiple 2026 hairstyles—from a quiet luxury bob to glitchy glam—with one set of clips, instead of committing to one look for months. It’s freedom.
Your Confidence Boost, On Demand
At the end of the day, this isn’t just about hair. It’s about having a tool in your beauty arsenal that makes you feel incredible whenever you want. It’s that instant boost before a big meeting, a date, or just because you want to feel a little extra glam on a Tuesday.
Mastering this simple placement technique unlocks so much versatility. It lets you play with trends without the scissor commitment, and that’s a powerful feeling.
So there you have it, my complete roadmap to adding stunning, believable length to your short hair. It’s not about hiding who you are, but about having fun with all the different versions of you that exist. Your short cut is amazing, and now it has a secret superpower.
I promise, once you try this placement method, you’ll wonder how you ever lived without it. It’s that simple, that effective, and that transformative. Go play, experiment, and own every look.
Save this post to Pinterest to keep this guide handy for your next transformation! What’s the first style you’re going to try—a quiet luxury bob or romantic goth waves? Tell me in the comments!