Side Sweep Prom Style Step-by-Step for Radiant Glow
Hey gorgeous! Prom night is creeping up, and I know the feeling. You want a look that feels special, a bit timeless, but also totally you. You want to glow, not just sparkle. Forget the complicated updos that take an hour and a team of helpers.
Today, I’m sharing my absolute favorite prom style: the side sweep. It’s romantic, it’s elegant, and it shows off your face and your dress beautifully. The best part? It’s way easier than it looks.
I’ll walk you through every single step, from prepping your hair to the final hold. We’re going for that radiant, lit-from-within glow that works with any vibe, whether you’re leaning into 2026 hairstyles with a modern twist or something more classic.
Grab your curling iron and some pins, and let’s create some magic together. This is your year to shine!
Why the Side Sweep is Your Perfect Prom Match
This style is a winner for so many reasons. First, it keeps your hair mostly down, so you still get that beautiful movement. But by sweeping it to one side, you instantly add drama and elegance.
It works with almost every hair type and length. It shows off your neckline and earrings, and it won’t fight with your dress’s details. It’s that perfect blend of effortful and effortless, giving you major quiet luxury bob energy even if your hair is long.
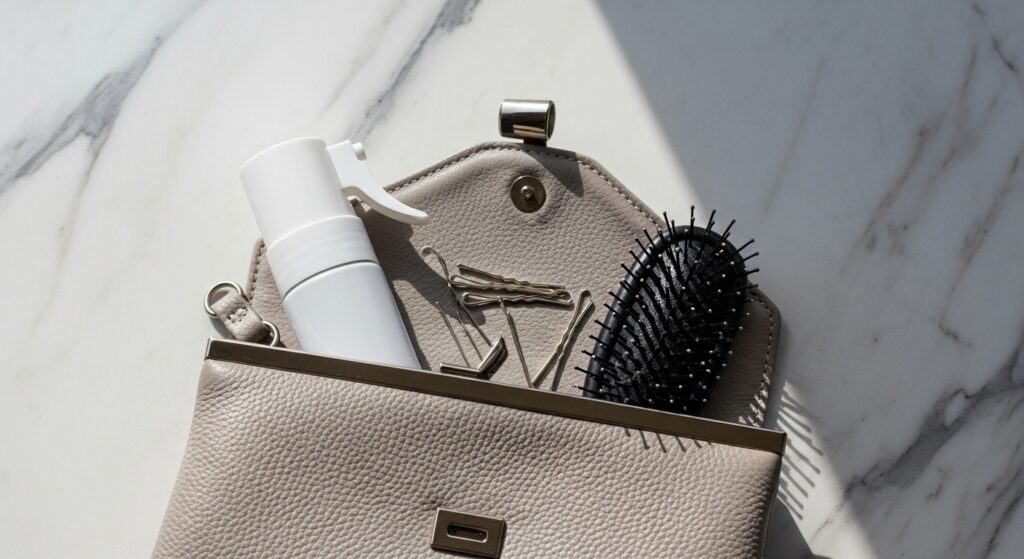
Gathering Your Glow-Getting Tools
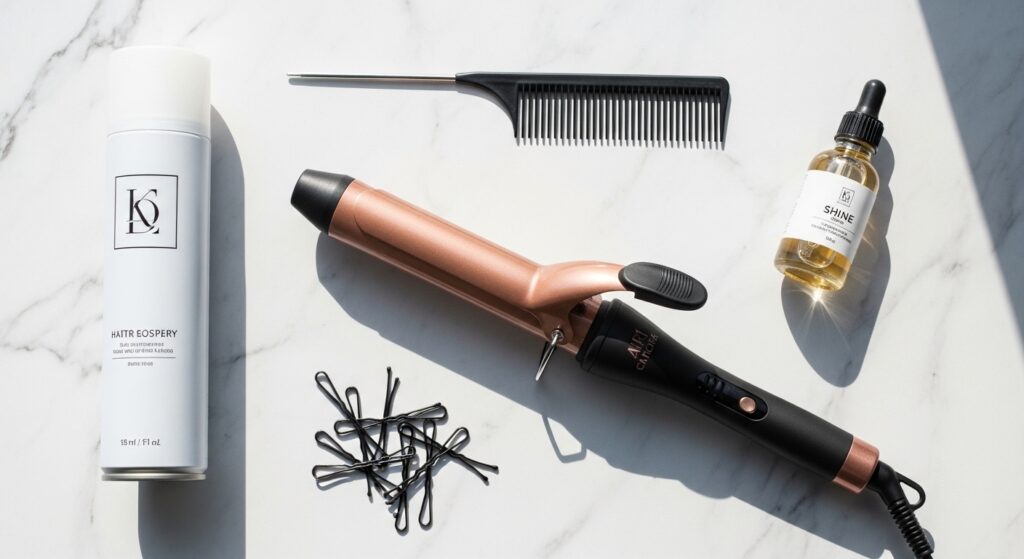
You don’t need a salon full of products. Here’s your simple checklist:
- Hot Tools: A 1-inch curling iron or wand. A flat iron can also work for waves.
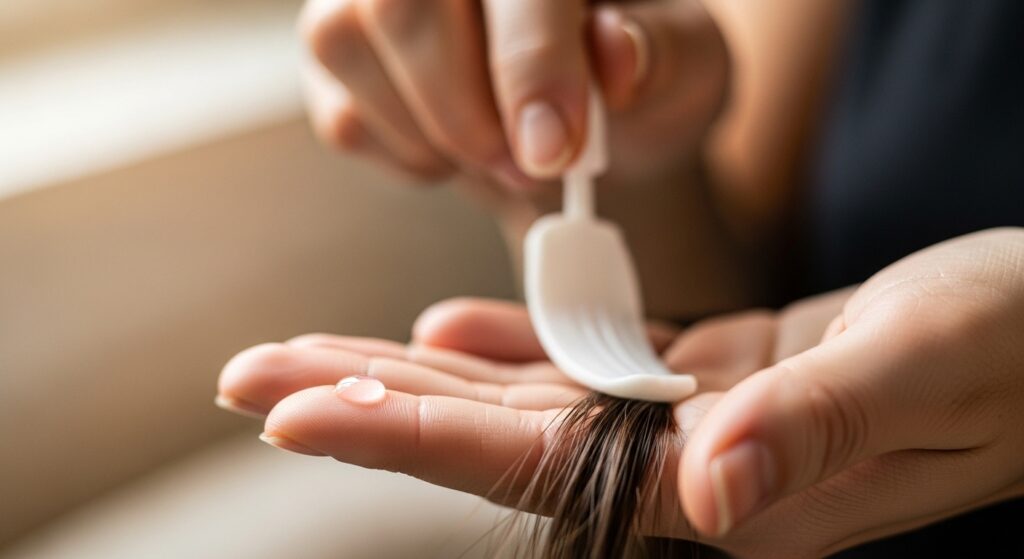
- Products: Heat protectant spray, medium-hold hairspray, a light-hold mousse, and shine drops.
- Accessories: Hair elastics that match your hair color, plenty of bobby pins, and a fine-tooth comb.
Pro tip: Spray your bobby pins with hairspray before using them. It makes them grip like a dream and last all night.
Start with the Right Base: Hair Prep 101

Great style starts with great prep. Wash your hair the night before or earlier in the day. Slightly day-old hair holds a style much better than freshly washed, slippery hair.
When drying, work a golf-ball-sized amount of mousse through your mid-lengths to ends. This gives body and memory to your curls. Blow-dry completely, aiming the nozzle downward for smoothness.
Before you touch any hot tools, coat your hair in a heat protectant. This is non-negotiable for keeping your hair healthy and shiny for the big night.
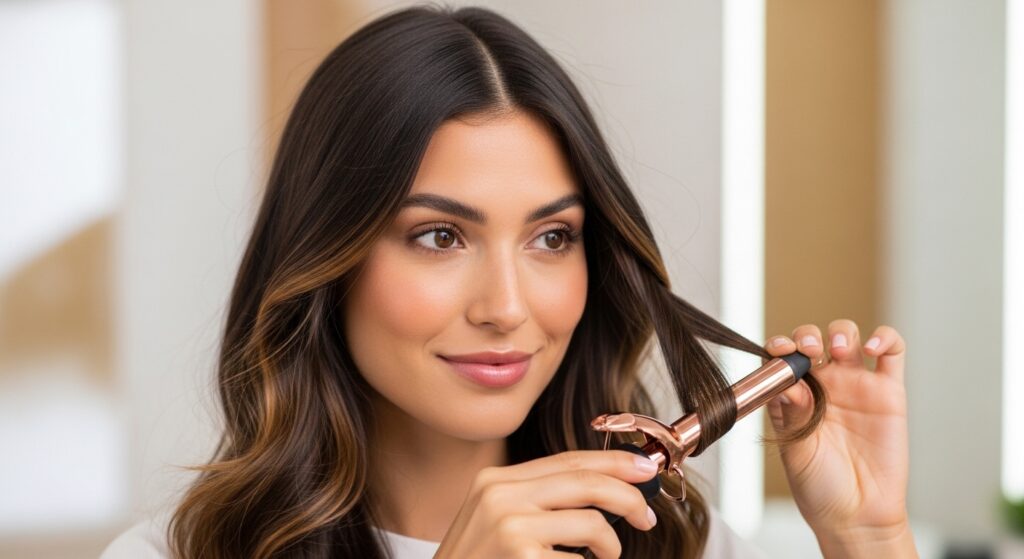
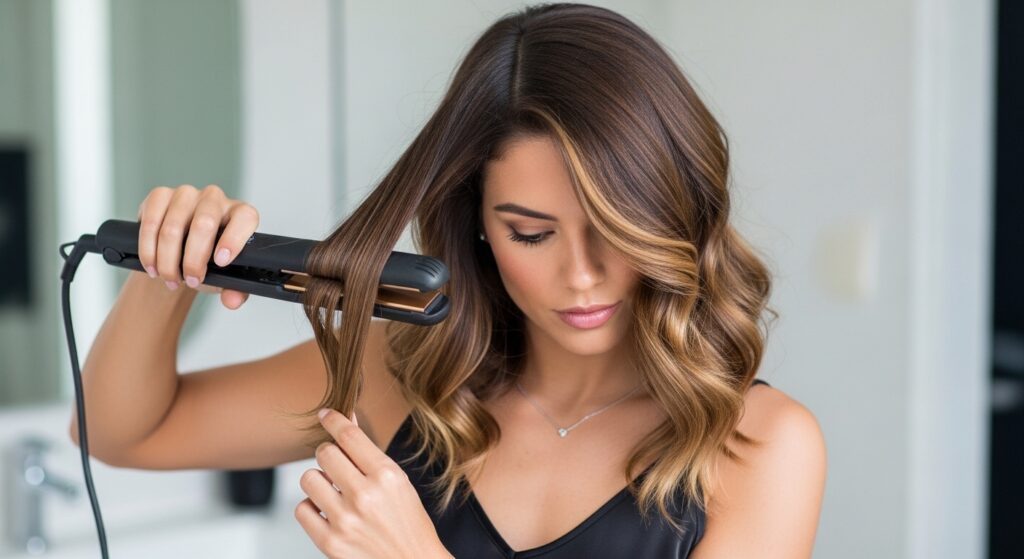
Creating Your Foundation Curls
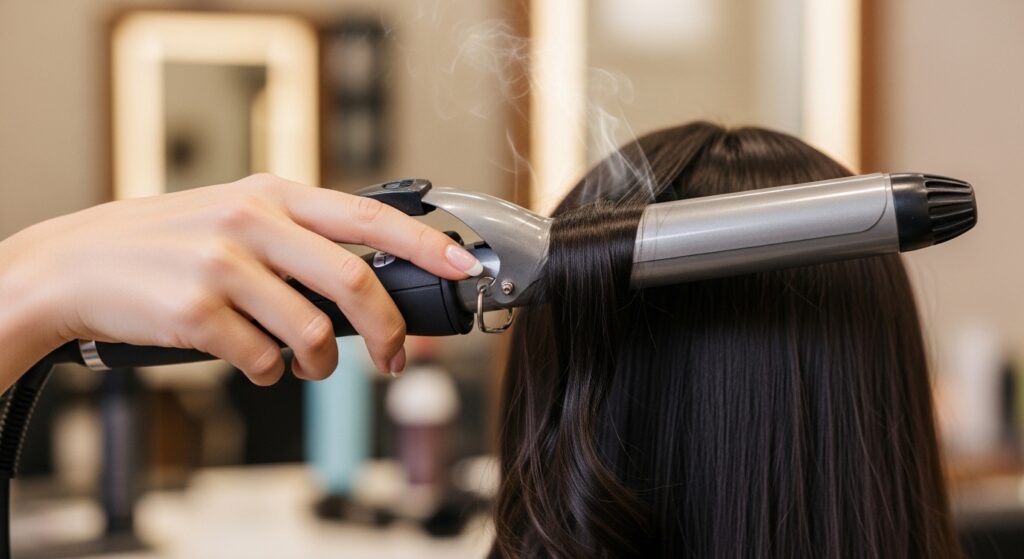
We’re not going for tight ringlets. We want soft, bouncy waves. Divide your hair into four sections: two in back, one on each side.
Take 1-2 inch pieces and curl away from your face. Hold for 8-10 seconds, then gently release the curl. Don’t touch it yet! Let the curls cool completely in their shape.
Alternate the direction of a few curls here and there for a more natural, glitchy glam hair texture. This makes the final look fuller and less perfect, in the best way.
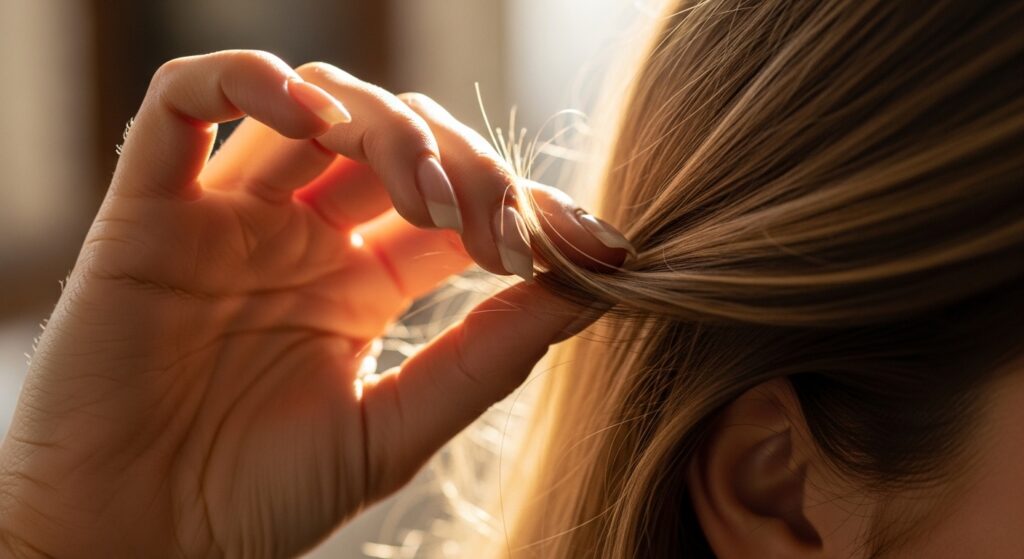
The Magic of “Breaking” the Curls
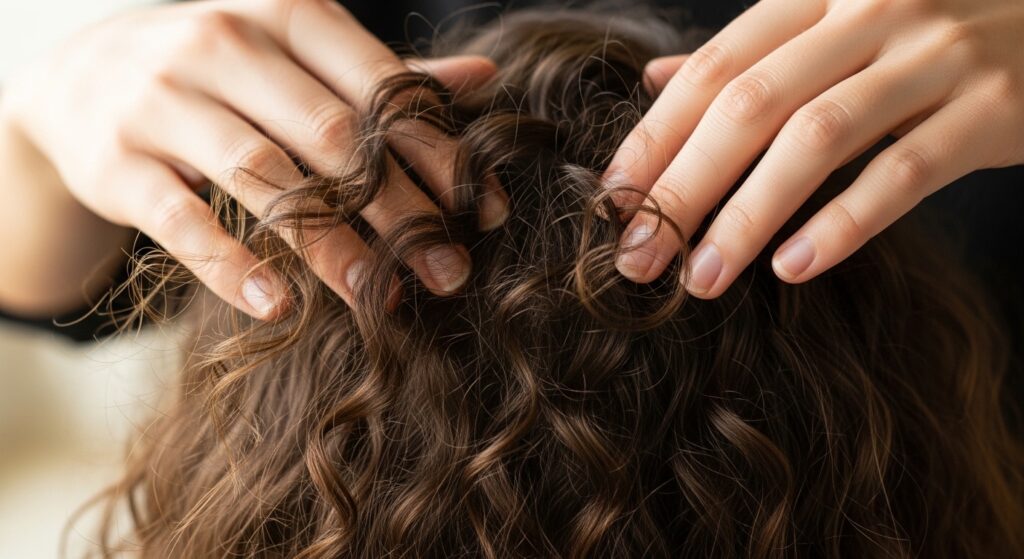
Once all your curls are completely cool, this is the fun part. Gently run your fingers through your hair from roots to ends. Don’t use a brush yet—just your fingers.
You’ll see the tight curls start to loosen into beautiful, soft waves. This adds volume and that romantic, touchable texture. Think of it as softening the edges for a more romantic goth hairstyles vibe, but in a luminous way.
If you have very fine hair, you can use a wide-tooth comb instead. The goal is separation and softness.
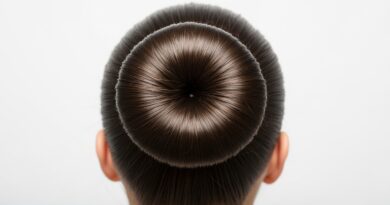
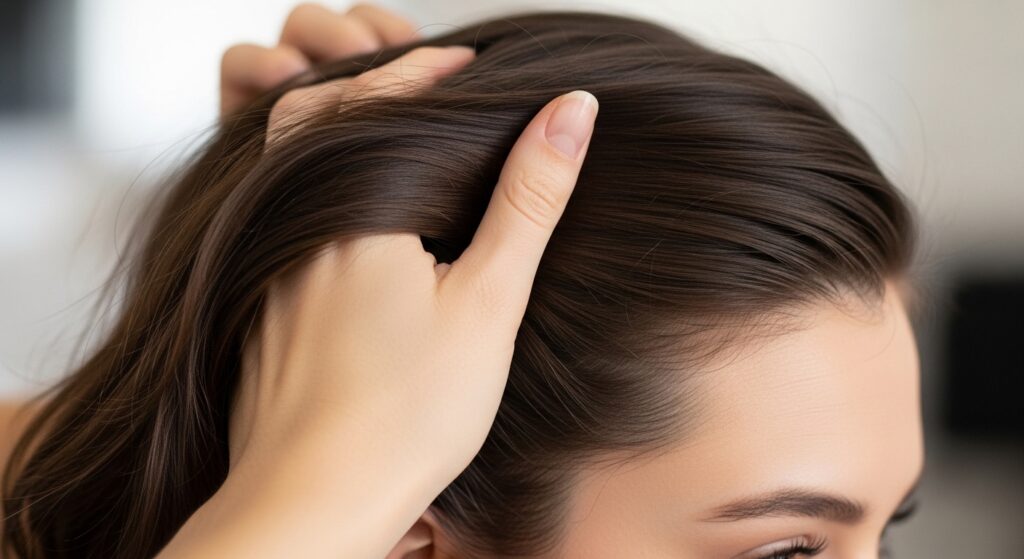
Building Volume at the Crown
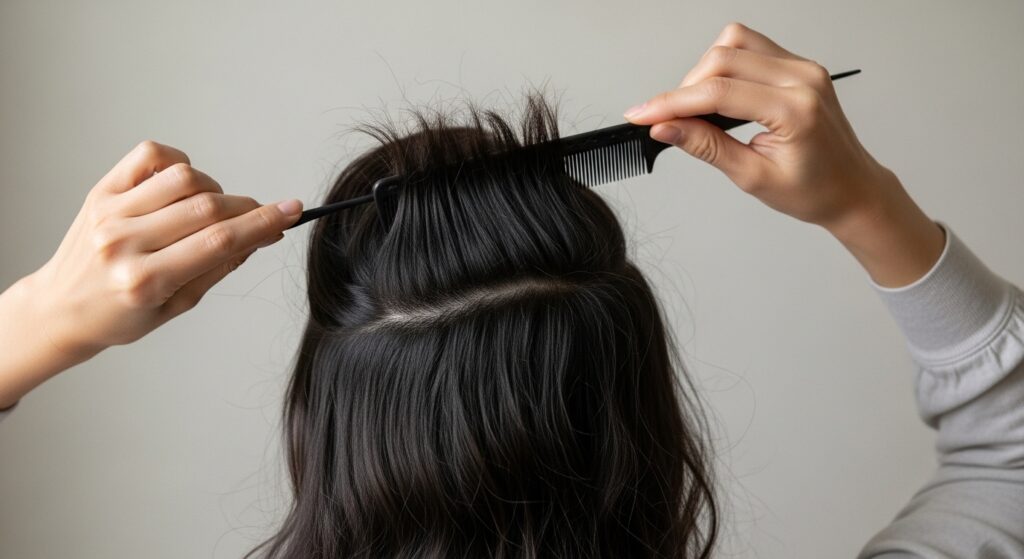
For that gorgeous sweep, we need a little lift at the top. Take a small section at the very crown of your head. Hold it straight up.
Lightly backcomb, or tease, the hair at the roots. Just a few strokes are enough. We’re not going for 80s big hair, just subtle height.
Gently smooth the top layer of hair over the teased section. This creates a hidden base of volume that makes the side sweep look fuller and more polished.
Choosing Your Sweep Side
Which side should you sweep it to? The general rule is to sweep your hair to the side opposite your natural part. This creates more drama and volume.
But the real best answer? Choose the side you feel most confident on. It’s your night. Try it both ways in the mirror and see which one makes you feel more like you.
Consider your dress strap or neckline, too. If one shoulder is bare, sometimes sweeping your hair to the opposite side beautifully frames your face and that detail.
Creating the Swept Section
Starting on the side with less hair (your chosen “sweep to” side), gather a deep section. Start from your temple and go back to about your ear, and from your part back to the crown.
Gently brush this section back and over towards your chosen side. Hold it in place at the side of your head, near the back.
Don’t pull it too tight. We want a soft, relaxed sweep, not a severe pull. A little looseness at the front near your part keeps it looking soft.
Securing with Hidden Pins

This is the secret to a secure style. Take 2-3 bobby pins. Open them up. Place the wavy side against your scalp for the best grip.
Slide a pin horizontally into the base of your swept section, catching hair from the sweep and the hair beneath it. Criss-cross another pin over it for a locking effect.
Always pin in the direction the hair is going. If the hair is swept to the right, insert pins pointing to the right. This hides them perfectly.
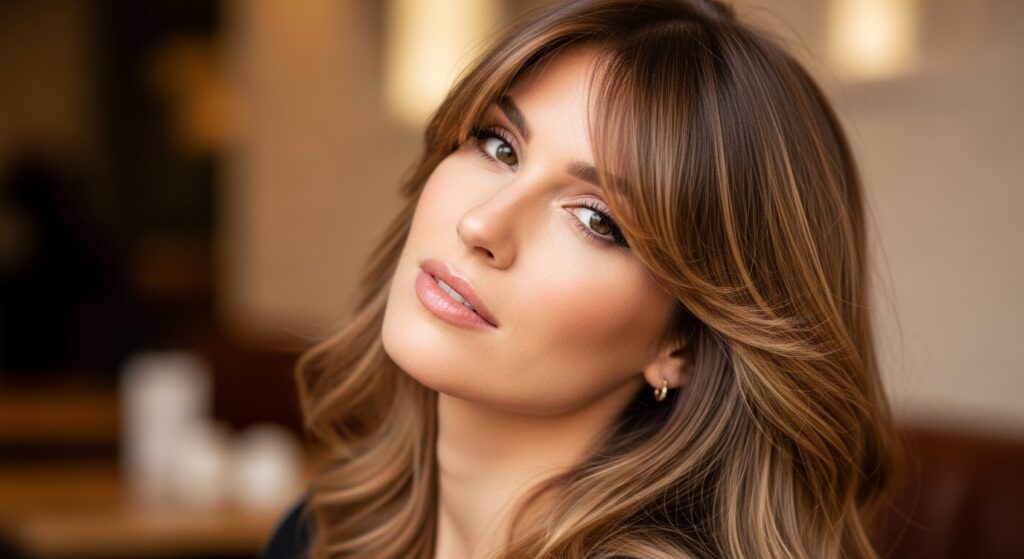
Styling the Face-Framing Pieces
Those pieces around your face are your glow enhancers. Take the front pieces on the heavier side of your sweep. You can leave them as part of the waves.
Or, for extra polish, re-curl them away from your face. This opens up your features and gives a beautiful, soft frame. It’s a trick seen in old money hair styles—always polished but never overdone.
On the lighter side, you might have a few shorter pieces. Let these fall naturally or tuck them gently behind your ear for a cute, effortless touch.
Working with Bangs or Face Layers
If you have bangs or a hime cut fringe, you’re in luck! They make this style even better. Blend your bangs into the swept section.
For curtain bangs, simply style them as usual and let them blend seamlessly into the side volume. For a fuller fringe, you can sweep them slightly to the side with the rest of the hair or keep them straight and bold for a modern vampire haircut contrast.
The key is to make them part of the overall look, not a separate, stiff element.
Adding Texture for a Lived-In Feel
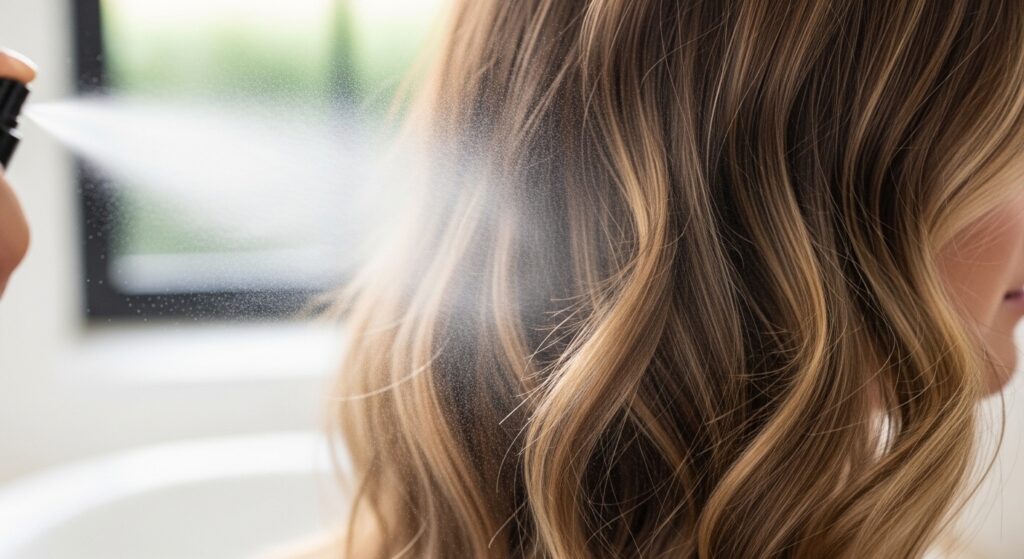
To avoid a style that looks too “done,” we add a bit of strategic texture. Lightly mist a texturizing spray or dry shampoo onto your mid-lengths and ends.
Then, gently scrunch your hair with your hands. This breaks up the waves a little more and gives that cool, glitchy glam hair finish that feels very now.
It also helps the style hold better by giving the hairspray something extra to grip onto later. It’s all about that balance between polished and personal.
The Final Hold: Hairspray Like a Pro

Hold your hairspray can about 10-12 inches away from your head. This is crucial! Spraying too close can make your hair look wet and crunchy.
Mist in a sweeping motion over the entire style, with a little extra focus on the pinned section and the crown. Let it settle for a few seconds.
For the front pieces, spray a tiny bit on your fingers, then gently smooth and shape them. This gives hold without stiffness right where people are looking.
The Secret: A Touch of Shine
This is the glow-maker. Take one drop of shine serum or hair oil on your palms. Rub your hands together to warm it up.
Then, gently smooth your hands over the surface of your hair, focusing on the ends and the front pieces. Avoid the roots.
This step catches the light, makes your hair look incredibly healthy, and adds that final radiant glow. It’s the difference between nice hair and stunning hair.
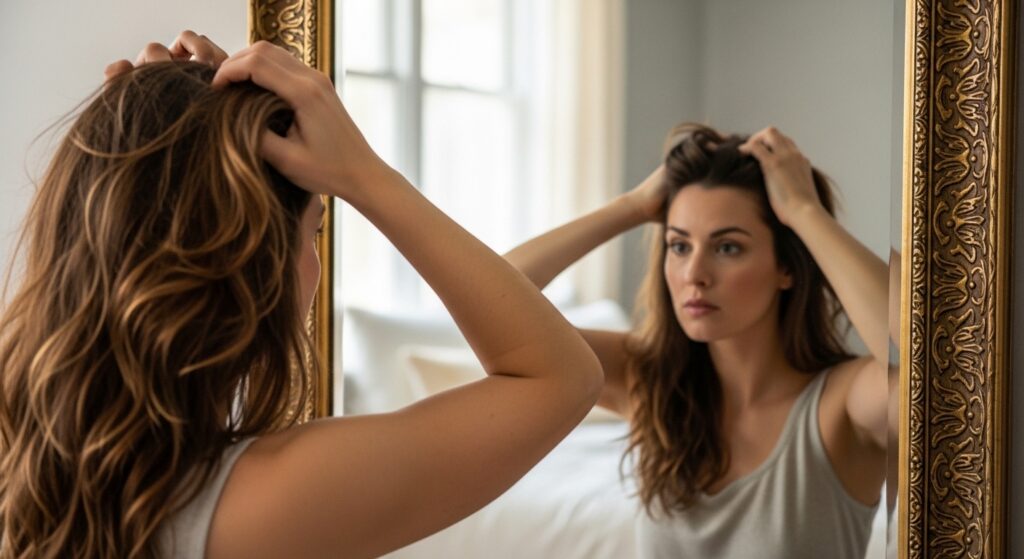
Checking Your Look From All Angles
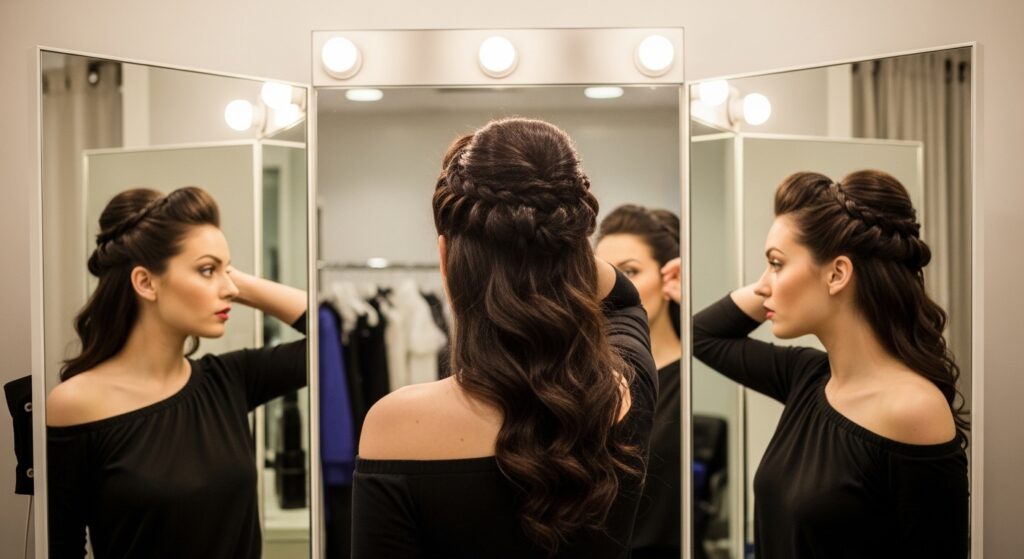
Before you call it done, do a full mirror check. Turn your head side to side. Look over your shoulder to see the back.
Is the sweep secure? Are any pins showing? Do the waves look balanced? This is your moment to fix any small details.
Remember, it should look good from every angle, because you’ll be seen from every angle on the dance floor and in all those photos!
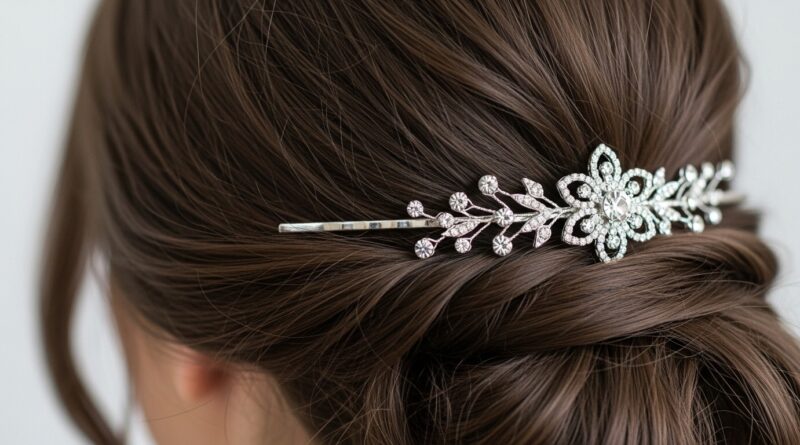
Accessorizing Your Side Sweep
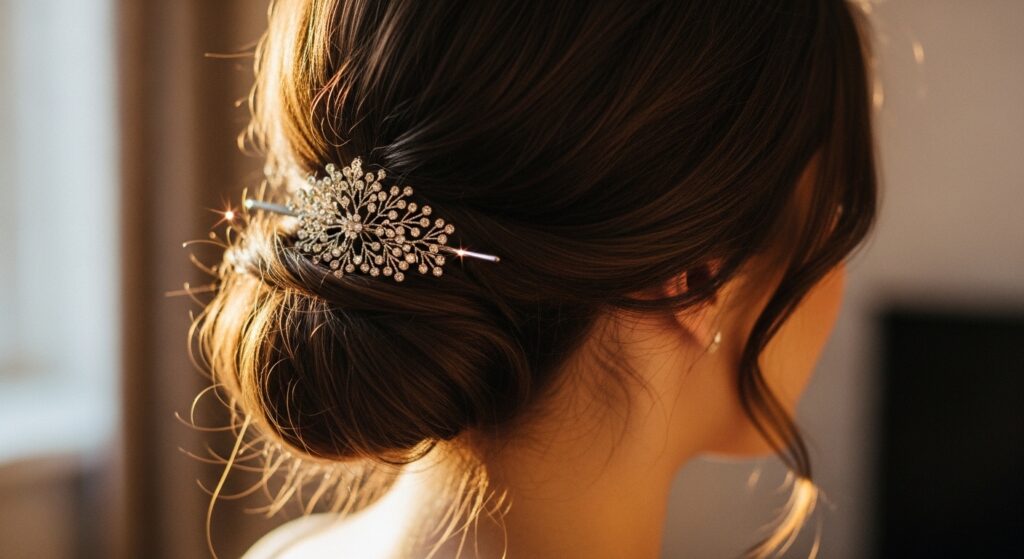
Accessories can take this style to the next level. Since one side is more exposed, it’s the perfect place for a beautiful clip or pin.
Slide a delicate pin into the base of the sweep to hide the pinning spot. Or, add a few scattered sparkly pins for a starry-night effect.
If your dress is simple, a bold accessory can be your statement. If your dress is detailed, a simple, elegant pin is perfect. It’s a great way to nod to trends like romantic goth hairstyles with a dark velvet pin or keep it classic.
What If You Have Short Hair?
Short hair girls, you can absolutely rock this! If you have a bob, asymmetrical lob, or even a pixie, the principle is the same.
Create volume and texture with a curling iron or wax. Then, use the weight of your hair and strong-hold products to sweep and hold the front section to one side.
It might be a smaller “sweep,” but the effect is just as chic and dramatic. It’s a modern, fresh take on the prom look that truly stands out.
Making It Last All Night Long
You’ll be dancing, laughing, and maybe even crying happy tears. Be prepared! Toss a few extra bobby pins and a travel-sized hairspray in your clutch.
If you feel a pin slipping, you can duck into the bathroom and fix it in seconds. A light mist of hairspray mid-way through the night can revive your waves and shine.
That’s it. With this tiny kit, you can handle any hair emergency and keep your glow intact from the first photo to the last dance.
Troubleshooting Common Issues
Issue: The sweep is falling flat. Fix: Lightly tease a bit more at the crown under the top layer and re-pin.
Issue: Hair feels stiff. Fix: Gently scrunch your hair with your hands to break the cast of the hairspray.
Issue: Front pieces won’t hold. Fix: Use a pin-sized amount of strong-hold gel on your fingertips to tame them, or use a tiny, clear elastic to create a mini side braid that blends in.
Pairing with Your Makeup for Maximum Glow
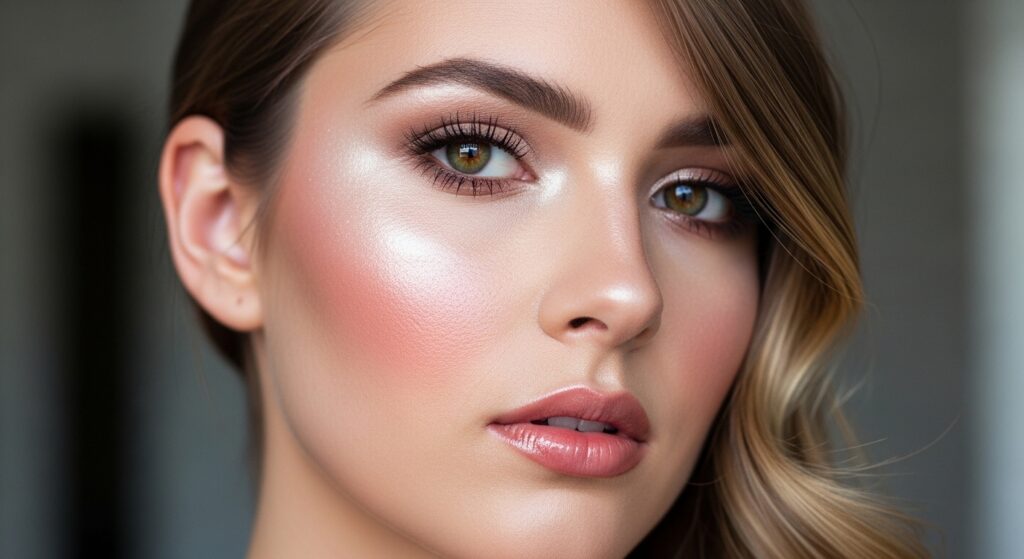
Your hair is giving soft, romantic glow—let your makeup match. Focus on luminous, dewy skin. A liquid highlighter on your cheekbones and cupid’s bow will catch the light beautifully.
Keep eyes soft but defined, maybe with a shimmering brown shadow. A rosy lip stain ties it all together.
The goal is harmony. You want your hair, makeup, and dress to work together to make you the star, with no single element fighting for attention.
Your Confidence is the Best Accessory
At the end of the day, the most important part of your look is how you feel in it. You’ve put in the work to create a beautiful, glowing style.
Now, own it. Stand tall, smile, and enjoy every single moment. When you feel confident, you literally shine from the inside out. That’s the true secret to the radiant glow.
This style is just a tool to help you feel that way. You are stunning, and this night is yours to enjoy.
And just like that, you’ve got a prom hairstyle that’s as timeless as it is trendy. It’s the kind of look that looks amazing in photos and feels even better in person. You’re going to stop traffic, in the best way.
Remember, the little details—the hidden pins, the touch of shine, the soft texture—are what make it feel special and uniquely yours. It’s not just a hairstyle; it’s a vibe.
Save this post to Pinterest so you have it ready when it’s time to get ready! Did you try it? I’d love to hear how it went for you—drop a comment below and tell me about your prom night look!