Side Swept Braid Styles for Casual and Formal Occasions
Okay, let’s be real. We’ve all stared at a clock, running late, with zero idea what to do with our hair. That’s where the side swept braid comes in. It’s my absolute go-to because it looks like you tried, even when you had about five minutes.
It works for literally everything. Coffee run? Check. Wedding guest? Double check. It’s that perfect mix of effort and ease.
This post is your ultimate guide. I’m breaking down exactly how to get the look, plus a ton of twists on it for every vibe. You’ll find styles for casual days, fancy nights, and everything in between. Let’s get into it.
Why the Side Swept Braid is a Wardrobe Hero
This style is a secret weapon. It instantly adds a touch of romance and polish, pulling your look together without any fuss. The diagonal line is super flattering, drawing the eye across your face.
It works on almost every hair type and length. Whether your hair is curly, straight, long, or in a lob, you can make this work. It’s also amazing for second or third-day hair when you need a stylish save.
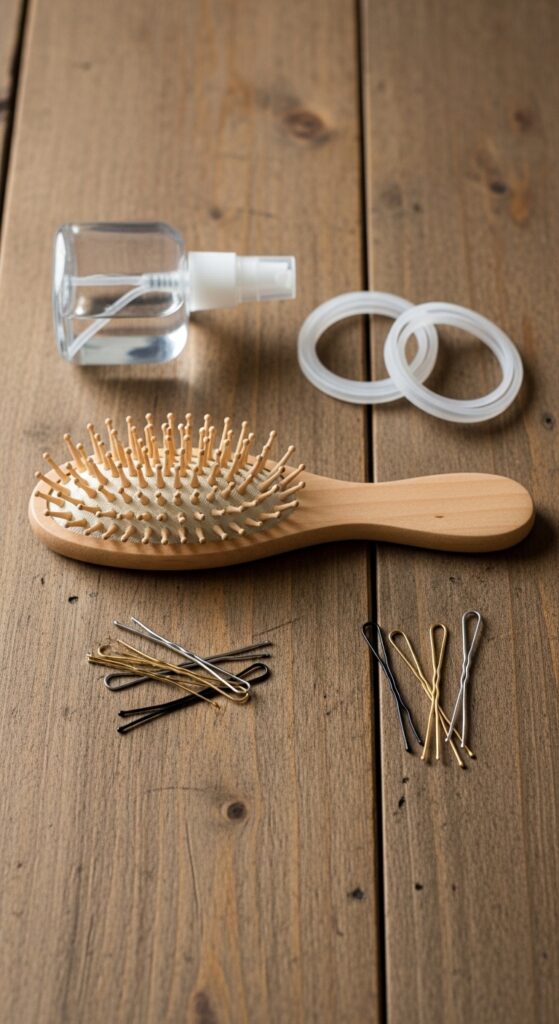
The Essential Tools You Actually Need
You don’t need a salon cart. Just a few basics will do the trick. A good brush or wide-tooth comb is key for tangle-free braiding. I love a fine mist spray bottle for dampening sections.
- A few clear elastic bands (they disappear).
- Light-hold hairspray or texturizing spray.
- Bobby pins that match your hair color.
- Optional: A little shine serum or pomade for flyaways.
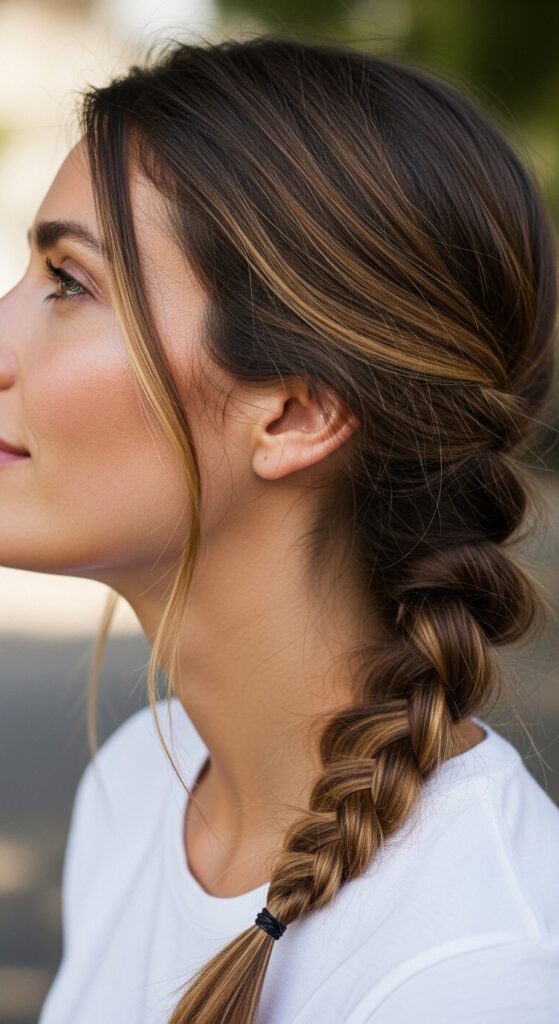
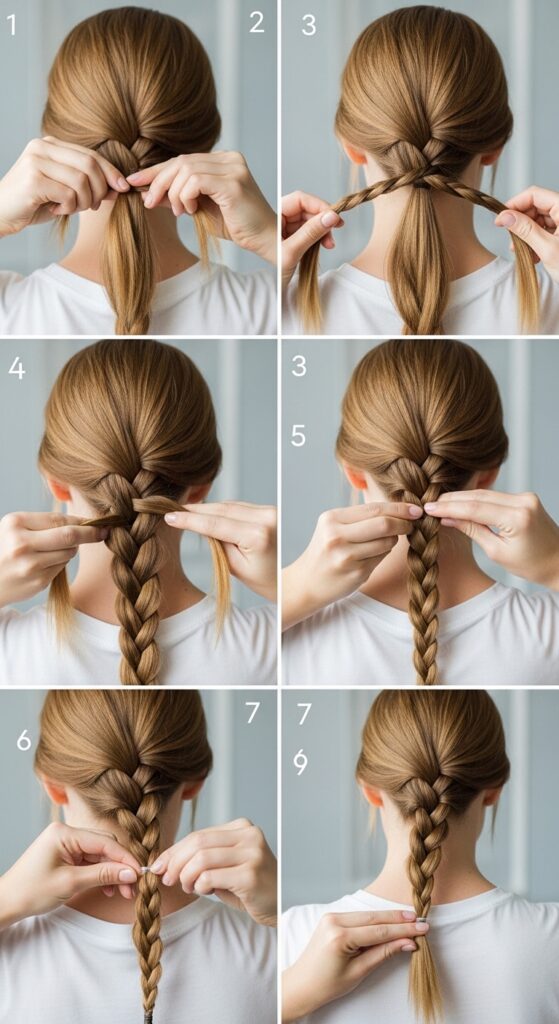
Master the Basic Side Braid in 5 Minutes
Start with brushed hair. For grip, a little texture spray on day-old hair or dampened roots works wonders. Pull all your hair to one side, your choice. I usually go opposite my part.
- Divide the side-pulled hair into three even sections.
- Begin a standard three-strand braid, pulling it over your shoulder.
- Keep it snug but not tight. Braid all the way to the ends.
- Secure with a clear elastic. Gently tug on the braid loops to make it look fuller.
The “I Woke Up Like This” Messy Version
This is my everyday, errand-running style. The messier, the better. Start with unbrushed, textured hair. Follow the basic braid steps, but don’t make your sections neat.
As you braid, intentionally pull a few face-framing pieces loose. When you’re done, pull the braid apart vigorously. The goal is soft, imperfect, and totally chill.

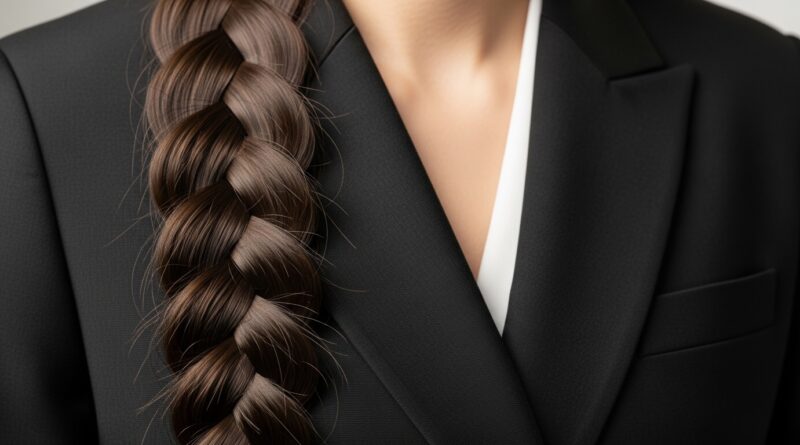
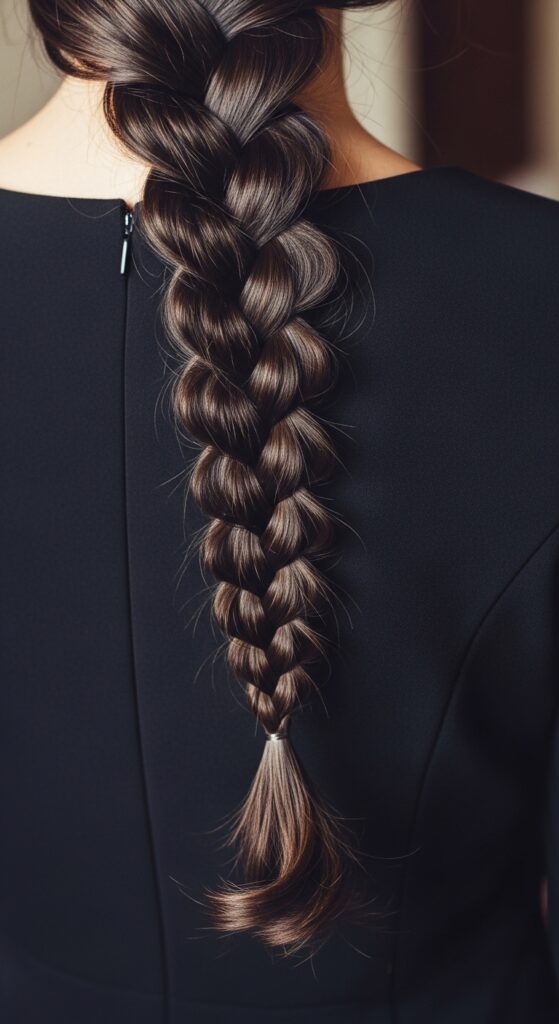
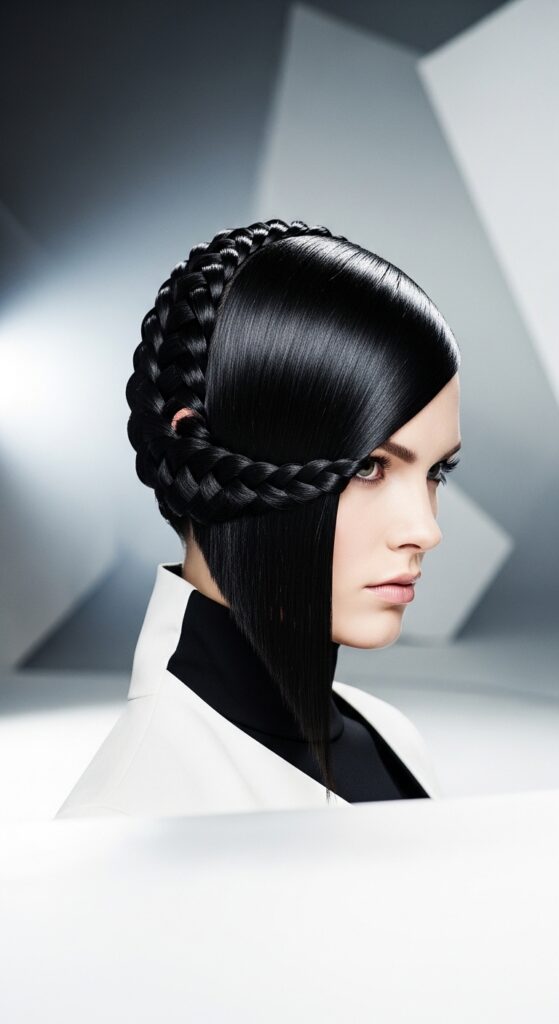
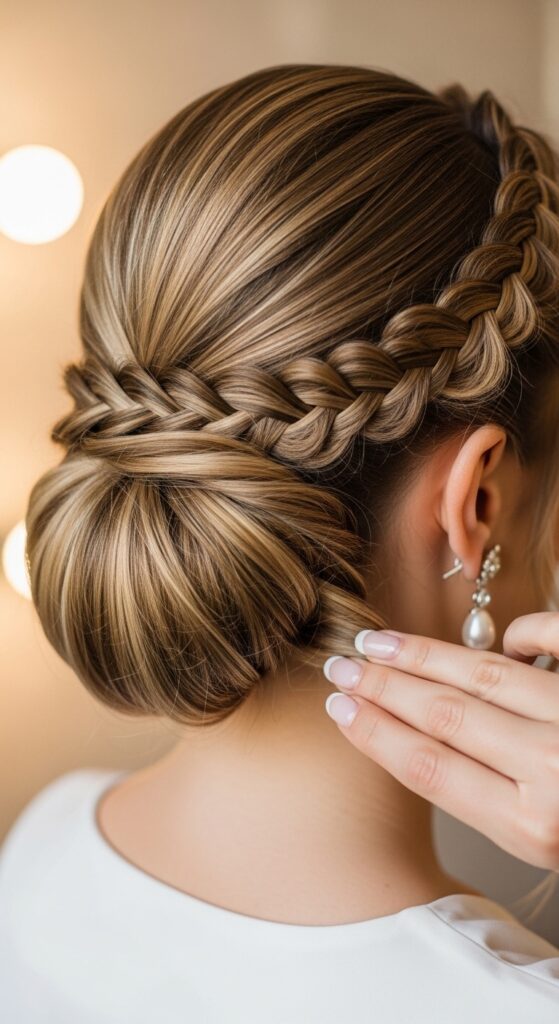
Elevate It: The Formal Rope Braid
For a wedding or nice dinner, the rope braid screams quiet luxury. It looks intricate but is simple. Take two sections of hair instead of three. Twist them tightly around each other in the same direction.
Then, twist the two twisted sections together in the opposite direction. Secure at the end. It creates a beautiful, sleek cord-like braid that feels very old money hair.
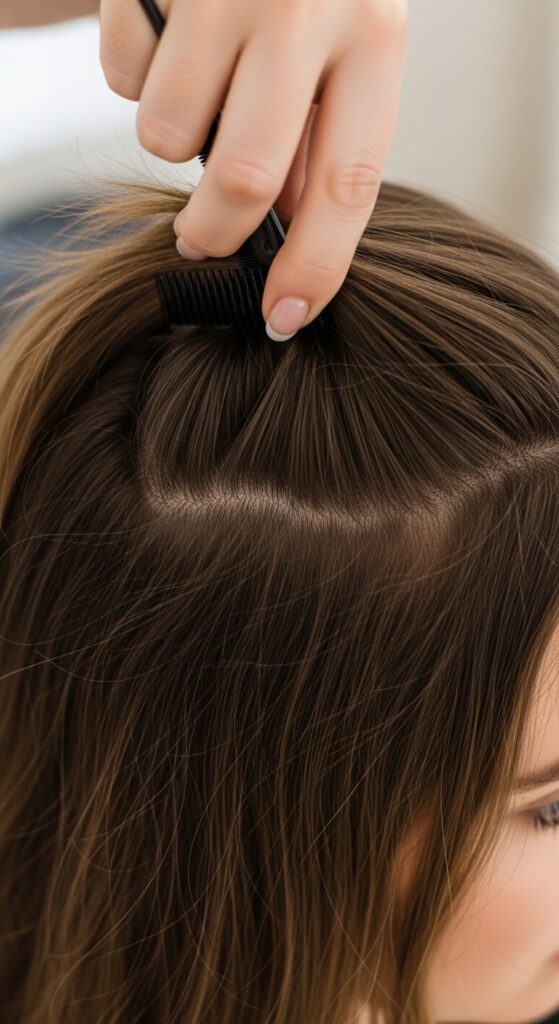
Add Volume at the Crown Instantly
A flat side braid can sometimes fall limp. The fix is easy. Before you start braiding, lightly backcomb the crown section at your roots. Just one or two gentle strokes with a comb.
Then, smooth the top layer over it and begin your braid. This gives you that lifted, voluminous base that makes the whole style look more expensive and intentional.
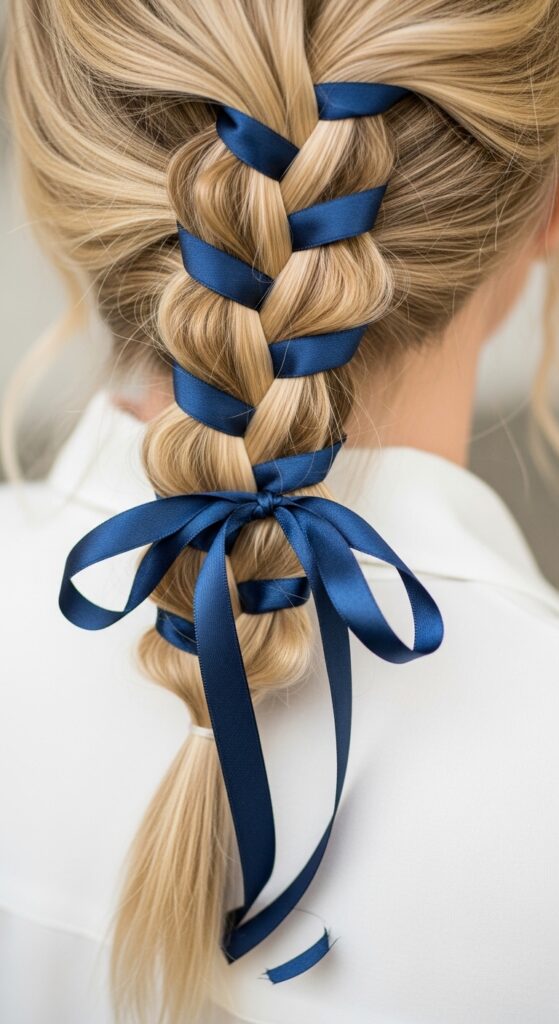
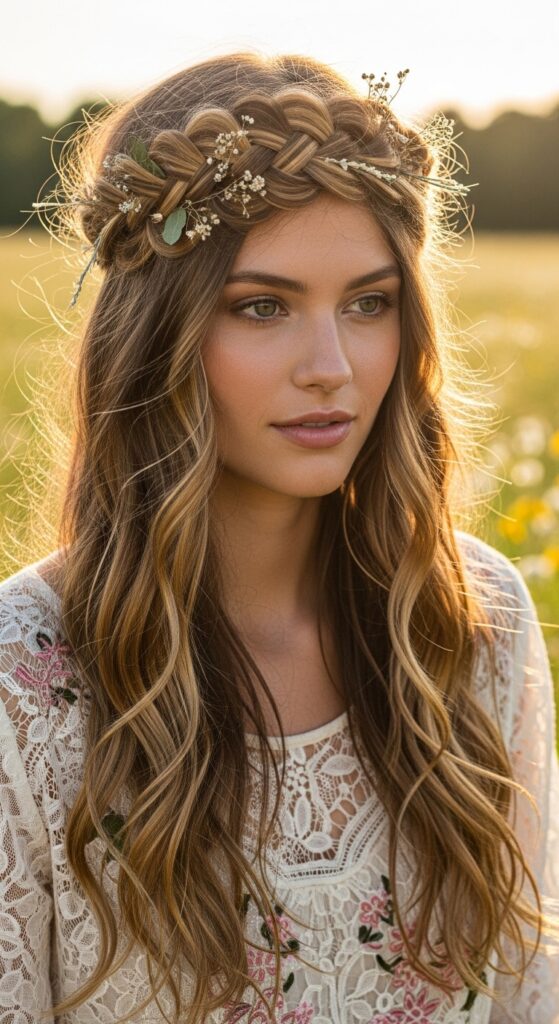
Incorporate a Ribbon for a Romantic Touch
This is a gorgeous trick for special occasions. Take a long, silky ribbon. As you start your basic three-strand braid, make one of the sections the ribbon itself.
Braid it right in. You can tie the ends together with the elastic or make a bow. It gives major romantic, vintage energy and is perfect for the soft side of 2026 hairstyles.
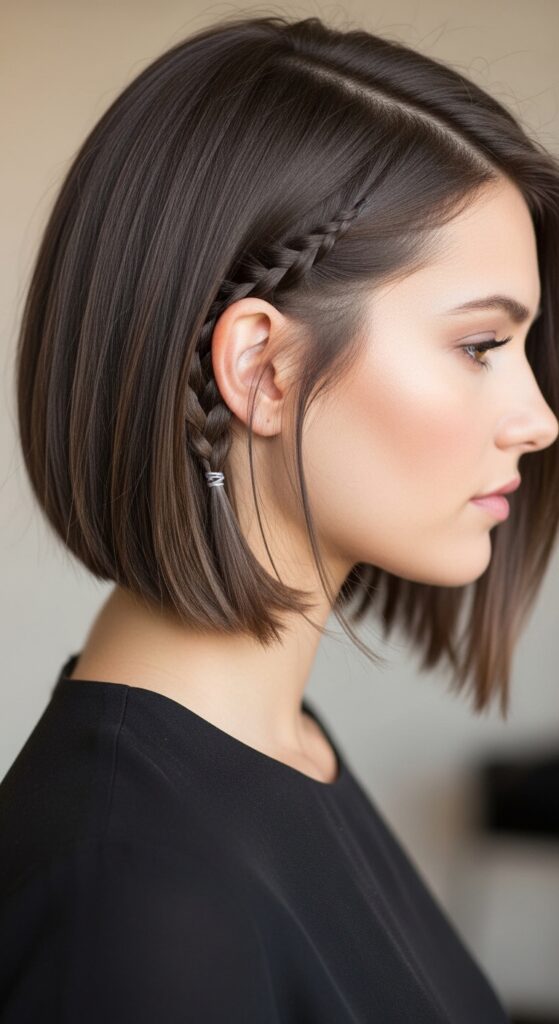
Side Braid Meets the “Quiet Luxury Bob”
If you have a bob or lob, don’t think you’re out! A side swept braid is still possible. French braid just the front section of your hair, from temple to opposite ear.
Incorporate small pieces as you go. Once you run out of hair to add, finish with a tiny braid and tuck it behind your ear, securing with a bobby pin. It’s a subtle, polished accent.
Create a Boho Headband Effect
This style keeps hair off your face in the prettiest way. Start a French or Dutch braid at one temple. Braid across your hairline, adding in hair as you go, stopping at the other temple.
Secure the end, then pin it discreetly. Let the rest of your hair flow down or put it in a low ponytail. It’s a beautiful, ethereal look that works for day or night.
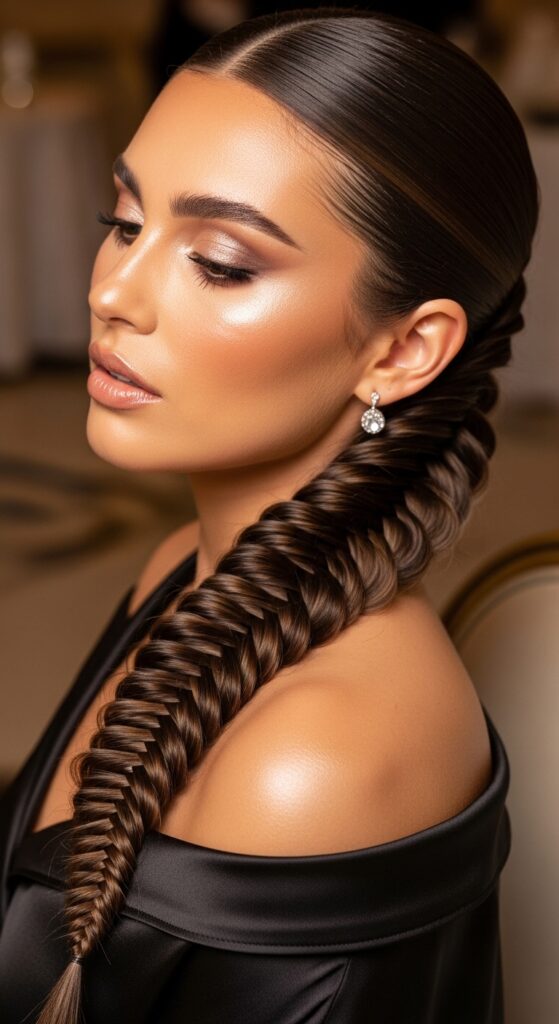
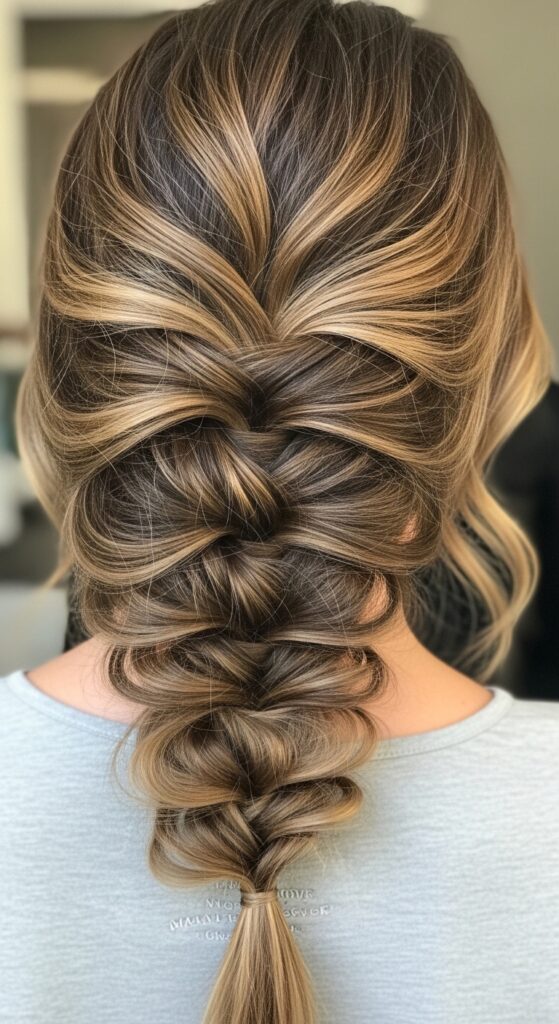
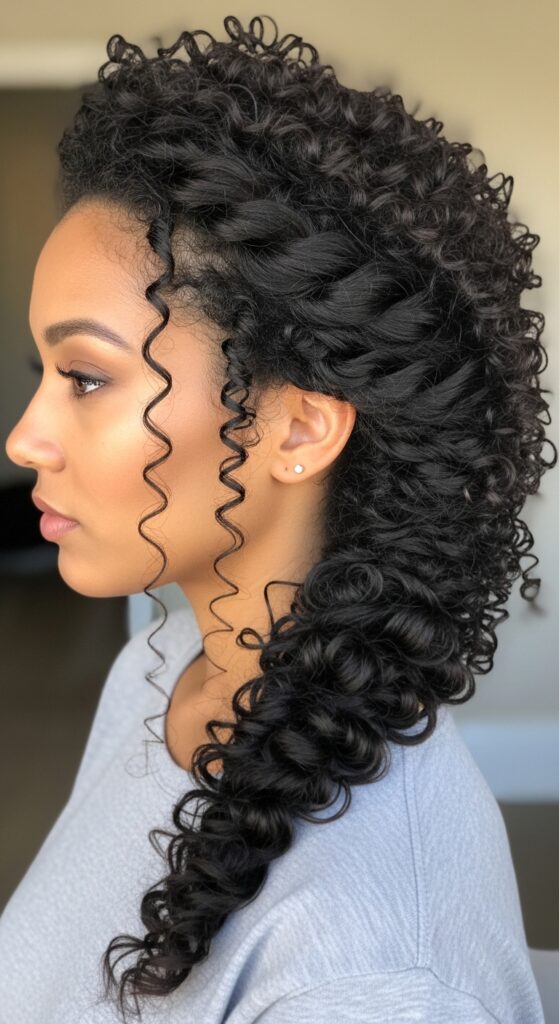
The Glamorous Evening Fishtail
The fishtail looks complex but follows a simple pattern. Split your side-swept hair into two main sections. Take a tiny piece from the outside of the left section, cross it over to the inside of the right.
Repeat from the right to the left. Keep going, pulling pieces tightly. It creates a detailed, stunning braid perfect for formal events. This is pure glitchy glam hair—detailed and eye-catching.
Pair It with an Asymmetrical Lob
The asymmetrical lob is a killer cut on its own. Amplify it with a side braid. Sweep all your hair to the longer side of the cut and create a braid there.
It emphasizes the dramatic, angular line of the cut in a really modern way. Keep the braid tight and sleek to match the sharpness of the lob.
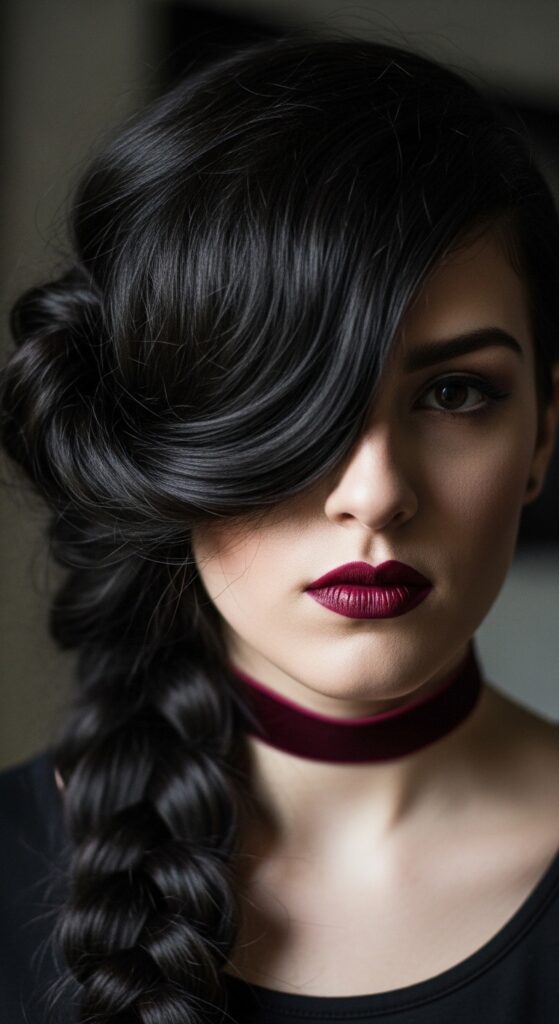
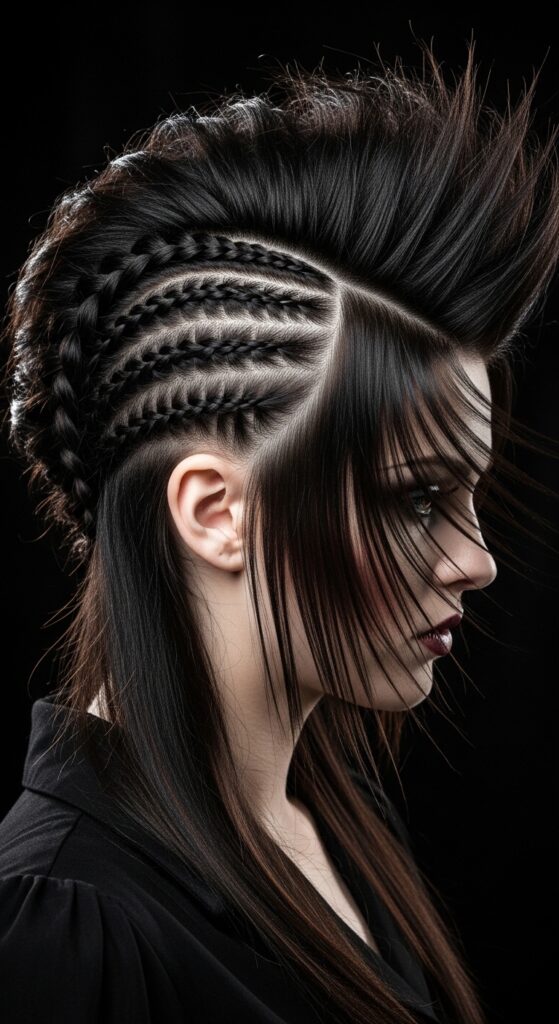
Channel Romantic Goth Vibes
Think less scary, more poetic. Start with deep, textured waves. Create a slightly messy side braid, but pull it apart aggressively to make it wide and soft.
Add a few strategic face-framing pieces. The key is to pair it with dark, romantic makeup—a deep lip or smudgy liner. It’s a perfect take on romantic goth hairstyles.
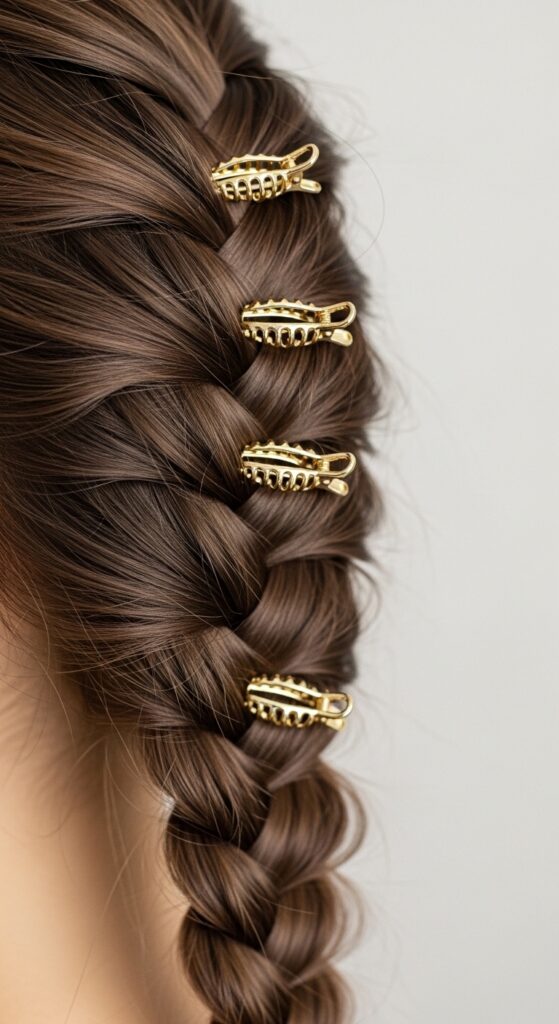
Accessorize with Delicate Clips & Pins
After your braid is done, the fun begins. Slide in a few delicate pearl pins or a statement barrette along the braid’s starting line. You can also pin small clips down the length of the braid.
This personalizes the style instantly and can match your outfit or jewelry. It’s an easy way to tap into the accessory-heavy 2026 hairstyles trend.
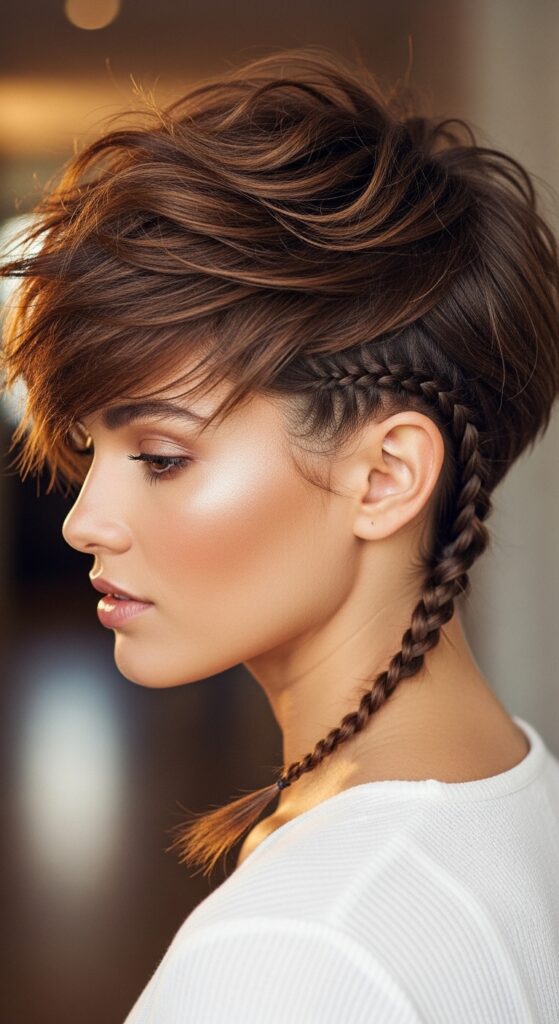
For Short Hair: The Side-Swept Accent
Short hair friends, you can play too. Take a section of hair from your heavier side part. Braid it tightly close to your head, following the hairline back towards your ear.
Secure it with a tiny clear elastic and tuck the end behind your ear, pinning it. It’s a cool, edgy accent that works with pixies or short bobs.
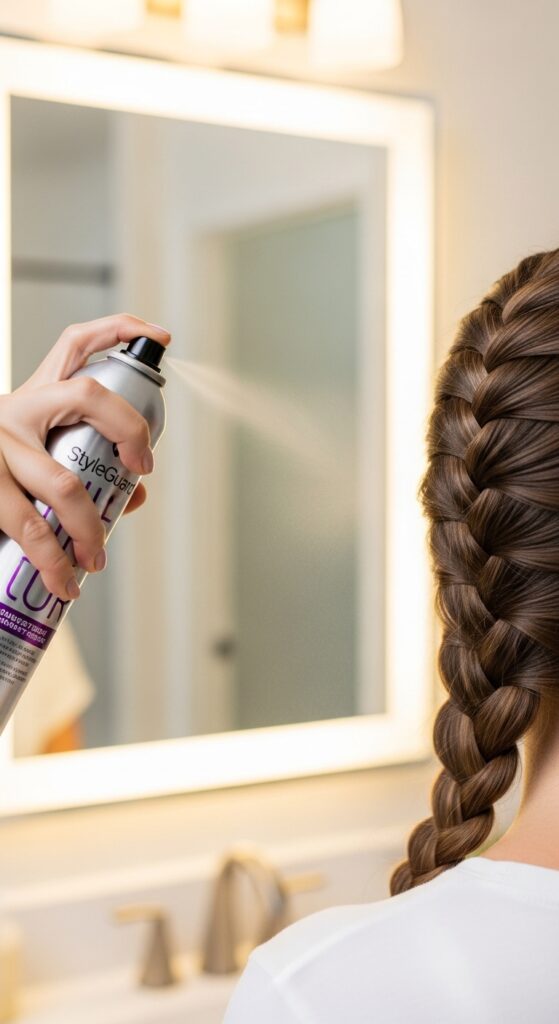
Make it Last: Tips for All-Day Hold
To fight sagging, start with a light texturizing spray at the roots. Braid your hair a little tighter than you normally would. Once secured, gently pull it apart to widen it—this actually helps lock the shape.
A light mist of flexible-hold hairspray all over will seal it. Carry a few extra bobby pins and a spare elastic in your bag, just in case.
The “Vampire Cut” & a Dramatic Braid
The vampire haircut is all about sharp, heavy layers. To style, emphasize those pieces. Sweep all hair to one side and do a deep side-part French braid, intentionally letting some of the shorter, sharp layers fall out.
It should look artfully undone and a bit dramatic, perfect for the aesthetic. The braid contains the length while the layers frame the face.
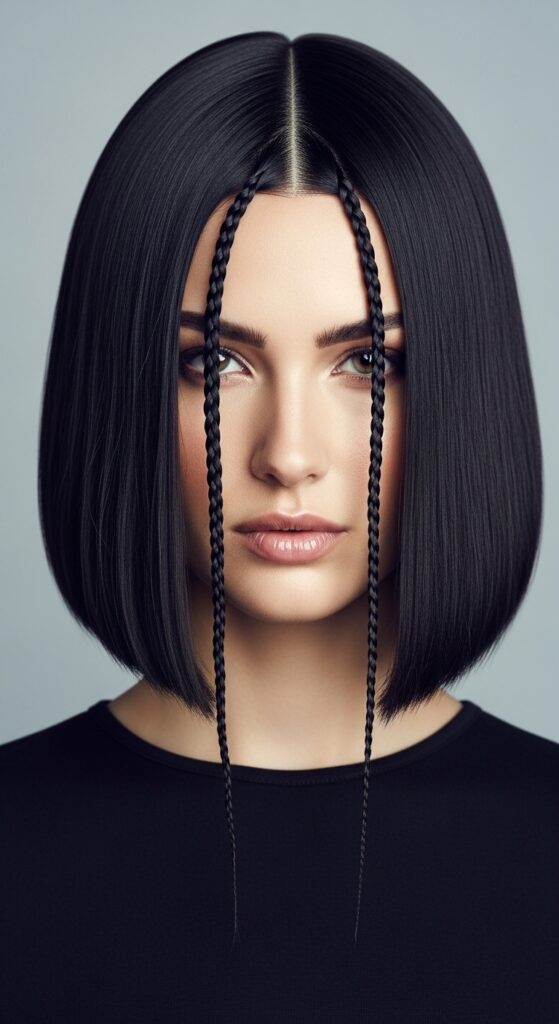
Inspired by the Hime Cut
The hime cut features those iconic straight-across front locks. Isolate those long front sections. Braid each one separately, sweeping them both to the same side.
You can braid them together into one larger braid or let them be two thin, parallel braids. It’s a structured, geometric take on the side braid that honors the cut’s origins.
From Desk to Dinner: The Quick Transform
Wore a simple braid all day? Take it up a notch in seconds. Carefully undo just the bottom half of the braid, leaving the top intact. Gently twist the now-loose hair and wrap it into a low, side bun.
Secure with pins. Pull out a few more face-framing pieces. Add statement earrings. You just created an elegant updo in under two minutes.
Double Braids for a Playful Twist
Part your hair down the middle. Create two identical side swept braids, one on each side, pulling them both over your shoulders in front.
Keep them messy and soft. This is such a fun, youthful look for a casual day out or a festival. It feels fresh and a little nostalgic at the same time.

Combine with Waves for Maximum Impact
This is a one-two punch of texture. Start with loose, beachy waves all over. Then, gather your hair for a side braid. The waves will make the braid look instantly thicker, fuller, and more romantic.
As you braid, don’t pull too tight—let the wave texture do the work. This combo is foolproof for looking put-together with minimal effort.
For Curly & Coily Hair Textures
Embrace your natural texture! Braid on fully defined, moisturized curls. The braid will be full of incredible volume and pattern. Use a styling cream for hold and to reduce frizz.
You can braid it tightly for a defined look or loosely for a bigger, more voluminous style. The result is stunning and celebrates your natural hair.
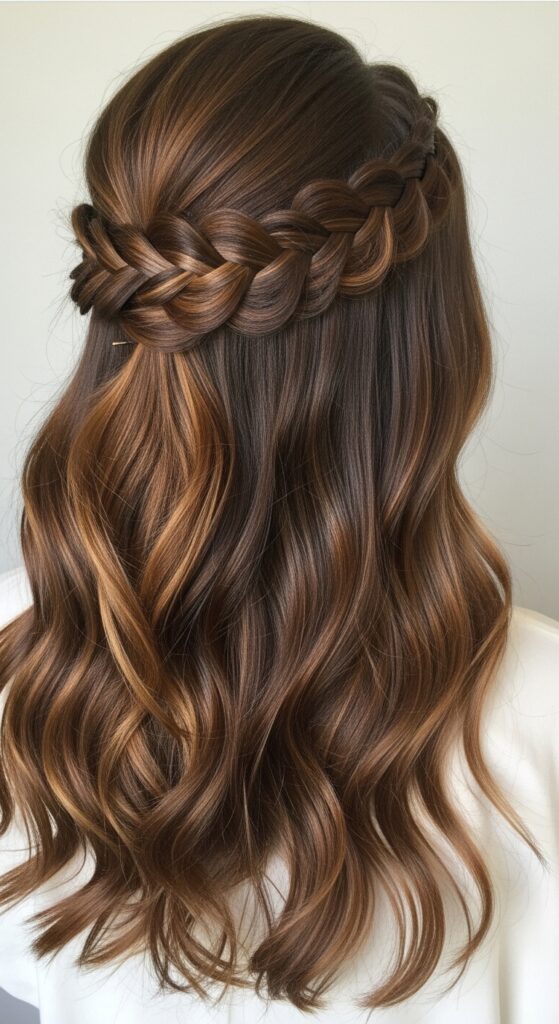
Half-Up, Half-Down Side Braid
This is the perfect compromise style. Take just the top section of your hair, from the crown down to your ears. Sweep it to one side and braid it.
Secure it, and let the rest of your hair down. It keeps hair out of your face while showing off your length. It’s polished but still soft and easy.
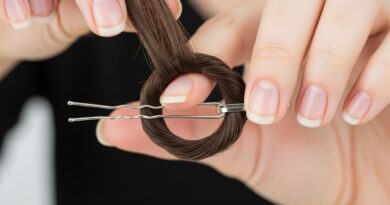
The No-Elastic Hack (Using Just Hair)
Forgot your elastics? No problem. When you get to the end of your braid, instead of using an elastic, take a small section of hair from the very tip of the braid.
Wrap it tightly around the base of the braid’s end several times, then tuck the very end of that piece up into the wrapped section. It acts as its own tie!
See? I told you this style was a magic trick. From the quick messy version to the formal rope braid, there’s truly an option for every single day and mood on your calendar.
The best part is that once you get the basic move down, you can mix and match these ideas to make them your own. It’s a style that grows with you.
I hope you feel ready to tackle your next hair day with a little more confidence and a lot more style. Go ahead, sweep it to the side and see how it transforms your look.
Save this post to Pinterest so you always have these ideas handy! And tell me in the comments—which style are you trying first? Is it the romantic ribbon look or the sleek fishtail? I love hearing from you!