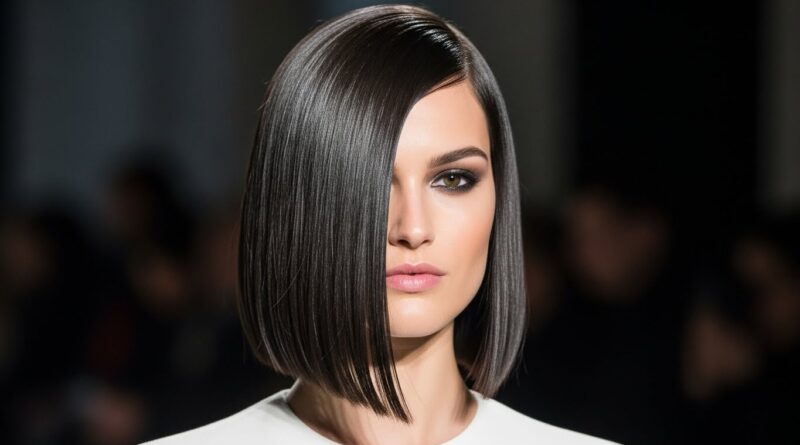
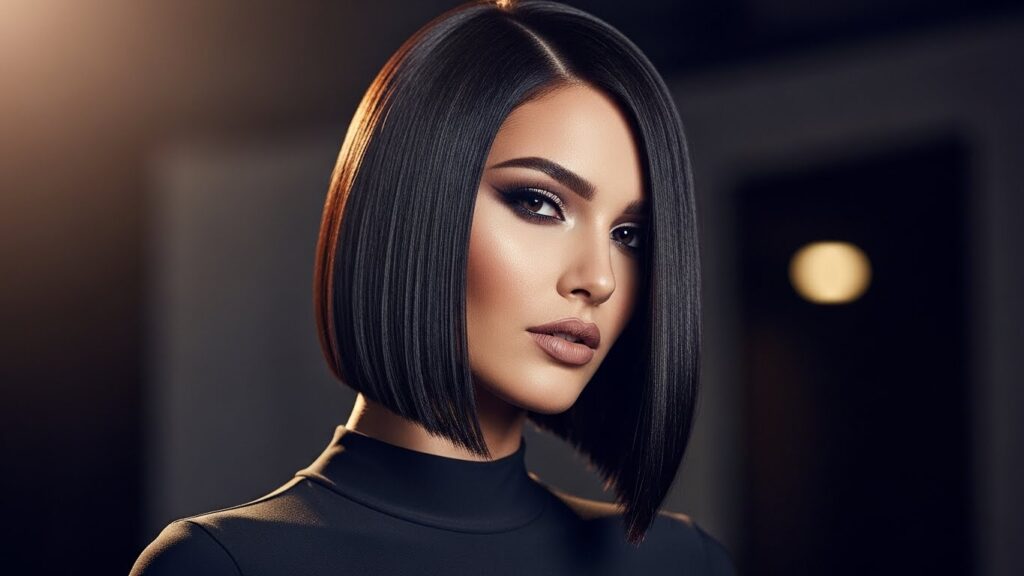
Sleek Lob Tutorial: How to Get That Glossy, Straight Finish
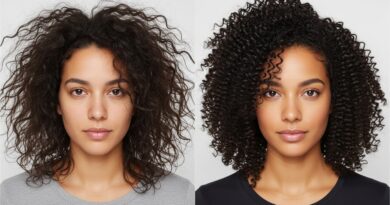
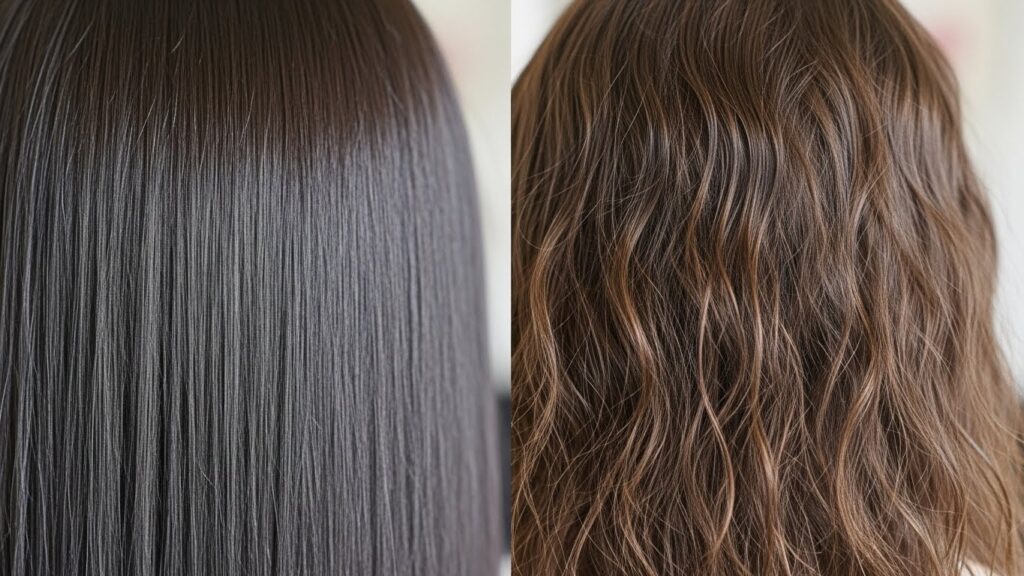
There’s a haircut that consistently dominates red carpets, boardrooms, and street style blogs: the sleek, glossy lob. More than just a long bob, this style is a statement of polished sophistication. It’s the perfect marriage of effortless shape and meticulous finish—hair that looks healthy, expensive, and incredibly put-together. But achieving that mirror-like, pin-straight perfection at home can feel like a mystery reserved for celebrity stylists.
The Foundation: Pre-Styling Prep is Everything
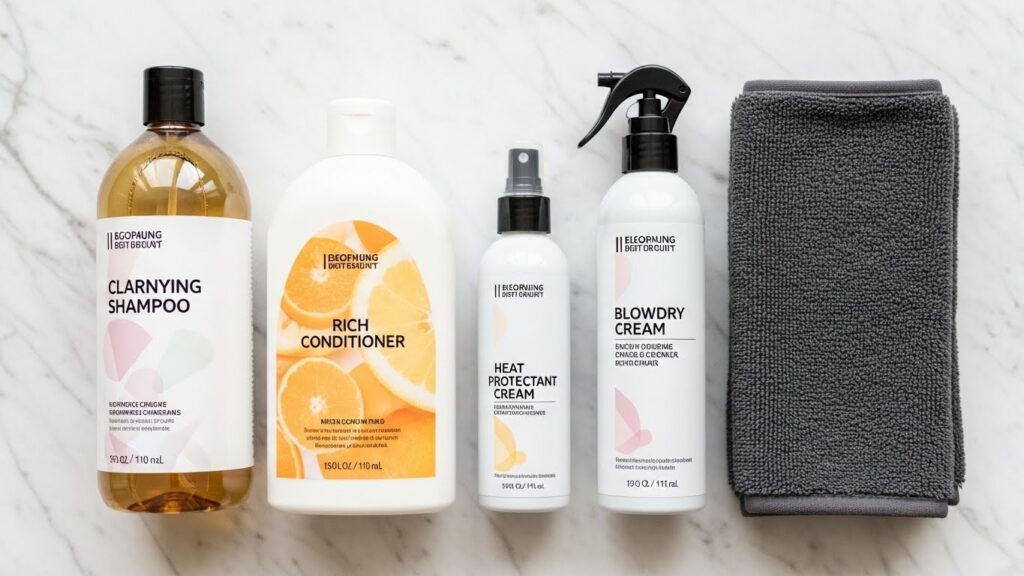
You cannot build a skyscraper on sand, and you cannot achieve a glossy finish on unprepared hair. This first step is non-negotiable and sets the stage for everything that follows. Start in the shower with a clarifying shampoo once a week to remove any product buildup that can weigh hair down and cause uneven straightening. Follow with a deeply hydrating and smoothing conditioner, focusing on the mid-lengths to ends. Rinse with cool water to help close the hair cuticle, which instantly boosts shine.
When you get out of the shower, gently squeeze excess water from your hair with a microfiber towel—never rub. While your hair is still damp, apply a heat protectant spray or serum. This is your shield. It not only prevents heat damage but often contains silicones or oils that create a smooth base. For extra defense and frizz control, follow with a blow-dry primer or cream designed for straight styles. Distribute the product evenly from roots to ends using a wide-tooth comb.
Tool Time: Choosing Your Weapons Wisely
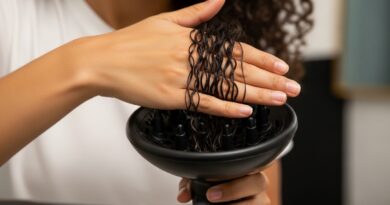
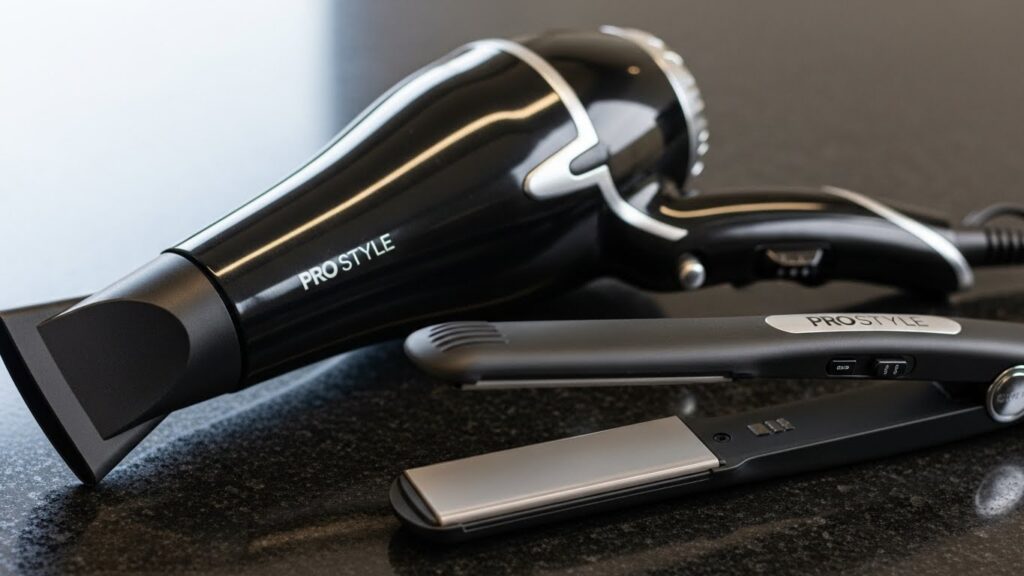
The right tools are not a luxury; they are a necessity for this look. Your hairdryer and flat iron are the heroes of this story. Invest in a high-wattage ionic dryer (1800W or above). Ionic technology helps break down water molecules faster for quicker drying and reduces static, leading to shinier results. Pair it with a concentrator nozzle—this attachment is crucial for directing airflow precisely down the hair shaft, smoothing the cuticle as you dry.
For the final straightening, a high-quality ceramic or tourmaline flat iron is key. Plate size matters: for a lob, plates around 1 to 1.5 inches are ideal. They allow you to straighten decent-sized sections while still managing the shorter length around your face. Ensure your iron has adjustable heat settings. Fine or color-treated hair should use a lower setting (300-350°F), while thicker, coarser hair may need higher heat (380-400°F).
The Technique: Step-by-Step to Sleek Perfection
Now, let’s put it all together. This methodical technique is what separates a basic straightening job from a salon-quality gloss.
Step 1: Rough Dry. Using your fingers or a wide-tooth comb, blow-dry your hair until it’s about 90% dry. This removes the bulk of the moisture without over-styling.
Step 2: Section and Conquer. Clip the top half of your hair up. Start with the bottom, nape section. This is the most important rule: work in small, manageable sections. Sections should be no wider than your flat iron plates.
Step 3: The Tension Blow-Dry. Take a round brush (a medium-sized one works well for lob length). Place a section of hair on the brush, pull it taut, and follow with the dryer fitted with the concentrator nozzle. Direct the airflow down the hair shaft from root to tip. The combination of tension, heat, and directed airflow is what creates the initial smoothness. Repeat throughout your entire head.
Step 4: The Final Pass with the Iron. Re-section your now-straightened hair. Starting again at the nape, take one of your small sections. Slowly glide the flat iron from the root to the tip in one smooth, steady motion. Do not go back and forth. For extreme gloss, you can pass over the section a second time, but always keep the iron moving. Proceed section by section until complete.
Pro Tip: When you reach the front sections, wrap the ends under or flip them out slightly as you iron to create a soft, finished shape rather than a harsh, blunt line.
The Gloss Factor: Sealing the Deal for Maximum Shine
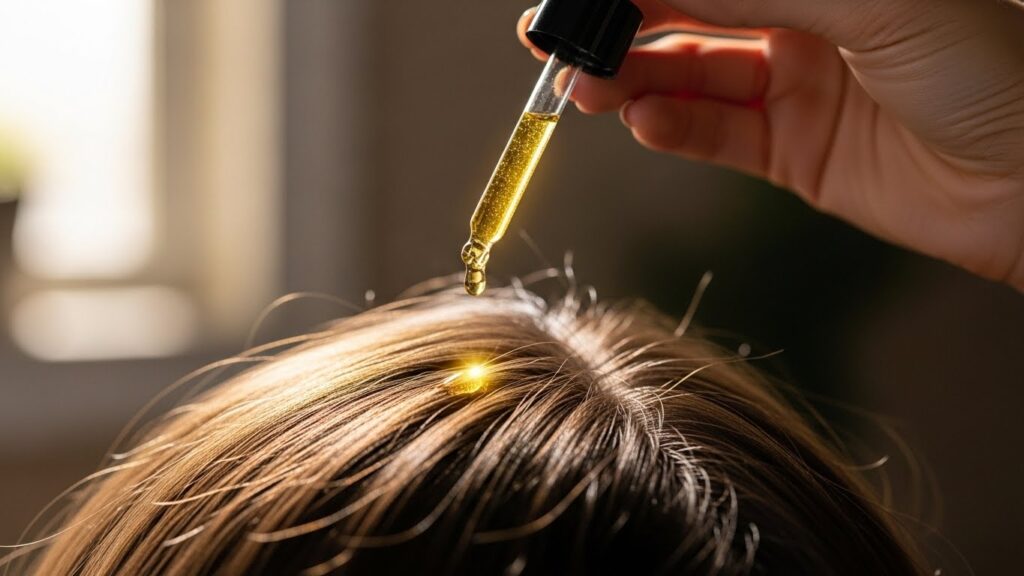
You’ve straightened your hair, but the “glossy” part of the glossy lob requires a final act. This is where you transform smooth hair into liquid shine. Once your hair is completely cool (heat can make products sit oddly), apply a shine serum or oil. Use just one or two pumps, rub between your palms, and gently skim over the surface of your hair, focusing on the mid-lengths and ends. Avoid the roots to prevent greasiness.
For an extra dose of brilliance, consider a glossing spray. Hold it about 10 inches from your head and mist lightly over the top layer. Finally, take a soft, clean boar bristle brush and give your hair a few smooth strokes. This helps distribute natural oils from your scalp down the hair shaft and polishes the cuticle to its shiniest potential.
Maintenance and Troubleshooting: Keeping the Lob Looking Luxe
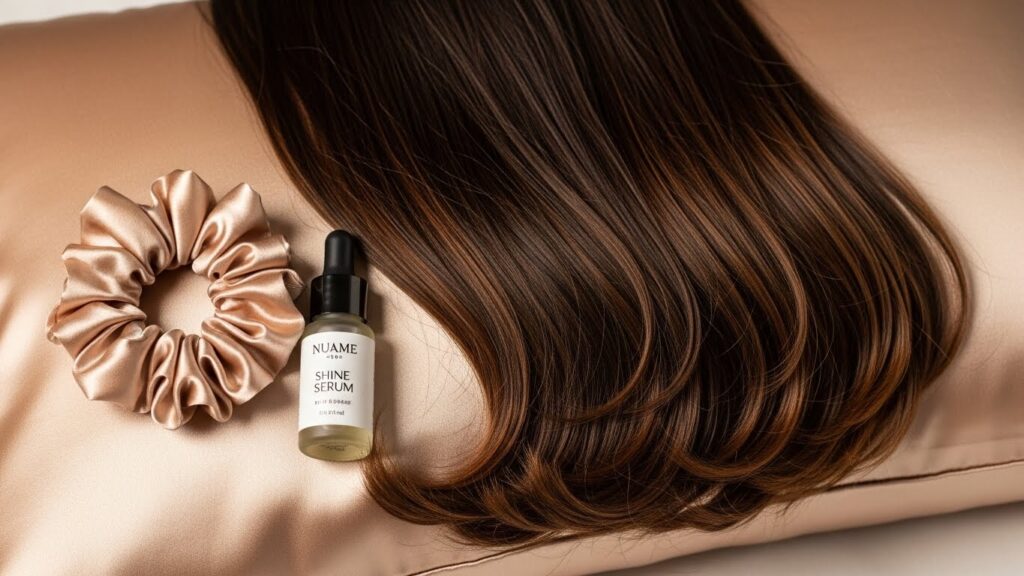
Your sleek lob looks incredible now, but how do you maintain it? First, protect it while you sleep. Use a silk or satin pillowcase to minimize friction and prevent overnight frizz and kinks. You can also loosely tie your hair in a low silk scrunchie.
To refresh your style on day two or three without washing, use a dry shampoo at the roots for volume and a light-hold hairspray or a dab of serum on any flyaways. For stubborn kinks, a quick pass with your flat iron on a low heat setting will suffice—no need to redo the entire process.
Troubleshooting Common Issues: If your hair looks flat, add volume at the roots with a light mist of texturizing spray before you start styling. If you see frizz, you may be skipping the tension blow-dry step or using too high a heat setting, which can damage the cuticle. If your hair lacks shine, double-check your product lineup—you might need a more potent serum or a bonding treatment to repair the hair’s surface.
Conclusion: Your Signature Sleek Style Awaits
Mastering the glossy, straight lob is an art that becomes second nature with practice. It’s about understanding that the finish is a cumulative result of thoughtful preparation, precise tool use, disciplined technique, and the perfect finishing touches. This look is more than just a hairstyle; it’s a feeling of confidence and refined elegance.
So, arm yourself with your heat protectant, your trusty flat iron, and a dose of patience. Follow these steps, and you’ll not only achieve that coveted glossy finish but also discover that with the right knowledge, salon-perfect hair is always within your reach. Your sleek, show-stopping lob is waiting—go ahead and make it shine.