Sliced Tips: Vertical End Cuts
In any craft that involves cutting—be it transforming a raw block of wood into a furniture leg or a whole roast into elegant, even slices—there is a moment where technique separates the amateur from the artisan. That moment often hinges on a single, critical decision: how you approach the end of the material. While many focus on the main body of the cut, true precision is unlocked at the terminus. This is the realm of the vertical end cut, a method so fundamental yet frequently overlooked that mastering it can revolutionize your results.
What Exactly is a Vertical End Cut?
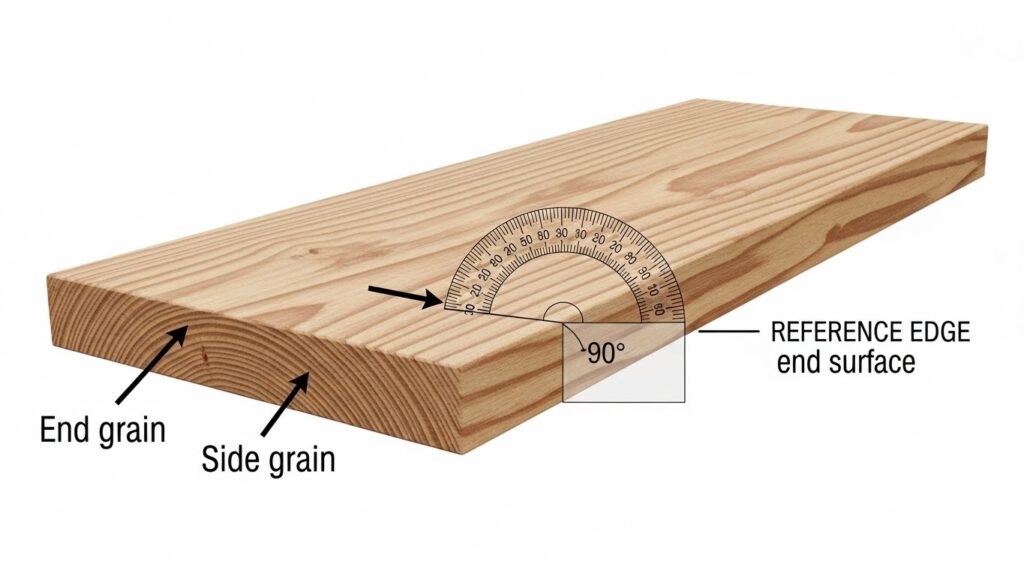
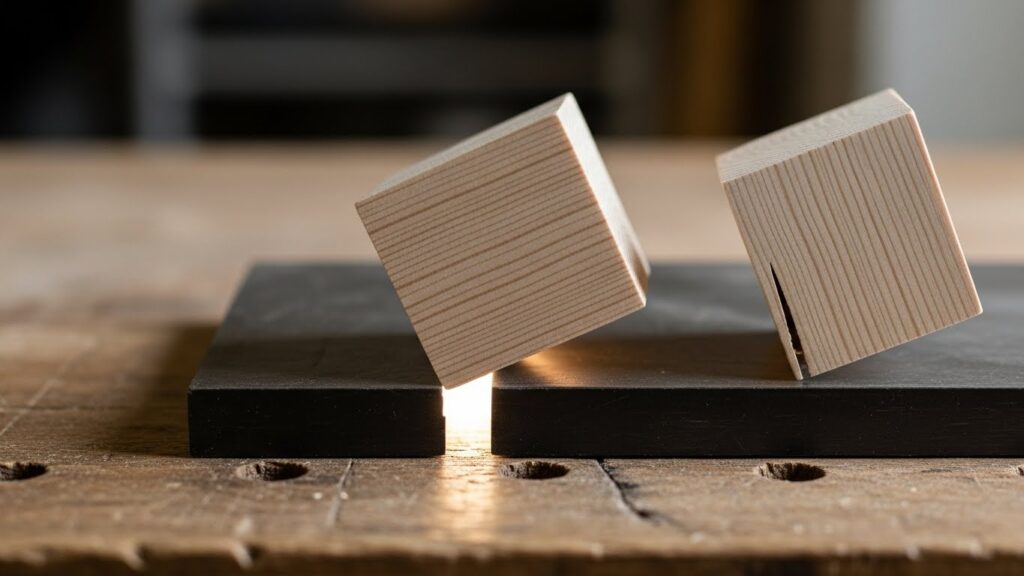
Let’s define our terms. A vertical end cut is precisely what it sounds like: a cut made vertically (perpendicular to the cutting surface) through the end of a workpiece. The “end” refers to the grain in woodworking or the natural termination of a food item, like the heel of a loaf or the end of a vegetable. The primary goal is to create a fresh, clean, and true reference edge at a 90-degree angle to the sides.
This is distinct from a rip cut (cutting with the grain) or a crosscut (cutting across the grain) on the main length of a board. The end cut is your starting point, the foundational edge from which all other measurements and cuts will originate. In culinary terms, it’s the first slice you make to discard the irregular end of a cucumber or tomato, creating a stable base for subsequent, uniform slices. It is the unsung hero of accuracy, setting the stage for everything that follows.
Why the Vertical End Cut is Non-Negotiable for Quality
You might wonder why such a specific cut deserves its own spotlight. The reasons are profound and impact the entire lifecycle of your project or dish.
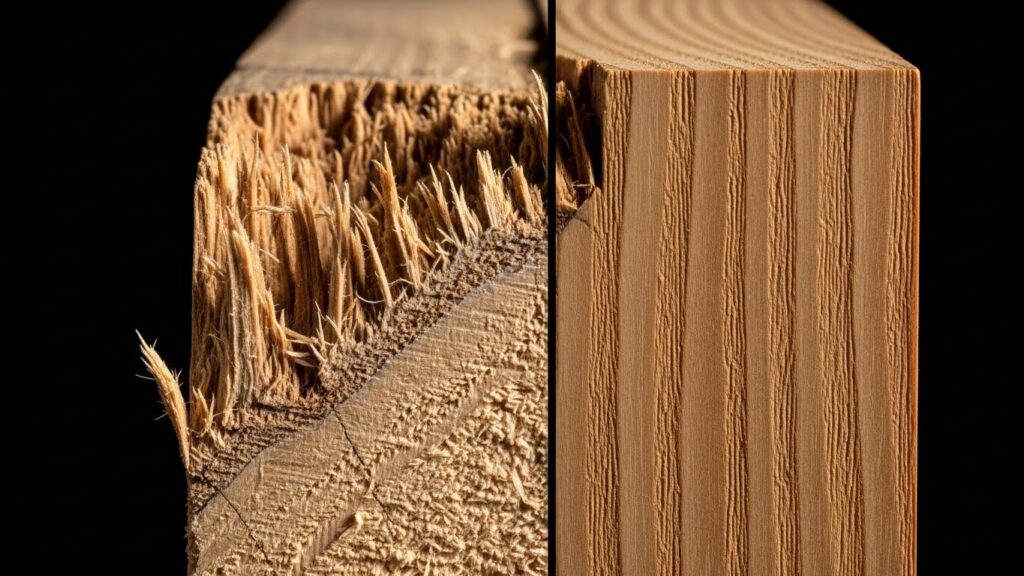
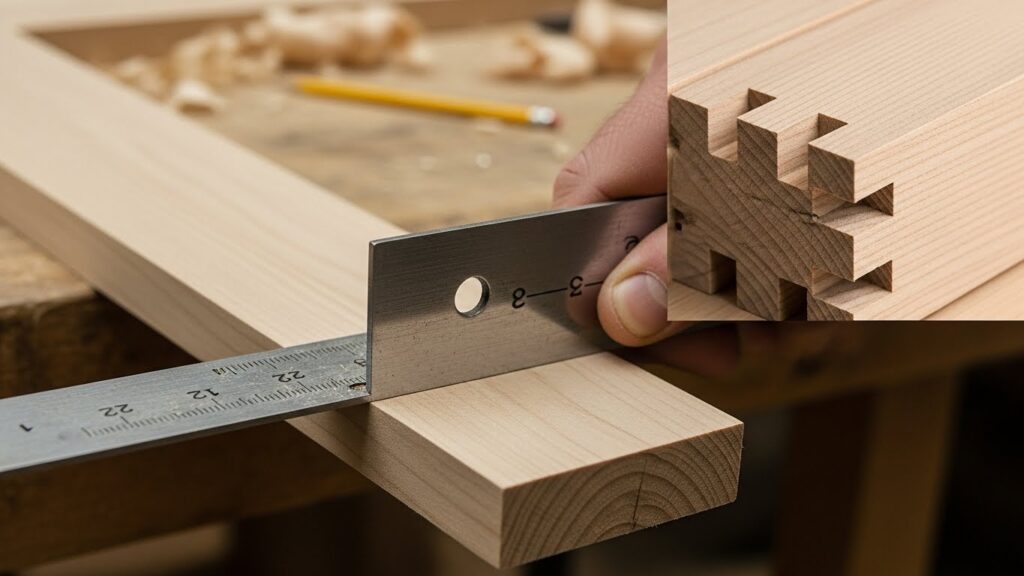
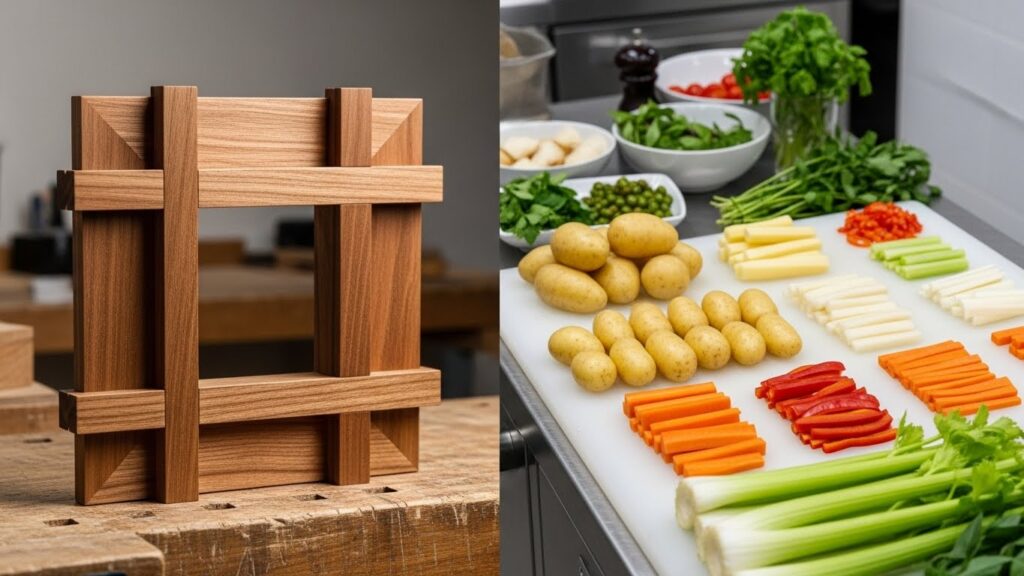
In Woodworking: A poorly executed end cut leads to a domino effect of errors. If your initial edge is not square, every piece you cut from that board will inherit that inaccuracy. This results in gaps in joinery, wobbly furniture, and immense frustration. A clean vertical end cut ensures your measuring tape and square have a true surface to register against. It also minimizes tear-out—those ugly splinters on the back side of a cut—which is especially prevalent when cutting across wood fibers.
In Cooking & Food Preparation: Consistency is king. The first, vertical end cut on a vegetable or piece of meat creates a flat, stable surface. This prevents the ingredient from rolling on the cutting board, a major safety hazard. It also allows for uniform brunoise, julienne, or slices, which ensures even cooking and professional presentation. That beautiful mosaic of a tian or a perfectly layered sandwich starts with this single, decisive cut.
The Essential Tools for a Perfect Cut
While skill is paramount, the right tool makes the vertical end cut not just possible, but perfect. The ideal tool depends on your material.
For Woodworking:
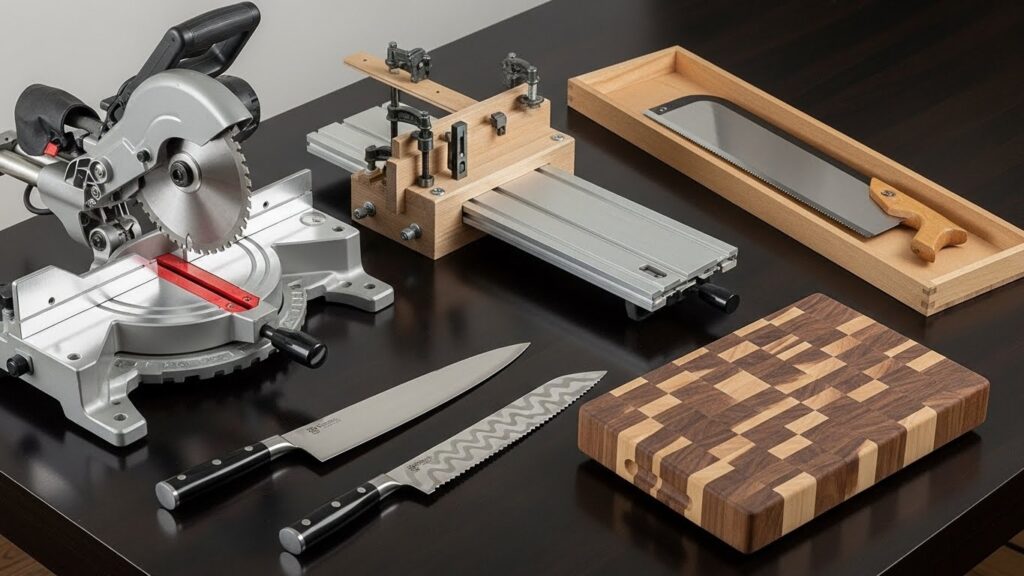
Miter Saw: The champion of repeatable, accurate end cuts. A quality compound miter saw with a sharp, fine-toothed blade is virtually foolproof.
Table Saw with a Miter Gauge or Crosscut Sled: Offers exceptional control and accuracy for smaller pieces. A crosscut sled is a game-changer for eliminating tear-out.
Hand Saw with a Miter Box: For hand-tool purists, a sharp backsaw in a sturdy miter box guides the blade for a perfectly vertical cut.
Sharp Blade is Non-Negotiable: A dull blade will crush fibers rather than slice them, leading to ragged edges regardless of your technique.
For Kitchen Mastery:
Chef’s Knife: A long, sharp 8- or 10-inch chef’s knife provides the control and weight for a clean, single-stroke cut through most foods.
Serrated Bread Knife: Essential for foods with a tough exterior and soft interior (bread, tomatoes). The sawing motion creates a clean vertical slice without crushing.
Stable Cutting Board: A board that doesn’t slip is the foundation of safe, accurate cutting. Use damp towels or non-slip mats underneath.
Step-by-Step: Executing the Flawless Vertical End Cut
Here is your actionable guide, broken down into universal principles.
Step 1: Measure and Mark with Precision. You cannot cut accurately to an inaccurate line. Use a sharp pencil or knife for wood (a knife line creates a tiny groove for the saw blade to seat into). For food, you can often eye it, but for precise portions, a small mark will do. Always mark all the way around the material if possible. This allows you to check for square from multiple angles.
Step 2: Secure Your Workpiece. This is the most critical safety and accuracy step. In woodworking, use clamps, a vise, or the hold-downs on your power tool. In the kitchen, ensure your cutting board is secure and use the “claw grip” with your non-cutting hand to hold the food, keeping fingertips safely tucked.
Step 3: Align Your Tool. For a saw, position the blade just to the waste side of your marked line—this accounts for the blade’s kerf (width). Ensure the blade is perfectly perpendicular to the base/table. For a knife, position the heel of the blade at the top of your intended cut line, with the blade vertical.
Step 4: Execute with Confidence. Begin your cut smoothly and without hesitation. For power tools, let the blade reach full speed before contacting the material, and feed steadily without forcing. With a knife, use a firm, controlled rocking motion or a single decisive push cut, depending on the food. A hesitant cut often leads to a wandering blade and a flawed edge.
Step 5: Verify and Adjust. Once the cut is complete, check it with a reliable square (for wood) or by standing the piece on your cutting board (for food). If it rocks, your cut isn’t vertical. A slight imperfection can often be corrected with a single, careful follow-up pass.

Common Pitfalls and How to Avoid Them
Even with the best intentions, errors happen. Here’s how to troubleshoot the most common vertical end cut mistakes.
Tear-out and Splintering (Wood): This occurs when the wood fibers tear away on the back side of the cut. Solution: Use a backing board behind your workpiece, or employ a “zero-clearance” insert on your table saw/miter saw that supports the fibers right up to the blade. A blade with more teeth (a higher tooth count) will also produce a cleaner cut.
Crushed or Ragged Edges (Food): Usually a sign of a dull knife or using the wrong knife type. Solution: Hone and sharpen your knives regularly. Use a serrated knife for delicate, skinned items like tomatoes and soft breads.
Cut is Not Square: The piece rocks when placed on a flat surface. Solution: This is almost always due to tool misalignment or workpiece movement. Double-check that your saw blade or knife is truly vertical before cutting. Ensure your workpiece is immovably secured.
Beyond the Basics: Advanced Applications
Once you’ve mastered the standard vertical end cut, a world of advanced techniques opens up.
In woodworking, this skill is the gateway to complex joinery like mortise and tenon, box joints, and multi-sided miters. Picture a hexagonal picture frame—each of the twelve ends must be cut at a precise 30-degree angle (which is still a vertical end cut, just not at 90 degrees) and perfectly square to the face of the board. The precision starts with that first, true reference edge.
In the culinary arts, the vertical end cut is the first step in tourne (turning vegetables into football-shaped pieces), creating consistent batons for french fries, or fabricating a primal cut of meat into steaks. It’s also essential for presentation cuts like oblique or roll cuts on carrots and zucchini, which begin with a diagonal vertical end cut.
The Philosophy of the First Cut
Ultimately, the vertical end cut is more than a technique; it’s a mindset. It represents the discipline of starting correctly. It’s the understanding that a little extra time spent setting up, marking, and securing pays exponential dividends in the quality of the final result. It’s about respecting the material, whether it’s aged hardwood or a ripe heirloom tomato, and revealing its potential with a clean, intentional edge.
So, the next time you approach your workbench or cutting board, pause at the very beginning. Consider that first, vertical end cut not as a mere preliminary step, but as the foundational act of creation. Master this, and you master the gateway to precision in everything you build, make, or cook. Now, go make that first cut count.