Sock Hacks Shaping Perfect Buns Without Failure
Okay, let’s be real. How many times have you tried to make one of those perfect, round, ballerina-style buns only to end up with a sad, lopsided mess? I’ve been there. I’ve thrown bobby pins across the bathroom in frustration. It feels like you need a professional hairstylist on speed dial just to get a simple, elegant updo.
But what if I told you the secret weapon is already in your laundry basket? I’m talking about socks. Yes, socks. This isn’t a drill. This is the easiest, most foolproof hack for getting that flawless, voluminous bun every single time.
It’s the ultimate lazy-girl hairstyle that looks like you put in serious effort. Whether you’re aiming for an old money hair vibe or just need a quick, polished look for running errands, this trick is about to change your life. Let’s ditch the frustration and get that perfect bun.
Why The Sock Bun Beats All Other Methods
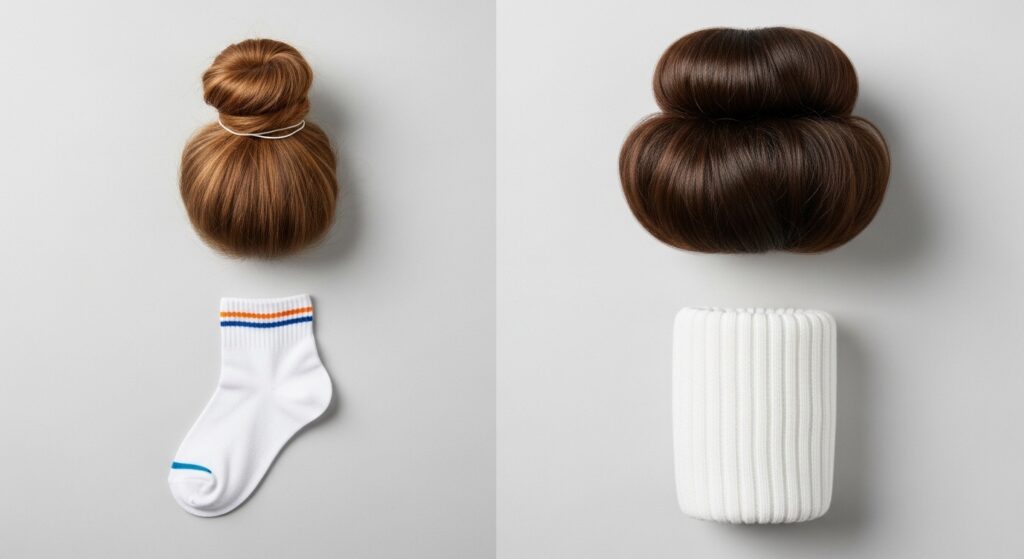
Before we dive into the how-to, let’s talk about the why. Why is a rolled-up sock better than a fancy donut bun from the store? First, it’s free. You’re upcycling something you already own. Second, it’s customizable. The size of the sock determines the size of your bun. Want a big, dramatic look? Use a long tube sock. Prefer something petite and chic? An ankle sock is your friend.
It also creates unbelievable volume and a perfectly smooth, rounded shape that’s almost impossible to achieve by just twisting your own hair. This method gives you that polished, professional base that works for everything from the gym to a wedding. It’s the foundation for so many of the 2026 hairstyles we’re starting to see—polished, effortless, and smart.
Gathering Your Tools: You Literally Have Everything
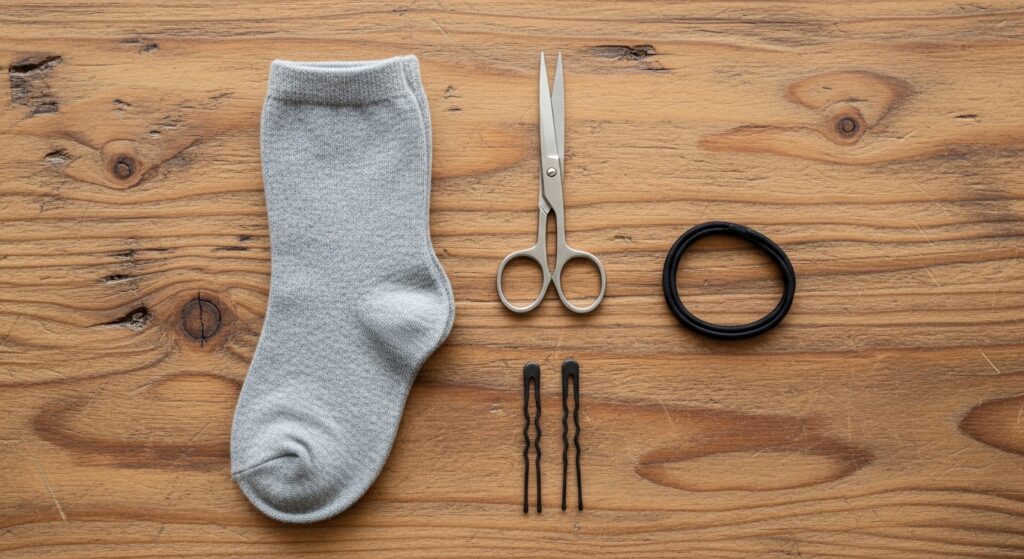
You don’t need a fancy kit. Here’s your complete supply list. I promise it’s already in your house. The beauty of this is in its simplicity. No trips to the store required.
- One Sock: A clean, ankle or crew sock works best. Cotton is great. Say goodbye to that single sock missing its match!
- Scissors: Any pair will do. We’re just going to cut the toe off.
- Hair Tie: For your initial ponytail.
- Bobby Pins: A few to secure the ends. Clear or matte ones blend in perfectly.
- Hairspray (Optional): For extra hold on flyaways.
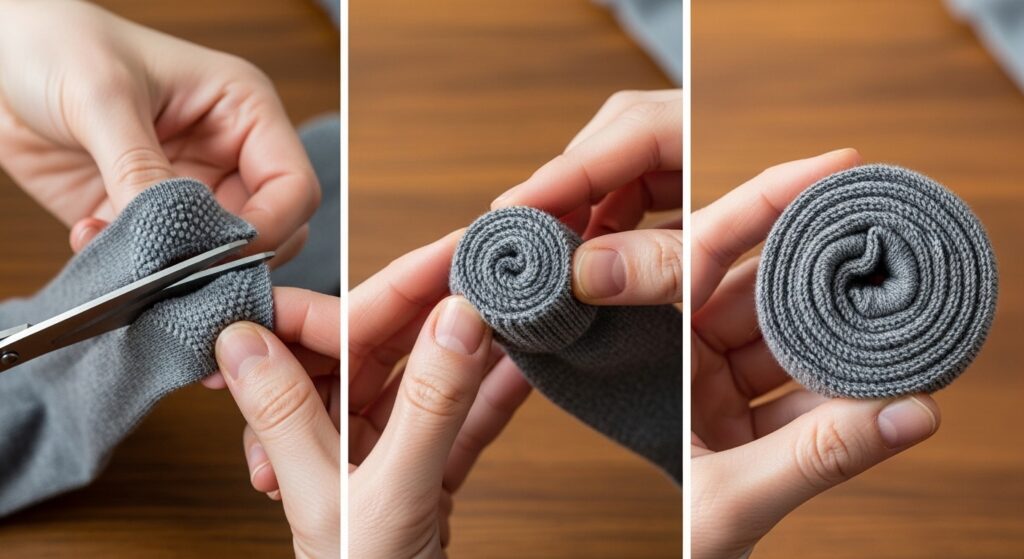
Step 1: Creating Your “Bun Donut” From a Sock
This is the only “crafting” part, and it takes ten seconds. Take your sock and lay it flat. With your scissors, carefully cut off the toe section. You just want the tube part of the sock. Discard the toe piece (or get creative with it later!).
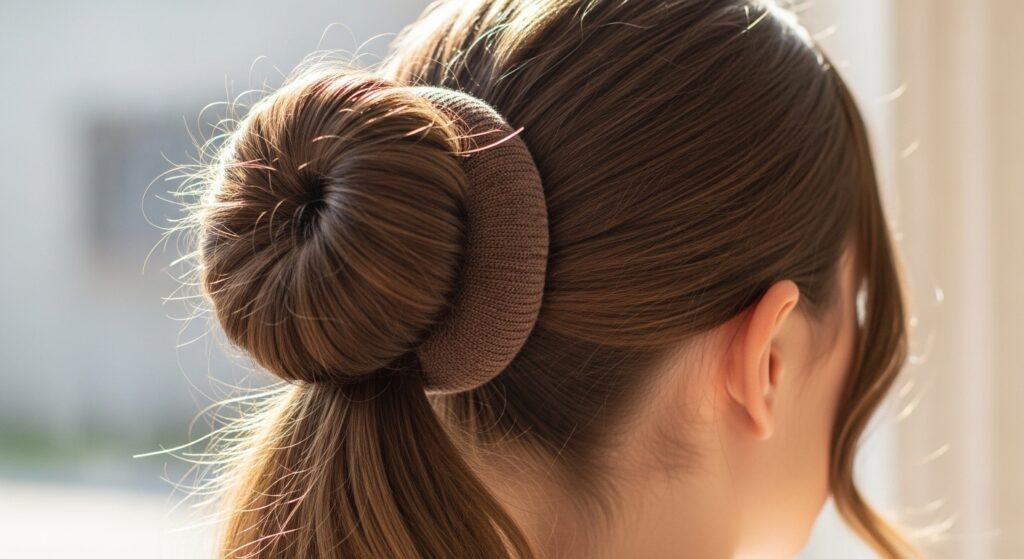
Now, starting at the cut end, begin rolling the sock inward onto itself. Keep rolling until you reach the cuff. You should now have a soft, fabric donut. The cuff of the sock acts as a finished edge that helps keep it all together. Fluff it a little. That’s it! Your magic tool is ready.
Step 2: The Perfect Foundation Ponytail
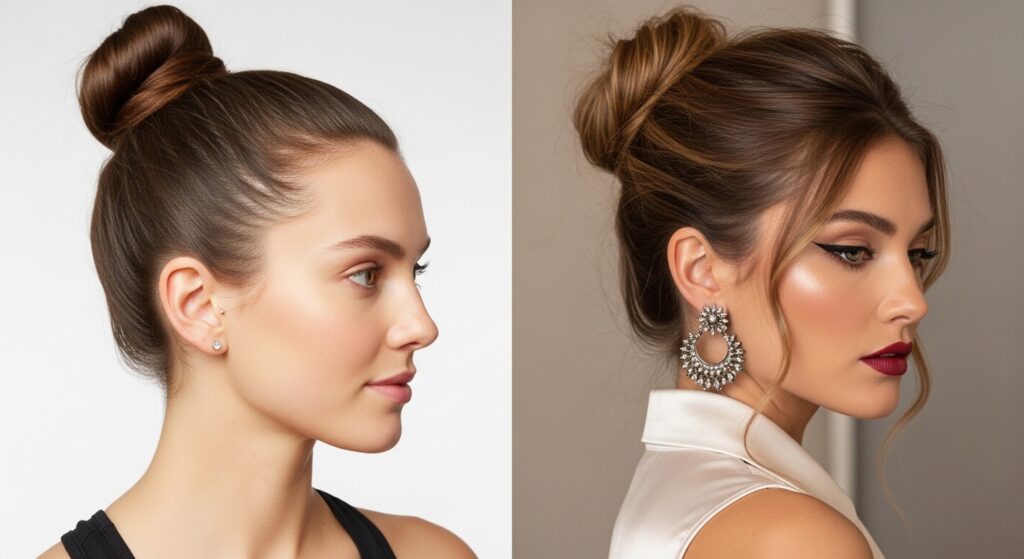
Where you place your ponytail is key. For a classic high bun, gather your hair at the crown of your head. For a low, elegant bun, gather it at your nape. A mid-level bun is great for a modern, quiet luxury bob when you want to show off the length.
Secure it tightly with a hair tie. The slicker and tighter this base is, the smoother your final bun will be. If you have shorter layers or face-framing pieces, you can leave those out for a softer look. This ponytail is the anchor for everything, so make it good.

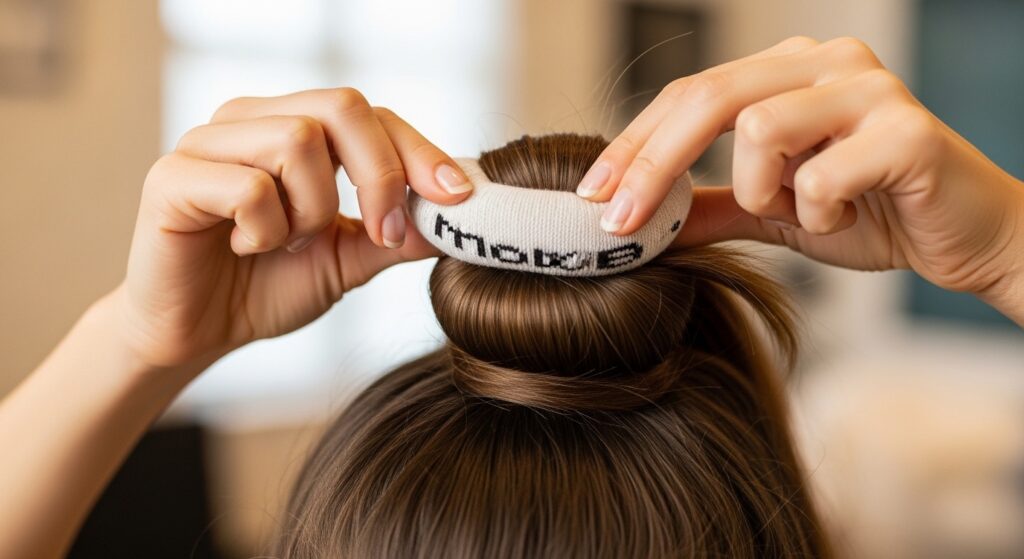
Step 3: Threading Your Hair Through the Donut
This is where the magic starts. Take your sock donut and slide it all the way down to the base of your ponytail, so it’s sitting right against your head. Now, spread your ponytail hair evenly around the donut so it covers the sock completely.
Think of it like you’re making the sock disappear under a blanket of your hair. Gently tuck any shorter pieces in. You want the hair to be distributed evenly for a uniform bun. If it feels lopsided now, fix it before moving to the next step.
Step 4: The Roll-Down Technique for Perfection
Here’s the main event. With one hand holding the ends of your hair and the sock, start rolling the donut down toward your head. Roll it slowly, tucking the ends of your hair under as you go. The sock will roll over itself, gathering your hair with it.
Keep rolling until the donut reaches the base of your ponytail again. As you roll, the bun will form on the outside. Don’t rush this part. A slow, steady roll gives you the most control and the smoothest result. You’ll see the shape appear right before your eyes.
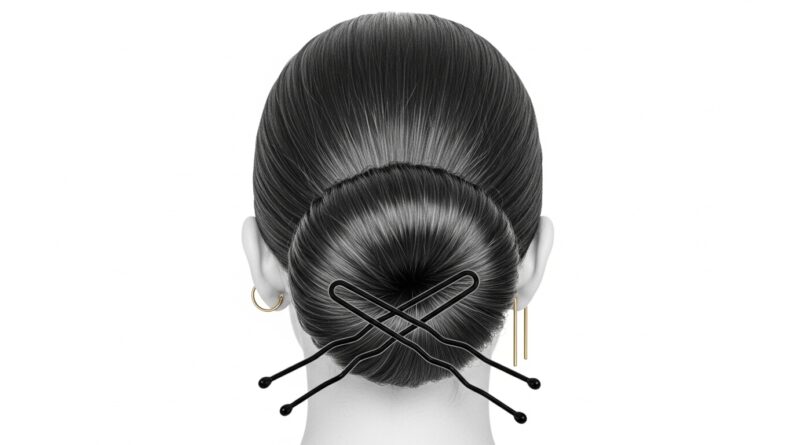
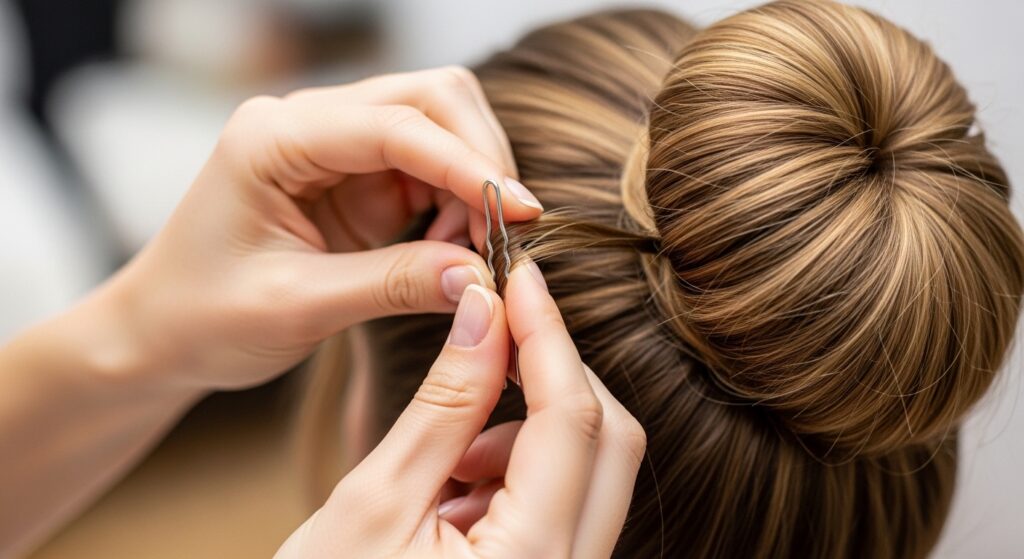
Step 5: Securing and Tucking the Ends
Once the donut is fully rolled, you’ll have a beautiful, full bun. Now, you need to secure any loose ends. Look for the little tail of hair that’s left. Gently tuck it under the bun, using a bobby pin or two to secure it into the base.
Slide the pins through the bun and into the sock material—it will grip perfectly. Go around the bun and tuck in any other stray pieces. Give the bun a gentle squeeze to plump it up. It should feel very secure because the sock is anchored at the base.
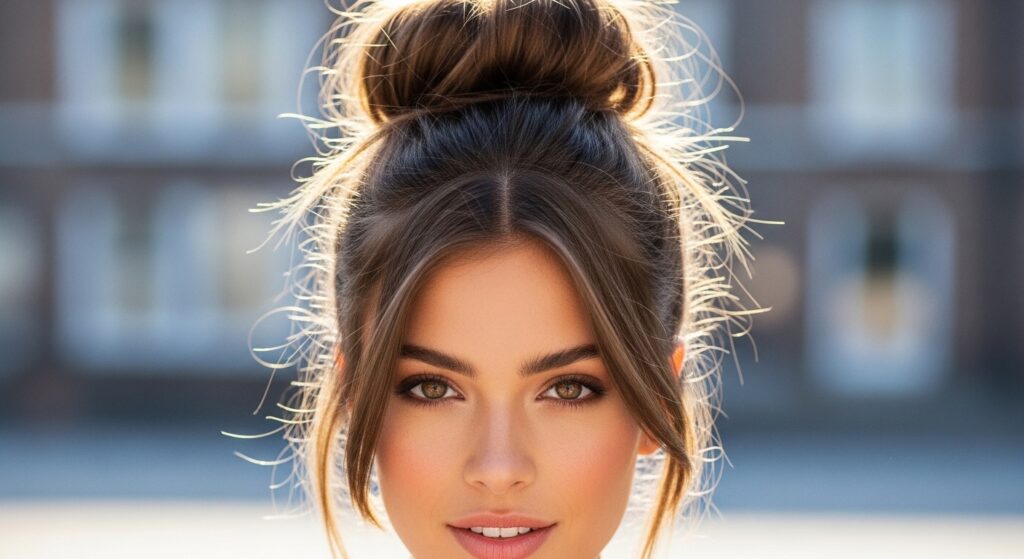
Step 6: The Final Touch: Polishing Your Bun
Now, step back and look. Is it perfectly round? Give it a light mist of hairspray if you want to lock in flyaways. You can also gently pull on the sides of the bun to make it bigger and more voluminous. This is called “pancaking” and it gives that gorgeous, soft ballerina effect.
If you want a super sleek look, use a soft-bristle brush and a little gel or pomade to smooth down any baby hairs around your face and neck. This contrast of a sleek front with a voluminous bun is pure glitchy glam hair—polished but with interesting texture.
Variation 1: The Messy, Textured Sock Bun
Not every day calls for a perfect ballerina bun. Sometimes you want that “I woke up like this” chic. This is so easy to achieve. Start with day-old hair or add a little texturizing spray. Follow all the same steps, but don’t make your initial ponytail too tight.
After you’ve rolled the bun, instead of tucking every end neatly, pull out a few strategic pieces. Gently tug on sections of the bun itself to loosen it and create a lived-in, soft texture. It’s effortless and works amazingly with the vampire haircut trend—romantic and a little undone.
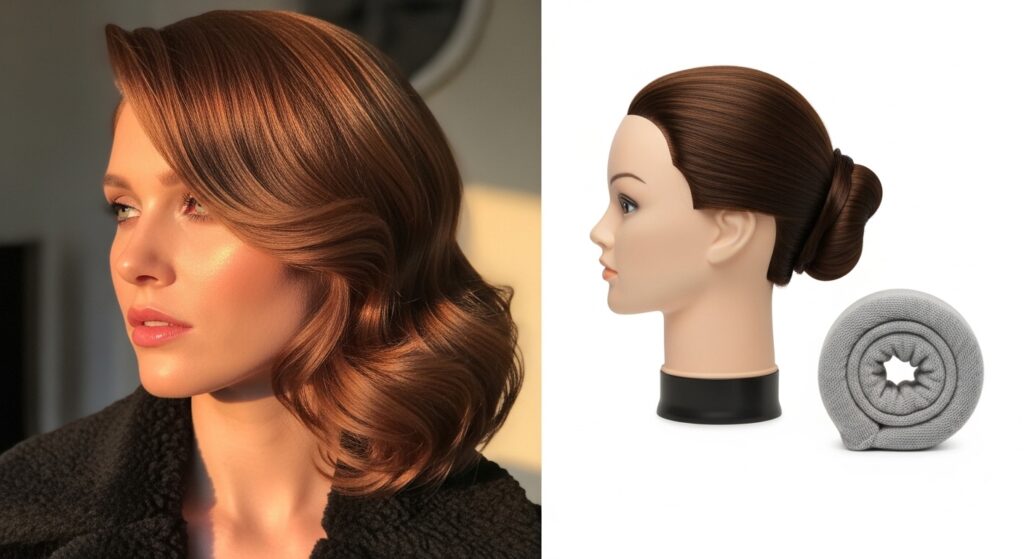
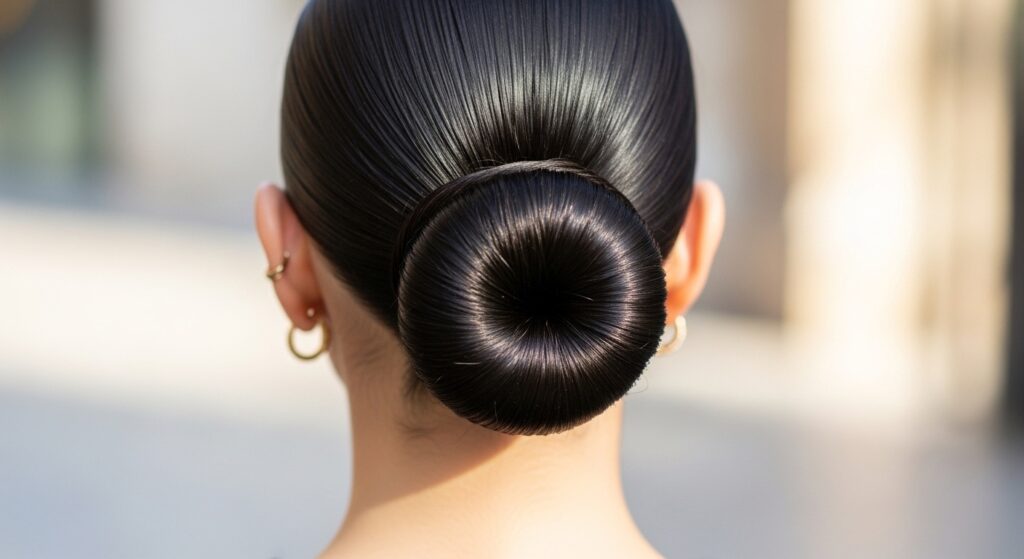
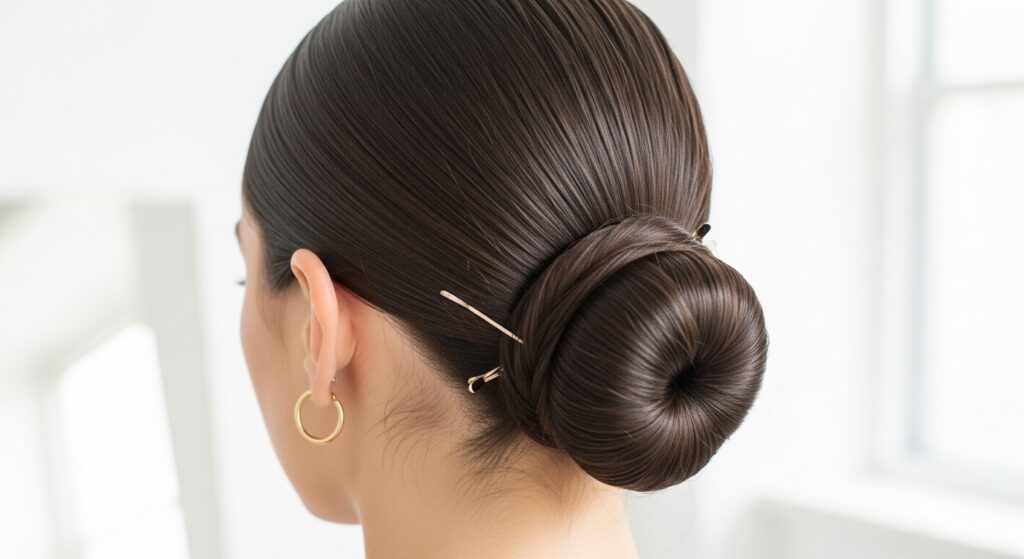
Variation 2: The Low Sock Bun (The “Clean Girl” Staple)
This is the ultimate old money hair move. A low, sleek bun at the nape of your neck exudes quiet, effortless elegance. The technique is identical, but you start with a low ponytail. Make sure it’s centered.
When you roll, keep the bun tight against your head for that chic, minimalist look. This style pairs perfectly with a quiet luxury bob when it’s grown out a bit, or with an asymmetrical lob—just pin the longer side around the bun. It’s sophisticated and takes two minutes.
Variation 3: Double Buns with Socks (Space Buns!)
Feeling playful? This hack isn’t just for single buns. Create two high ponytails on either side of your head. Make two sock donuts (use smaller socks). Then, simply create a sock bun on each ponytail.
You get perfectly matched, voluminous space buns in half the time it would take to sculpt them by hand. This style has a fun, retro-futuristic feel that taps right into the glitchy glam hair aesthetic—polished but playful and unexpected.

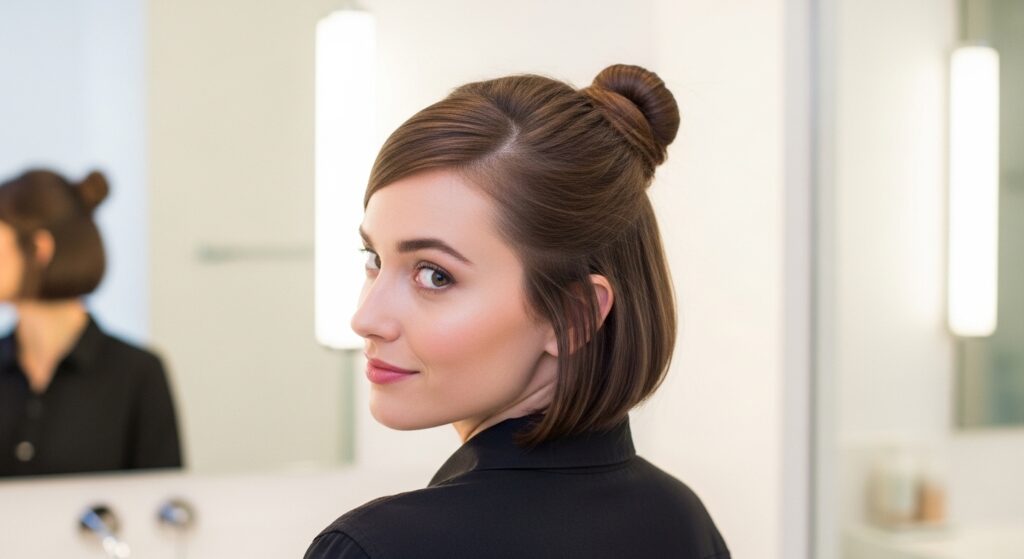
How to Make a Sock Bun on Short Hair
Think you can’t do this with a bob or shorter layers? Think again. The key is using a smaller donut (a child’s sock or just a tightly rolled portion of a sock). Gather your hair into a ponytail; it’s okay if shorter pieces fall out.
Use more bobby pins! After you roll, you’ll likely have more ends to tuck. Secure every section with pins through the sock. The result is a cute, chic mini-bun that’s perfect for growing out an asymmetrical lob or adding polish to a hime cut.
Choosing the Right Sock for Your Hair Type & Volume
Your hair type dictates the best sock. For fine or thin hair, use a small, thin ankle sock. A bulky sock will be too big to cover. For thick, voluminous hair, you can use a larger crew or tube sock to match your hair’s natural body.
If your hair is very slippery, try using a sock with a bit of texture (like a ribbed cotton). It gives the hair something to grip. This simple choice makes the difference between a good bun and a great one, setting the stage for any of the sleek 2026 hairstyles you want to emulate.
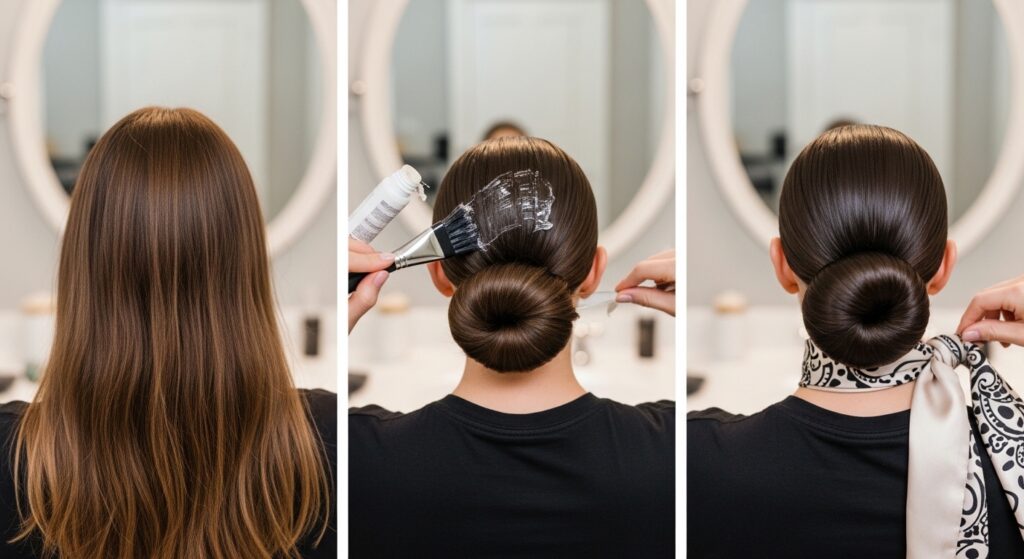
Pro Tips for Ultra-Slick, No-Flyaway Buns
For that glassy, runway-smooth look, prep is everything. Start with damp hair or use a light-hold gel or styling cream on towel-dried hair before making your ponytail. Brush every section thoroughly.
After the bun is formed, use a boar bristle brush and a strong-hold gel or edge control to smooth the front and sides. Wrap a silk scarf around your head for 5 minutes to let it set. This is how you get that iconic, severe bun that complements dramatic looks like romantic goth hairstyles.
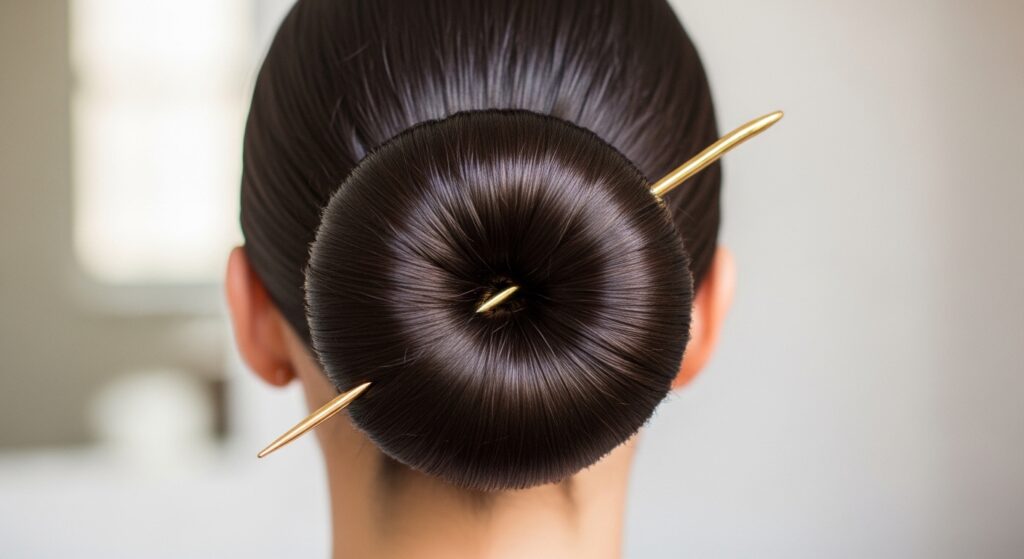
Adding Accessories to Your Sock Bun
A bun is the perfect canvas for accessories. Once your bun is secure, the world is your oyster. Slide a decorative hair stick or chopsticks through the center of the bun—they’ll catch in the sock material easily. Wrap a delicate chain or pearl strand around the base.
For a romantic goth twist, add a dark velvet ribbon or a silver cuff. This instantly elevates the simple bun and makes it feel like part of a deliberate, fashion-forward look, whether that’s old money hair or something more edgy.
What to Do When Your Bun Feels Loose
If your bun feels wobbly, the issue is usually at the base. First, ensure your initial ponytail is tight. Second, when you roll down, really roll *tightly* to the base. The tension is what holds it.
Third, use criss-crossing bobby pins. Insert them in an “X” pattern through the bun and into the sock and your hair underneath. Four pins are often better than two. A little hairspray on the bobby pins before inserting gives them extra grip.
Day 2 Hair & The Sock Bun: A Match Made in Heaven
This hack works BEST on day 2 or 3 hair. The natural oils and texture give your hair more grip and volume, making the bun fuller and easier to secure. If your hair is too clean and slippery, it might slide more.
No time for dirty hair? Fake it. Spray a dry shampoo or texturizing spray at your roots before you start. It adds the grit you need. This is the secret to making those big, beautiful buns you see online—they’re rarely done on freshly washed hair.

From Gym to Dinner: Transitioning Your Sock Bun
This is the hack’s superpower. Start with a basic, secure high bun for your workout. It won’t budge. Afterward, simply take out the hair tie holding your initial ponytail (leave the bun intact!). Gently pull the bun apart a little for volume.
Pull out a few face-framing tendrils. Add a statement earring or wrap a scarf around the base. In 60 seconds, you’ve gone from gym-ready to dinner-ready, nailing that “effortlessly put-together” look that defines quiet luxury style.
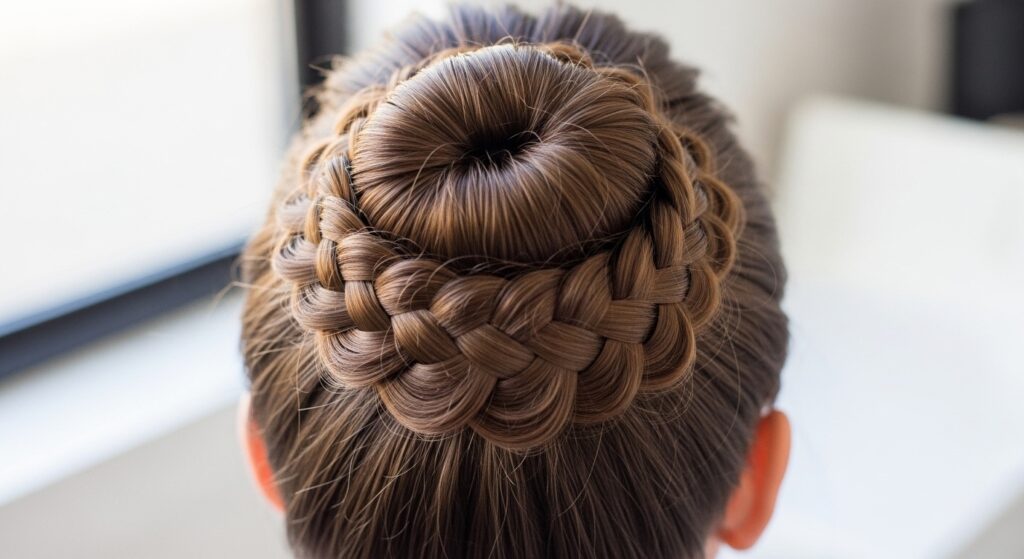
The Sock Bun as a Base for Braids & Twists
Don’t just stop at a plain bun. Use it as your foundation for something more intricate. Create a sock bun, but leave a section of hair out from your ponytail. Braid that section, then wrap the braid around the base of the bun and pin it.
Or, make two sock buns side-by-side for a futuristic look. This method gives you a perfect shape to build on, merging classic technique with more adventurous 2026 hairstyles that play with structure and form.
Common Sock Bun Mistakes (& How to Fix Them)
Mistake 1: Using a sock that’s too thick for your hair. Fix: Use a thinner sock or roll it tighter. Mistake 2: Placing the initial ponytail in the wrong spot. Fix: High for drama, low for elegance, middle for modern.
Mistake 3: Not distributing hair evenly over the donut. Fix: Spend time fanning it out evenly before you roll. Mistake 4: Rolling too loosely. Fix: Maintain tension as you roll down. Avoiding these makes the process foolproof.
Beyond the Bun: Other Sock Hair Hacks
Your new sock donut is multi-use! Try it for loose, voluminous waves. Put your hair in a high ponytail, thread it through the donut, then wrap sections of hair around the donut and pin. Sleep on it. Wake up to perfect, heatless waves.
You can also use a smaller sock piece to create a perfect, rounded bump at the crown for retro styles. This one tool is a gateway to so many looks, from vintage to the glitchy glam hair of tomorrow, all without heat or complexity.

