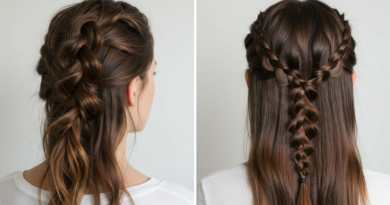
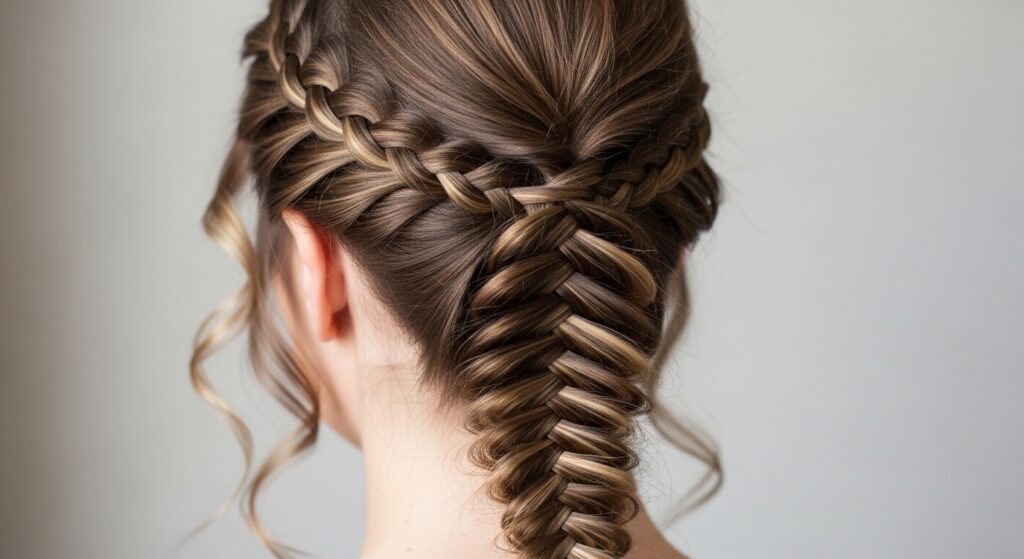
Step-by-Step Fishtail for Shoulder-Length Hair Perfection
Okay, let’s be real. We’ve all scrolled past those gorgeous, intricate braids thinking, “Nope, not for me. My hair is too short, too fine, too… not that.” I’m here to tell you that’s a myth. The fishtail braid is absolutely possible on shoulder-length hair, and it gives off that perfect mix of effortful and effortless that I love.
It’s that go-to style that works for a coffee date or a fancy dinner. It feels a bit more special than a basic ponytail but doesn’t require a professional. Think of it as the quiet luxury bob of braids—understated but seriously chic.
And the best part? Once you get the hang of the simple two-strand cross, it’s surprisingly quick. This step-by-step guide is for you, the busy person who wants a beautiful result without the frustration. Let’s get into it.
Why the Fishtail Works on Shorter Lengths
You might think fishtails are only for mermaid-length hair, but that’s not true. On shoulder-length or even an asymmetrical lob, a fishtail creates amazing texture and detail right where you want it. It makes your hair look thicker and adds instant visual interest.
This braid is incredibly versatile. You can wear it tight and sleek for a polished look, or pull it apart for that romantic, soft vibe. It’s a fantastic foundation style, too. Once you master it, you can adapt it for so many of the 2026 hairstyles we’re seeing, from glitchy glam hair accents to more structured looks.
What You’ll Need to Get Started
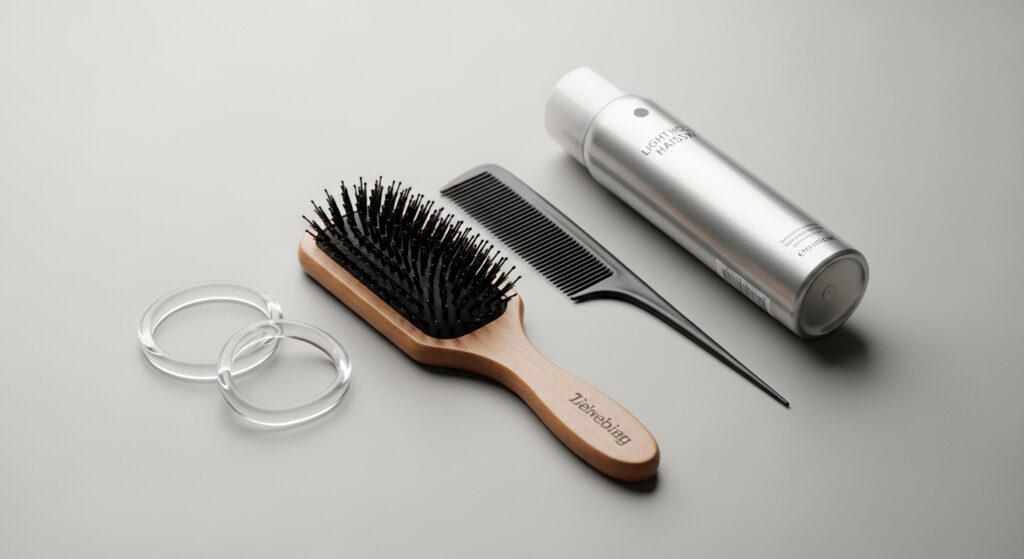
Gathering your tools first makes everything smoother. You don’t need anything fancy. A good brush to detangle is key. I prefer a paddle brush for this. You’ll also need two small, clear hair elastics. One for the main braid and a spare.
A fine-tooth comb or tail comb is great for creating clean parts and grabbing small sections. Finally, a light-hold texture spray or hairspray is a game-changer. It gives your hair a tiny bit of grip, which makes braiding much easier, especially on silky hair.
Step 1: Start with the Right Hair Texture

This step is non-negotiable for success. Fishtail braids hold best on hair that isn’t freshly washed and slippery. Day-two or even day-three hair is perfect. If your hair is clean, don’t worry. Just add some texture.
Spritz a texturizing or dry shampoo spray at the roots and through the mid-lengths. You can also lightly mist with sea salt spray. This gives your hair the slight grit it needs to hold the braid without looking dirty. It’s the secret to that lived-in, cool-girl look.
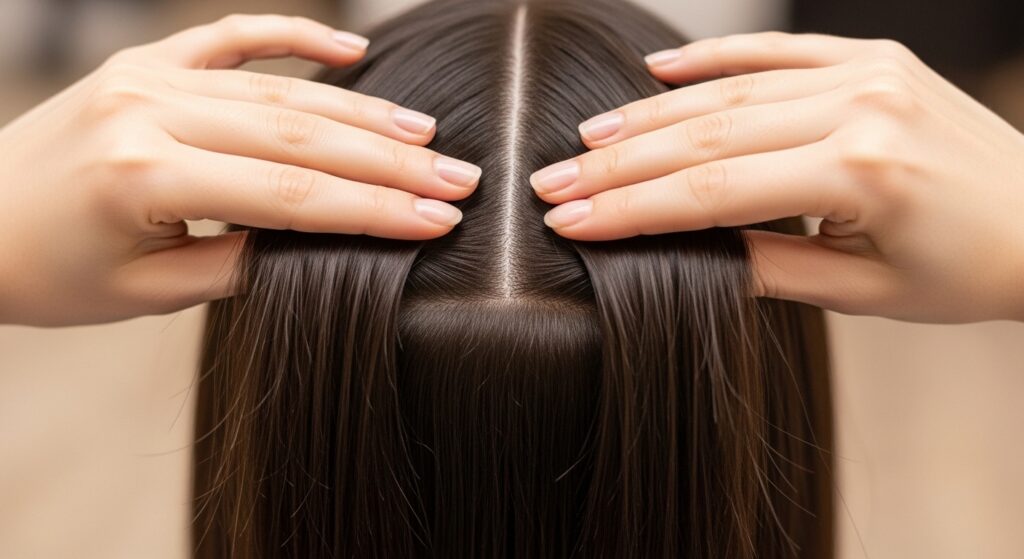
Step 2: Brush and Detangle Everything

It sounds obvious, but start with completely knot-free hair. Any snags will make it hard to pull clean, thin sections for your braid. Brush from the ends up to the roots to prevent breakage.
For a classic fishtail, I like to brush all my hair to one side—either left or right. This creates a beautiful, cascading side braid. You can also do a centered braid down the back if you prefer. Just make sure every strand is smooth before you begin sectioning.
Step 3: Divide Your Hair into Two Main Sections
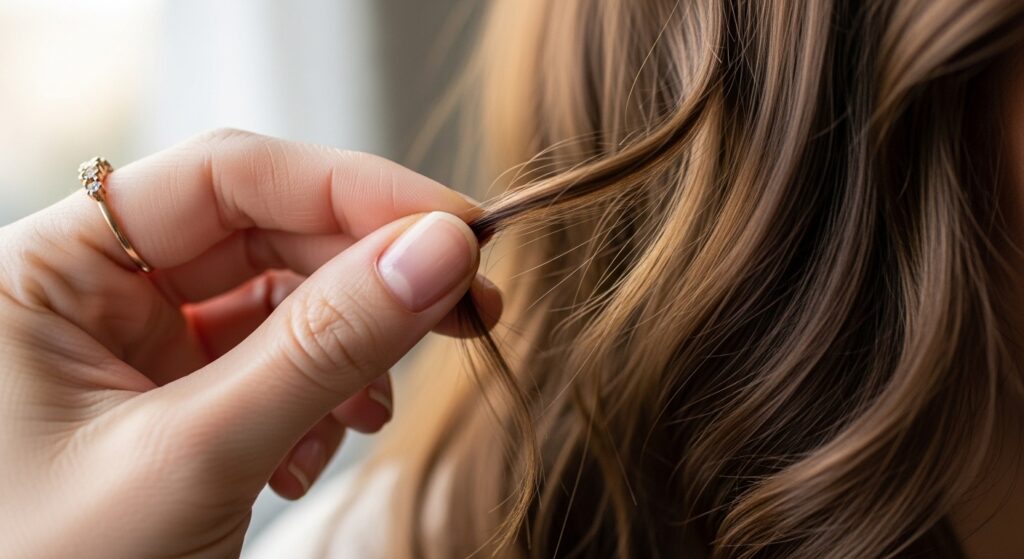
Now, with your hair gathered over one shoulder, use your fingers to split it into two equal sections. Hold one in each hand. Don’t use a comb for this part; your fingers will give a more natural, soft separation.
This is the foundation of your braid. Make sure the two sections are as even as possible. If they’re lopsided, your braid will be too. Take a second to adjust. Hold them firmly but not tightly near the point where you want the braid to start.
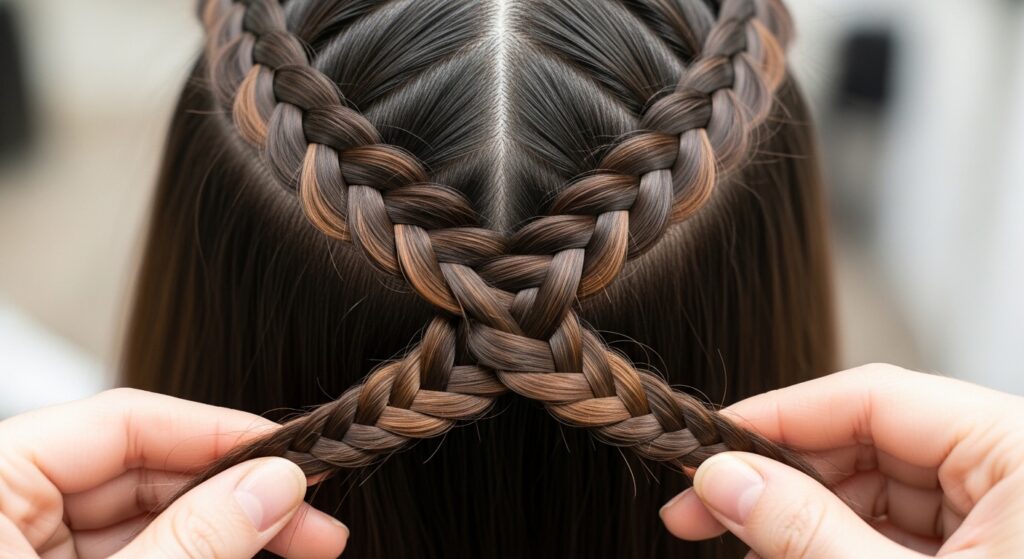
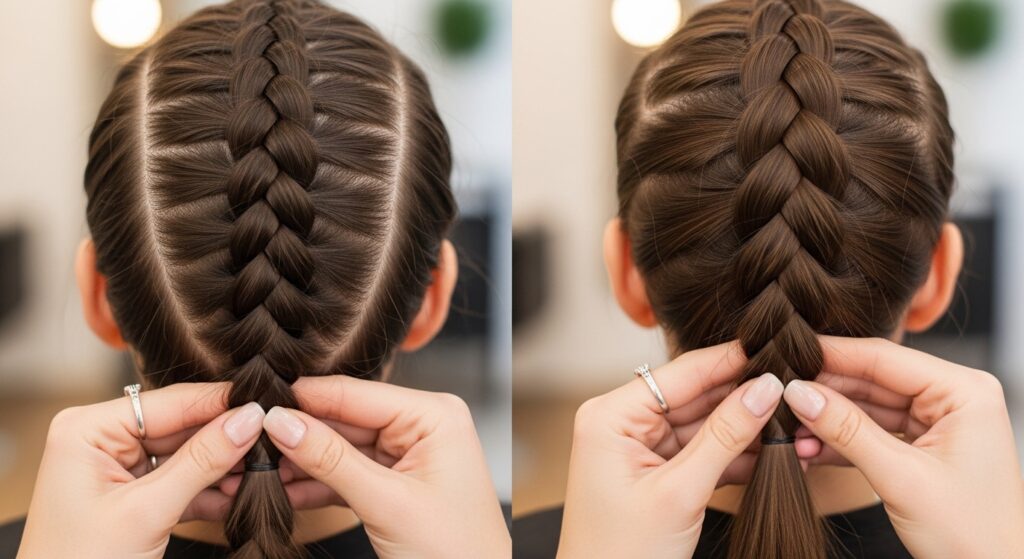
Step 4: The Core Fishtail Movement
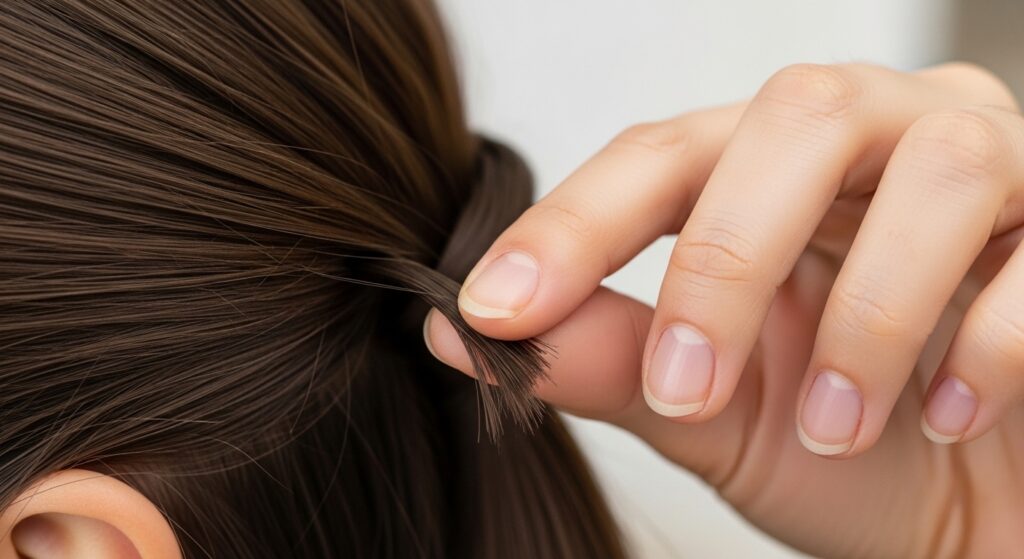
Here’s the only move you need to learn. With your two main sections in hand (let’s call them Left and Right), look at the Right section. From the very outer edge of it, use your thumb and finger to pinch off a tiny, thin strand of hair.
We’re talking a strand about the width of a drinking straw. This is crucial. Taking small sections is what creates the detailed, fish-scale effect. Big chunks will just look like a chunky, messy braid.
Step 5: Cross That Thin Strand Over
Now, take that tiny strand you just pinched from the outer edge of the Right section. Cross it over the front of the Right section and add it to the back of the Left section. Let it join the hair already in your left hand.
Your left hand will now hold a little more hair. Tighten your grip slightly to keep tension. This crossing motion is the entire braid. You’ll just repeat it, alternating sides. The key is keeping the sections separate in your hands as you work.
Step 6: Repeat on the Opposite Side
Time to mirror the move. Now, look at the Left section (the one you just added hair to). From its outer edge, pinch off another tiny, thin strand of hair. Just like before, keep it small and controlled.
This maintains the pattern and keeps the braid balanced. It might feel awkward at first, but your hands will quickly get the rhythm. The goal is steady, even sections all the way down.
Step 7: Cross the Second Strand Over
Cross this new tiny strand from the Left section over the front and add it to the back of the Right section. Let it merge with the hair in your right hand. Gently pull both main sections to tighten the weave.
You’ve now completed one full cycle. See the pattern? Right to left, then left to right. You’re building the braid from the outside in. Each crossover locks the previous one in place.
Step 8: Maintain Consistent Tension
Tension is everything. You want to pull firmly enough after each crossover so the braid is snug and secure, but not so tight that it looks strained or gives you a headache. Aim for even pressure all the way down.
If your braid looks loose or loopy in one spot, it’s usually because the tension wasn’t held. Don’t panic. Just try to keep it consistent on the next few crosses. A little practice makes this second nature.
Step 9: Keep Your Sections Thin and Even
As you get toward the ends, it’s tempting to grab bigger sections to finish faster. Resist! Keeping your pinched strands thin is what makes a fishtail look refined and intricate, not messy.
This attention to detail is what gives you that old money hair vibe—perfectly done, not fussy. Thin sections ensure every crossover is visible and the braid looks delicate and intentional, even on shorter hair.
Step 10: Braid All the Way to the Ends
Continue the right-left pattern until you have only about an inch or two of unbraided hair left. You want to incorporate almost all of it. This makes the finished braid look complete and prevents wispy pieces from sticking out awkwardly.
If you have layers, some shorter pieces might fall out. That’s okay! It adds to the soft, romantic feel. Just try to get as much hair woven in as you comfortably can before you secure it.
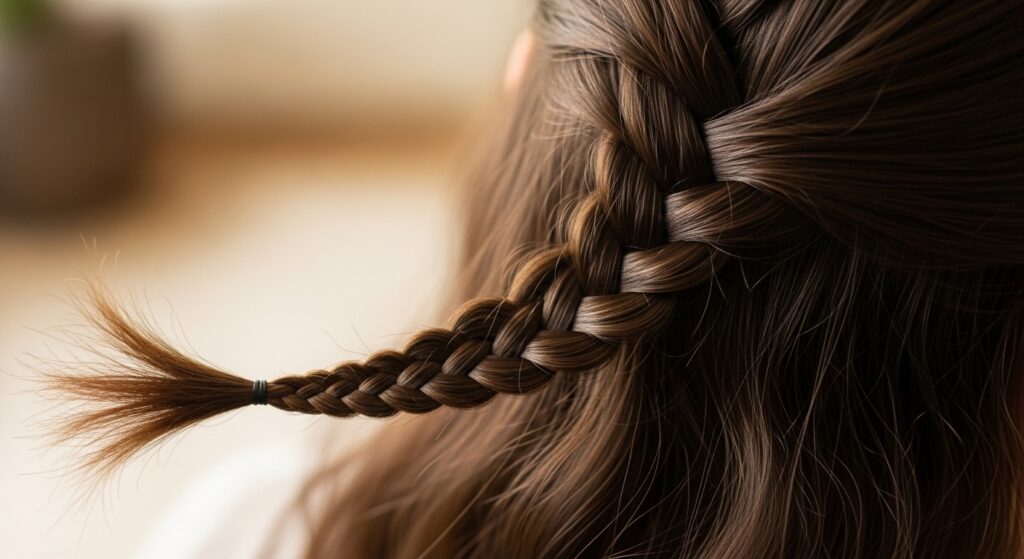
Step 11: Secure with a Clear Elastic

Once you’ve braided as far down as possible, gather the tiny tail and secure it with one of your clear elastics. Wrap it tightly two or three times. Clear elastics are essential because they disappear, keeping the focus on your beautiful braid.
Make sure the elastic is right at the end. If it’s too high up, you’ll have a weird little poof of unbraided hair. A secure hold here means your hard work won’t unravel in five minutes.
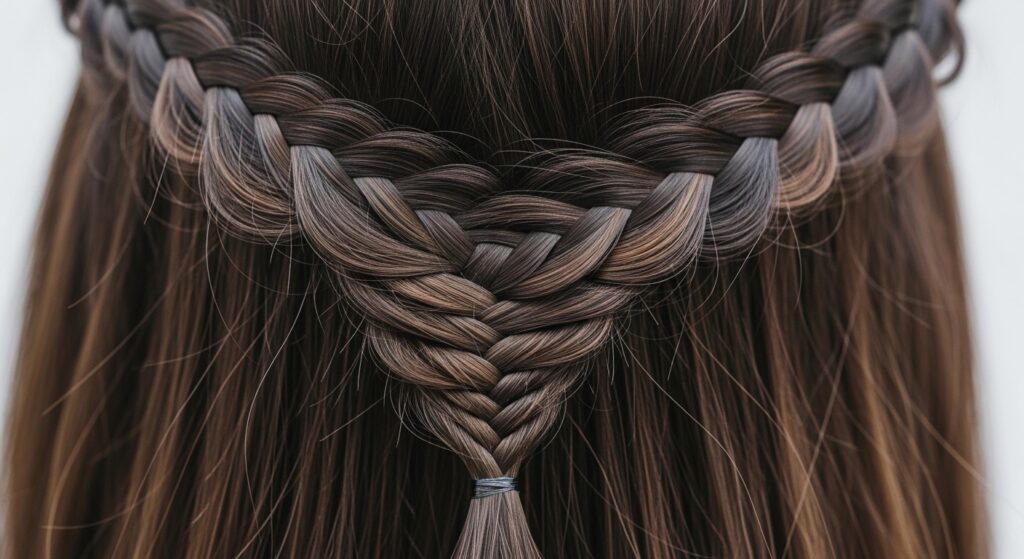
Step 12: The Magic Step – Loosen and Pancake
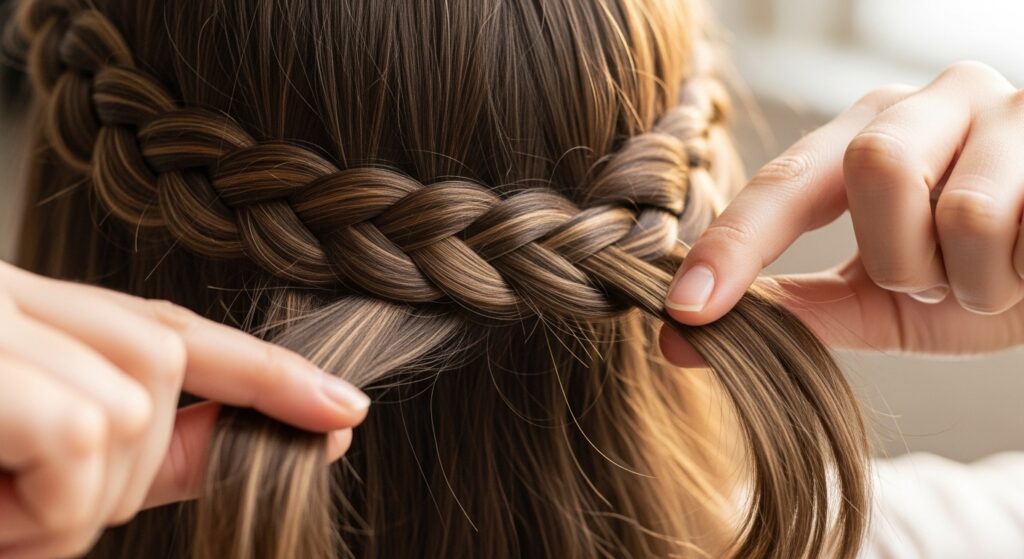
This is where the magic happens. A fresh braid can look a little tight and perfect. To give it that effortless, fuller look, you need to “pancake” it. Starting from the top, gently tug on the outer loops of the braid with your fingers.
Pull each little bubble outward to widen the braid. Work your way down to the bottom. This loosens the style, shows off the beautiful pattern, and makes your hair look twice as thick. It’s the key to that romantic, soft finish.
Step 13: Fix Any Sparse Spots
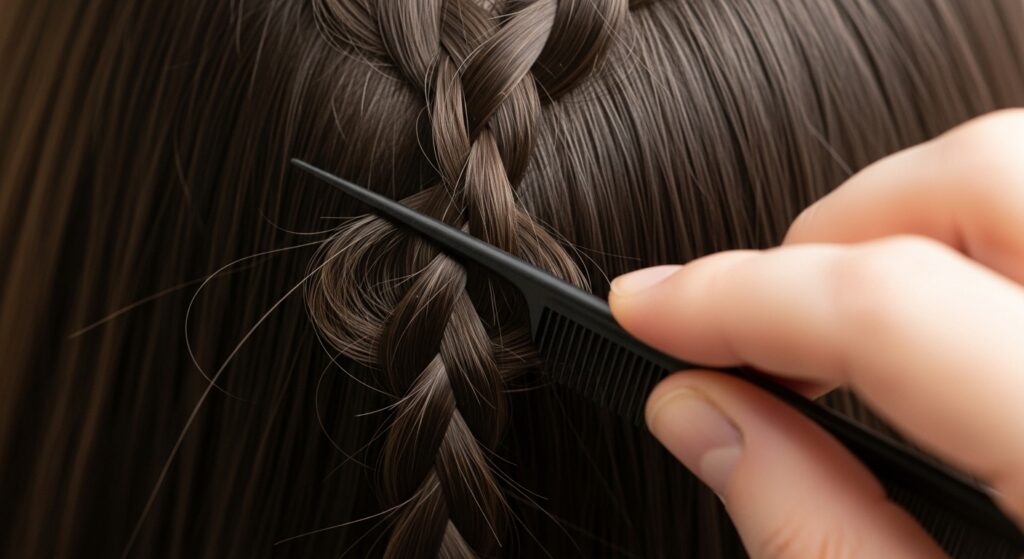
After pancaking, look at your braid in the mirror. Do you see any spots that look a bit sparse or uneven? Use the tip of your tail comb to gently tease and pull on specific strands within the braid to even it out.
You’re not re-braiding, just finessing. This is like editing your work. It takes 30 seconds but makes the whole braid look professionally done. It’s that glitchy glam hair touch—intentionally imperfect perfection.
Step 14: Set with a Light Hold Spray
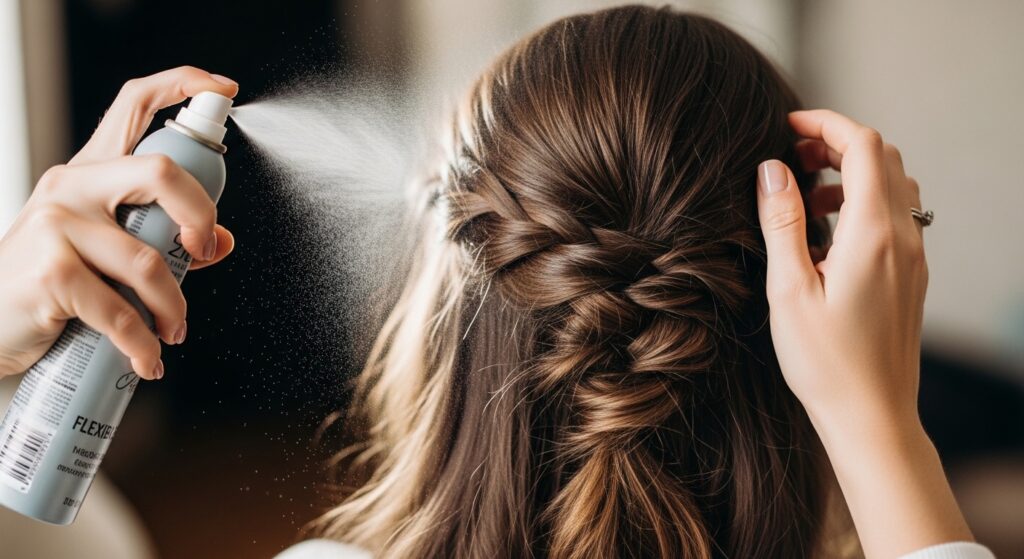
To lock in your masterpiece, give it a light mist of flexible-hold hairspray. Hold the can about 10 inches away. You don’t want it to look crunchy or stiff. The goal is to hold the shape while keeping the movement.
Pay special attention to the top near your crown and the very end of the tail. This helps fight flyaways and keeps everything looking neat all day or night. A good spray is the final seal on your look.
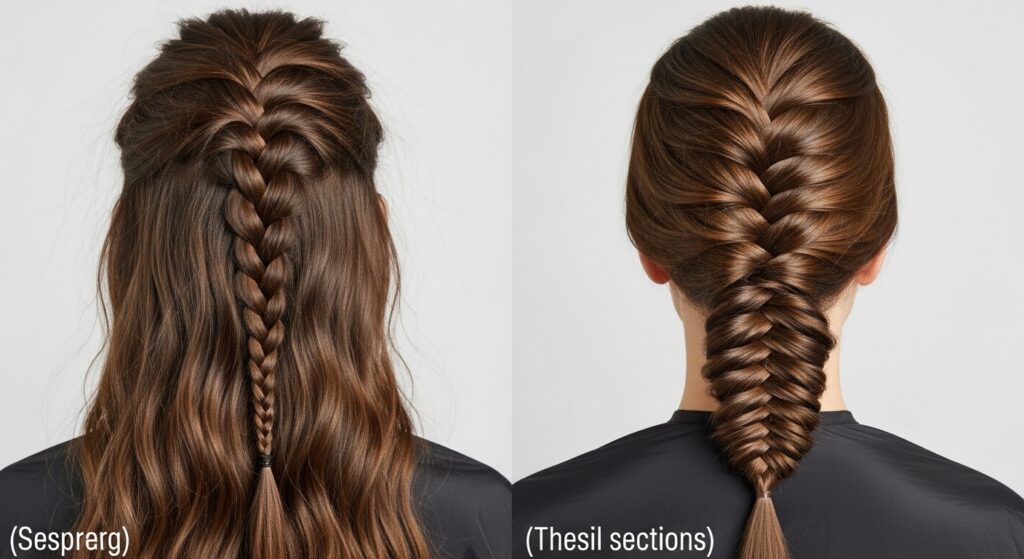
Styling Variations: The Side-Swept Fishtail
The classic side braid is my go-to. It’s flattering and elegant. After you finish, simply let it rest over your shoulder. You can pull a few face-framing pieces loose for a softer effect.
This style pairs perfectly with a silk cami or a crisp button-down. It’s the ultimate quiet luxury bob companion—simple, sophisticated, and shows you know what you’re doing. It works for the office just as well as a weekend outing.
Styling Variations: The Half-Up Crown

Want to mix it up? Try a half-up fishtail. Just take a section of hair from each temple, braid it back into a small fishtail along your crown, and secure it at the back of your head with the rest of your hair down.
This is a gorgeous way to add detail without a full-head braid. It has a slightly regal feel, like a subtle nod to the hime cut, but way more wearable for everyday. It keeps hair out of your face beautifully.
Styling Variations: The Textured Low Braid
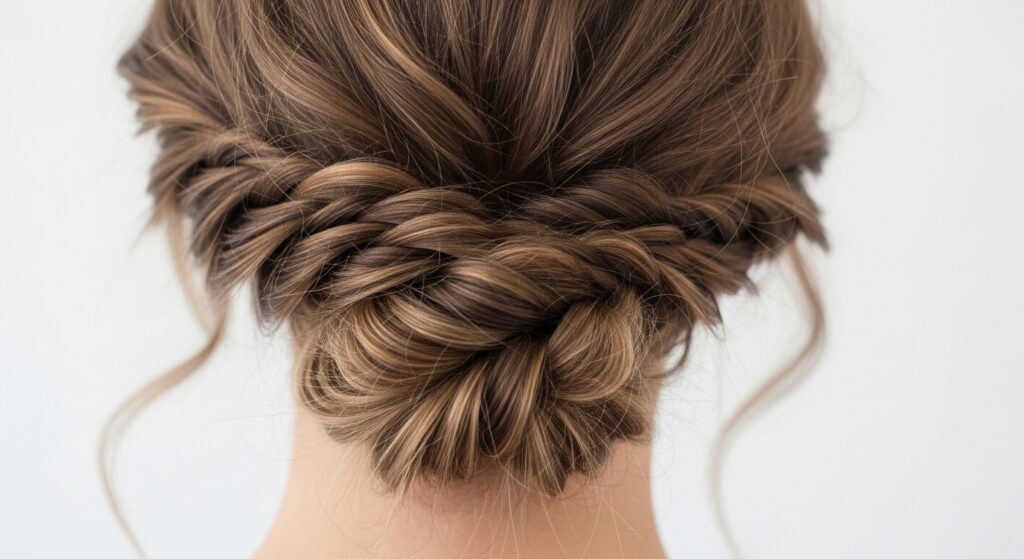
For a cooler, edgier vibe, braid your fishtail at the nape of your neck instead of over the shoulder. Pancake it aggressively so it’s really wide and messy. Pull out more pieces around your face and at the crown.
This gives off major romantic goth hairstyles or vampire haircut energy—beautiful but a little undone and mysterious. It’s perfect with a leather jacket or a sleek black dress for a night out.
What to Do With Short Layers That Pop Out
If you have an asymmetrical lob or lots of layers, pieces will escape. Don’t fight it! Use a tiny bit of wax or pomade on your fingertips to twist those shorter pieces and style them deliberately.
They can become pretty face-framing accents. This actually adds to the style, making it look lived-in and modern. It shows the braid is part of your real hair, not a stiff helmet. Embrace the texture.
Common Mistakes and How to Fix Them
The biggest mistake is starting too tight at the top. It should be snug but not pulling your scalp. If it’s too tight, gently pull at the top crosses to loosen. Another error is uneven sections, which makes the braid twist.
If it’s twisting, drop the braid, brush it out, and start again. It’s faster than fighting it. Finally, a too-loose braid will fall out. If this happens, add texture spray and re-braid with firmer tension.
How to Make Your Fishtail Last All Day

To ensure longevity, texture is your best friend. The grippier your hair, the longer the braid holds. Carry an extra clear elastic and a few bobby pins in your bag for quick repairs if needed.
If your braid gets loose or fuzzy, don’t take it all out. Just smooth the flyaways with a touch of serum on your hands and re-secure the end elastic. Sometimes, a light mid-day spray of texturizer can revive the hold.
From Day to Night: Dressing Up Your Braid
Your fishtail is the perfect day-to-night base. For evening, pull it a bit tighter and sleeker before you pancake it. Then, add accessories. Thread a delicate chain or ribbon through the braid, or add a few small, sparkly pins.
You can also twist the braid into a low bun or knot for an even more formal look. This versatility is why it’s a staple. It’s a blank canvas that you can make as simple or as glamorous as the occasion demands.
And just like that, you’ve got it. The fishtail braid is no longer some elusive, complicated style. It’s a simple, repeatable pattern that you can now do on your own shoulder-length hair. The feeling of nailing it yourself is the best part.
Remember, the first try might not be perfect, and that’s totally normal. My first one was a lumpy mess! But after two or three attempts, your hands will remember the rhythm. It becomes a quick, five-minute trick you can do almost without thinking.
This is your sign to try it this weekend. Wear it to the farmer’s market or out to dinner. Own that beautiful, detailed braid you thought you couldn’t have. You absolutely can.
Save this post to Pinterest to keep this guide handy for your next braiding day! Did you try it? Tell me in the comments—what’s your biggest win or funniest braiding fail? I want to hear all your stories!