Step-by-Step: How to Do a Perfect Top Knot
Are you tired of messy buns that fall apart after an hour? The perfect top knot is a game-changer—it’s sleek, stylish, and surprisingly easy to master. Whether you’re heading to the gym, a brunch date, or just want an effortless yet polished look, this guide will walk you through every step to achieve a flawless top knot every time.
From prepping your hair to securing it in place, we’ll cover all the tips and tricks to make sure your top knot stays put all day. Let’s dive in!
What You’ll Need
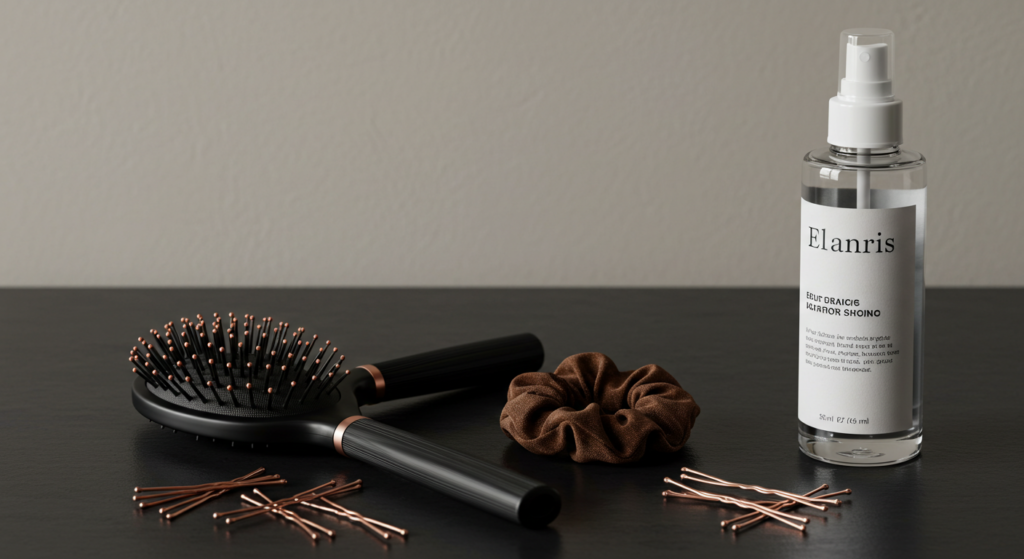
Before we get started, gather these essential tools to make the process smooth and hassle-free:
- Hairbrush or comb – To detangle and smooth your hair.
- Elastic hair tie – A strong, snag-free band to hold your bun securely.
- Bobby pins – For securing loose strands.
- Texturizing spray or dry shampoo (optional) – Adds grip and volume for a fuller bun.
- Hairspray (optional) – To lock everything in place.
Having the right tools on hand will make a big difference in achieving that polished look.
Step 1: Prep Your Hair
The key to a perfect top knot starts with the right foundation. Here’s how to prep your hair:
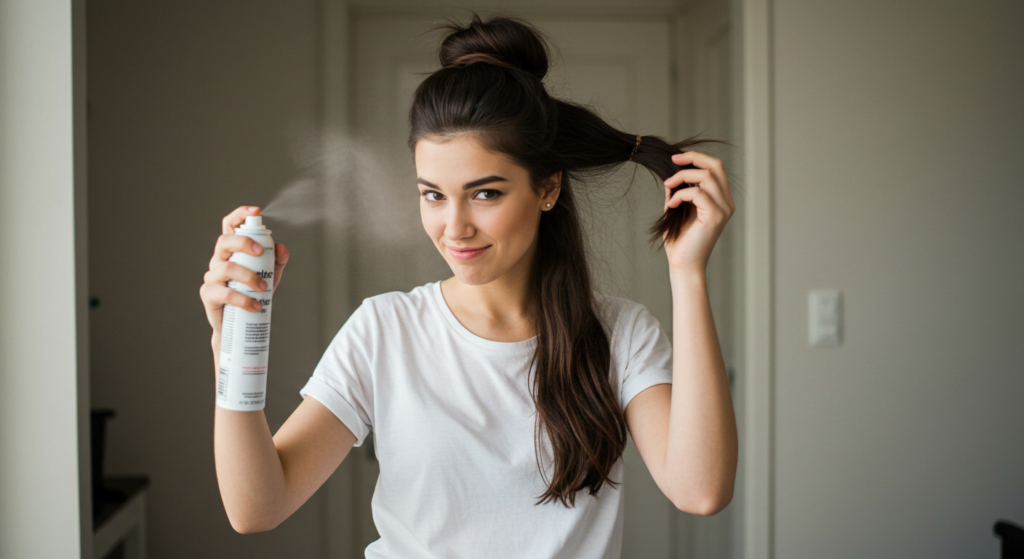
Option 1: Second-Day Hair – If your hair is freshly washed, it might be too slippery. Slightly dirty or second-day hair has more texture, making it easier to grip and hold.
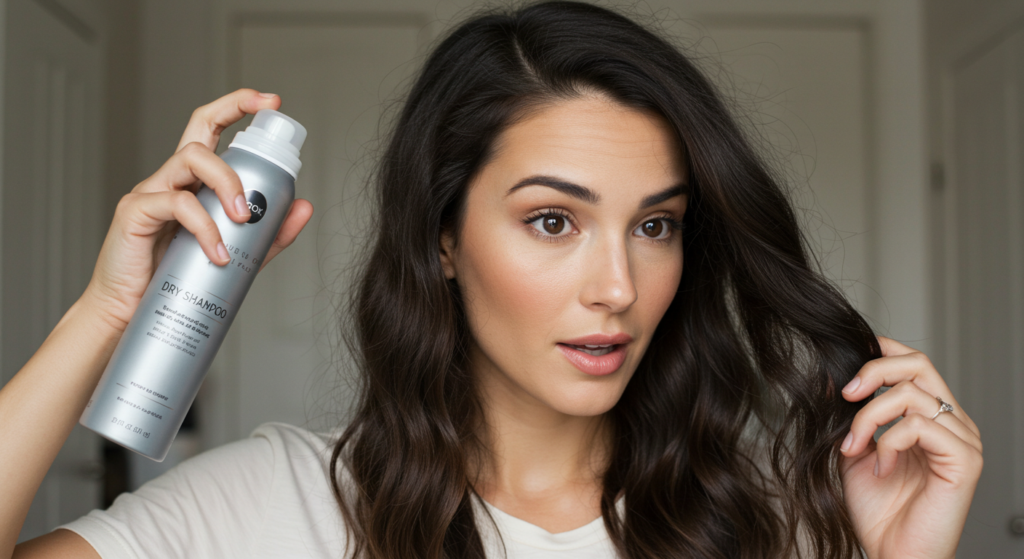
Option 2: Add Texture – If you’ve just washed your hair, spritz some texturizing spray or dry shampoo at the roots to create grip.
Brush your hair thoroughly to remove any tangles. If you want extra volume, flip your head upside down and give it a quick brush before gathering it into a ponytail.
Step 2: Gather Your Hair into a High Ponytail
Now, it’s time to create the base of your top knot:
- Flip your head upside down and gather all your hair at the crown of your head.
- Use your hands to smooth out any bumps—this will ensure a sleek finish.
- Secure your hair with a strong elastic hair tie. Make sure it’s tight enough to hold but not so tight that it causes discomfort.
Pro Tip: For a more voluminous look, gently pull on the sides of your ponytail to loosen it slightly before twisting it into a bun.

Step 3: Twist and Wrap into a Bun
This is where the magic happens! Follow these steps to create the perfect bun:
- Hold the base of your ponytail with one hand.
- With the other hand, twist the length of your hair tightly.
- Begin wrapping the twisted hair around the base of the ponytail, forming a coil.
- Keep wrapping until all the hair is neatly tucked in.
If you have shorter hair or layers, don’t worry—just twist and wrap as much as you can, then secure any loose ends with bobby pins.

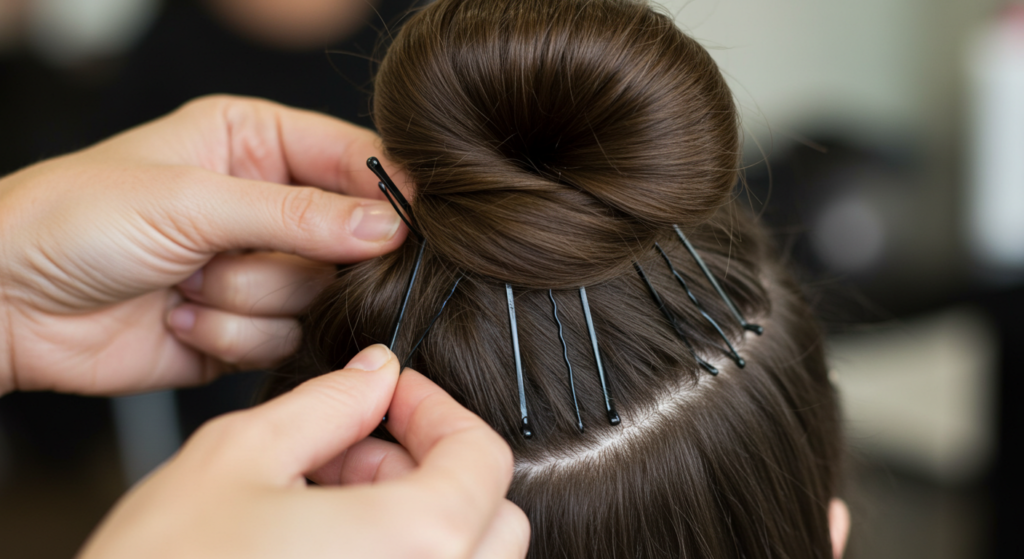
Step 4: Secure with Bobby Pins
To ensure your top knot stays in place all day, use bobby pins for extra hold:
- Slide bobby pins around the edges of the bun, tucking in any loose strands.
- Crisscross the pins for maximum security.
- Gently tug on the bun to test its hold—if it feels loose, add more pins.
Pro Tip: Match the bobby pins to your hair color for a seamless look.
Step 5: Finishing Touches
Now that your top knot is secure, it’s time to polish the look:
- Smooth Flyaways – Use a small amount of hairspray or a toothbrush with hair gel to tame any stray hairs.
- Add Shine – A light mist of shine spray can give your bun a glossy finish.
- Adjust Volume – Gently pull on the sides of the bun to loosen it slightly for a fuller appearance.
And voilà—you’ve got a flawless top knot!
Common Mistakes to Avoid
Even the simplest hairstyles can go wrong. Here’s what to watch out for:
- Pulling Too Tight – A top knot should be secure but not painful. If your scalp feels strained, loosen it slightly.
- Skipping Texture – Slick, freshly washed hair is harder to hold. Always add some grip with dry shampoo or texture spray.
- Using Weak Hair Ties – Flimsy elastics will lead to a droopy bun. Opt for strong, snag-free bands.
Avoiding these mistakes will ensure your top knot stays put all day.
Styling Variations
Once you’ve mastered the classic top knot, try these fun variations:
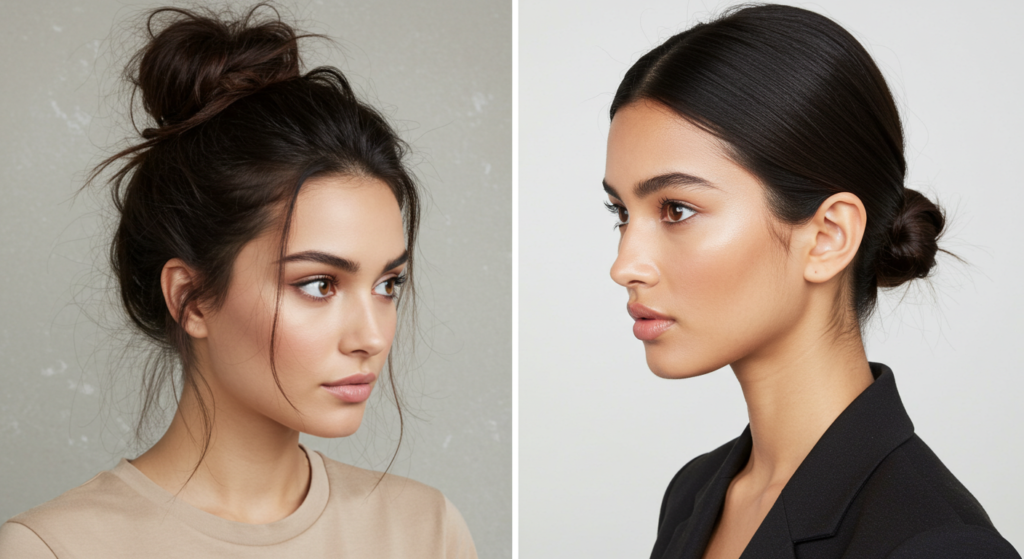
- Messy Top Knot – Loosen strands for a relaxed, boho vibe.
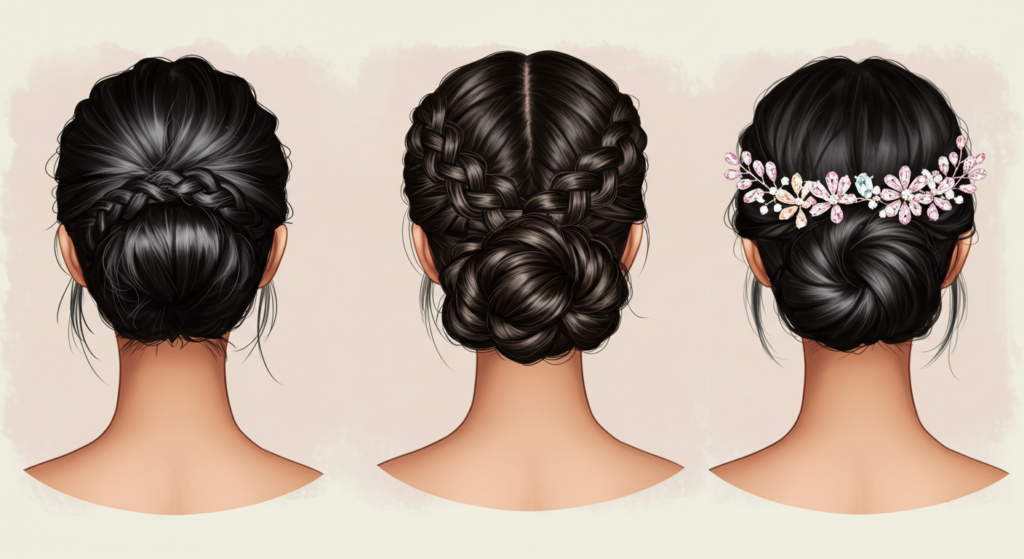
- Braided Top Knot – Incorporate a small braid before wrapping for extra detail.
- Accessorized Top Knot – Add a scrunchie or decorative pins for a glam touch.
Experiment to find the style that suits your mood and occasion!
Final Thoughts
The perfect top knot is a versatile, stylish hairstyle that takes just minutes to create. With the right prep, technique, and finishing touches, you can rock this look for any occasion—whether it’s a casual day out or a special event.
Now that you know the secrets, go ahead and try it yourself! Share your perfect top knot with us on social media—we’d love to see your results.