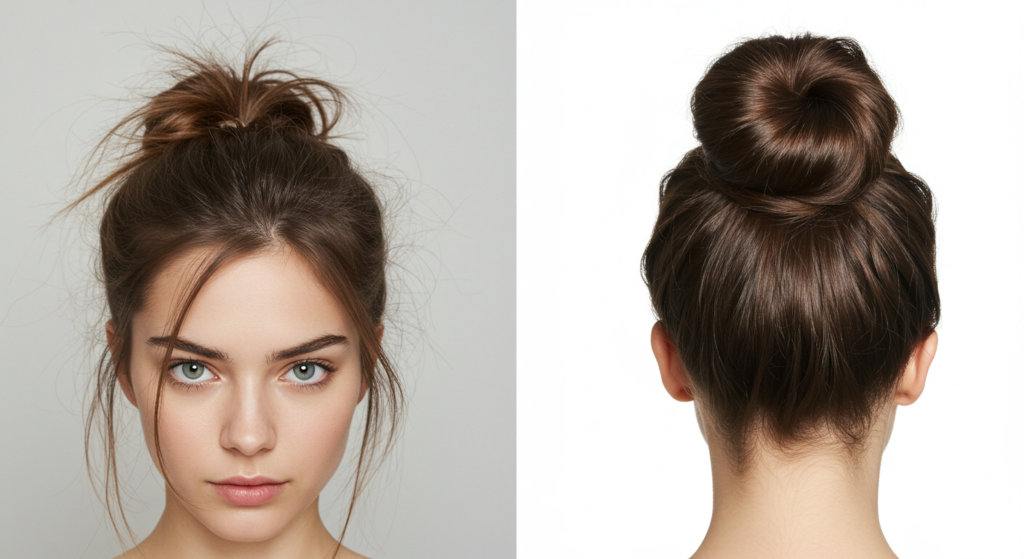
Step-by-Step: How to Do a Perfect Top Knot
The top knot is a timeless hairstyle that effortlessly combines elegance and ease. Whether you’re heading to the gym, a brunch date, or a formal event, mastering the perfect top knot can elevate your look in minutes.
In this guide, we’ll walk you through the exact steps to achieve a flawless top knot every time. From prepping your hair to securing it in place, we’ve got you covered. Let’s dive in!

What You’ll Need
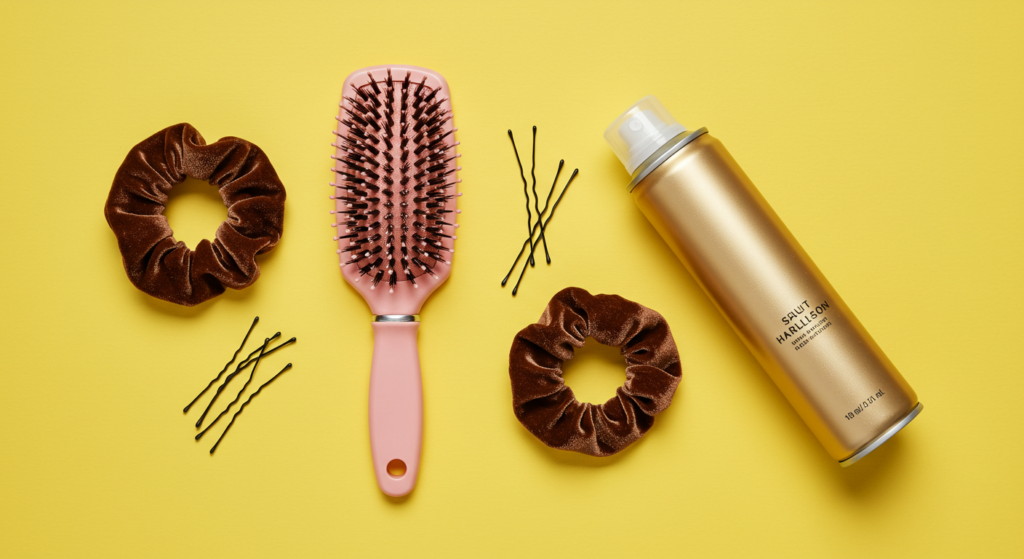
Before you begin, gather these essential tools to ensure your top knot stays put all day:
Hairbrush or comb: To detangle and smooth your hair.
Elastic hair tie: A strong, snag-free band to hold your bun in place.
Bobby pins: For securing loose strands.
Hairspray or texturizing spray: To add grip and volume.
Optional: A donut bun maker for extra fullness.
Step 1: Prep Your Hair
Start with day-old hair or apply a light texturizing spray for better hold. If your hair is freshly washed, it might be too slippery to stay in place.
Brush your hair thoroughly to remove any tangles. For a sleek look, apply a small amount of smoothing serum or gel to tame flyaways.

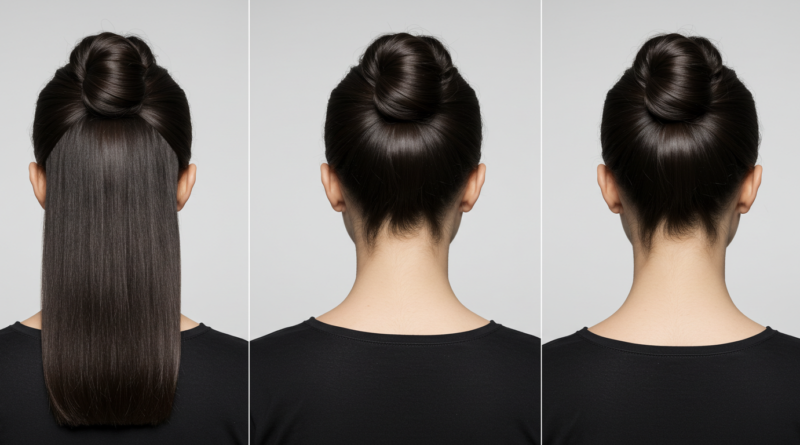
Step 2: Gather Your Hair into a High Ponytail
Flip your head forward and gather all your hair at the crown of your head. Use your fingers or a comb to create a clean, high ponytail.
Pro tip: The higher the ponytail, the more dramatic your top knot will look. For a looser, bohemian vibe, position it slightly lower.
Secure the ponytail with an elastic band. Make sure it’s tight enough to hold but not so tight that it causes discomfort.

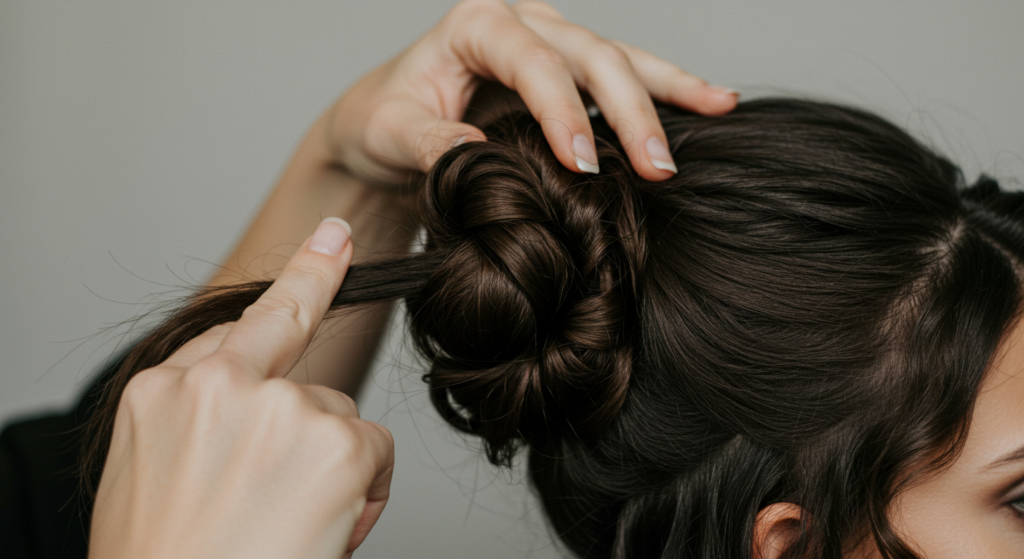
Step 3: Twist and Wrap Your Hair
Now, twist the length of your ponytail tightly. As you twist, wrap it around the base of the ponytail to form a bun.
If you want extra volume, use a donut bun maker. Slide it over your ponytail before wrapping your hair around it.
For a messy-chic look, leave a few face-framing strands loose.
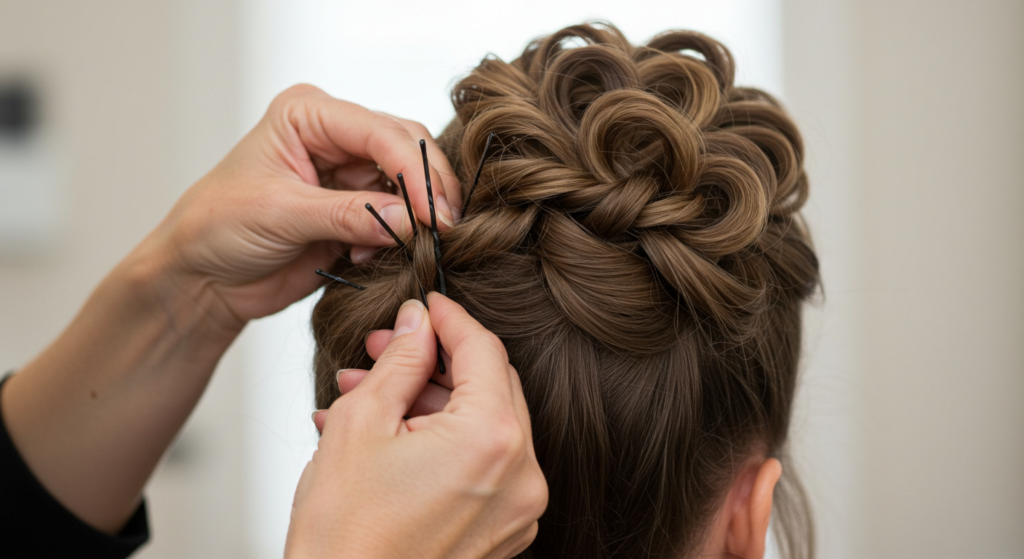
Step 4: Secure with Bobby Pins
Once your hair is wrapped, tuck the ends underneath the bun and secure it with bobby pins. Crisscross the pins for maximum hold.
Pro tip: Match the bobby pins to your hair color for a seamless finish.
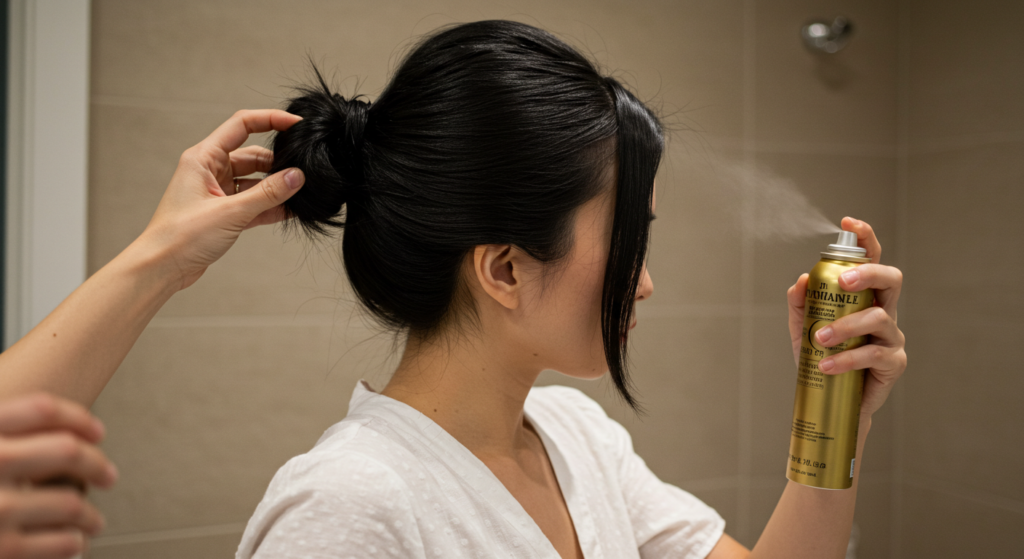
Step 5: Lock It in Place
Spritz a light hold hairspray over your top knot to keep it in place all day. If you prefer texture, use a dry shampoo or sea salt spray for a lived-in look.
Gently tug at the sides of the bun to loosen it slightly for a softer finish.
Step 6: Final Touches
Check for any loose strands and tuck them in with more bobby pins. Smooth down flyaways with a toothbrush sprayed with hairspray.
For an extra polished look, wrap a small section of hair around the elastic band and pin it underneath.
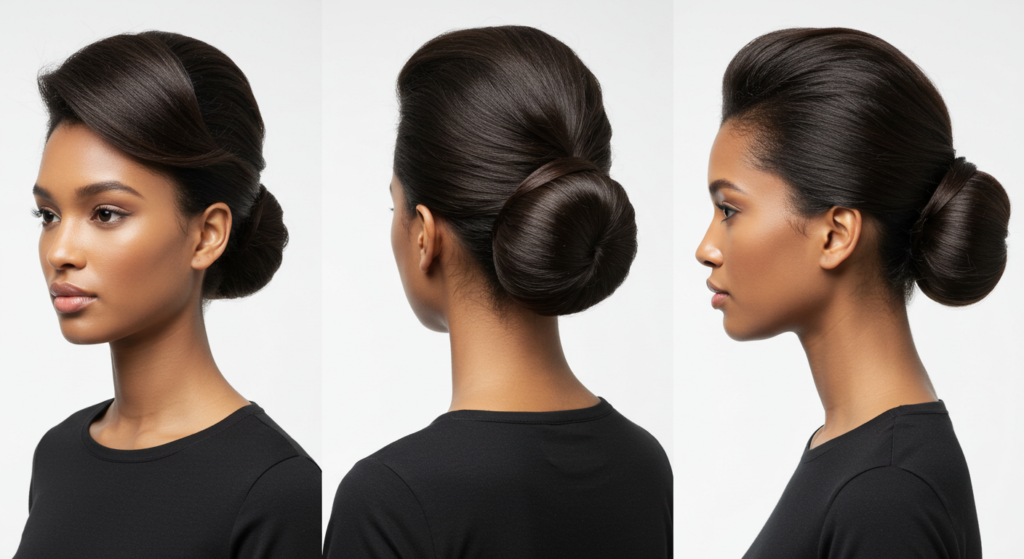
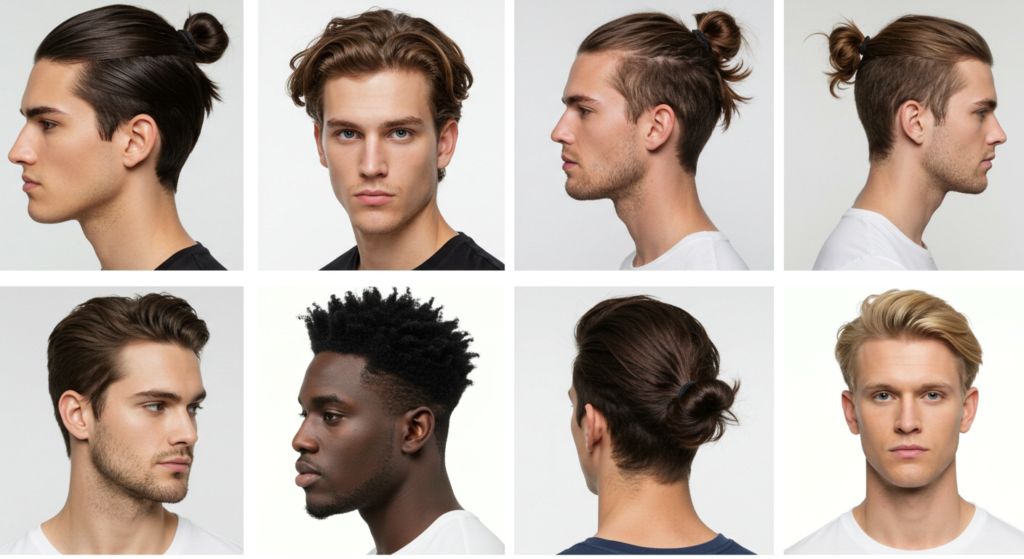
Top Knot Variations to Try
Messy Top Knot: Perfect for casual days—simply loosen the bun and pull out a few face-framing pieces.
Sleek Top Knot: Ideal for formal events—smooth every strand with gel for a glossy finish.
Braided Top Knot: Add flair by braiding your ponytail before wrapping it into a bun.
Common Mistakes to Avoid
Too tight: A top knot shouldn’t give you a headache. Keep it snug but comfortable.
Uneven wrapping: Distribute your hair evenly around the base for a balanced look.
Skipping prep: Textured or slightly dirty hair holds better than freshly washed strands.
Conclusion
Mastering the perfect top knot is all about practice and the right technique. With these steps, you’ll be able to create a stylish, secure bun in no time—whether you’re rushing out the door or prepping for a special occasion.
Now it’s your turn! Try these steps and share your perfect top knot with us.