Techniques 18 Viral Looping Pull-Throughs Effortless for TikTok Fame
Okay, let’s be real. You’ve seen those mesmerizing, impossibly perfect hair loops all over your feed. You know the ones—they look like magic, but you’re pretty sure your fingers would turn into thumbs trying to copy them. I was right there with you.
That’s why I became obsessed with the viral looping pull-through technique. It’s the secret behind so many of those dreamy, effortless styles that rack up millions of views. And guess what? It’s actually simple once you break it down.
This isn’t about complex braiding skills. It’s about one clever method that unlocks a dozen stunning looks, from an old money hair vibe to something straight out of a romantic goth mood board. I’m sharing everything I learned so you can nail it on your first try.
Consider this your ultimate, no-fuss guide to getting those loops perfect, making them last all day, and finally creating that “effortless” content everyone loves. Let’s get into it.
What Is The Looping Pull-Through Method?
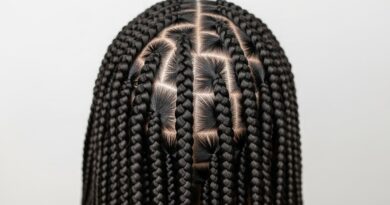
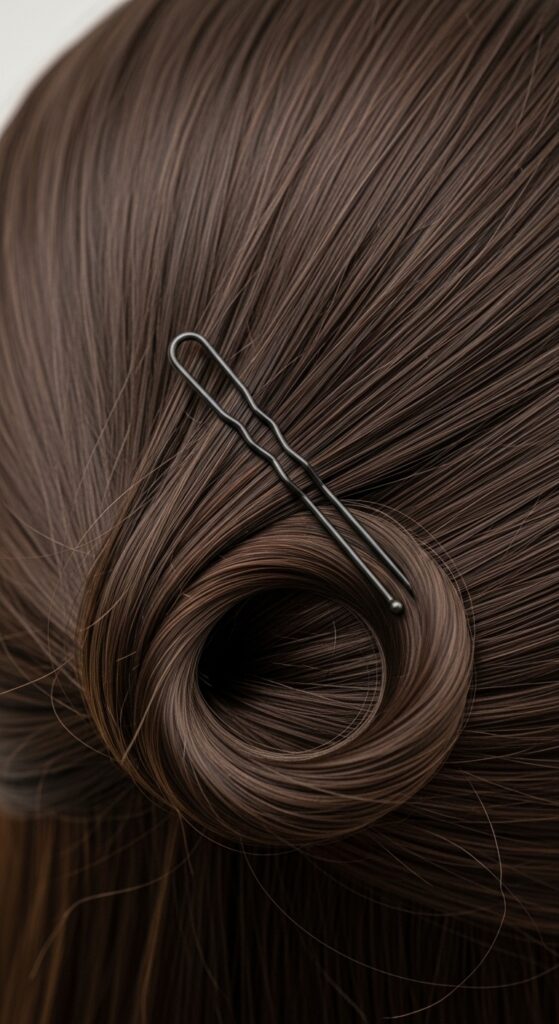
At its core, this technique is a game of elegant folding and pulling. Instead of crossing strands like a braid, you create loops or “buns” with sections of hair and pull a tail through the center. It creates that signature, intricate woven look that seems complicated but follows a simple pattern.
Think of it as the sophisticated cousin of a basic ponytail. It adds instant texture, dimension, and that “I woke up like this” polish. It’s the foundational move behind so many of the top 2026 hairstyles trending right now, because it’s versatile enough to fit any aesthetic.
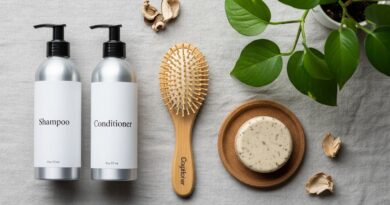
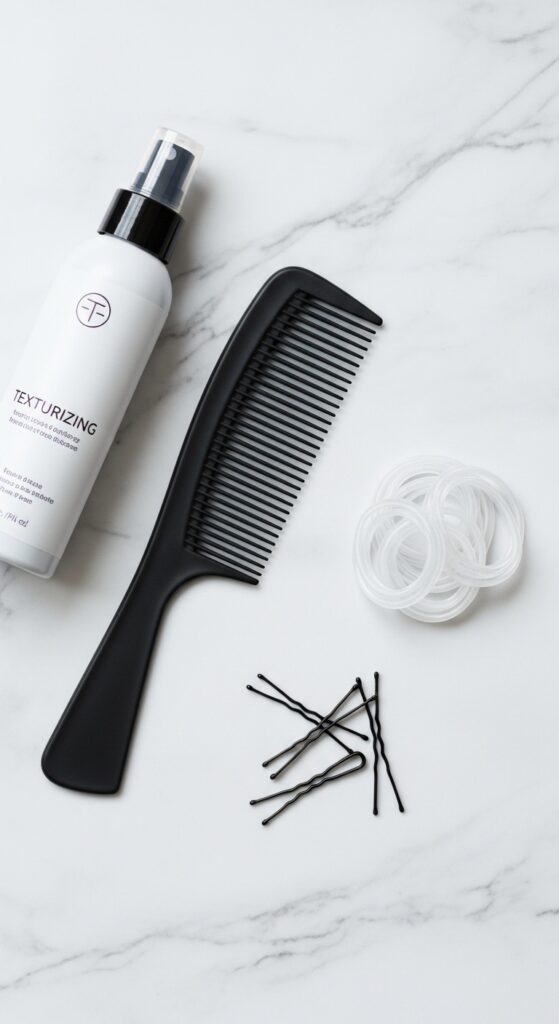
Gather Your Tools (You Don’t Need Much)
One of the best parts? This isn’t a tool-heavy style. You likely have everything you need already. A fine-tooth comb for clean sections, some hair elastics that match your hair color, and a few bobby pins are the main players.
For hold and texture, a light-hold texture spray or mousse is a good idea, especially if your hair is slippery. That’s really it! Fancy tools won’t make it easier—the technique is what matters most.
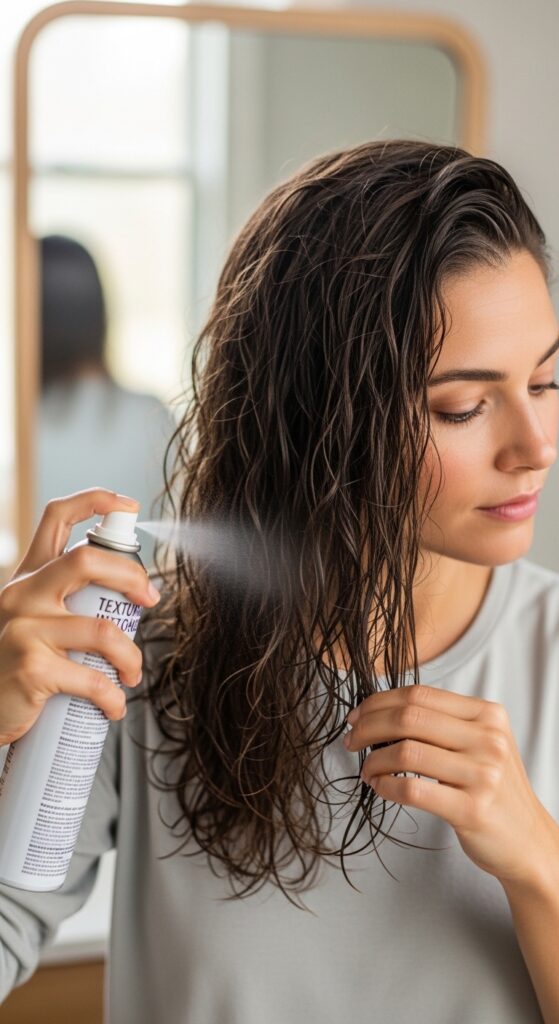
Start With The Right Hair Texture
This style works on all hair types, but a little prep goes a long way. If your hair is very clean and silky, it might slip out. I recommend styling on day-two or day-three hair, or using a texturizing spray at the roots for some gentle grip.
If your hair is very curly or coily, you can absolutely do this! Just make sure your hair is detangled and maybe lightly stretched or in a defined state so you can easily create and see the loops. A little gel on the edges can help with flyaways.
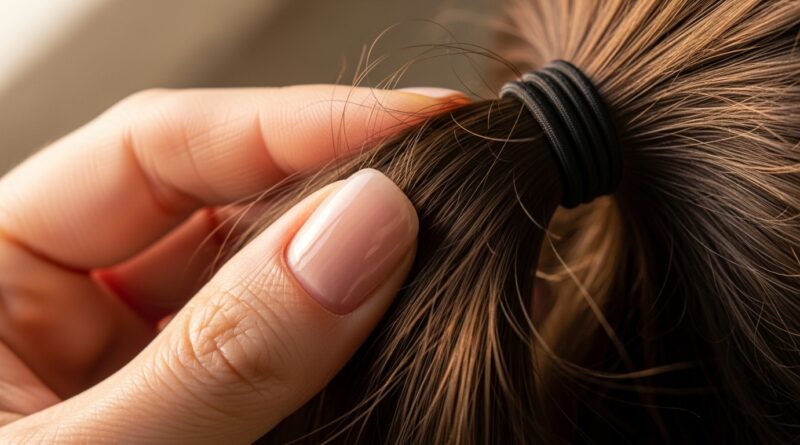
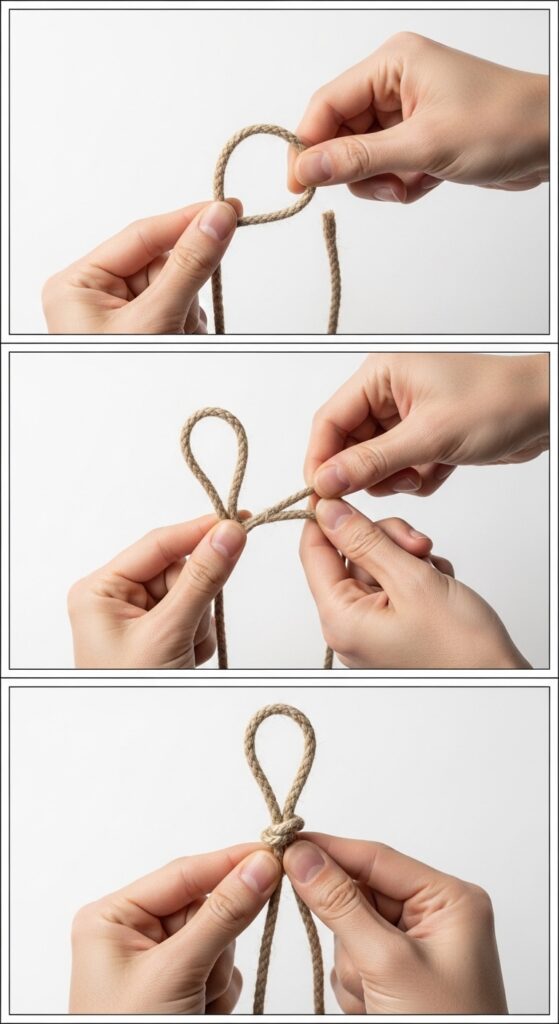
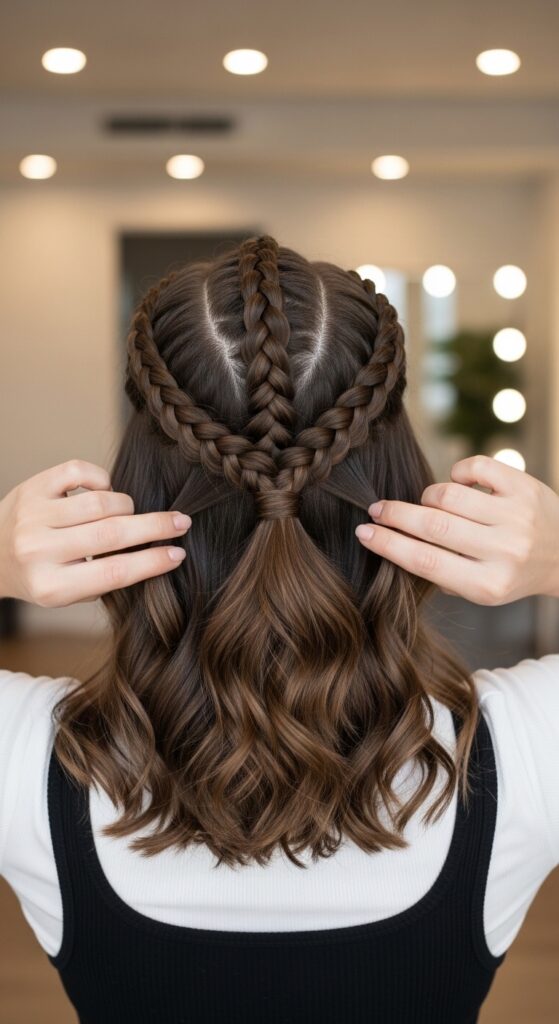
The Foundational Step-By-Step Tutorial
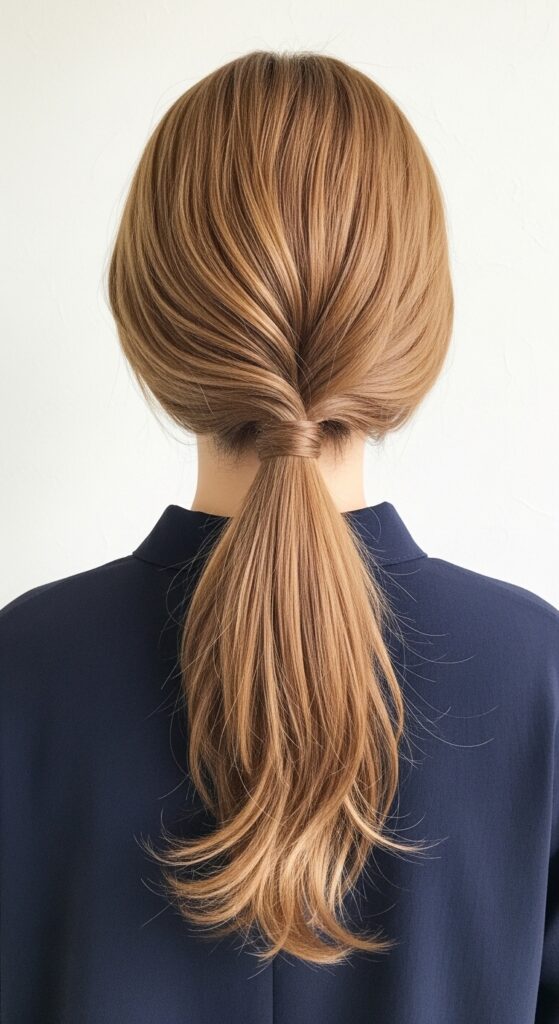
- Start with a half-up section. Secure it with a ponytail holder, but on the last pull, only pull the hair halfway through to create a loop.
- Split the remaining down hair into two equal sections. Gently pull the left section up and through the center of the loop from behind.
- Now, take the right section and pull it up through the same loop, right next to the first piece. Tighten the base elastic gently.
- Repeat! Create a new loop with the hair you just pulled through, and continue pulling up new sections from below.
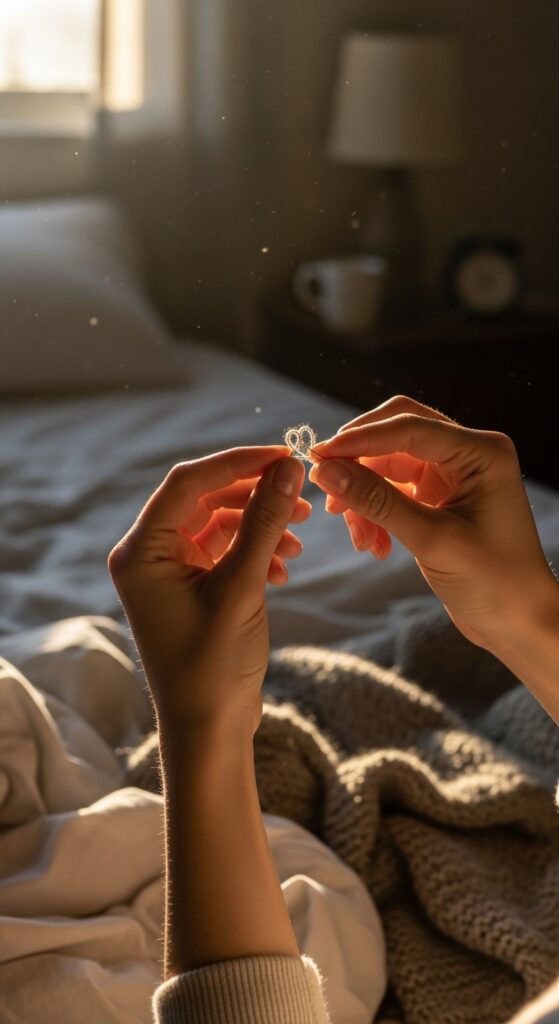
How To Make It Look “Effortless” On Camera
The key for TikTok or Reels is making it look easy and fluid. Film your hands from the perspective of someone looking into a mirror. Use natural light by a window—it’s the most flattering. Don’t worry about speed; you can always speed up the video in editing.
Show a quick “before” shot of you looking casually frustrated with your hair, then cut to the smooth process, and end with a satisfied hair flip. That story arc is pure gold for engagement. Remember, relatable > perfect.
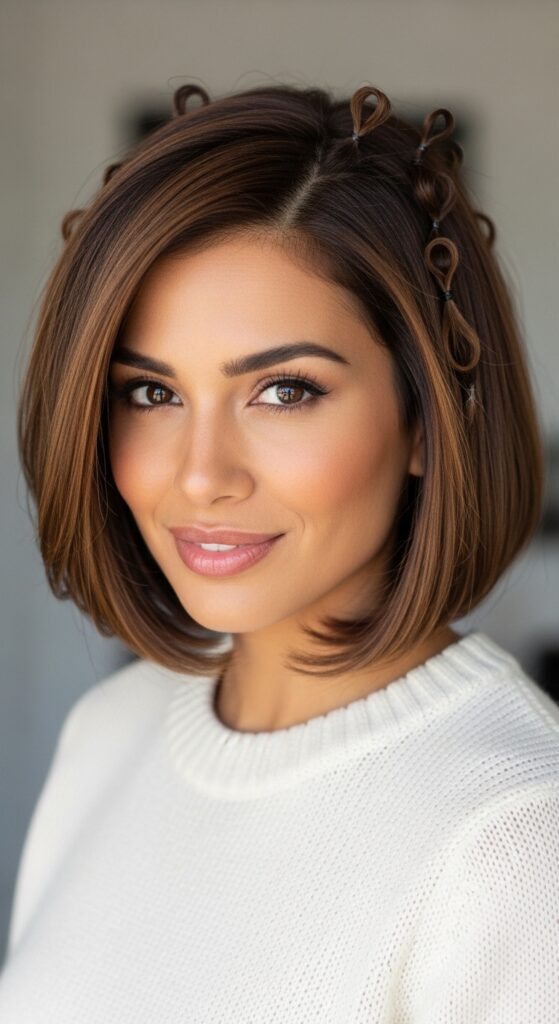
Adapt It For A Quiet Luxury Bob
Shorter hair can absolutely rock this! For a quiet luxury bob or an asymmetrical lob, focus on smaller, tighter loops. Start with a very small half-up section at the crown. The loops will be mini, but they’ll add incredible detail and lift at the roots.
You might only get two or three pull-throughs before you run out of length, and that’s perfect. Tuck the ends under and pin them discreetly at the nape. It creates a beautifully polished, Parisian-inspired updo.
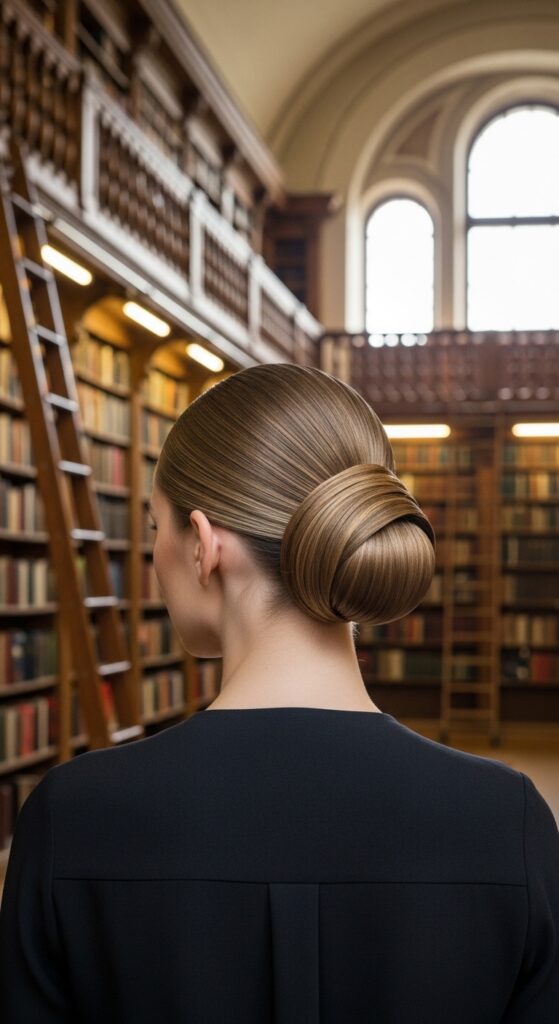
Create An Old Money Hair Vibe
Old money hair is all about pristine, undetectable elegance. To nail this, your loops should be perfectly symmetrical and neat. Use a boar bristle brush to smooth each section before looping. Keep the tension even and avoid any wispy pieces.
Finish with a light-hold hairspray applied from a distance to eliminate any shine and set the style. The goal is a low, graceful bun or half-up style that looks inherited, not labored over.
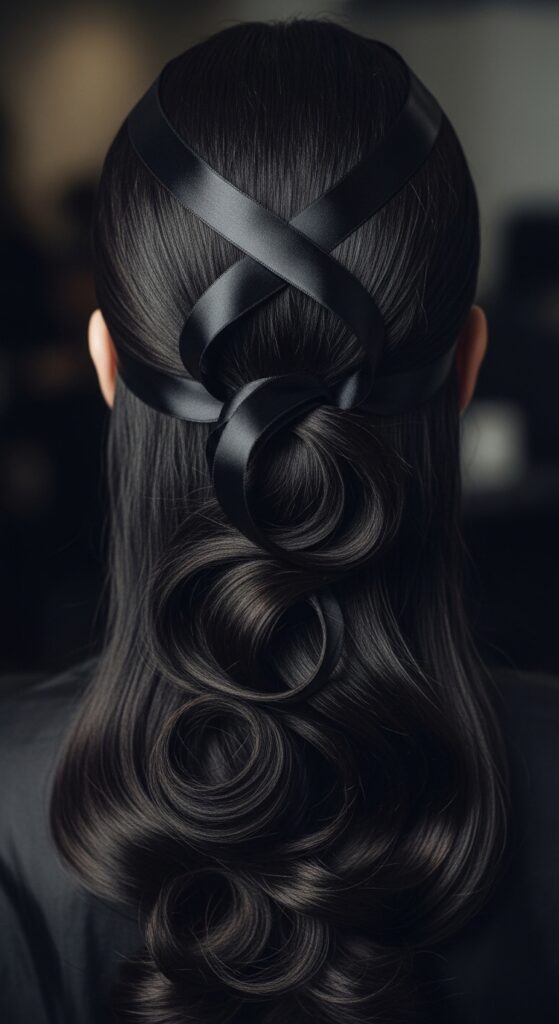
Add A Romantic Goth Twist
This is where it gets fun. For a romantic goth hairstyle, start with deep side-parted hair. Use the looping technique loosely—let some pieces intentionally escape. After you’ve created the loops, gently pull at them to make them larger and more dramatic.
Weave in a few black satin ribbons or a simple chain accessory into the loops. The contrast of the structured technique with the undone, romantic elements is absolutely stunning.
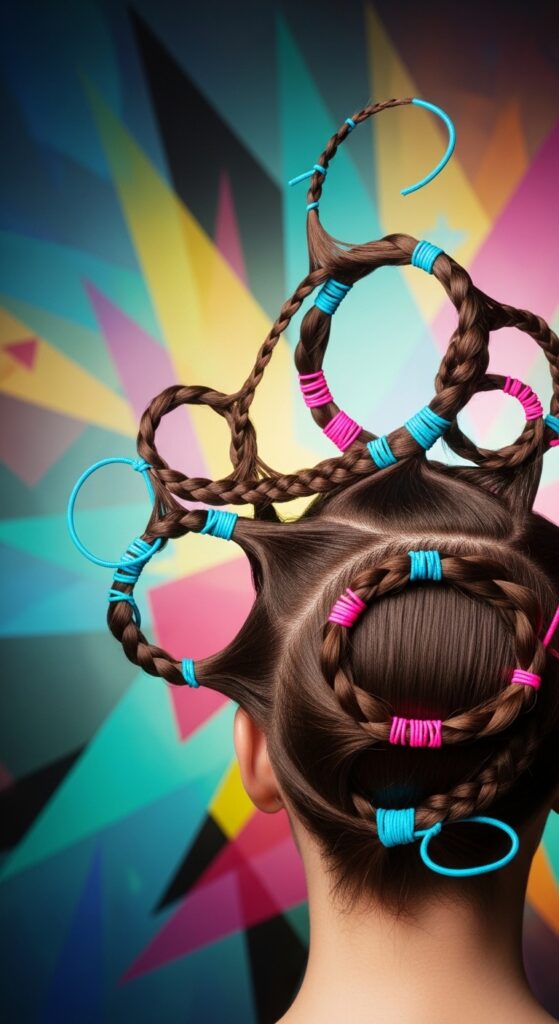
Try The Glitchy Glam Hair Approach
Glitchy glam hair is playful and unexpected. Use brightly colored hair elastics (think neon or metallic) in contrast with your hair color. As you do the pull-through, let the elastics be visible and part of the look—don’t hide them!
You can also create “glitches” by skipping a loop or only pulling a tiny section through. It breaks the perfect pattern in a cool, intentional way. This is a huge trend for creative content.
Style It As A Modern Hime Cut Accent
The hime cut (with its characteristic straight-across front pieces) is a statement on its own. Use the looping technique just on the back sections of your hair, leaving the dramatic front pieces completely free.
It creates a beautiful juxtaposition between the structured, geometric front and the intricate, soft texture at the back. It’s a fantastic way to add complexity to the iconic look.
Get The Edgy Vampire Haircut Texture
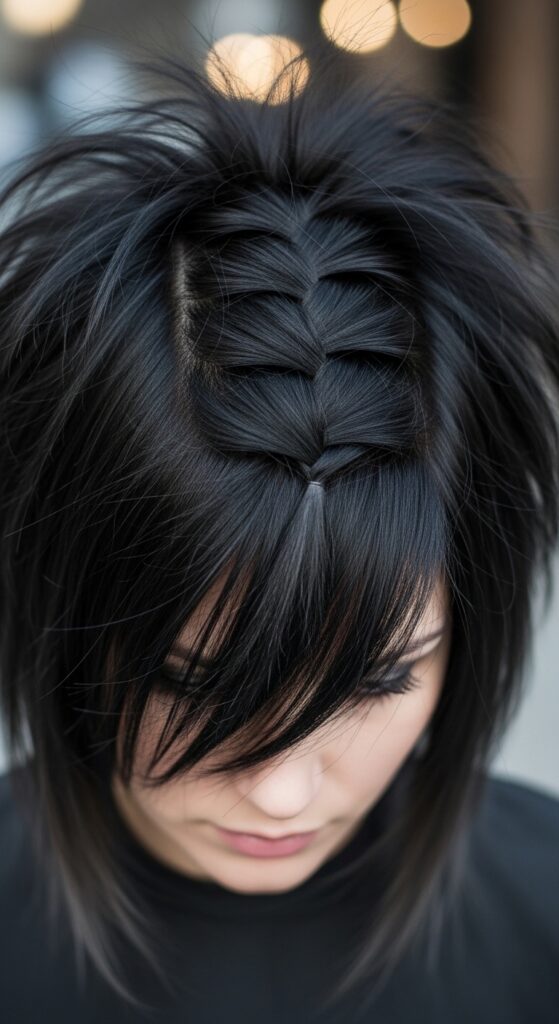
The vampire haircut is all about sharp, shattered layers. This technique is perfect for emphasizing that texture. Start the loops lower on your head, at the occipital bone, to let the top layers flow freely.
The loops will catch different layer lengths, creating a beautifully jagged and textured look from behind. It’s messy, cool, and perfectly suited to the aesthetic.
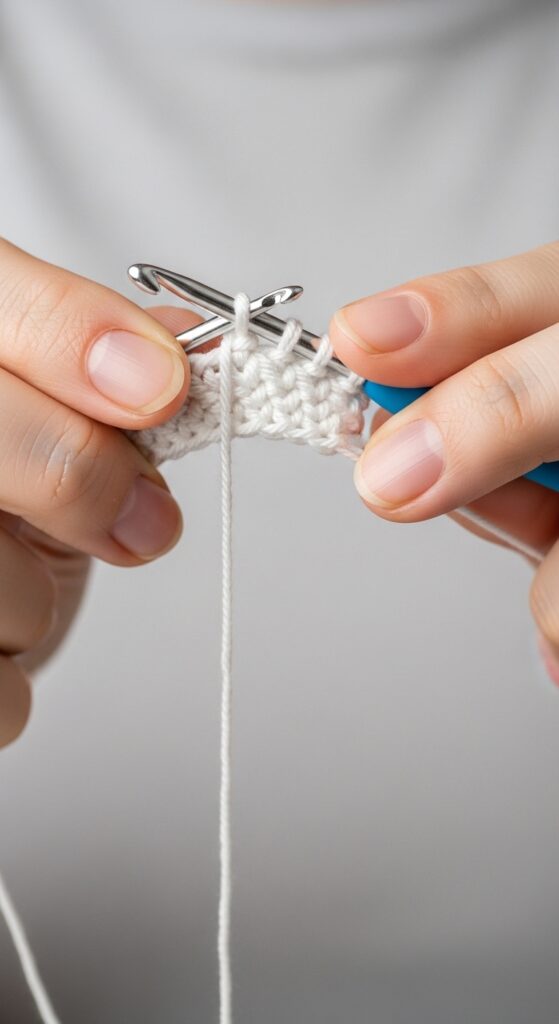
Master The Two-Strand Loop (The Simplest Version)
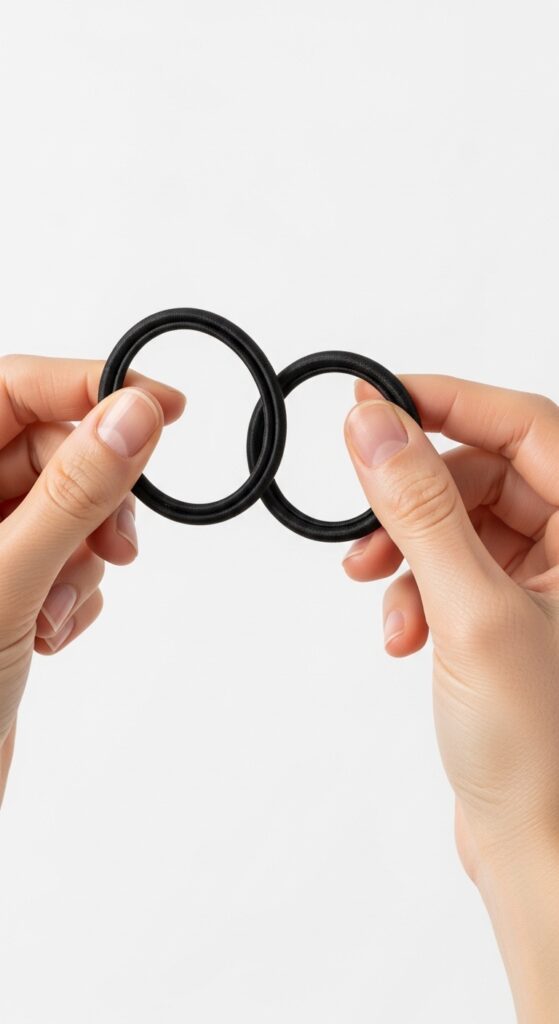
If the full method feels tricky, master this two-strand version first. Simply create two pigtails high on your head. Turn each into a loop. Then, pull the loop from the left side through the loop on the right side, and vice versa.
Pull to tighten and adjust. It gives a similar knotted, intricate look with even fewer steps. It’s a perfect quick win before you level up.
Fix The Top-Flattening Problem
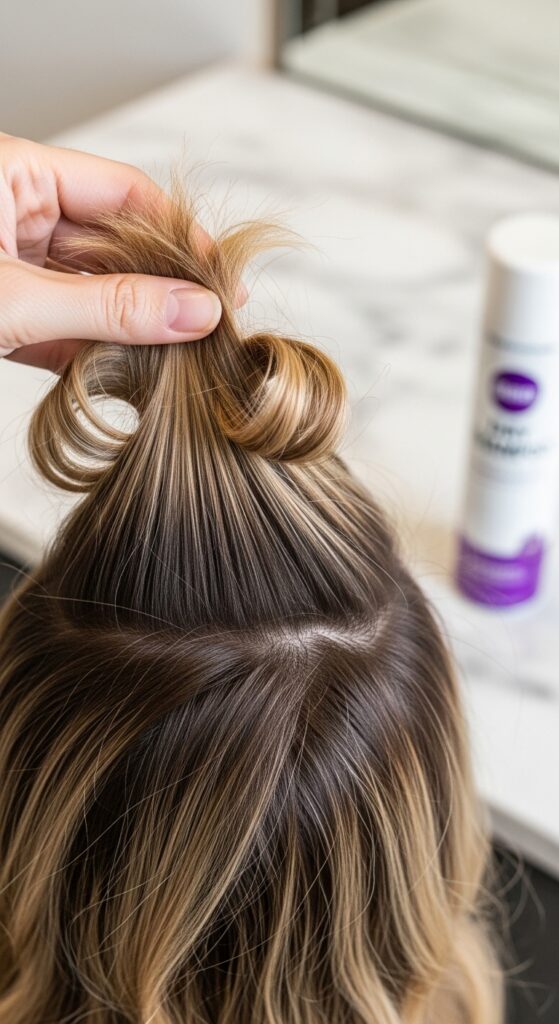
A common issue? The loops can flatten the hair at the crown. The fix is easy: before you start, tease the hair at your roots lightly or use a clip to create volume at the top while you work on the lower sections.
After you finish the style, gently lift the loops at the top with your fingers and spray a tiny bit of dry shampoo at the roots for lasting lift. Never skip the volume prep!
Secure It For All-Day Wear
To make this style last from morning to night, security is subtle. After your final loop, don’t just rely on the last elastic. Take the tail and wrap it around the base of the entire style, pinning it underneath with bobby pins.
Then, use a firm-hold hairspray on a toothbrush to gently slick down any baby hairs and secure the perimeter. This keeps it pristine without the crunchy feel.
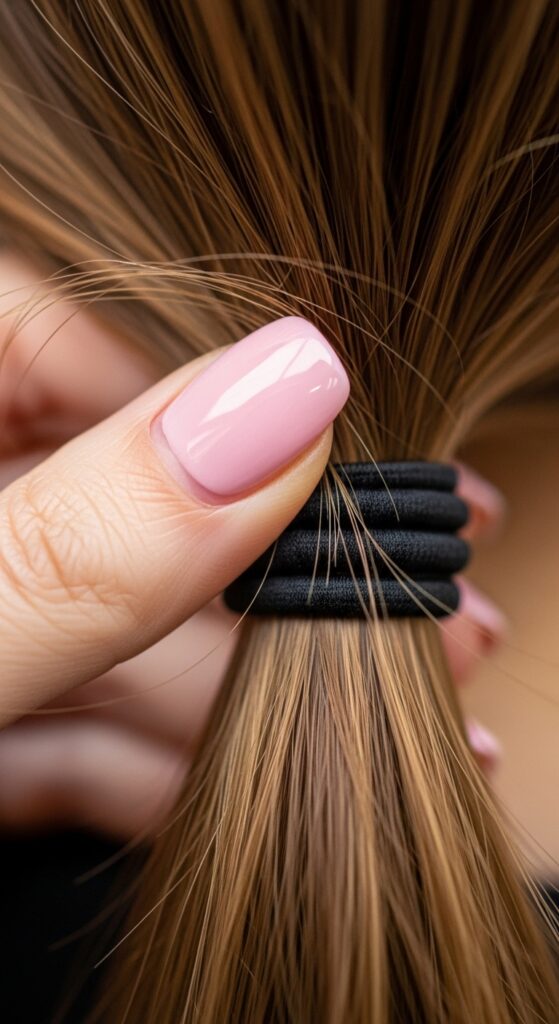
Hide The Hair Elastics Perfectly
Visible elastics can break the magic. Always choose elastics that match your hair color perfectly—clear, brown, black, or blonde. When you make your final loop, instead of pulling the end all the way through, leave it as a small loop to hide the elastic.
You can also take a tiny section of hair from the tail and wrap it around the elastic, securing it with a pin underneath. This creates a flawless, seamless finish.
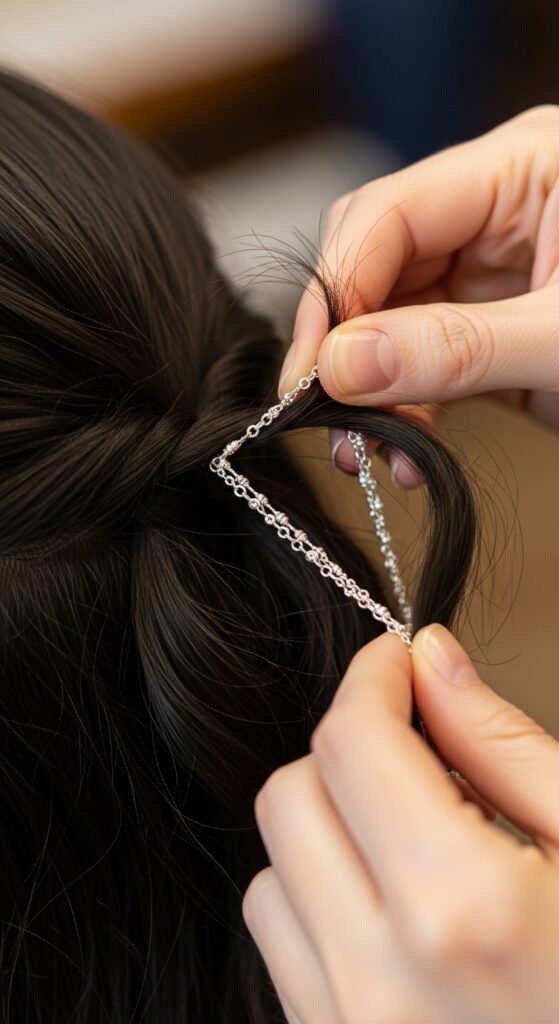
Add Ribbons Or Chains For Virality
Accessories are your secret weapon for standout content. Before you start the looping, lay a ribbon or a delicate chain along the part where you’ll make your first section. Incorporate it into the ponytail holder.
As you do each pull-through, the accessory gets woven into the style. The final reveal of the woven ribbon or glinting chain is a guaranteed “wow” moment on video.
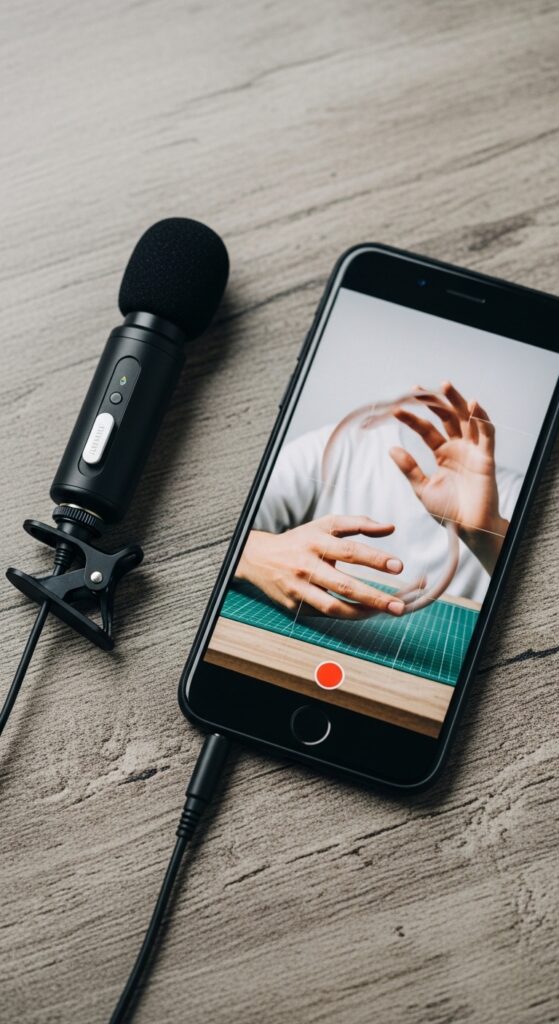
Film A Satisfying ASMR Tutorial
People love the sounds! Get a lapel microphone or use your phone’s mic close up. Capture the crisp sound of the comb sectioning, the snap of the elastic, and the soft rustle of hair being pulled through.
Pair those sounds with close-up, smooth hand movements. This sensory angle can make your tutorial incredibly addictive and shareable. Speak softly or use text overlays for instructions.
Use This Caption Strategy For More Views
Your caption needs to hook people searching. Use keywords like “Effortless looping tutorial” or “How to get the viral pull-through look.” In the video text, pose a question: “Did you get the loop step?” to encourage comments.
Use relevant hashtags: #hairloop #pullthroughhairstyle #hairhack #easyhairstyle. And always, always ask a question in your post caption to boost engagement from the start.
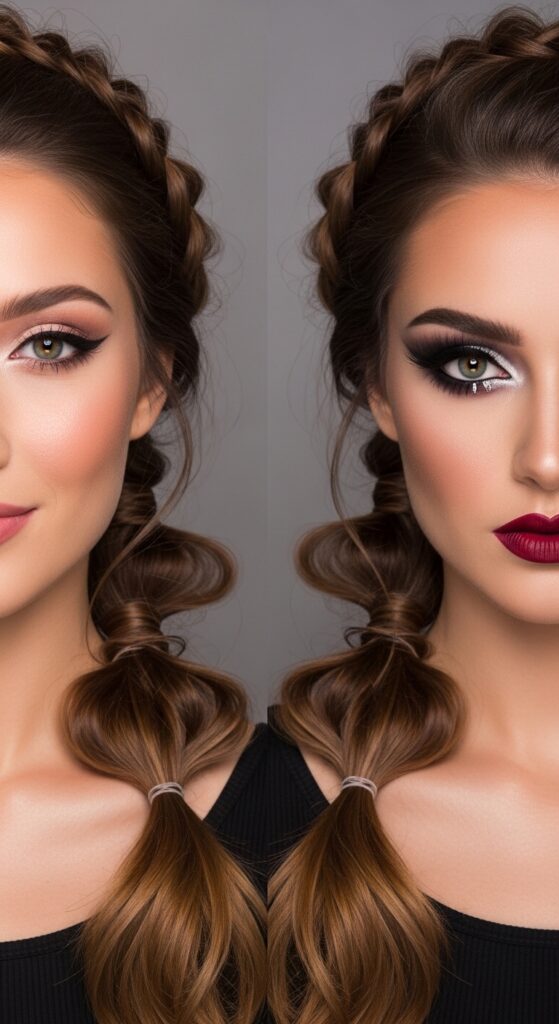
Pair It With The Right Makeup Aesthetic
Your overall look sells the vibe. For a quiet luxury style, go with clean, skin-focused makeup. For the romantic goth or vampire look, try a dark lip and smudgy liner.
Glitchy glam calls for bold graphic liner or colored mascara. The hair and makeup should tell the same story—it creates a cohesive, memorable visual that people want to save and recreate.
Troubleshoot Common Mistakes
- Loops too tight? Loosen the base elastic slightly and gently pull the loop wider from the sides.
- Hair slipping out? You’re working with hair that’s too clean. Add texture spray and ensure each new section you pull up is secure.
- Looks messy, not chic? Focus on creating clean, horizontal sections with your comb before pulling them up. Precision at the start makes all the difference.
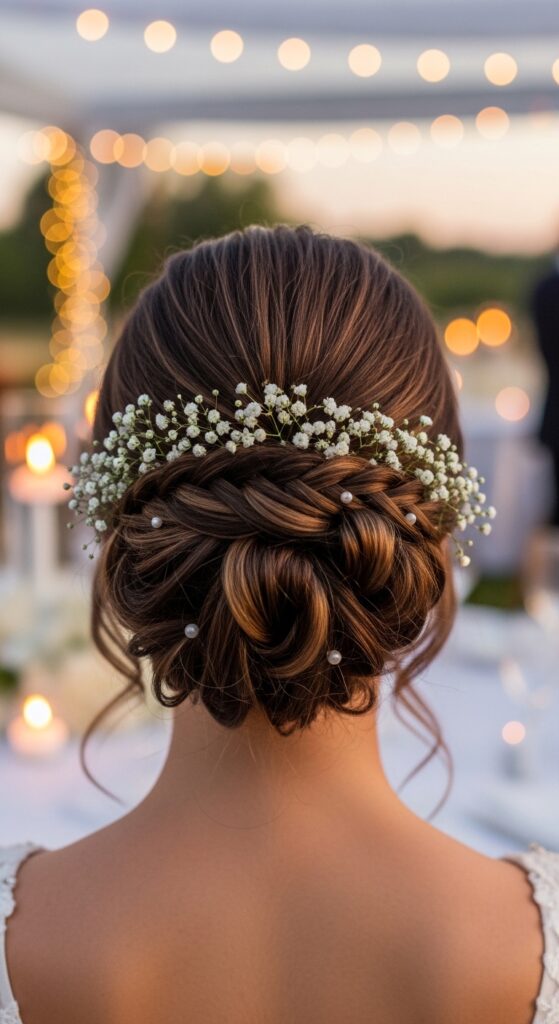
Scale It For A Dramatic Updo
Want to take it from half-up to full updo? Start with a very low ponytail. Create your first loop, then continue the pull-through technique all the way down the length of the ponytail until you run out of hair.
You’ll end up with an elegant, woven bun. Tuck the ends under and pin. It’s a stunning, red-carpet worthy look that’s deceptively simple to execute.
My Final Piece Of Advice For You
Don’t aim for perfection on the first try. My first attempt was a lumpy mess! The beauty of this trend is in the slightly undone, human feel. Practice while watching TV, and muscle memory will kick in.
Each time you try it, you’ll get faster and more confident. And that confidence is what truly shines through on camera. You’ve got this. Now go make some content and tag me—I can’t wait to see what you create!
And just like that, you have a whole toolkit of ideas. One simple technique, a million different moods. That’s the power of a good hair hack—it unlocks creativity and saves you so much time.
Remember, the trends like old money hair or glitchy glam are just inspiration. The real win is finding a version that makes you feel amazing and confident, whether you’re filming or just running errands.
I hope this guide took the mystery out of those gorgeous loops for you. Now it’s your turn! Save this post to Pinterest so you can always find these steps when you need a quick style. And tell me in the comments—which vibe are you trying first? The romantic goth or the quiet luxury bob? I read every single one!