The Gibson Tuck: Vintage Glamour Made Easy
In a world of ever-changing beauty trends, there’s something profoundly satisfying about a hairstyle that has endured for over a century. The Gibson Tuck, a hallmark of Edwardian elegance and 1940s silver-screen siren, is more than just an updo—it’s a whisper of timeless glamour. It speaks of rolled stockings, structured suits, and the quiet confidence of women like Grace Kelly and Veronica Lake. But here’s the best-kept secret: despite its intricate, sculpted appearance, the Gibson Tuck is surprisingly achievable. You don’t need a personal stylist or an hour to spare. With a few pins and the right technique, you can wrap yourself in vintage sophistication for a wedding, a date night, or even to elevate your work-from-home ensemble. Let’s unravel the mystery and learn how to make this classic look effortlessly your own.
A Brief History: From Gibson Girls to Modern Icons
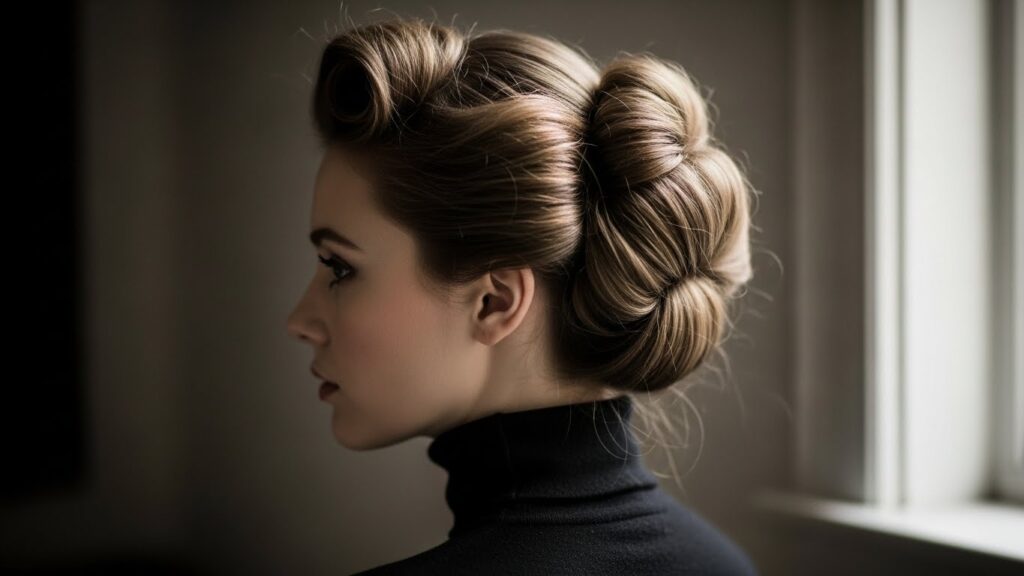
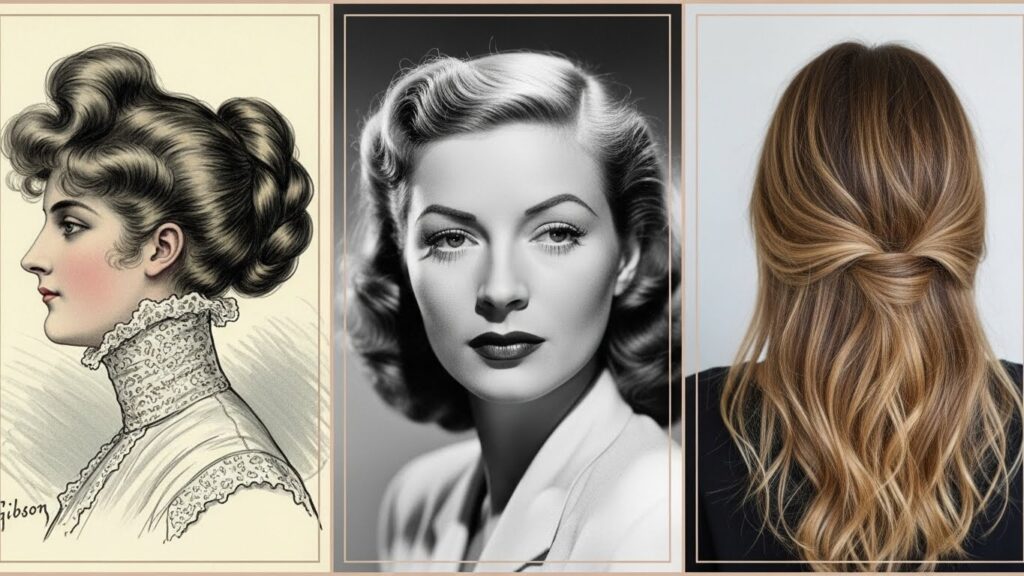
To truly appreciate the Gibson Tuck, one must travel back to the turn of the 20th century. The hairstyle is named for the iconic “Gibson Girl,” an illustrated ideal of feminine beauty created by artist Charles Dana Gibson. This woman was the epitome of independent, athletic, and graceful charm, and her hair—a voluminous bouffant rolled smoothly into a tucked chignon at the nape—became a nationwide obsession. It was the perfect blend of structured poise and soft romance.
The style faded slightly but was spectacularly resurrected during the 1940s. With World War II rationing and many women working in factories, practical yet beautiful hairstyles were essential. The Gibson Tuck, which kept hair securely off the face and neck while maintaining an air of elegance, became a staple. It was worn by film stars and factory workers alike, proving its incredible versatility. Today, we see modern iterations on runways and red carpets, a testament to its enduring appeal. It’s a hairstyle that carries a rich narrative of female resilience, elegance, and timeless style.
Why the Gibson Tuck is Your New Secret Weapon
Beyond its beautiful history, the Gibson Tuck offers a host of practical benefits for the modern woman. First and foremost, it is unbelievably versatile. It can be adapted from a sleek, polished look for the boardroom to a softer, more romantic version with tendrils framing the face for a summer garden party. It works remarkably well on second or third-day hair, as a bit of texture and oil can actually help hold the shape and volume.
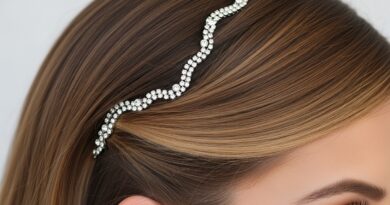
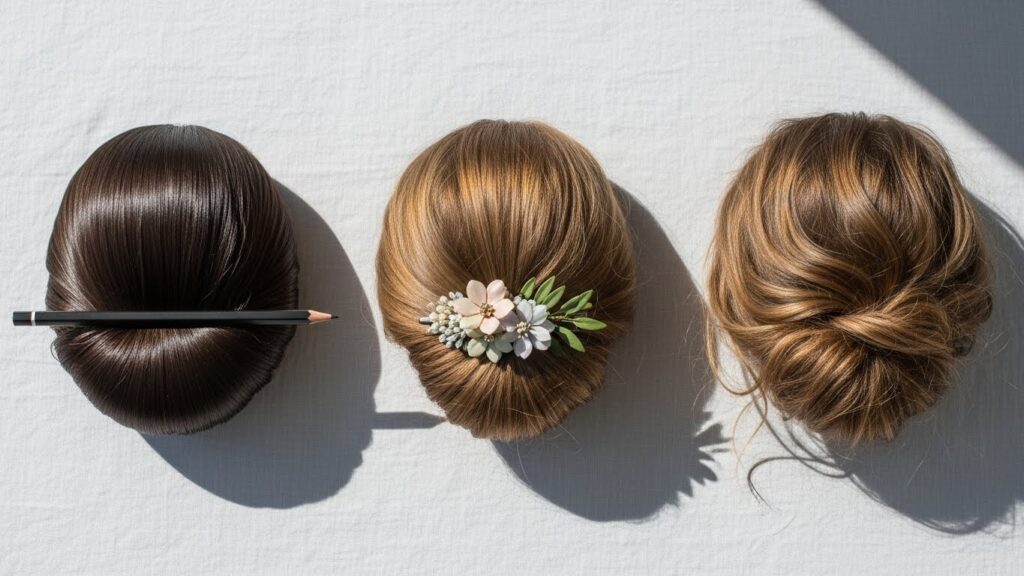
Secondly, it’s a fantastic style for creating the illusion of volume, even if you have fine or flat hair. The foundational roll or “pouf” at the crown instantly adds height and body. For those with thick or long hair, it provides a secure and elegant way to manage weight and length without resorting to a simple ponytail or messy bun. It’s also a brilliant way to showcase accessories—think a delicate pearl-encrusted comb, a bold vintage clip, or even a fresh flower tucked into the fold.
Step-by-Step Guide: Mastering the Classic Gibson Tuck
Now for the hands-on part. Don’t be intimidated. Follow these steps, and you’ll be a master of vintage vibes in no time. You’ll need: a brush, several bobby pins (strong, good-quality ones are key), a few hair elastics, and optionally, a teasing comb and light-hold hairspray.
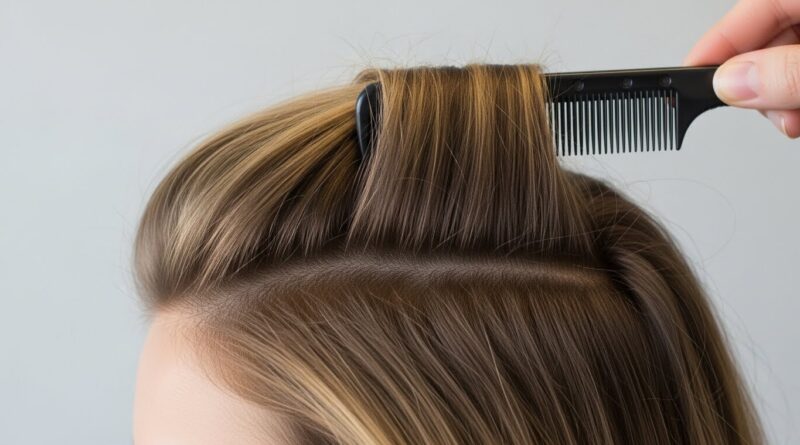
Step 1: Build the Foundation (The Pouf). Start with brushed, tangle-free hair. If your hair is very slippery, a light texturizing spray can help. Take a section of hair from the top of your head, from about your temples back to the crown. Gently backcomb or tease this section at the roots to create volume and grip. Do not smooth the top layer yet—just build the base.
Step 2: Create the Roll. Now, gently smooth the top layer of that section over the teased base. Do not brush it flat—you want to preserve the volume underneath. Then, starting at the ends, begin rolling this section of hair under itself, towards your scalp. Roll it forward (towards your face) until you reach the point where the volume begins. This creates the signature soft, rolled pouf. Secure this roll horizontally with several bobby pins, criss-crossing them for hold.
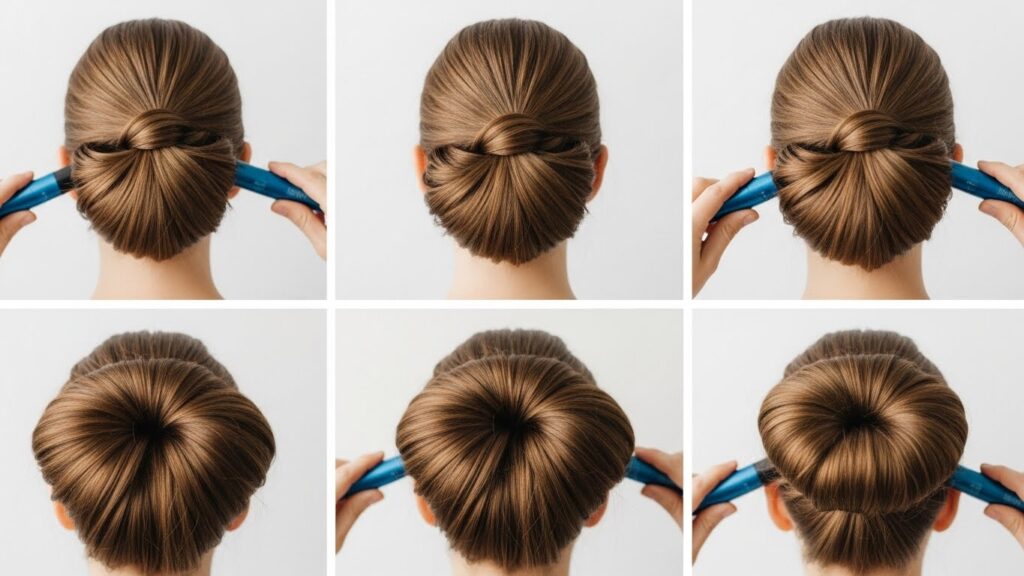
Step 3: Gather and Tuck. Gather the remaining length of your hair as if you’re making a low ponytail, but do not pull it through a hair tie. Instead, hold the ends and begin to fold or twist the length of hair under itself, tucking it upwards and under the rolled pouf you created in Step 2.
Step 4: Secure the Tuck. This is the crucial part. Use your bobby pins to anchor the tucked hair into the base of the roll and the hair at the nape of your neck. Insert pins vertically, then open and close them to grab hair from the tuck and the scalp beneath. Use more pins than you think you need! The goal is to create a smooth, tucked-in look where the ends disappear.
Step 5: Final Touches. Gently pull at the sides of your rolled pouf to soften and balance it. Spritz with a light-hold hairspray to tame any flyaways. For a truly authentic touch, you can secure the style by sliding a decorative hair stick or even a pencil through the roll and the base of the tuck.
Pro Tips & Troubleshooting for Every Hair Type
If your first attempt isn’t perfect, don’t despair. Like any skill, it takes a little practice. Here are some targeted tips:
For Fine or Silky Hair: Texture is your best friend. Use a volumizing mousse at the roots and dry shampoo for grip. Teasing is essential. Consider using a small “rat” (a hair filler) or a rolled-up sock covered with hair to create a more substantial base for your tuck.
For Thick or Curly Hair: Your challenge is managing bulk. Make sure your hair is completely detangled before starting. You may need to make two smaller rolls instead of one large pouf to distribute volume. Use extra-strong bobby pins and don’t be shy with them—a dozen may be necessary for a secure hold.
For Short or Lob-Length Hair: You can still achieve the essence of the look! Focus on creating a voluminous roll at the crown with the hair you have. The “tuck” will be more of a small, pinned-under curl at your nape. Use tiny clips and bobby pins to secure every wisp.
Common Fix: If your tuck feels loose or is sagging, take it down and start again. Often, the issue is not enough teasing at the crown or not using enough pins to anchor the tuck directly into the hair at your nape. The pins should bite into your natural hair, not just hold the styled pieces together.
Modern Twists: Adapting the Vintage Vibe for Today
The true beauty of the Gibson Tuck lies in its adaptability. You don’t have to look like you stepped out of a time machine. Here are a few ways to modernize it:
The Boho Gibson: Instead of a sleek roll, gently pull apart the pouf after pinning for a softer, more textured volume. Leave out face-framing pieces and wispy tendrils at the neck. Finish by tucking a few dried flowers or a leather cord into the fold.
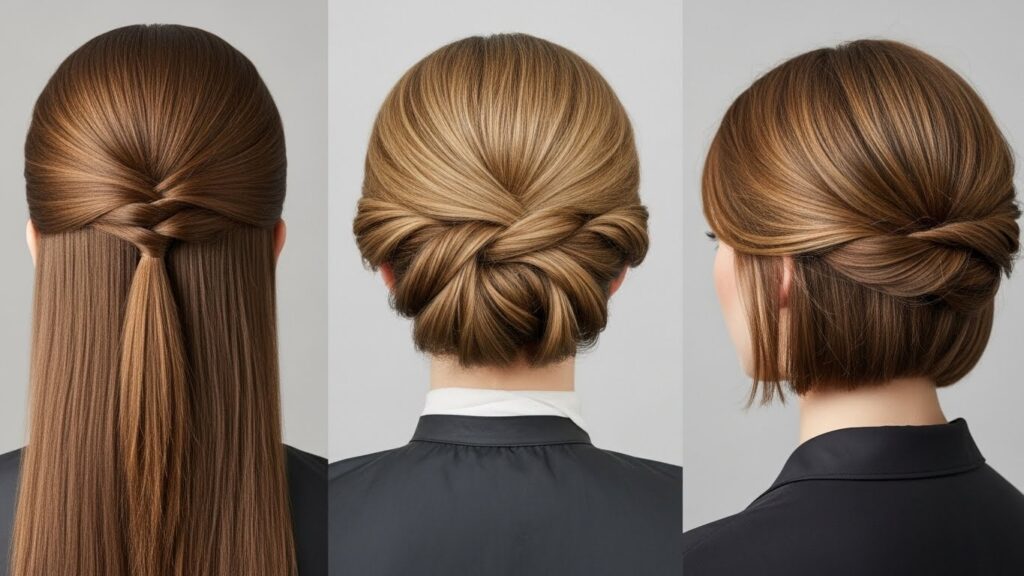
The Office-Chic Tuck: Keep it sleek and polished. Use a smoothing serum before styling and ensure every hair is in place. A deep side part can add a modern, powerful edge. Secure it with a minimalist gold hair pin instead of a pencil.
The Gibson-Inspired Half-Updo: Can’t part with your waves? Only do the rolled pouf and pin it, leaving the rest of your hair down in loose curls or a sleek blowout. This gives you the vintage volume and detail without the full commitment of an updo.
Experiment! The Gibson Tuck is a framework. Once you master the basic mechanics of the roll and tuck, you can play with volume, texture, and accessories to make it uniquely yours.

Embrace the Elegance
The Gibson Tuck is more than a hairstyle; it’s a wearable piece of history, a nod to the graceful strength of women through the ages. It proves that true style is cyclical and that elegance never goes out of fashion. In just a few minutes, you can transform your look from ordinary to extraordinary, channeling a glamour that feels both nostalgic and strikingly fresh. So grab your bobby pins, embrace a little practice, and add this timeless, empowering technique to your beauty repertoire. Your inner Gibson Girl is waiting to make her debut.