
The Ultimate Guide to Growing Out a Pixie Cut (Without the Awkward Phase)
You did it. You took the plunge and got a chic, daring pixie cut. For weeks, maybe months, you felt like an absolute rockstar. But now, a new thought is creeping in… what next? The idea of growing it out can feel daunting, conjuring images of mullets, triangle-head, and that universally dreaded awkward phase. It’s the period that makes so many people run back to their stylist for another chop, trapped in a short-hair cycle forever.
But what if we told you it doesn’t have to be that way? What if you could navigate the journey from pixie to long locks with style, confidence, and even a little fun? Growing out your hair is a process, but it’s one you can absolutely master. This ultimate guide is your roadmap. We’re diving into the strategies, cuts, and styling secrets that will make your grow-out journey not just tolerable, but a transformative and stylish experience. Say goodbye to awkward and hello to your most confident hair evolution yet.

Phase 1: The Initial Shag & Strategic Trims (Months 1-4)
The biggest mistake people make when growing out a pixie? Stopping haircuts altogether. It seems counterintuitive, but the key to growing your hair out well is to get it cut strategically. Your goal in this first phase is to maintain shape and encourage the back and sides to catch up with the top.
As your hair grows, the nape of your neck and the areas around your ears will start to look unkempt and bulky. Instead of letting it grow wild, visit your stylist every 6-8 weeks for maintenance trims. The focus isn’t on taking off length from the top, but on cleaning up the neckline, tapering the sides, and removing weight from the back to prevent a “shelf” from forming. This is the time to ask for a textured, shaggy bob or an undercut-style taper that grows out more gracefully.
Think of it like sculpting. You’re not cutting down the entire block of marble; you’re carefully chiseling away the parts that don’t belong to reveal a beautiful form as it emerges.
Phase 2: Embracing the Shaggy Bob & Pixie-Bob (Months 4-8)
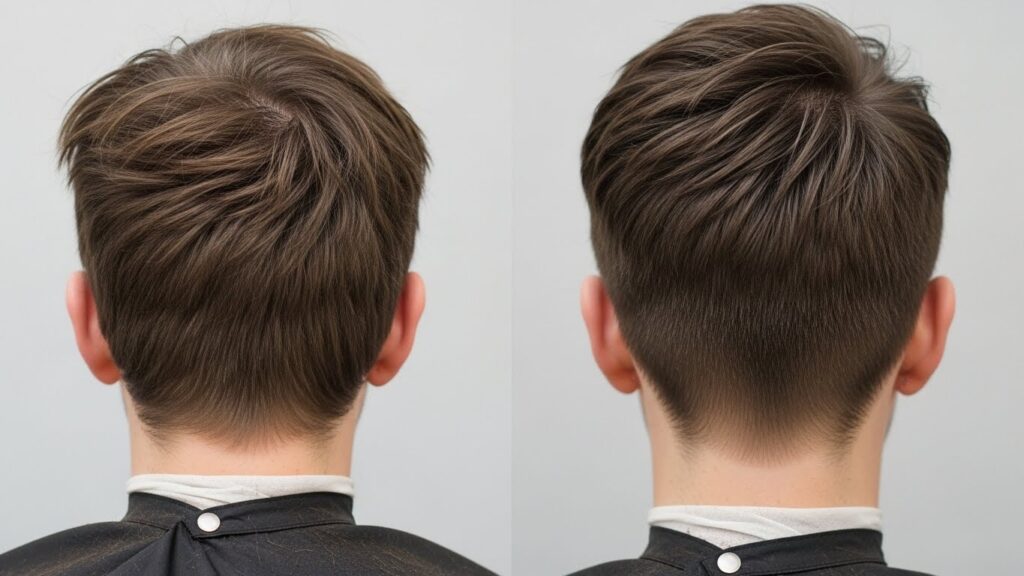
Congratulations! You’ve officially entered what could be the most awkward stage, but with the right cut, it becomes one of the coolest. Your hair is now hovering around jaw-length or a little shorter. This is the perfect time to transition into a shaggy, layered bob or a “pixie-bob” hybrid.
This cut is all about creating movement and disconnect. By adding choppy layers throughout, especially around the face, you distract from the uneven lengths and create a deliberately messy, edgy look. A skilled stylist will layer the top to blend seamlessly into the longer bottom sections, eliminating the dreaded triangle shape (where the sides are wide and flat). This style gives you so much versatility—you can slick it back, add texture, or play with a deep side part.
This phase is where accessories become your best friend. But more on that later.

Phase 3: The Power of Styling & Products
Your styling routine is your secret weapon against awkwardness. The right products and techniques can disguise transitional lengths and create gorgeous, intentional styles.
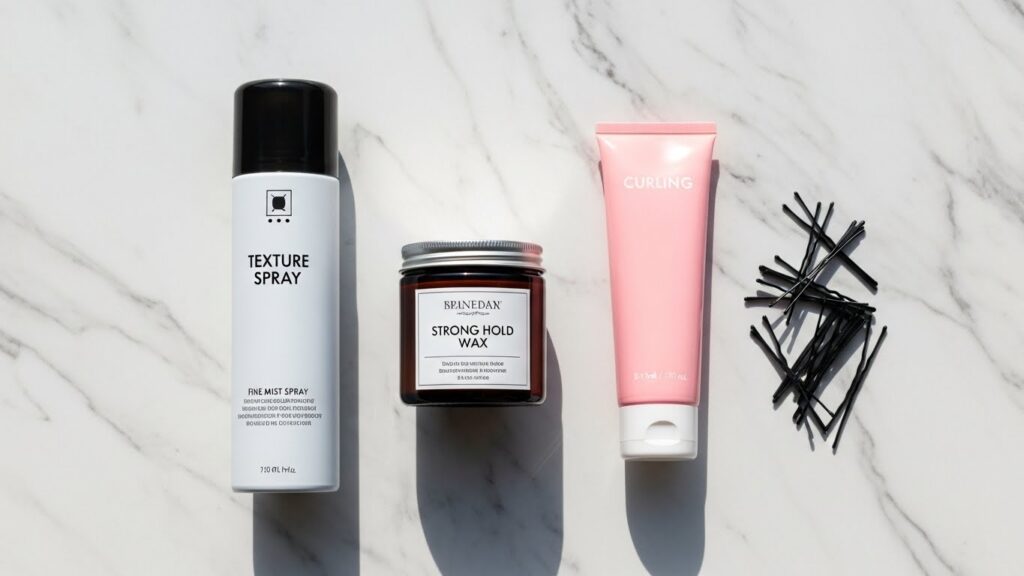
Texture is Your Best Friend: Say goodbye to sleek, flat hair for a little while. Embrace texture sprays, sea salt sprays, and light-hold pomades. These products add grit and separation, making uneven layers look like a fashion statement. Work a small amount through damp or dry hair, scrunching with your fingers to create piece-y definition.
Master the “Sweep”: As the top grows, you can start sweeping it to one side for a sophisticated, side-swept look. Use a strong-hold gel or wax on damp hair, comb it to the side, and let it air dry or use a blow-dryer with a nozzle attachment for direction. This style elegantly disguises the fact that one side is shorter than the other.
Embrace the Curl or Wave: If you have any natural wave or curl, now is the time to let it shine. Curls and waves are excellent at camouflaging uneven lengths. Use a curl-enhancing cream and scrunch your hair to encourage your natural pattern. A few random waves can make your grow-out look effortless and bohemian.
Phase 4: Your Arsenal of Accessories
Never underestimate the power of a good accessory. When your hair is being difficult, a simple piece can instantly elevate your look and solve a styling dilemma.
Headbands are Heroes: From thin, delicate leather bands to wider fabric or statement headbands, this accessory can hold back growing bangs and shorter pieces around the face while looking incredibly chic. It pulls the focus away from the hair and onto your beautiful features.
Bobby Pins & Barrettes: Decorative bobby pins and barrettes are not just functional; they are jewelry for your hair. Use them to pin back one side, to secure a small section of bangs, or to create a half-up, half-down style even when your hair is too short for a proper ponytail. Cluster a few together for a modern, stylish effect.
Beanies & Scarves: On a bad hair day (and you will have them), a cool beanie or a silk scarf tied as a headband or turban is your savior. It’s a quick, fashionable solution that requires zero effort.

Phase 5: Healthy Hair is Fast(er) Hair
While you can’t force your hair to grow overnight, you can create the optimal environment for healthy, strong, and faster-feeling growth. Damage leads to breakage, which makes your journey feel infinitely longer.
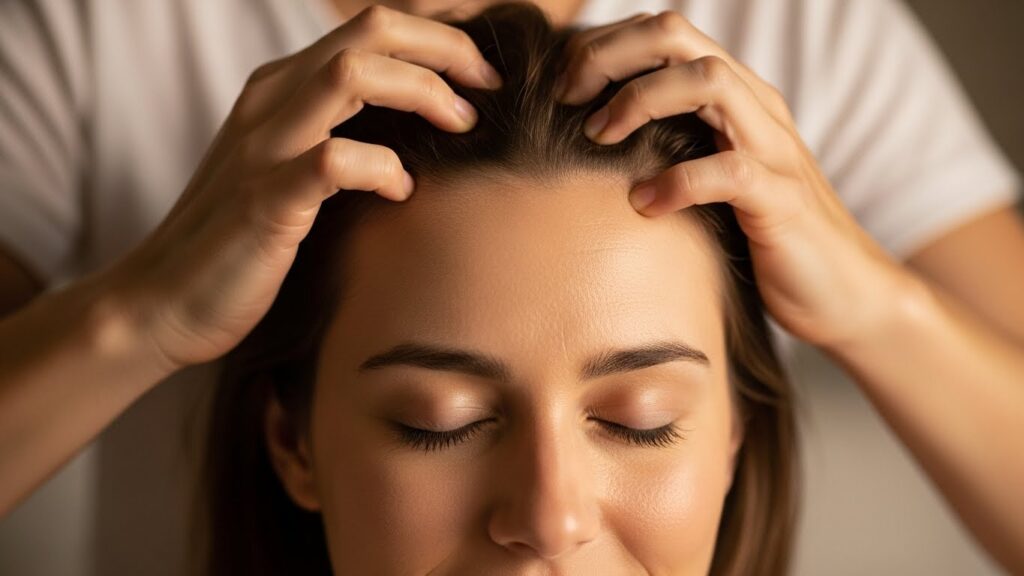
Scalp Care is Key: Healthy growth starts at the root. Incorporate a scalp scrub or massager into your routine once a week. Massaging your scalp for a few minutes a day (even with your fingertips) increases blood flow, which can stimulate the hair follicles.
Nourish from Within: Your hair reflects your overall health. Ensure you’re getting enough protein, iron, biotin, and omega-3 fatty acids in your diet. Staying hydrated is also crucial. Consider a hair, skin, and nails vitamin if your diet is lacking, but always consult with a doctor first.
Be Gentle: This is the time to baby your hair. Use a wide-tooth comb instead of a brush on wet hair. Minimize heat styling, and when you do use heat, always apply a heat protectant. Swap your regular towel for a microfiber hair towel or an old cotton t-shirt to reduce friction and frizz.
Regular Trims (Yes, Still!): We said it before, and we’ll say it again. Getting regular trims to dust off split ends prevents them from traveling up the hair shaft and causing breakage. Protecting the length you have is just as important as growing new hair.
Mindset & Embracing the Journey
Perhaps the most important tool in your grow-out kit is your mindset. There will be days you feel frumpy and miss your pixie. That’s normal. Instead of focusing on the end goal, try to fall in love with the process.
View each new length as an opportunity to experiment with a style you’ve never been able to try before. That shaggy bob? It’s edgy and cool. That weird length that won’t stay behind your ear? It’s the perfect excuse to master the art of the barrette. Document your journey with photos. Not only will this help you see the progress you’re making (which can be slow and hard to notice day-to-day), but it will also remind you of the many stylish moments along the way.
Remember, hair is a form of self-expression, and your grow-out phase is just one chapter in your style story. It’s a testament to your patience and a celebration of change. Embrace the in-between, play with it, and own it with confidence. You are not “awkward”; you are evolving.

Final Words of Encouragement
Growing out a pixie cut is a marathon, not a sprint. It requires patience, a trusted stylist, and a sense of humor. But by following this guide—embracing strategic cuts, mastering styling tricks, leveraging accessories, and prioritizing hair health—you can navigate every step with grace and style.
You have the power to redefine the “awkward phase” and turn it into a period of creative expression. So take a deep breath, book that consultation with your stylist, and get ready to fall in love with your hair all over again, one inch at a time.


