Transform 32 Partial Sunburst Highlights Radiating From Parts Vibrantly
Okay, let’s be real. You saw “32 partial sunburst highlights” and your brain went straight to math class panic. I get it. But trust me, this isn’t a formula. It’s the secret to the most stunning, sun-kissed, multi-dimensional hair you’ve ever seen.
Think of it less as a number and more as a vibe. It’s the ultimate blend of lived-in balayage and strategic pops of light. The goal? Hair that looks expensive, effortless, and like you just spent a month in the South of France.
This technique is having a major moment, popping up everywhere from 2026 hairstyles forecasts to that old money hair aesthetic we all love. It’s versatile enough to work on a quiet luxury bob or add a twist to romantic goth hairstyles. I’m breaking down exactly what it is, how to ask for it, and how to keep it vibrant. Let’s get into it.
What Are Partial Sunburst Highlights, Really?
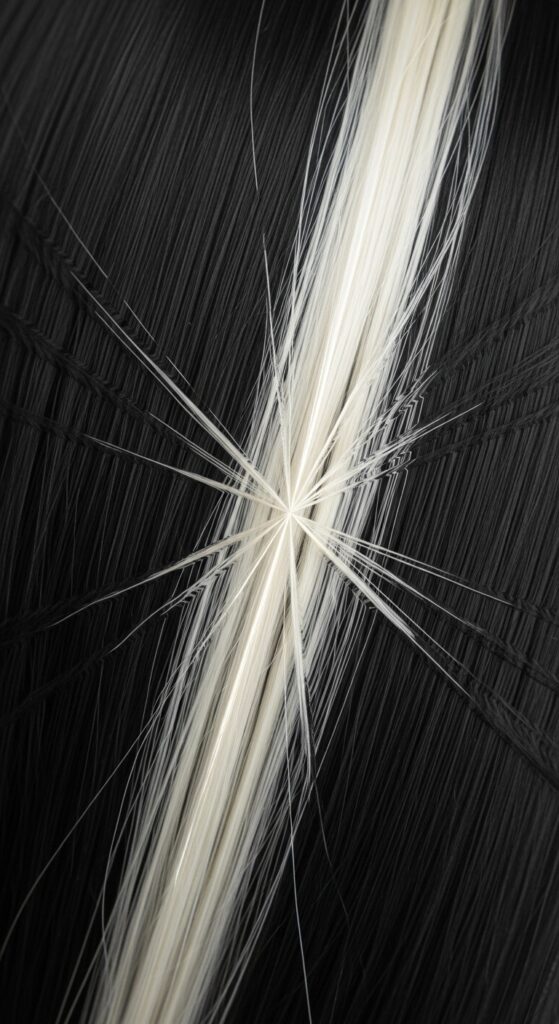
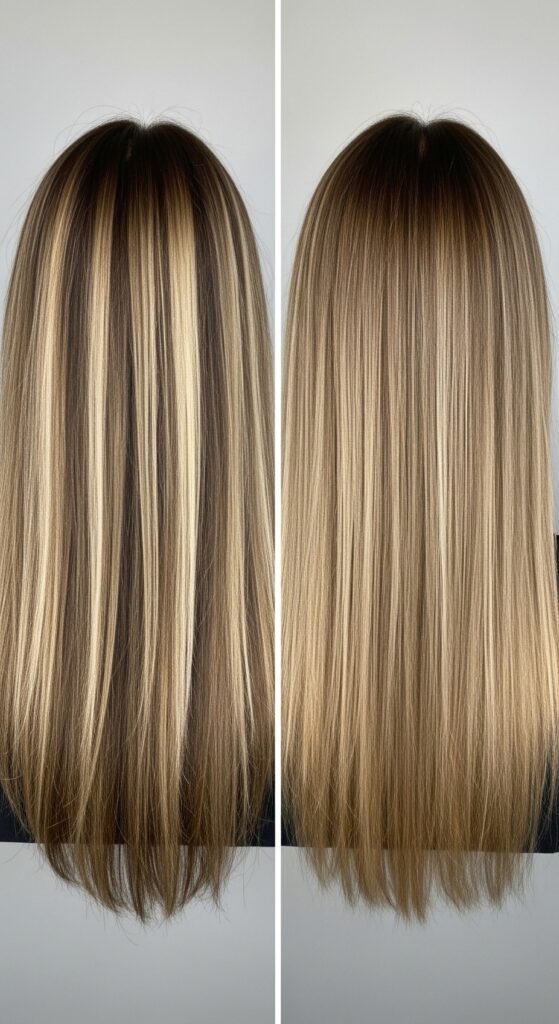
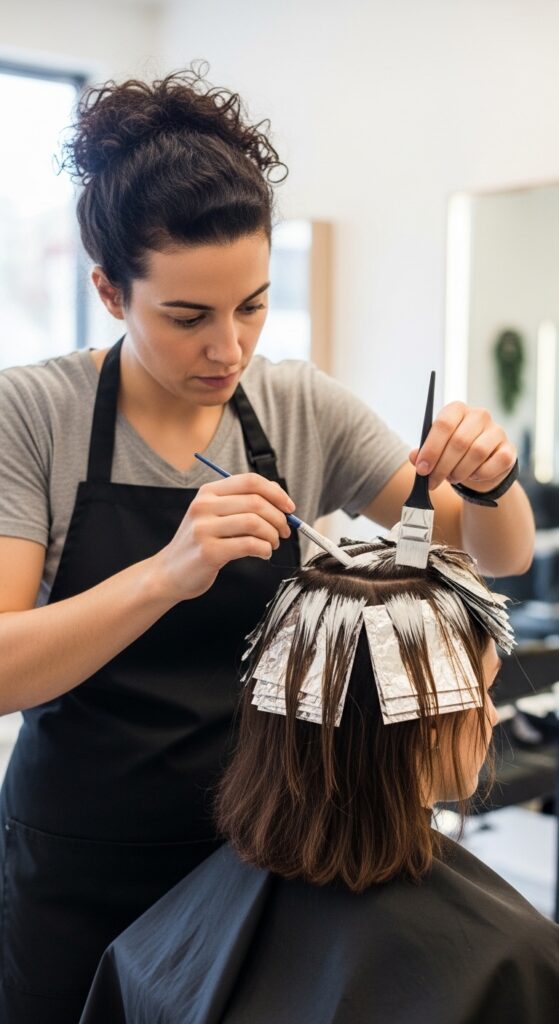
Forget counting foils. “Partial” means we’re only coloring the top and side sections you see most—the crown and around your face. “Sunburst” describes how the highlights are placed: radiating from multiple points, like little suns, to create a 360-degree glow.
It’s a smarter, more affordable approach than a full head of highlights. You get maximum impact where it matters most. The “32” is just a stylist’s shorthand for a specific, generous amount of fine slices within that partial section to ensure the color looks lush and blended, not stripey.
The Magic of the “Radiating From Parts” Technique
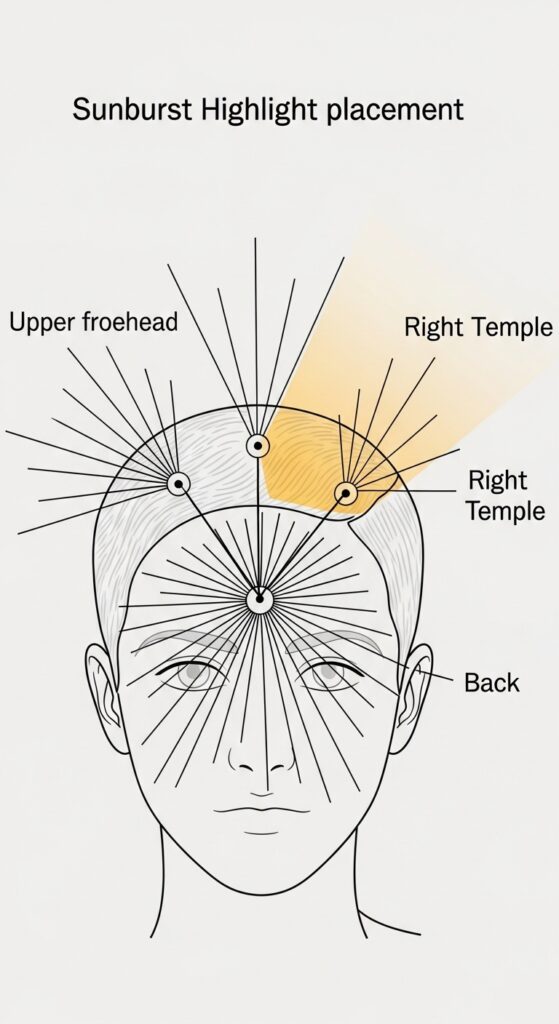
This is the game-changer. Instead of all highlights coming from one central part, your stylist will create multiple “parts” or points of origin. Usually, one at the crown, one above each temple.
Light then fans out from these spots. This mimics how natural sunlight hits your hair from all angles. The result is depth, movement, and a glow that looks utterly authentic, not painted on. It avoids that dreaded “helmet head” of uniform highlights.
Why This Style Feels So “Vibrant”
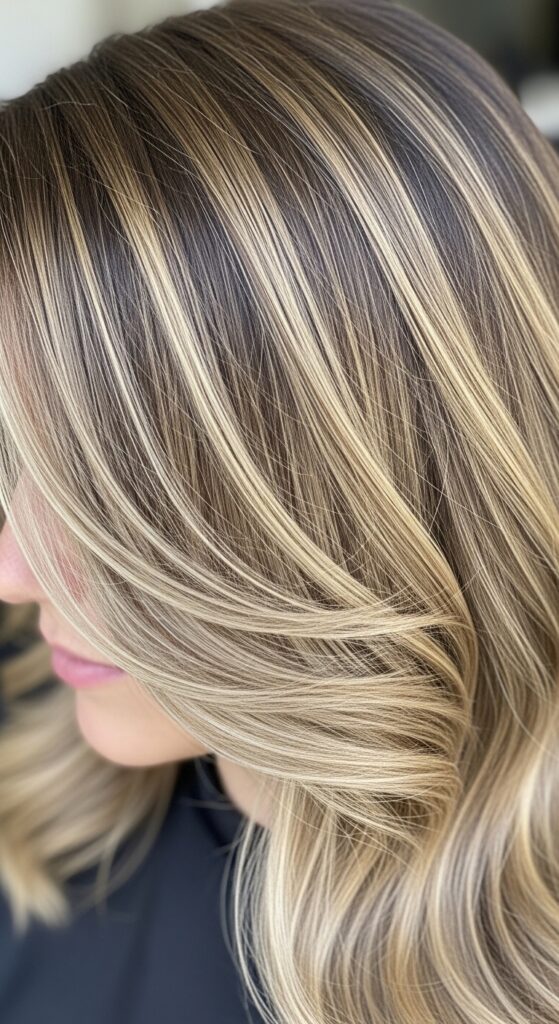
Vibrancy here doesn’t mean neon. It means life. The strategic placement creates contrast between your natural base and the lighter pieces. When light hits those precise slices, your hair looks alive with dimension.
It also keeps your color from falling flat. Even as it grows out, the multi-directional placement means it still looks intentional and bright at the roots. It’s the opposite of a dull, single-process color.
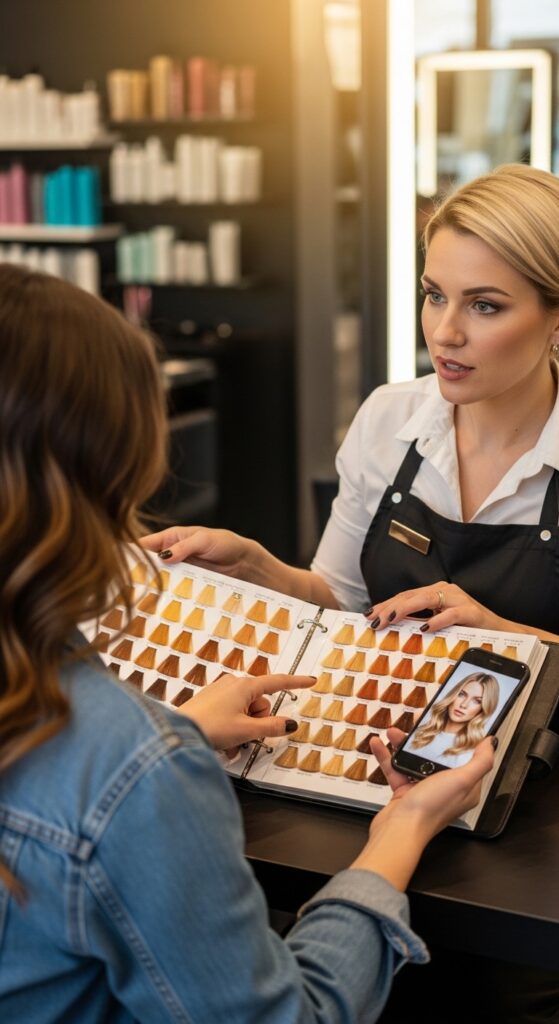
Perfecting Your Consultation: What To Ask For
Walking in and saying “32 partial sunburst” might get a smile, but you need to describe the look. Bring pictures! Say: “I’d like a partial highlight with pieces radiating from a few points, not just my part, for a really natural, sun-kissed effect.”
Discuss placement and contrast. Key phrases are: “I want it bright around my face,” or “Keep some depth at my roots.” This ensures you and your stylist are picturing the same stunning result.
- Show a photo of the vibe.
- Use the words “radiating” and “multi-point placement.”
- Specify how bold you want the contrast.
Ideal Base Haircuts for This Color
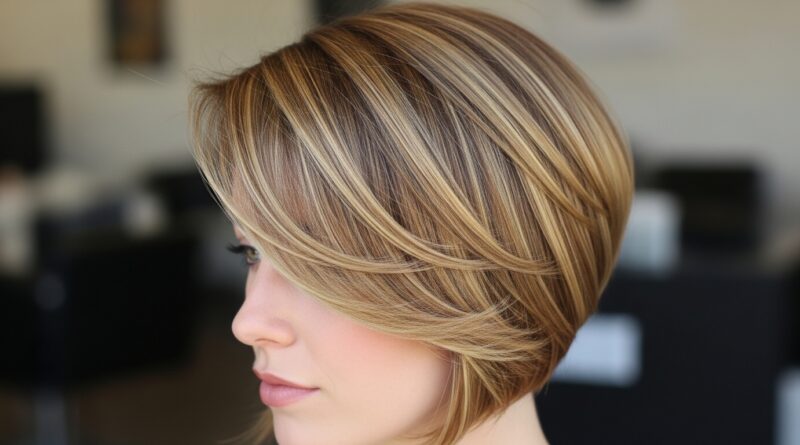
This highlighting technique literally makes any cut better. But it truly sings on styles with movement. Think textured ends, layers, or blunt cuts that show off the color blocks.
It’s phenomenal on a shoulder-grazing asymmetrical lob or a sharp quiet luxury bob. The highlights follow the line of the cut, amplifying its shape. It also adds softness to edgier cuts like the vampire haircut or hime cut.
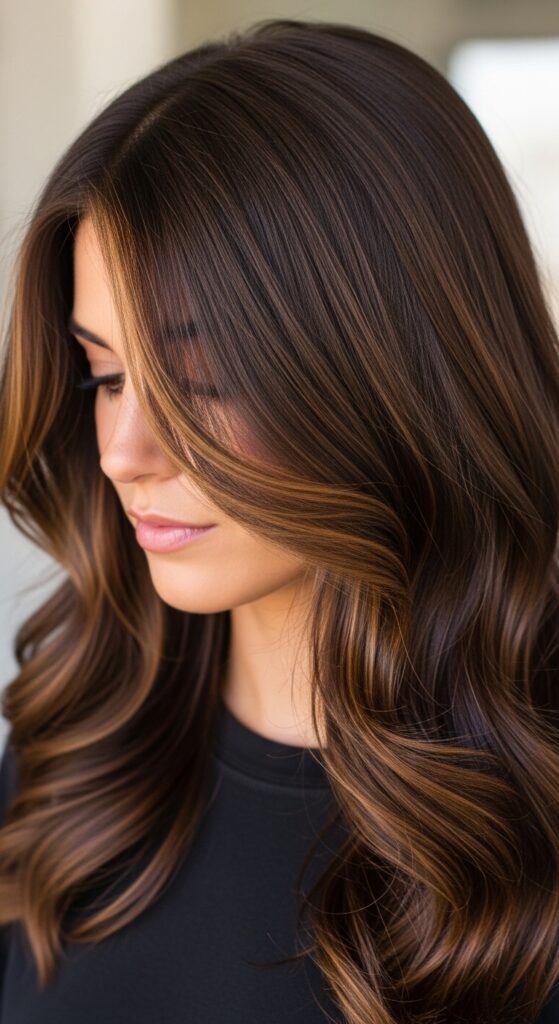
Color Palette Ideas: Beyond Just Blonde
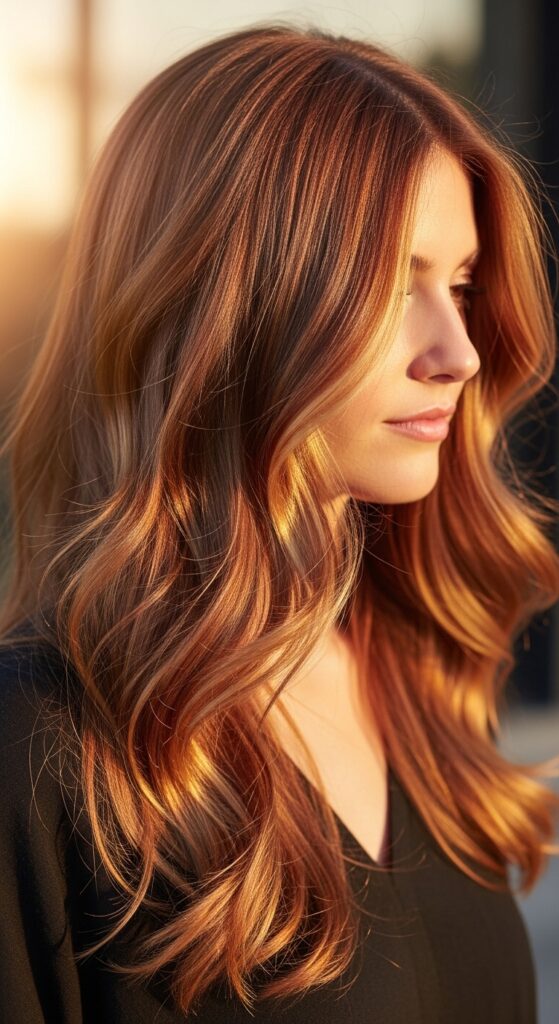
Sunburst isn’t just for blondes. It’s a placement technique. For brunettes, think caramel or honey bursts. For redheads, coppery or strawberry gold slices.
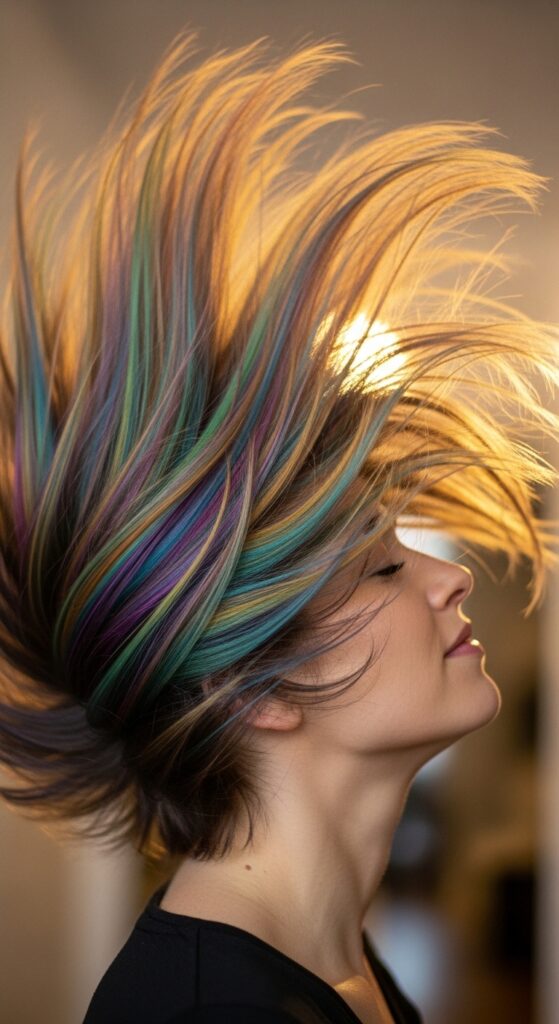
For a bold twist, this is how you achieve glitchy glam hair—use contrasting colors like platinum and charcoal radiating from the parts. It’s also stunning for romantic goth hairstyles with deep burgundy or violet bursts against a black base.
The Maintenance Lowdown (It’s Easier Than You Think)
Because it’s a partial, and the placement is so organic, grow-out is incredibly graceful. You can wait 12-14 weeks between touch-ups easily. The goal is a lived-in look, so you’re not chasing a perfect root.
Use a color-safe shampoo and a weekly purple or blue toning mask (depending on your shade) to combat brassiness. A good leave-in conditioner will keep those lightened pieces shiny and strong.
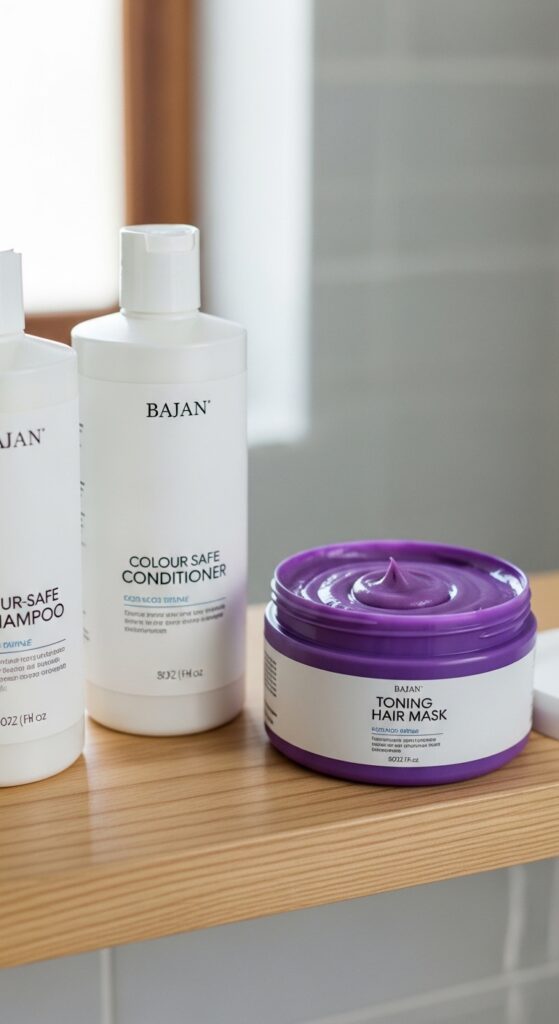
At-Home Care for Maximum Vibrancy
Your stylist gets you 90% there; you maintain the last 10%. Cold water rinses help seal the hair cuticle and lock in color. Heat protectant is non-negotiable before any hot tools—bleached pieces are more fragile.
Incorporate a bonding treatment like Olaplex No.3 into your routine. It rebuilds the hair’s internal bonds, keeping highlighted hair healthy, which is the true secret to long-lasting vibrancy.
- Rinse with cool water.
- Always use heat protectant.
- Weekly bonding treatments.

Styling Tips to Show Off Your Highlights
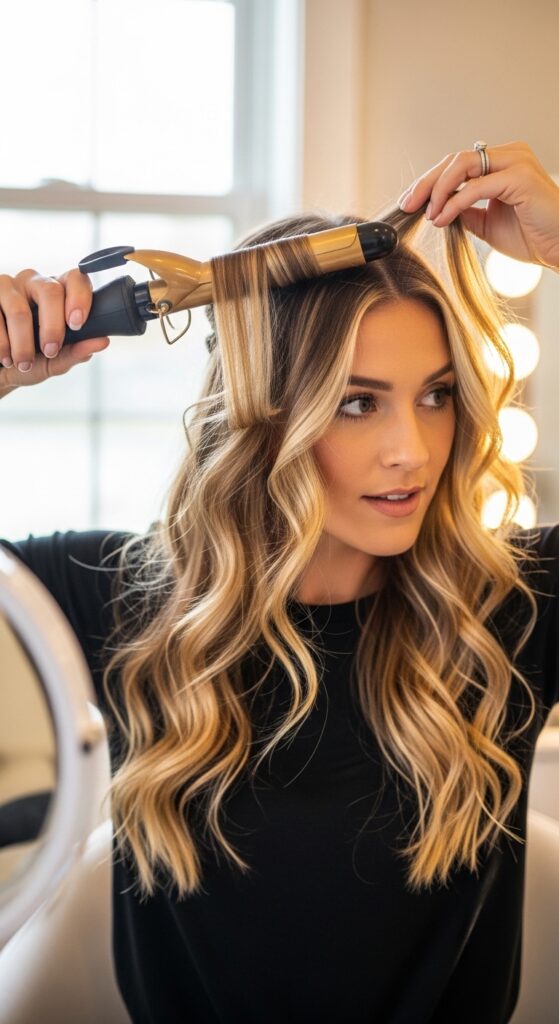
You want to make those dimensions pop! Beach waves are your best friend—they create peaks and valleys for the light to play with. Use a curling wand to create alternating directions of waves.
For a sleek look, a polished blowout with a round brush lifts the roots and shows off the face-framing bursts. A middle part can beautifully showcase the symmetrical radiance from both temples.
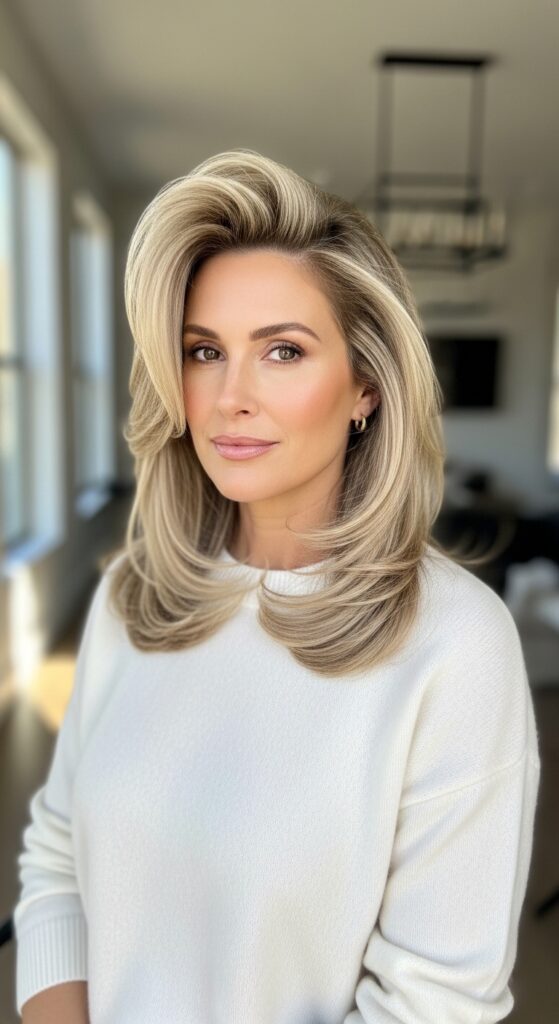
How This Fits the “Old Money Hair” Aesthetic
Old money hair is all about looking naturally amazing, like you didn’t try. It’s expensive but not flashy. This technique is the epitome of that. It looks like your hair lightened naturally over summers spent sailing.
It’s healthy, glossy, and the color variation is subtle and sophisticated. Pair it with a low, sleek bun or a simple, glossy blowout for that ultimate quiet luxury vibe.
Edge Play: Incorporating the “Vampire Haircut”
The vampire haircut (those sharp, face-framing layers) was made for this. Imagine those long, black curtain bangs with a few vibrant crimson or icy platinum sunburst highlights radiating from the part.
It adds a shocking, beautiful contrast that takes the look from simply edgy to full romantic goth hairstyles territory. It’s dramatic, dimensional, and utterly captivating.

Softening the Hime Cut with Sunbursts
The hime cut is bold with its straight-across fringe and severe interior layers. Adding soft, sunburst highlights around the face can mellow its intensity beautifully.
Focus the lightest pieces around her cheeks and jawline to frame the face within the dramatic structure. It creates a beautiful fusion of graphic cut and soft, feminine color.

Creating “Glitchy Glam” with Contrast
Glitchy glam hair is the art of deliberate, beautiful disruption. Use the sunburst placement to create “glitches.” Ask your colorist to place small, contrasting color bursts—think a chunk of bright silver next to a chunk of jet black.
The radiating pattern makes the contrast look intentional and artistic, not random. It’s a high-fashion take on this highlighting method, perfect for making a statement.
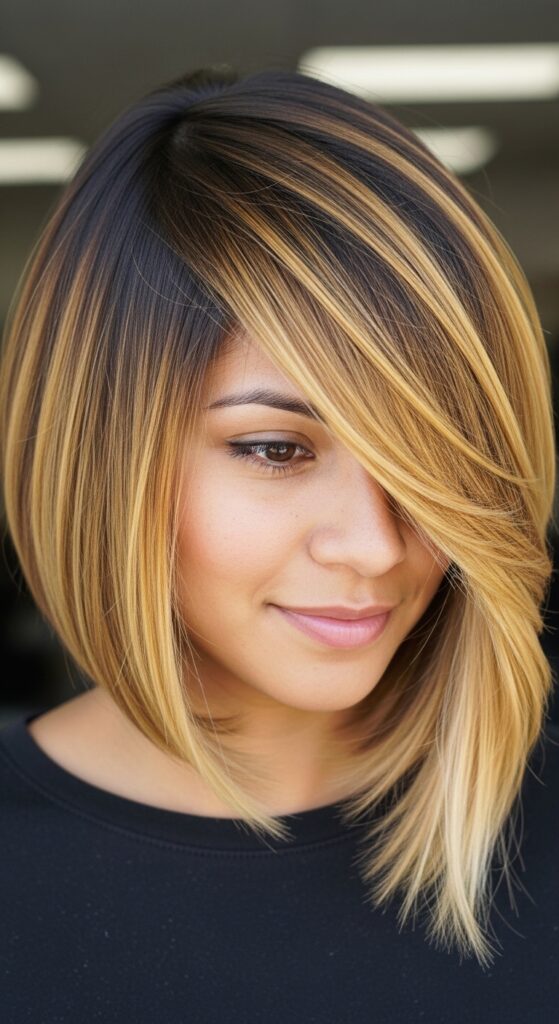
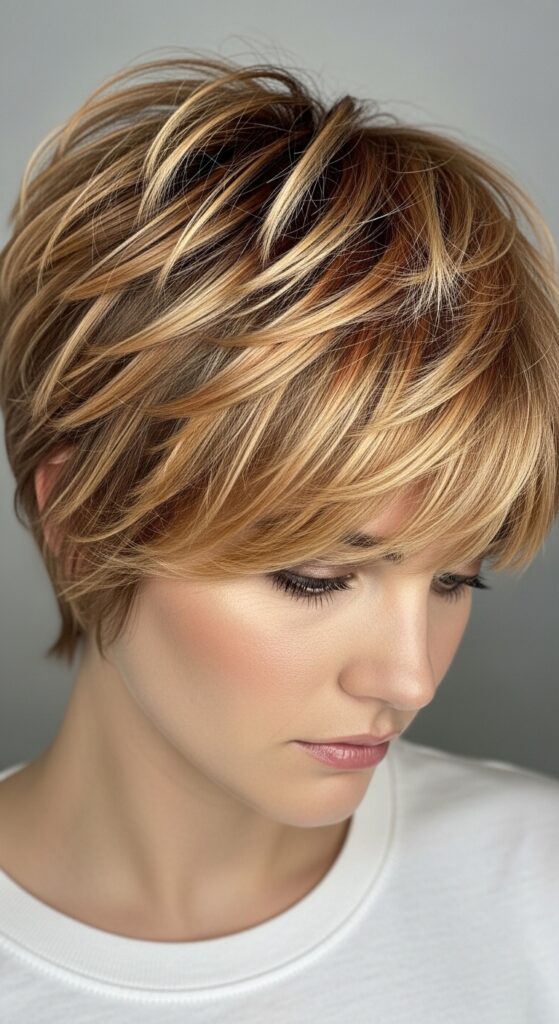
Why It Works So Well on Short Hair
On short hair like a pixie or a bob, every detail counts. Sunburst highlights add incredible depth and shape to short crops. They can make fine hair look thicker and add a rock-and-roll edge to a sleek bob.
The placement can be used to accentuate the architecture of the cut. Highlighting the pieces that hit the cheekbone or the nape of the neck draws attention to those clever lines.
Adapting the Technique for Long, Romantic Hair
On long hair, this technique creates a cascading waterfall of light. The multiple points of origin prevent long hair from looking like one solid sheet of color with boring stripes on top.
It gives that dreamy, romantic, “I woke up like this” texture, even on pin-straight hair. It’s the ultimate color for those soft, romantic goth hairstyles or bohemian waves.
Common Mistakes to Avoid
The biggest mistake is going too uniform. The beauty is in the varied placement and thickness of the highlights. Avoid a solid block of highlight at the roots.
Also, don’t skip the toner! Freshly lightened hair often has yellow or orange undertones. A toner is what gives you that perfect creamy, pearly, or ash finish that makes the vibrancy look high-end.
Your Pre-Appointment Prep Checklist
Come to your appointment with clean, dry hair? Actually, no. Come with hair that’s dirty (1-2 days post-wash). The natural oils protect your scalp and help with application.
Also, wear your hair how you usually do. If you always have a side part, show up with it. This helps your stylist place the highlights perfectly for your everyday look.
- Hair 1-2 days unwashed.
- Wear your usual part.
- Bring clear, inspirational photos.
- Be ready to discuss your maintenance lifestyle.

Budgeting for This Service
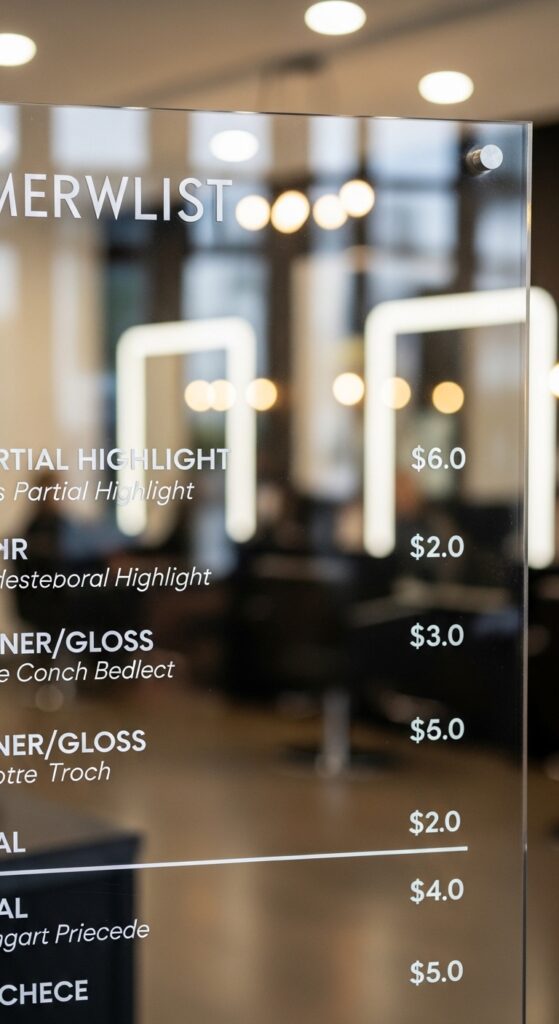
A partial highlight service will always cost less than a full. Prices vary wildly by location and stylist expertise, but you can expect a range. Remember, you’re paying for technique and time.
Factor in the cost of a toner/gloss and a deep conditioning treatment. These are essential for the final result. It’s an investment, but the grow-out period makes it cost-effective long-term.
Finding the Right Stylist For The Job
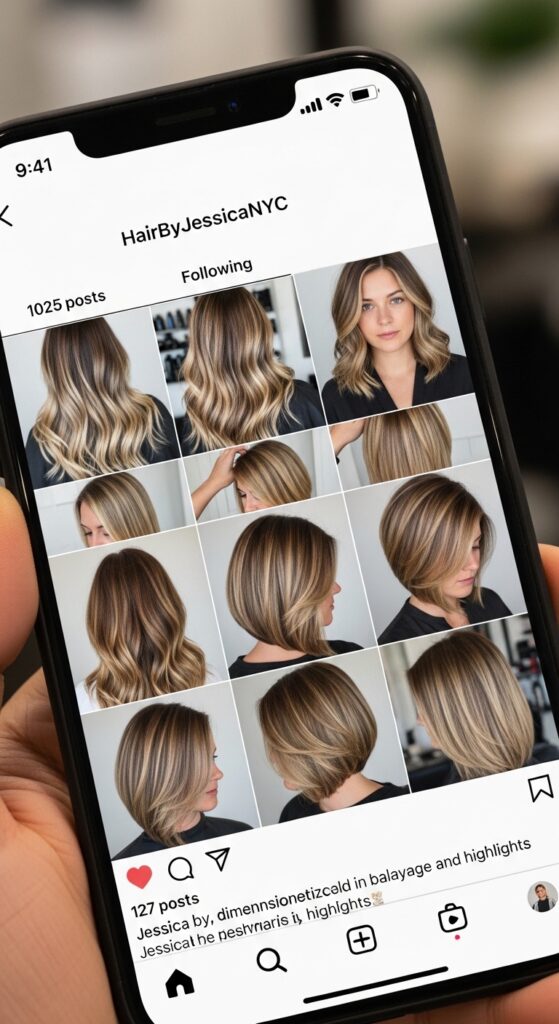
Look at Instagram portfolios! Don’t just search for “balayage.” Search for “partial highlights” or “face-framing highlights” and see whose work looks multi-dimensional and natural.
Read reviews. A good stylist will ask you lots of questions during the consultation. They should be excited about the technical challenge of this placement, not hesitant.
Answering: Will This Damage My Hair?
Any lightening process causes some stress. But a partial service means less product on your head overall. A skilled stylist uses the right developer strength and doesn’t over-process.
With proper at-home care (those bonding treatments!), your hair can remain healthy and strong. The key is finding a technician who prioritizes hair integrity over speed.
Final Touch: The Perfect Haircut to Pair It With
Book a haircut for after your color, or on the same day. Even the best color can fall flat on ends that are frayed. A fresh trim, even just a micro-trim, seals the ends and makes the color reflect light better.
Discuss with your stylist how the cut can enhance the color. Maybe a few more layers in the front? Or a cleaner, blunter line to show off the color blocks? It’s the final, crucial step.
So, there you have it. The mystery of those 32 partial sunburst highlights solved. It’s not a rigid formula, but a roadmap to the most believable, head-turning, gorgeous color. It’s the kind of hair that makes people ask, “Is that natural?” in the best way possible.
Whether you’re leaning into old money hair or flirting with glitchy glam, this technique is your flexible friend. It’s about working with your haircut, your lifestyle, and your personal vibe to create something uniquely stunning for you.
Save this post to Pinterest to keep this guide handy for your next salon consultation! And I’d love to know—are you thinking of trying this? Or do you have a different highlight technique you love? Tell me everything in the comments below!