Transition 22 Silk Press Looks Maintaining Straightness in Humidity Challenges
Okay, let’s be real. You just got the most incredible silk press of your life. Your hair is smooth, shiny, and moving like a dream. Then you step outside. The humidity hits, and you can almost hear the frizz creeping back in. It feels like a personal betrayal.
I’ve been there more times than I can count. That sinking feeling doesn’t have to be your reality. Keeping your silk press sleek, even in sticky weather, is totally possible. It’s all about the right prep, products, and a few smart habits.
This isn’t about complicated routines. It’s about simple, effective steps that actually work. Whether you’re rocking a classic look or trying out the latest 2026 hairstyles, let’s get into how to lock in that smoothness and make your press last.
What Is a Transition 22 Silk Press?
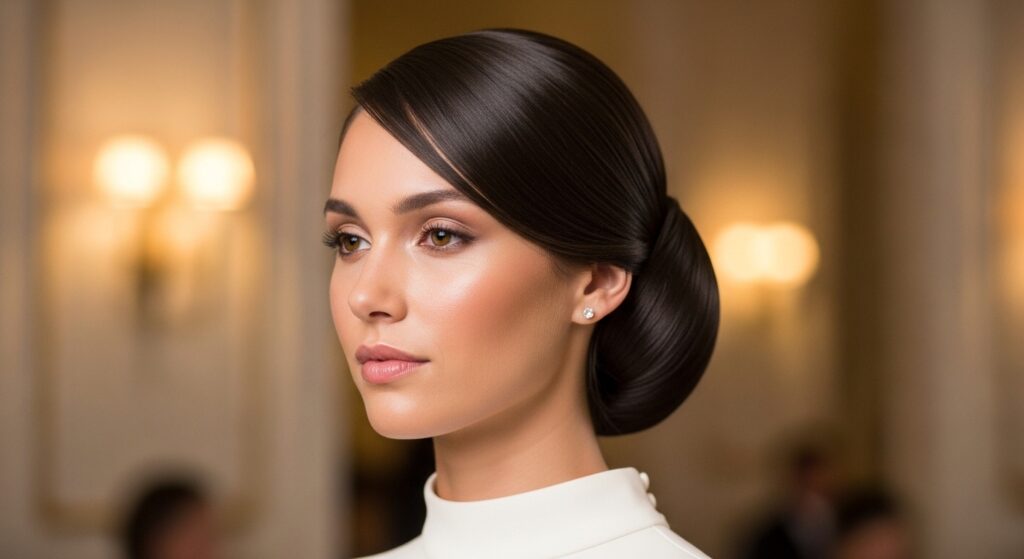
First things first, let’s define it. A Transition 22 Silk Press is a specific technique that’s become a game-changer. It focuses on carefully stretching and sealing textured hair at a controlled temperature (often around 22 inches per second on the flat iron) for maximum smoothness without damage.
The goal is to get hair incredibly straight while maintaining its health and natural body at the root. It’s the foundation for any sleek style, from an old money hair look to a sharp asymmetrical lob. Getting this base right is 90% of the humidity battle.
Pre-Press Prep: Your Secret Weapon
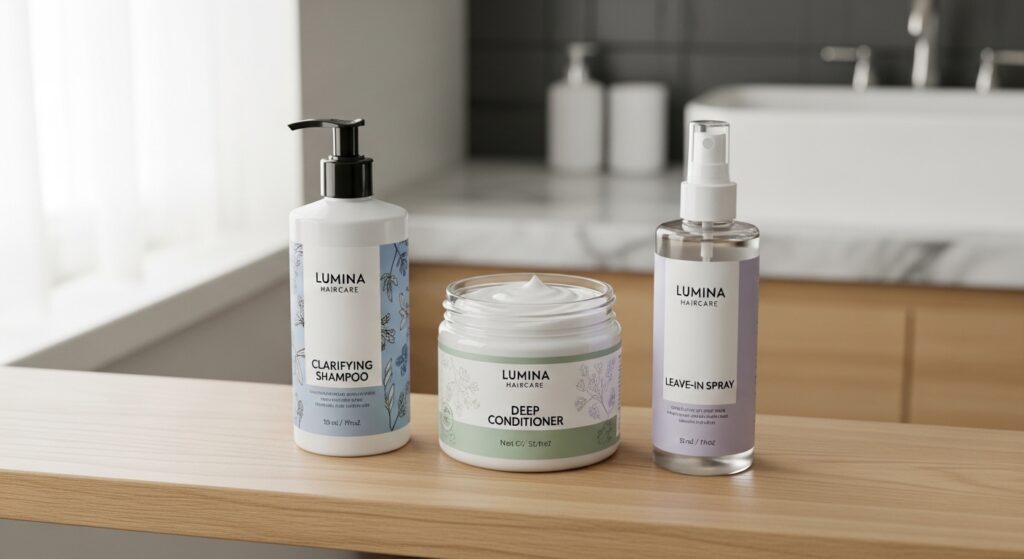
Winning the fight starts in the shower. A proper wash day sets the stage. You need to thoroughly cleanse to remove any product buildup that can weigh hair down and cause reversion. Then, deep condition to strengthen your strands.
Focus on moisture and protein balance. This makes your hair more resilient and less likely to eagerly soak up moisture from the air later. Think of it as prepping a canvas before you paint a masterpiece.
- Use a clarifying shampoo once a month.
- Always follow with a moisturizing deep conditioner.
- Apply a lightweight leave-in conditioner to damp hair.
The Blow-Dry is Everything
Never, ever skip the blow-dry. This is where you stretch your hair as much as possible before the flat iron touches it. The straighter your hair is after blowing it out, the less heat you’ll need later, which means less stress on your hair.
Use a tension method with a round brush, directing the airflow down the hair shaft. Section your hair neatly and work from the nape up. A smooth blow-dry makes the flat-ironing process faster and gives you a sleeker, longer-lasting finish.
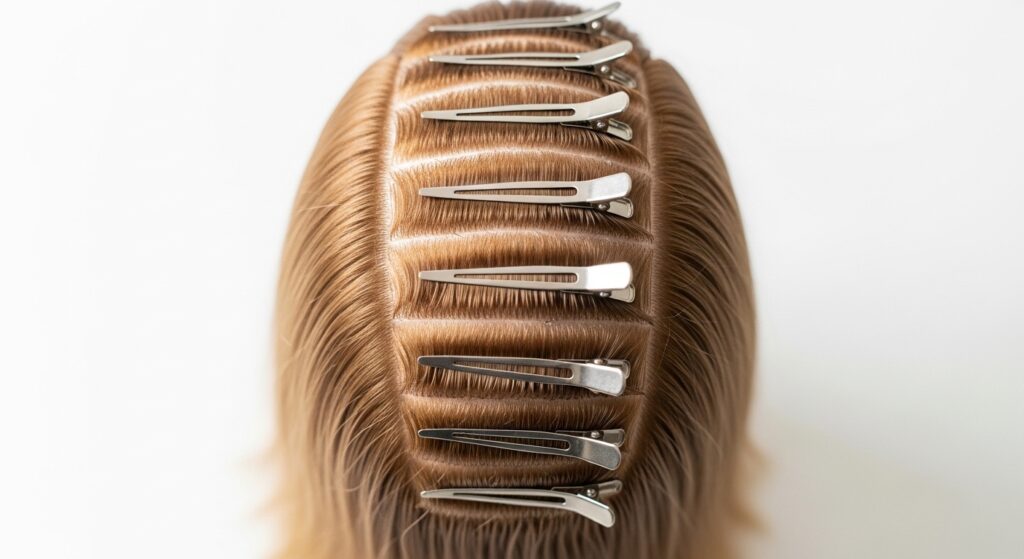
Sectioning Like a Pro Stylist
Smaller sections are your best friend. It might feel tedious, but taking thin, manageable sections allows the heat from your flat iron to evenly coat every single strand. This ensures every part of your hair gets the same sleek treatment.
If you rush and take large sections, the center hairs won’t get fully straightened, and those are the ones that will puff up first. Use clips to keep everything organized. Precision here pays off in days of straight hair.
- Part hair into four large quadrants.
- Clip up the top three sections.
- Work from the bottom nape area up.
- Divide each quadrant into half-inch horizontal sections.
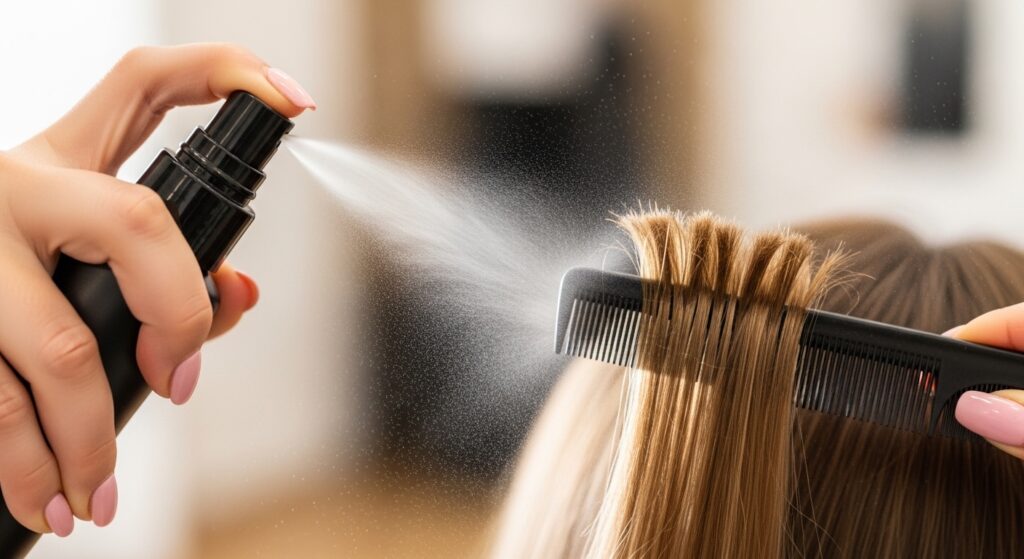
The Magic of Heat Protectant
This is non-negotiable. A good heat protectant does two crucial jobs. First, it forms a protective barrier over your hair to minimize heat damage. Second, many also have ingredients that fight humidity and seal the cuticle.
Apply it evenly to every section right before you flat-iron it. Don’t just spray it on at the beginning. Reapply a light mist to each small section as you work through your head. This is your primary shield against the damp air.
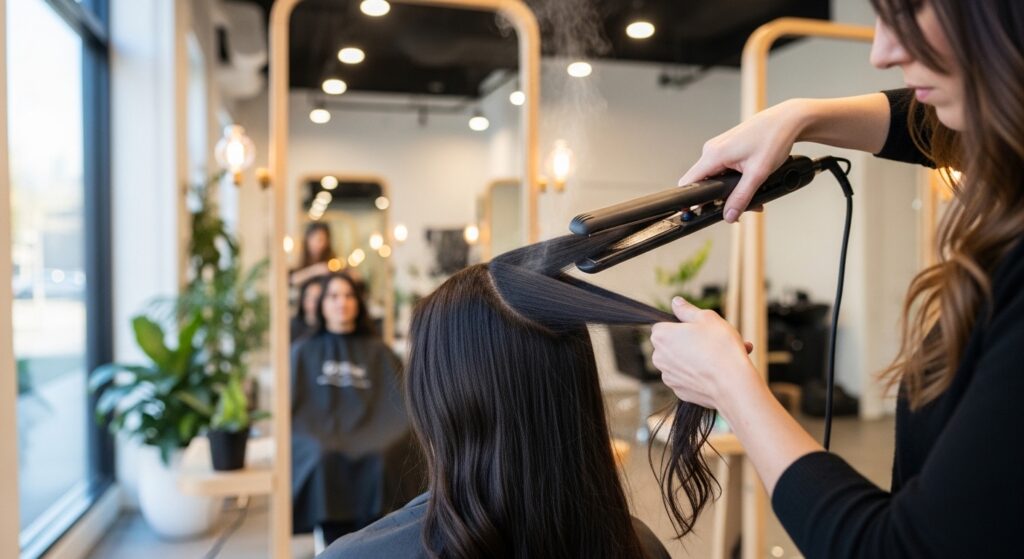
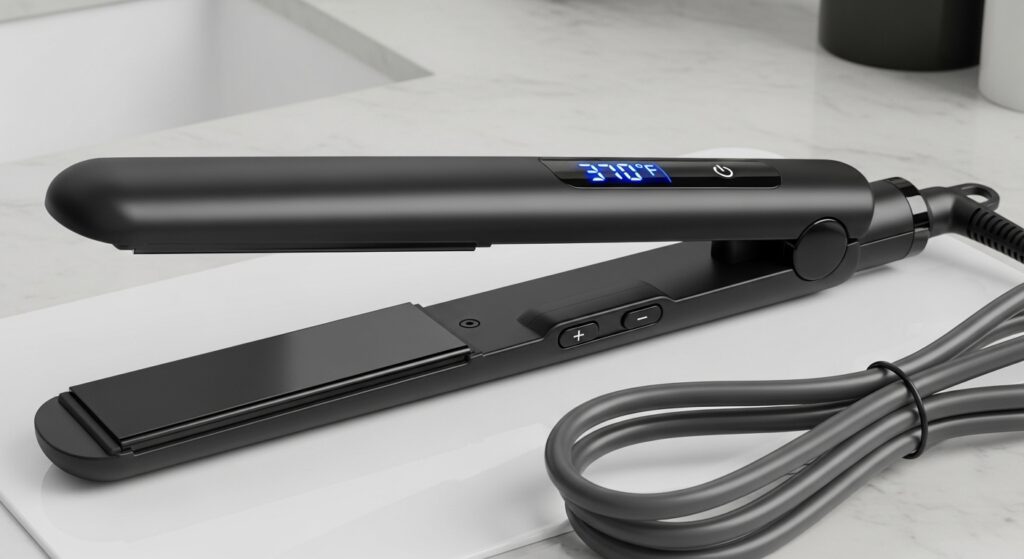
Flat Iron Temperature Guide
More heat isn’t always better. Fine or color-treated hair might need a lower setting (around 300-350°F), while thicker, coarser textures might need up to 400°F. The key is to use the lowest temperature that gets your hair straight in one pass.
Multiple passes on high heat are damaging. Start low and increase only if needed. A good iron with even heat distribution is worth the investment. It gets the job done efficiently without frying your ends.
- Fine/Color-Treated Hair: 300-350°F
- Medium Texture: 350-380°F
- Coarse/Thick Texture: 380-400°F
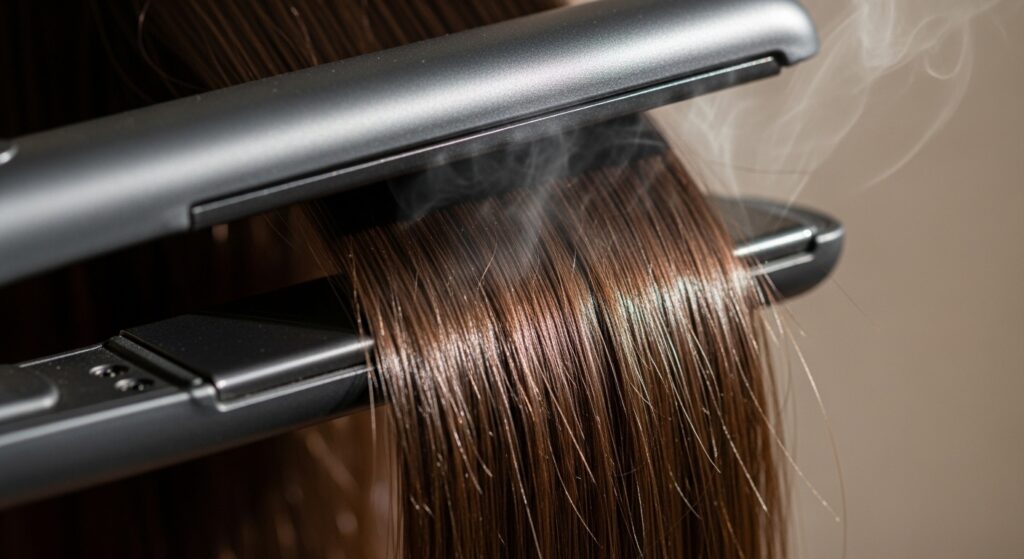
The One-Pass Technique
Your goal is to straighten each section in one slow, smooth glide. Going over the same piece of hair multiple times with the iron bakes in stress and can lead to dryness and breakage. It also makes your hair more prone to frizz.
Take your time. Clamp the iron at the root, glide it down steadily to the ends, and release. If a section isn’t perfectly straight, let it cool completely before you consider a second pass. Often, it settles as it cools.
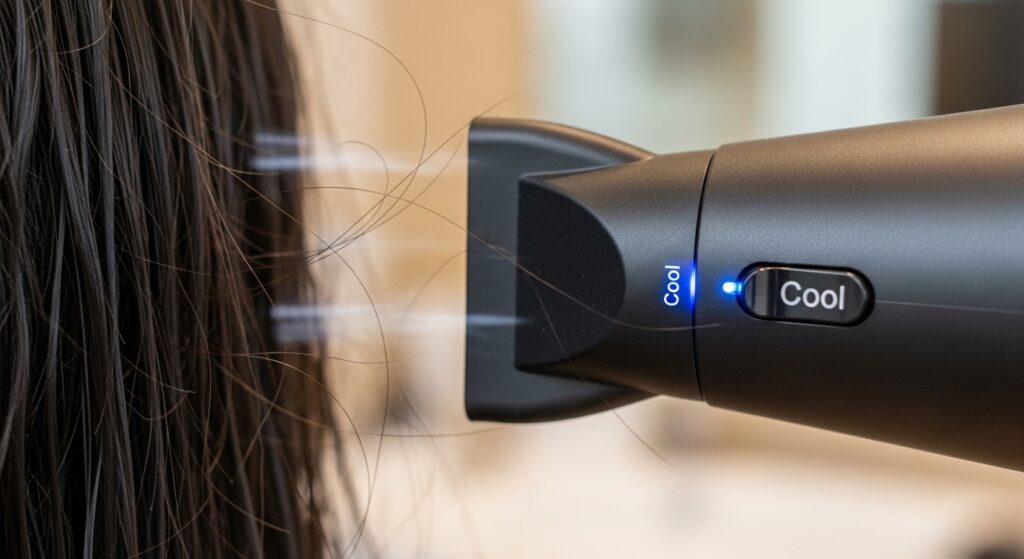
Cool Shot to Lock It In
After you flat-iron a section, immediately run a cool shot from your blow dryer over it or use the cold setting on your iron if it has one. This might seem like a small step, but it’s a game-changer.
The cold air shocks the hair cuticle, sealing it shut. This traps the smooth, straight shape inside and helps block external humidity from getting in. It’s the final lock for your sleek style.
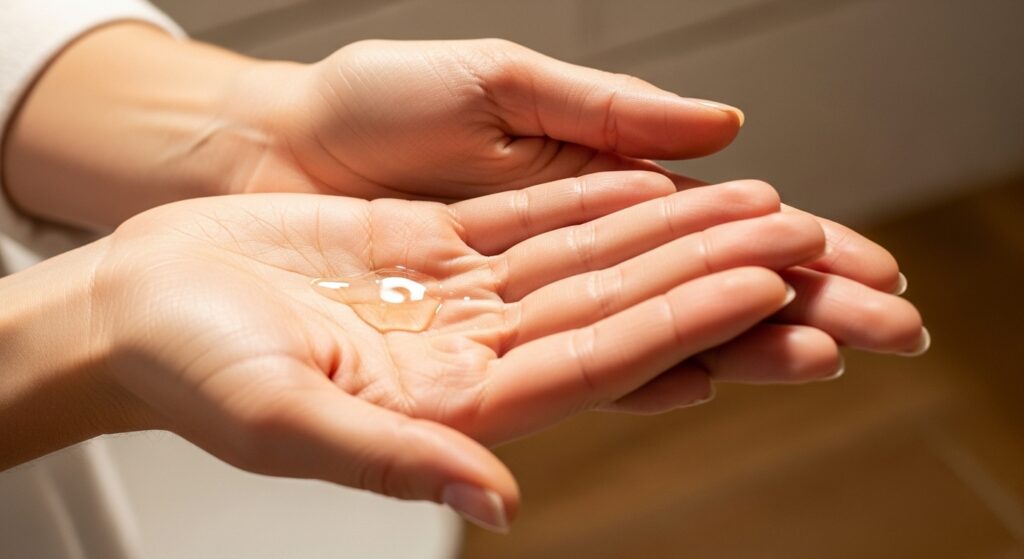
Serums and Oils: The Final Seal
Once your entire head is done and completely cooled, apply a tiny amount of silicone-based serum or a light oil to your palms. Rub them together and gently smooth over your hair, focusing on the mid-lengths and ends.
This adds incredible shine and creates an additional hydrophobic (water-repelling) layer. Be careful not to use too much, as it can weigh hair down. A pea-sized amount is usually enough.
- Dispense a pea-sized drop of serum.
- Rub vigorously between palms.
- Lightly scrunch over ends.
- Then gently smooth over the surface of your hair.
Nighttime Routine for Straight Hair
Don’t ruin all your hard work while you sleep! Tie your hair up in a loose, high ponytail or pineapple on top of your head with a satin scrunchie. Then, wrap your entire head in a satin or silk scarf, or sleep on a satin pillowcase.
This prevents friction that causes frizz and breakage. Cotton pillowcases soak up moisture and oils and create tugging. Satin allows your hair to glide smoothly as you sleep, so you wake up with your style intact.

Morning Refresh Tricks
You won’t need to re-wash or re-press every morning. For light frizz or sleep wrinkles, use a handheld steamer or the steam from your bathroom shower to lightly dampen the air around your hair—not the hair itself.
Then, use a boar bristle brush or a paddle brush to gently smooth it down. You can also use a tiny bit of serum on your hands to pat down any flyaways. A quick pass with a flat iron on a low setting can fix any bent sections.

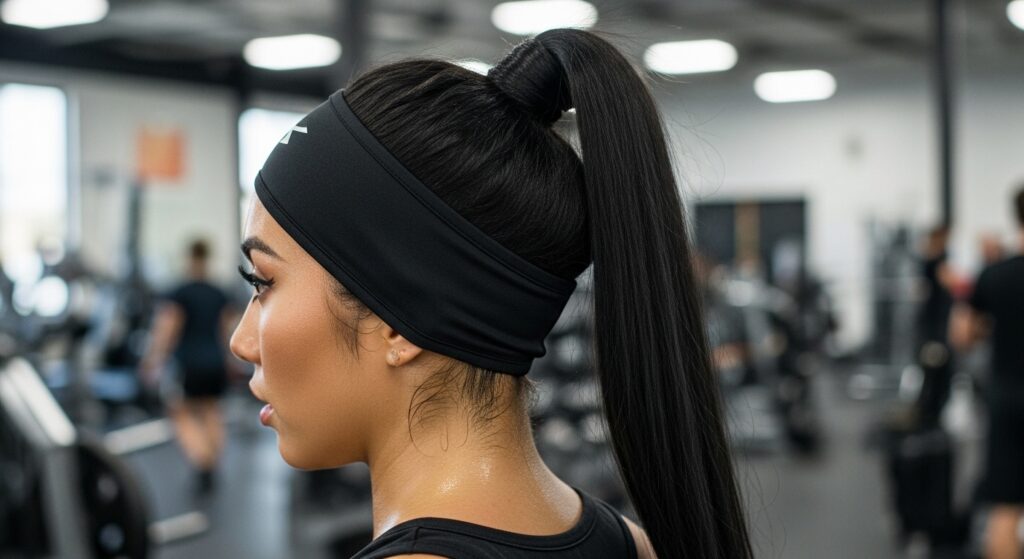
Workout-Proofing Your Style
Yes, you can exercise and keep your press! The key is to keep sweat off your hairline and roots. Wear a wide, absorbent sweatband to catch moisture at your forehead. Keep your hair in a loose, high ponytail or braid to minimize movement.
After your workout, let your hair and scalp dry completely before taking it down. If your roots get damp, use a cool setting on your blow dryer to dry them gently and smooth with a brush.
- Use a terrycloth or cotton sweatband.
- Opt for loose, high styles.
- Let sweat dry completely before restyling.
- Dry roots with cool air only.
Humidity-Proof Hairstyles for Bad Days
On ultra-humid days, sometimes prevention is the best style. If you see frizz starting, don’t fight it—redirect it. Sleek low buns, chic ponytails, or a simple side part can look intentional and elegant.
These styles tame the hairline and crown, which are frizz hotspots. They give off that effortless old money hair or quiet luxury bob vibe, even when the weather is working against you. A stylish claw clip is your best friend.
Dry Shampoo is a Lifesaver
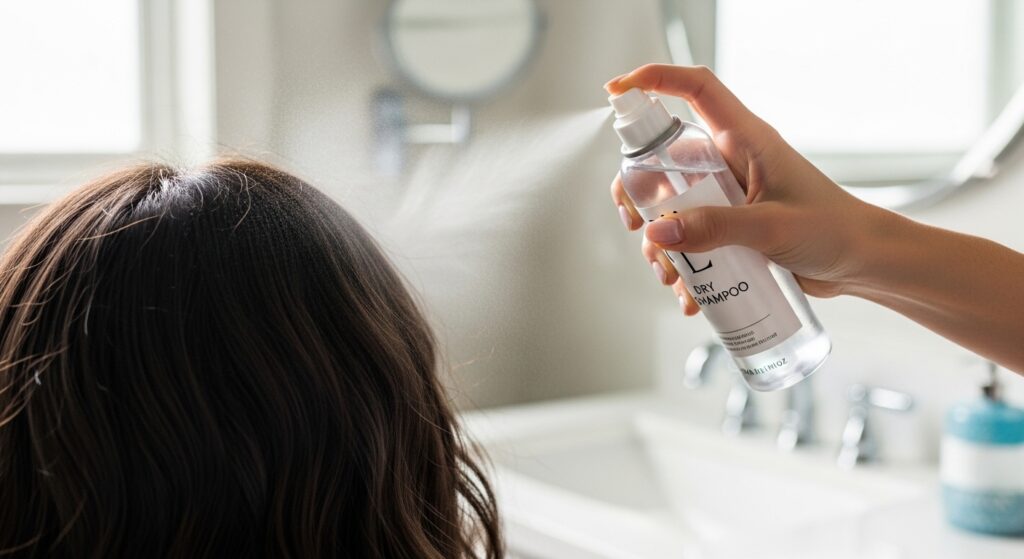
As days go on, oils can make hair look flat and feel heavy. Dry shampoo absorbs that oil at the root, giving you volume and freshness without water. But choose an aerosol formula that doesn’t leave a heavy white residue.
Spray it at the roots from a distance, let it sit for a minute, then brush it through. It will revive your style and add texture, making your hair look freshly done. It’s a must for extending your press.
What to Avoid in Humidity
Some products and habits invite frizz. Avoid heavy creams, butters, or glycerin-based products while your hair is straight. Glycerin can pull moisture from humid air onto your hair. Also, avoid touching your hair too much throughout the day.
The oils from your fingers can transfer and create spots of frizz. Try not to run your hands through your hair constantly. And definitely don’t go outside with wet or damp hair—it will swell with moisture immediately.
- Heavy styling creams and butters.
- High-glycerin products.
- Constant touching and fussing.
- Leaving the house with any dampness.

Travel Tips for a Lasting Press
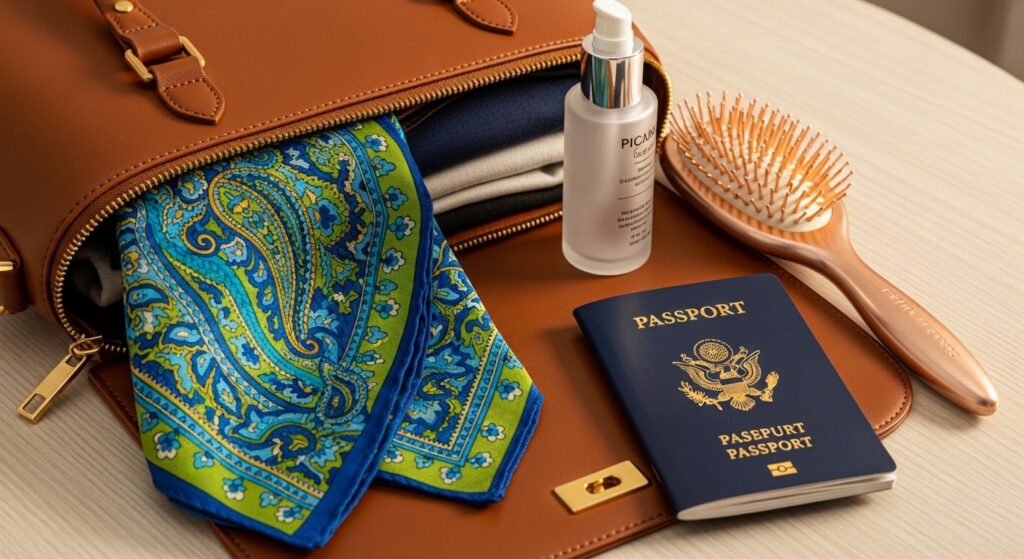
Traveling, especially by plane, exposes your hair to crazy humidity changes. Pack a travel-sized heat protectant, serum, and a satin scarf. On the plane, keep your hair in a loose braid or under the scarf to protect it from the dry, then humid, air.
Once you arrive, let your hair adjust to the new climate before you try to restyle it. Often, a good brush-through and a little serum are all you need to look polished again, whether you’re going for a glitchy glam hair look or something more classic.
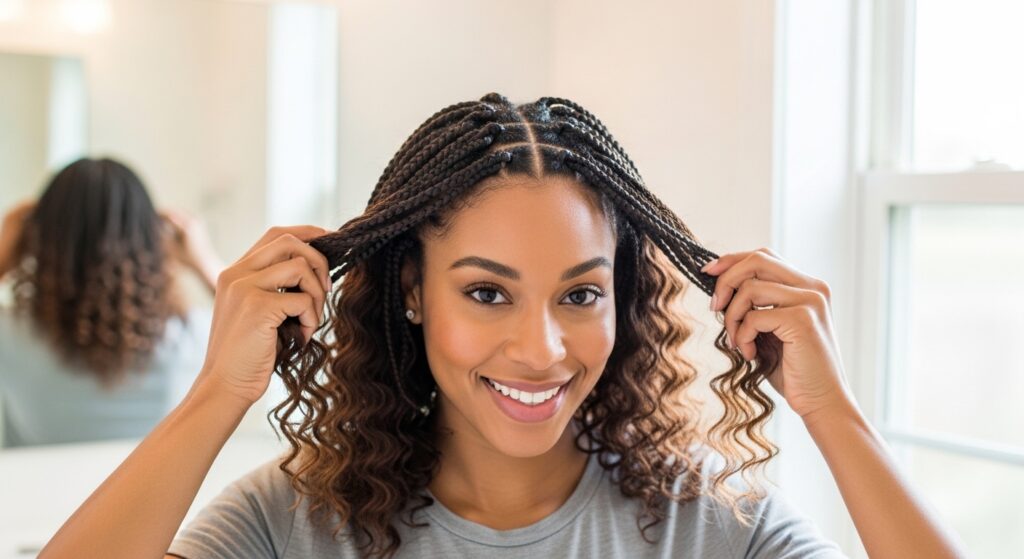
When to Embrace the Texture
Sometimes, after 7-10 days, your new growth and the humidity will win. That’s okay! It’s a sign of healthy hair. Instead of applying more heat, this is the perfect time to transition to a beautiful braid-out, twist-out, or wear a cute headband.
This protects your ends and gives you a whole new style. It’s also the ideal prep if you love styles like the vampire haircut or romantic goth hairstyles—that texture is the perfect base for defined, edgy waves.
Styling Trends That Work With Humidity
Many trending cuts are actually great for a silk press lifestyle. The asymmetrical lob or a sharp bob has less hair to manage, so maintaining straightness is easier. The hime cut, with its dramatic face-framing pieces, can be kept sleek while the rest is styled.
Even the vibe of romantic goth hairstyles or glitchy glam hair relies on a mix of sleekness and texture, so a little humidity-induced wave can add to the look. Work with the weather, not against it.

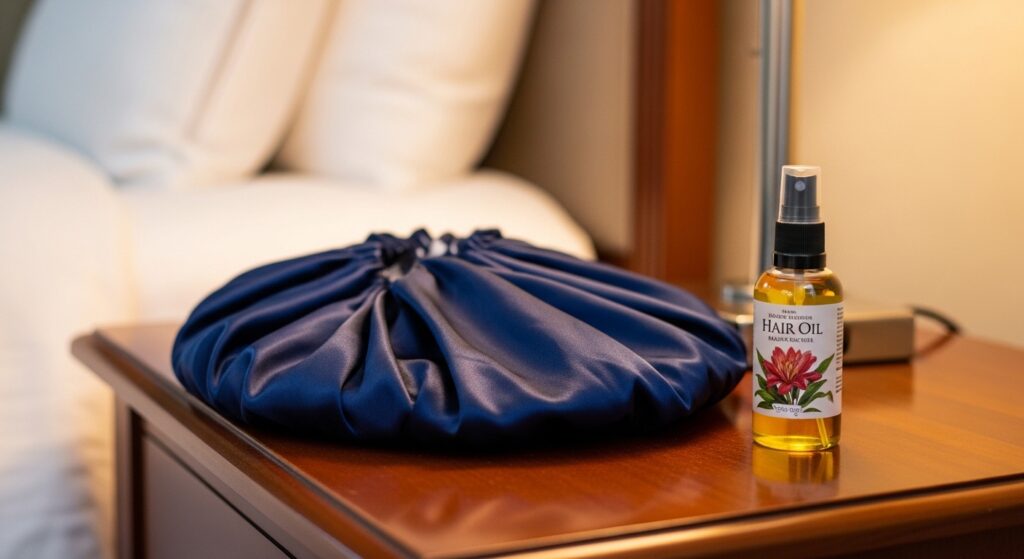
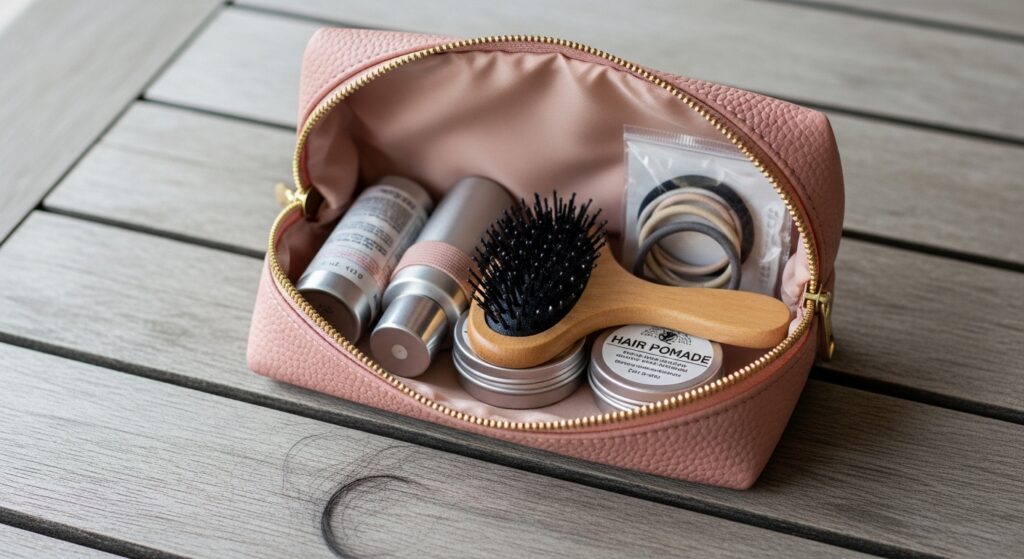
Your Quick-Go Kit Bag Essentials
Be prepared anywhere with a small kit. Mine fits in even a tiny purse. It has a travel serum, a few bobby pins, a satin scrunchie, and a mini brush. With these four items, I can fix any frizz emergency, create a quick updo, or smooth flyaways in seconds.
It’s my security blanket for days out in the humidity. Throwing this together takes two minutes and saves you from a whole day of feeling frustrated with your hair.
- Mini hair serum or oil.
- 2-3 matte bobby pins.
- A satin scrunchie.
- A foldable travel brush.
Myth: You Can’t Get Your Hair Wet
This is a big one. You can absolutely wash your hair when it needs it! The goal is to prolong the style, not damage your scalp. After about 10-14 days, it’s time for a reset. Holding onto a press for weeks with tons of product leads to buildup and breakage.
Listen to your scalp and your hair. When it feels dirty, heavy, or your roots are very thick, give it a healthy wash and start fresh. Your next silk press will be even better on clean, happy hair.

Long-Term Hair Health is Key
The absolute best way to ensure every silk press is flawless and lasts is to take care of your hair when it’s not straight. Regular trims, consistent deep conditioning, and protein treatments build strong, resilient hair.
Healthy hair holds any style better, fights damage, and smooths more easily. Investing in your hair’s health means you can play with all the 2026 hairstyles you want, from a quiet luxury bob to more dramatic cuts, without fear.
So there you have it. Keeping that silk press sleek isn’t about magic—it’s about a series of smart, simple choices. From the way you prep to how you sleep, every step builds a defense against the humidity. It gets easier every time you do it.
Remember, even if a little wave pops up by day five, it doesn’t mean you failed. It means your hair is healthy and living in the real world. The goal is to look great and feel confident for as long as possible between washes.
I hope these tips help you rock your smooth style with way less stress. Which tip are you going to try first? Let me know in the comments below! And if you found this helpful, save this post to Pinterest so you can always find it when you need your game plan.