Trim 30 DIY Shears Techniques Safely Shaping Layers at Home
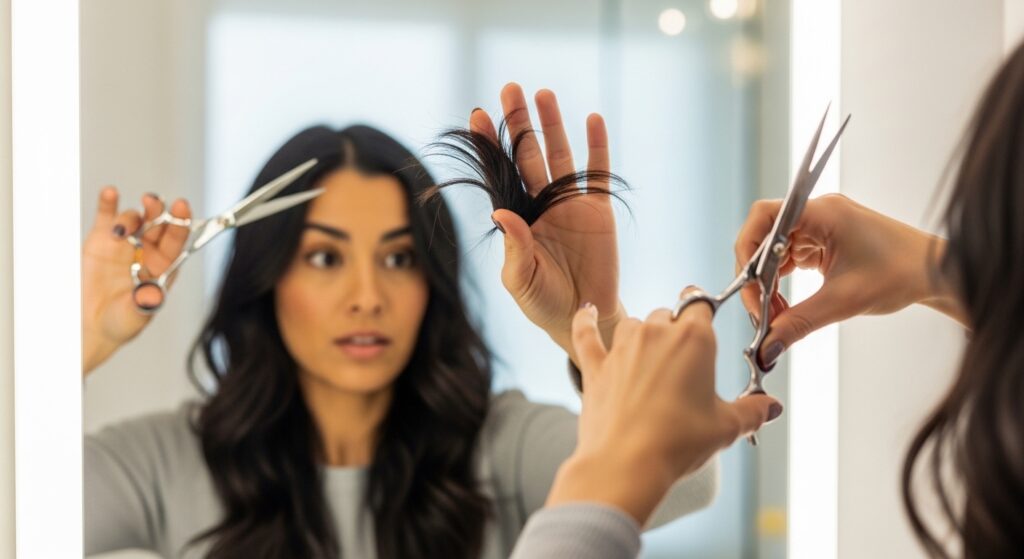
Okay, let’s be real. The idea of trimming your own hair can feel totally terrifying. One wrong snip and you’re diving headfirst into a hat for the next three months. I get it. But what if I told you that with the right techniques, you can safely shape and refresh your layers at home?
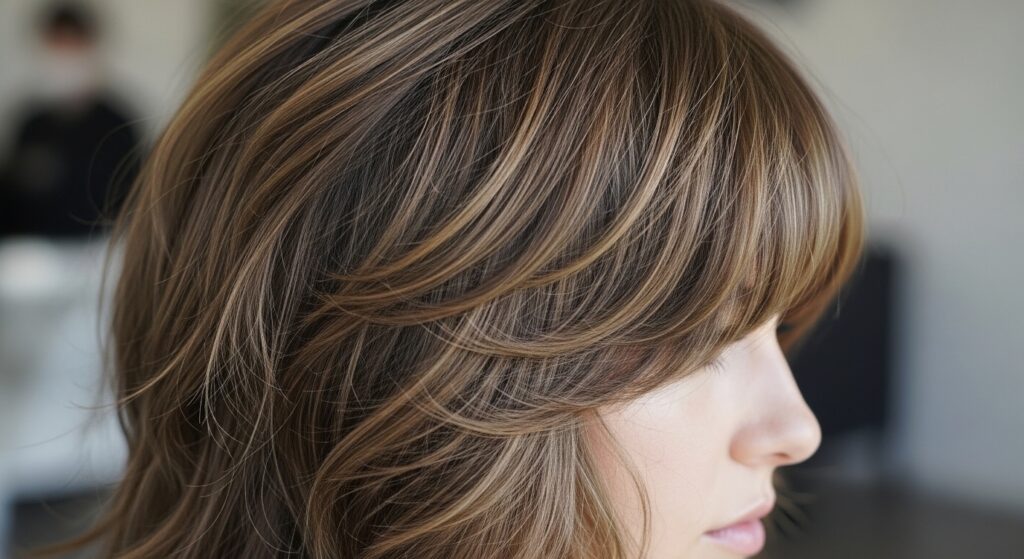
Whether you’re maintaining your asymmetrical lob or just thinning out bulky ends, it’s totally doable. This isn’t about giving yourself a whole new 2026 hairstyle from scratch. It’s about smart, small trims that keep your salon style looking fresh for weeks longer.
I’ve gathered 30 of my absolute safest DIY scissor techniques. We’re talking simple steps, clear visuals, and zero drama. Grab your shears, take a deep breath, and let’s get into it.
1. The Golden Rule: Start With Sharp, Professional Shears
This is non-negotiable. Using dull kitchen scissors or old craft shears will crush your hair, causing split ends and a jagged cut. Invest in one good pair of hair-cutting shears; they make all the difference.
Look for shears that are 5.5 to 6.5 inches long. They should feel comfortable in your hand. Sharp shears glide through the hair, giving you a clean line and so much more control. It’s the first step to a pro-looking finish.
2. Always Cut Hair Dry (For Trimming & Layers)
When you’re just trimming and shaping layers, always work with dry hair. Wet hair stretches, and when it dries and shrinks back up, you’ll end up with much shorter pieces than you intended.
Dry cutting lets you see the true length, texture, and how your layers naturally fall. You can spot the exact pieces that need trimming. This is crucial for styles like the quiet luxury bob, where precision is everything.
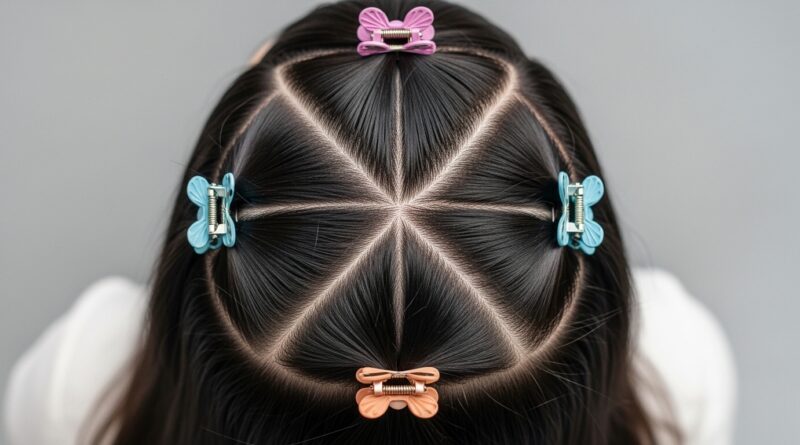
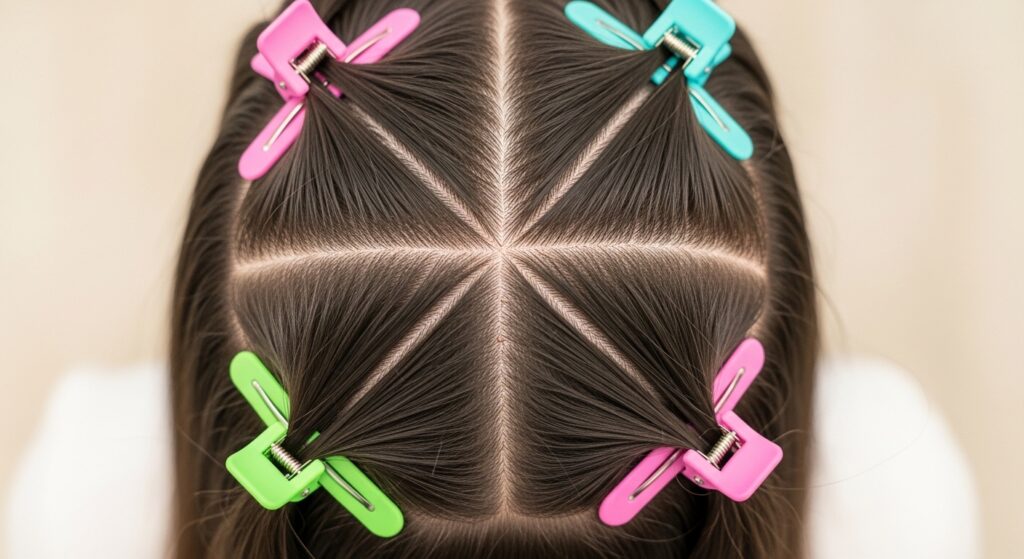
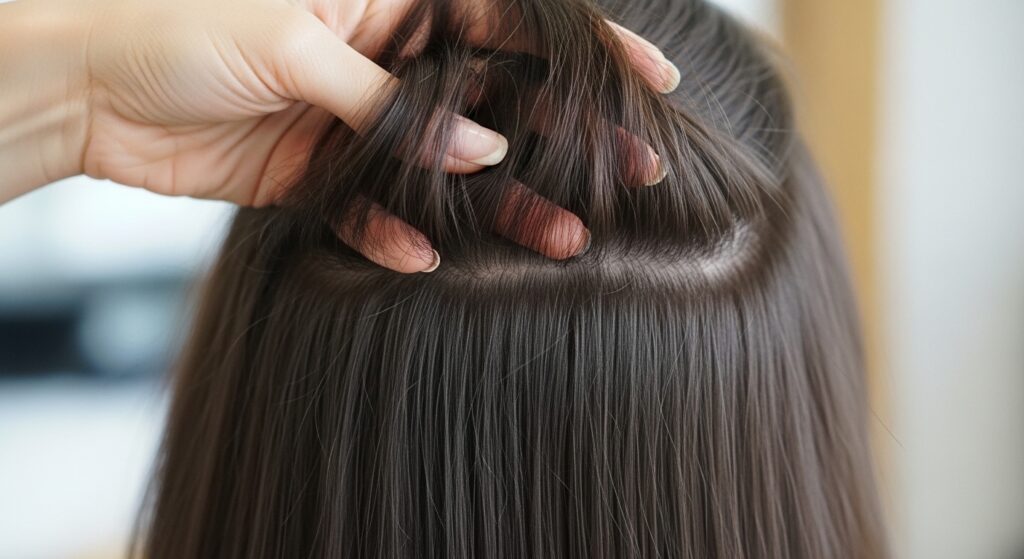
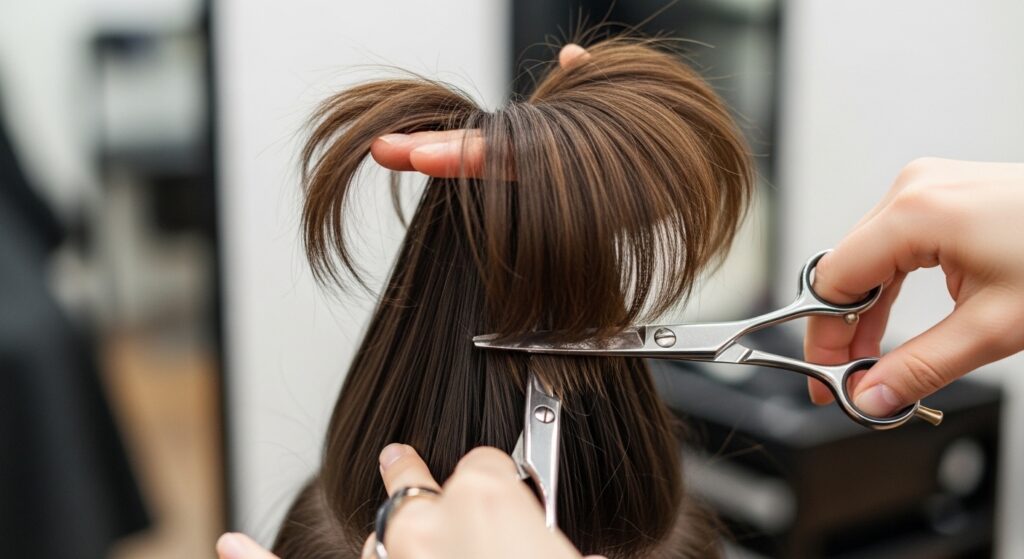
3. Section Your Hair Like a Pro
Never cut all your hair at once. You’ll get lost and make mistakes. Start by parting your hair down the middle. Then, create four main sections: two in front of your ears and two behind.
Use hair clips to secure each section. Work on one small subsection at a time. This method gives you control and ensures you don’t miss any spots. It’s the backbone of every technique we’ll cover.
- Part hair down the center.
- Create a part from ear to ear across the crown.
- Clip the top two sections up.
- Start with the bottom back section.
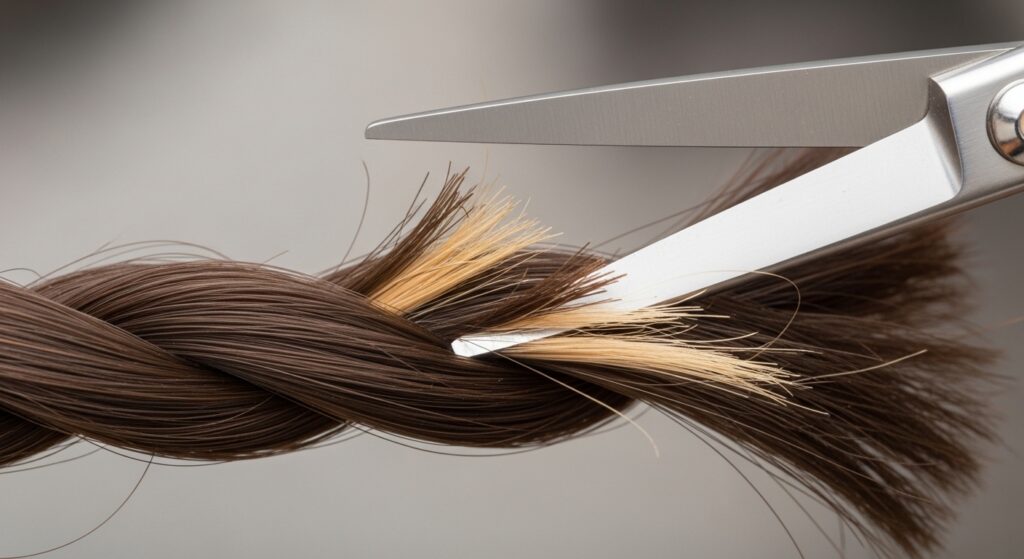
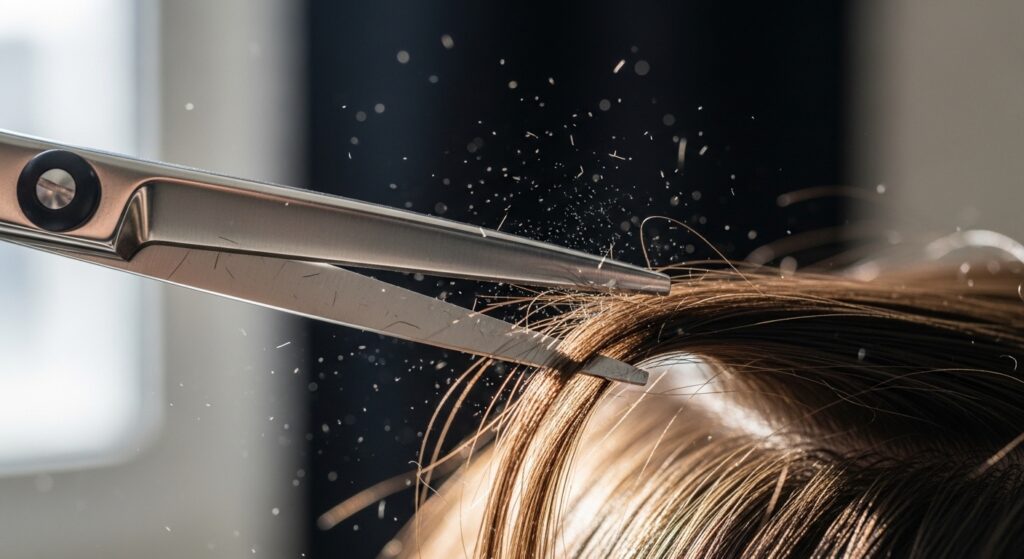
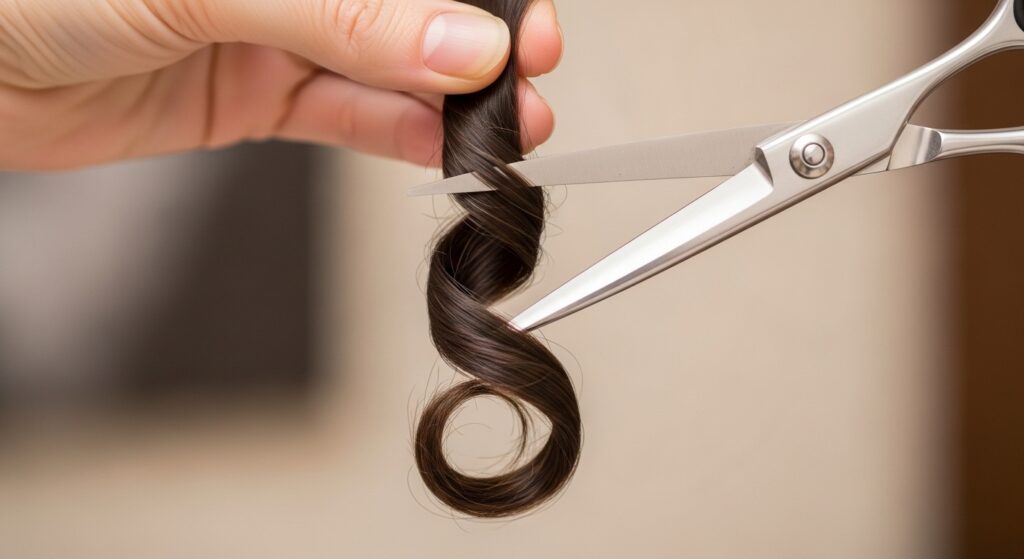
4. The “Search & Destroy” Split End Trim
This is the safest technique for beginners. Instead of cutting across a whole section, you only snip individual split ends. Twist a small section of hair tightly. The damaged ends will stick out.
Carefully snip only the ends that are sticking out of the twist. This removes damage without changing your length or shape. It’s perfect for maintaining long layers between salon visits.
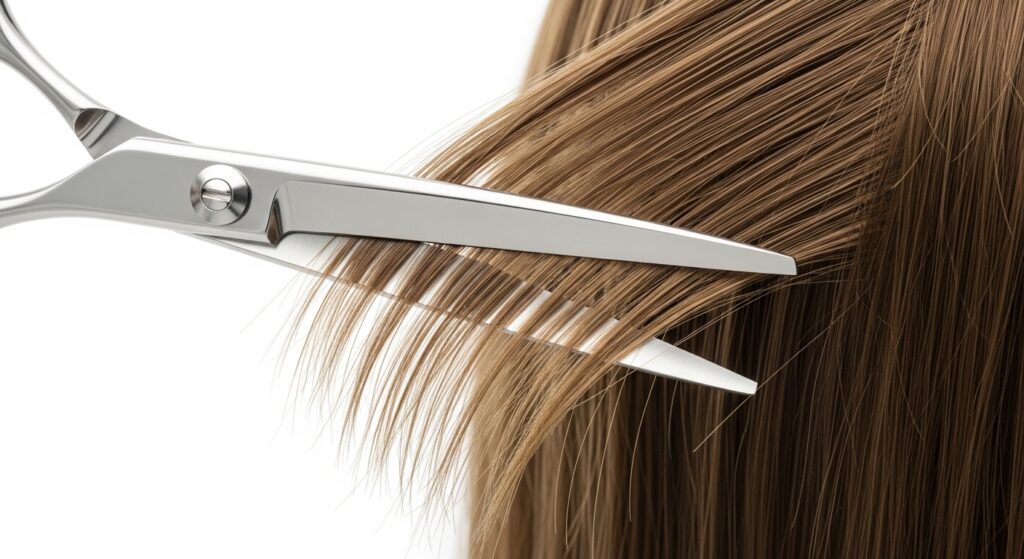
5. Point Cutting to Soften Blunt Ends
Point cutting is your best friend for avoiding a harsh, “chopped” line. Instead of cutting straight across, you turn your shears vertically and make small snips into the ends of your hair.
This creates a soft, diffused, and textured edge. It’s ideal for blending layers or softening the ends of a blunt cut. Use this to add movement to a heavy hime cut fringe.
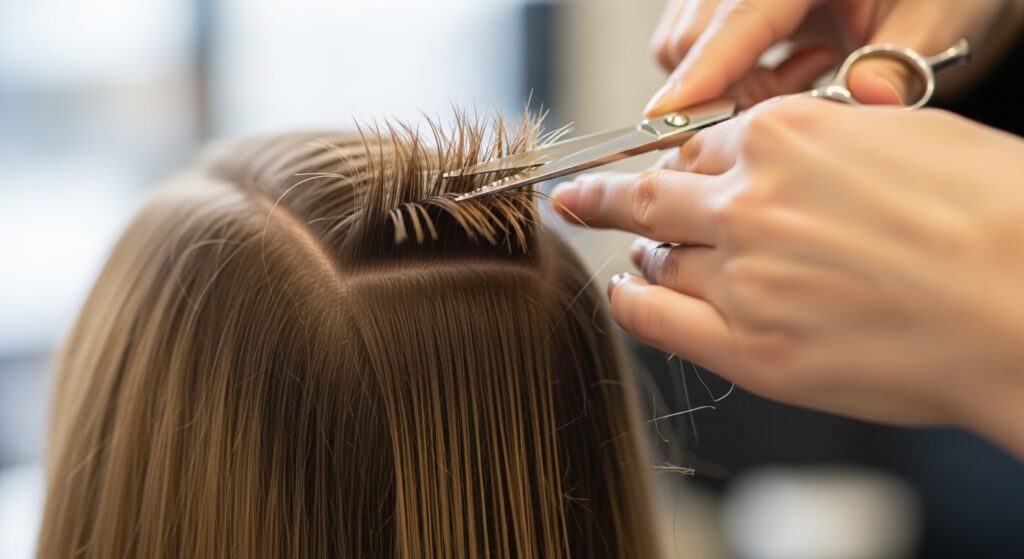
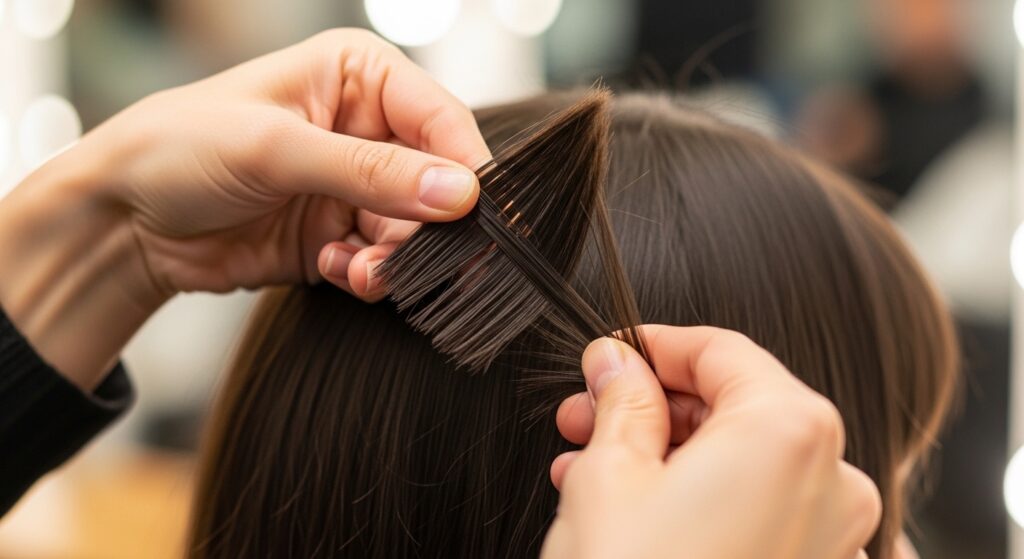
6. How to Trim Face-Framing Layers
Identify the layers that fall around your face. Pull them forward separately. Hold the hair between two fingers, pulling it taut away from your cheek. Always cut longer than you think you should.
Point cut into the ends for a seamless blend. Remember, you can always take more off, but you can’t add it back. This technique keeps your old money hair looking effortlessly perfect.
7. The Slide-Cutting Technique for Texture
Slide cutting adds incredible internal texture and removes weight. Open your shears, place a section of hair inside, and then gently slide the shears down the length while lightly closing them.
Do not close the shears completely. This technique thins out thick sections beautifully and helps blend shorter layers into longer ones. It’s great for updating a classic cut with a glitchy glam hair texture.

8. Maintaining an Asymmetrical Lob at Home
For an asymmetrical lob, focus on maintaining the angle. Work on the longer side first. Use your initial length as a guide. Then, match the shorter side to it, keeping the diagonal line sharp.
Cut each side separately, checking the balance by pulling both front sections together at your chin. Small, careful trims are key to keeping that chic, angled shape intact.
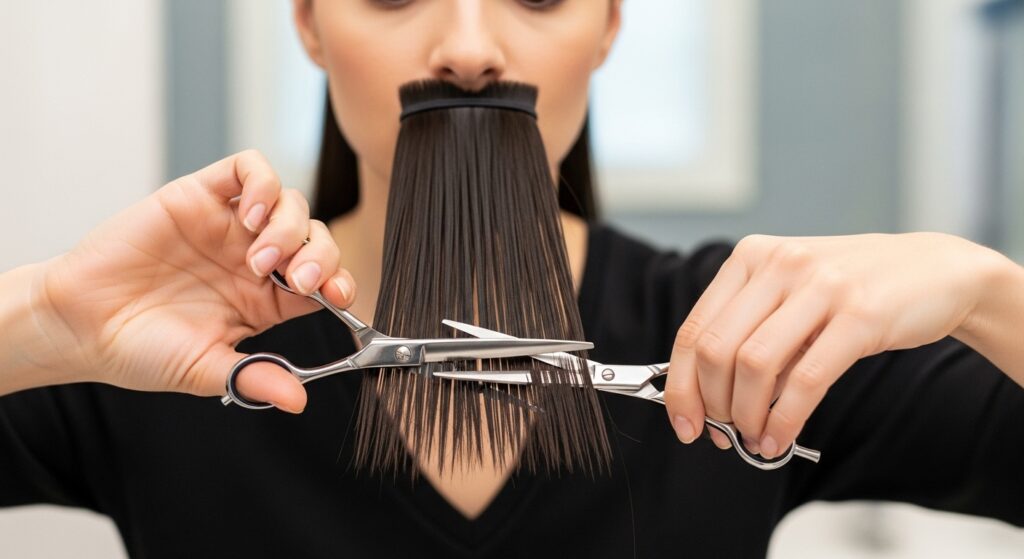
9. Refreshing a “Quiet Luxury” Bob
The quiet luxury bob is all about a single, perfect length and supreme health. To trim it yourself, gather all your hair to the front. Pull it straight down, twist it lightly, and snip off the very tips.
This ensures an even line. Then, go back and point cut the very ends to remove any bluntness. The goal is a clean, sharp, and incredibly healthy-looking line.

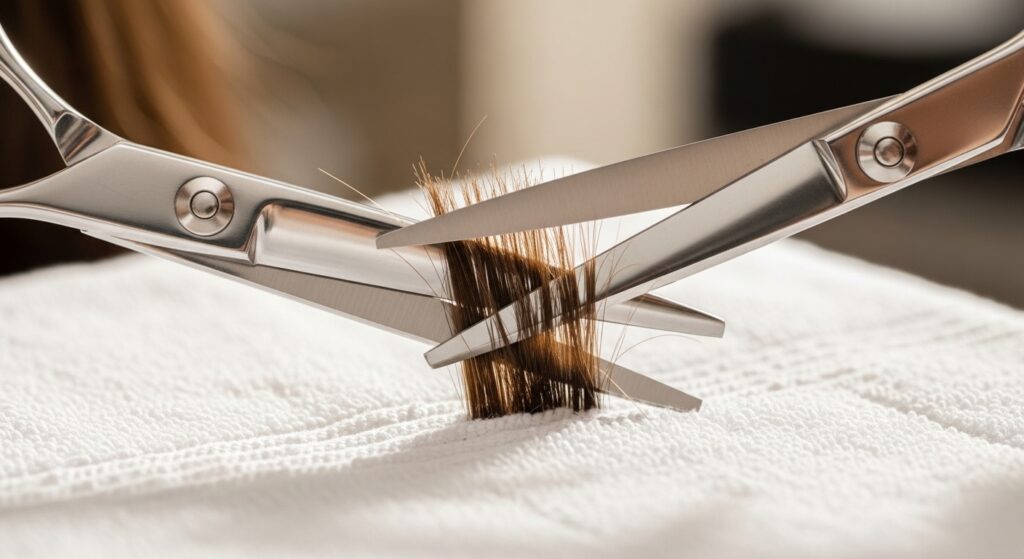
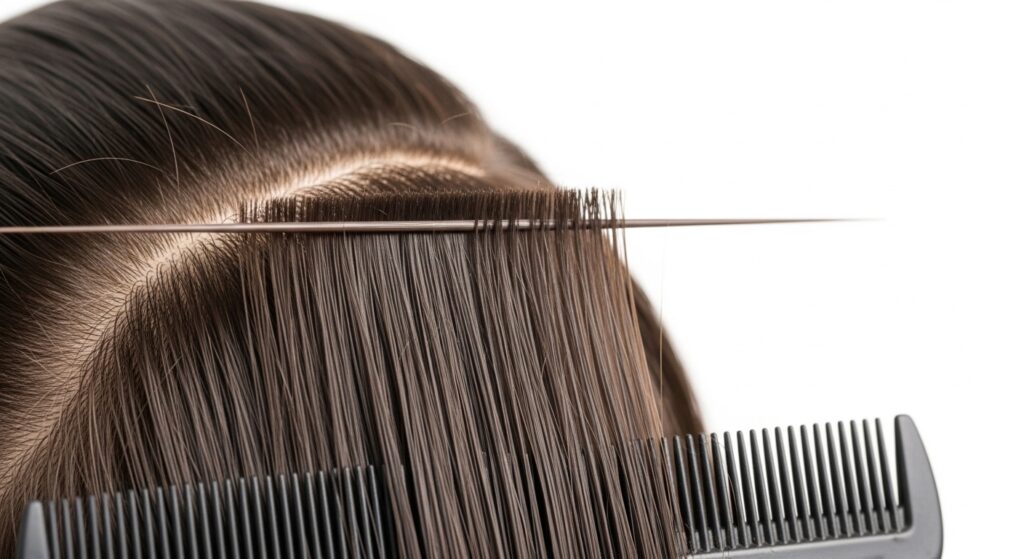
10. Dusting Your Ends for Health
Dusting is a micro-trim. You take tiny vertical snips, removing only 1/8th of an inch or less. It gets rid of the very beginnings of splits without sacrificing length.
Do this every 6-8 weeks to keep your hair in peak condition. It’s the secret to growing out your hair while still keeping it looking fresh and styled.
- Hold shears vertically.
- Snip the tiniest bit off the ends.
- Work around your whole head.
- Focus on the oldest ends.
11. Blending Grown-Out Layers
When your layers have grown out and look bulky, you need to reconnect them. Isolate the top layer. Hold it up, and point cut into the ends, using the bottom layer as a length guide.
Then, drop the top layer and see how it blends. The key is to cut into the hair, not across it, to create a smooth transition between lengths.
12. The “V” Cut for Long Hair
Want a subtle shape? A “V” or U-shaped cut adds interest to long hair. Part your hair down the middle. Pull all hair forward over your shoulders. Gather it into a low ponytail at the center of your chin.
Slide your hand down to where you want the shortest point (the tip of the V). Cut straight across. When you release, you’ll have a soft, face-framing V shape.
13. Adding Feathery Texture for Movement
For feathery, light layers, take very small horizontal sections. Hold them straight out from your head. Use point cutting or slide cutting on the last inch of the section.
This technique adds airiness and bounce. It works wonders on medium-length hair, giving it that lived-in, effortless vibe that’s so popular in 2026 hairstyle forecasts.
14. Taming Thick Hair with Internal Thinning
If your hair is too thick and poofy, use thinning shears or the slide-cutting technique on the *underside* of your hair. Never thin the top layer.
Take a one-inch section, lift it up, and thin out the bottom half only. This removes bulk from within without affecting your outer shape or creating frizz.
15. Trimming Curly Hair in Its Natural State
Curly hair must be cut dry and in its natural curl pattern. Work curl by curl. “Shingle” each curl by pulling it straight down from your scalp and trimming the very tip that looks frayed.
This preserves your curl shape and prevents shocking shrinkage. You’re just giving each spiral a neat, healthy end.
16. Updating a Blunt Cut with Baby Layers
To add softness to a blunt cut, create tiny face-framing layers. Take a small triangle section at the front. Hold it at a 45-degree angle away from your face and point cut.
Keep these layers long and subtle. They break up a solid line and add a touch of modern softness, perfect for a romantic goth hairstyles base.
17. The Piggyback Guide for Consistent Length
This ensures you cut a straight line on yourself. After you trim your guide section (usually at the back), take the next section down. Include a thin piece of the already-cut hair with it.
Cut the new section to match the length of the guide piece “piggybacking” on it. Continue this all around your head for perfect balance.
18. Shaping the “Vampire” Shag Layers
The vampire haircut is a shag with lots of texture and curtain bangs. To maintain it, focus on point cutting everything. There are no blunt lines. Hold sections straight out and point cut heavily into the ends.
Keep the bangs blended into the cheek layers. The goal is a wild, textured, but intentional look—like you just woke up in a cool, mysterious way.
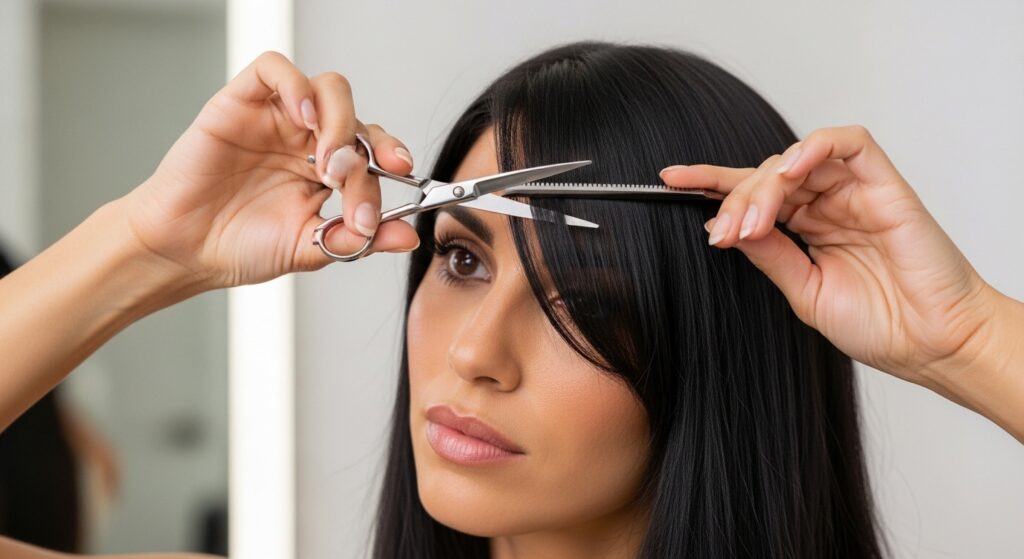
19. Perfecting Curtain Bangs at Home
Part your bangs down the middle. Hold each side separately, pulling it diagonally toward the opposite cheek. Cut following that diagonal line, keeping them longer at the outer edges.
Always point cut the ends for a soft, blended finish. This keeps them looking like effortless old money hair, not a harsh block fringe.
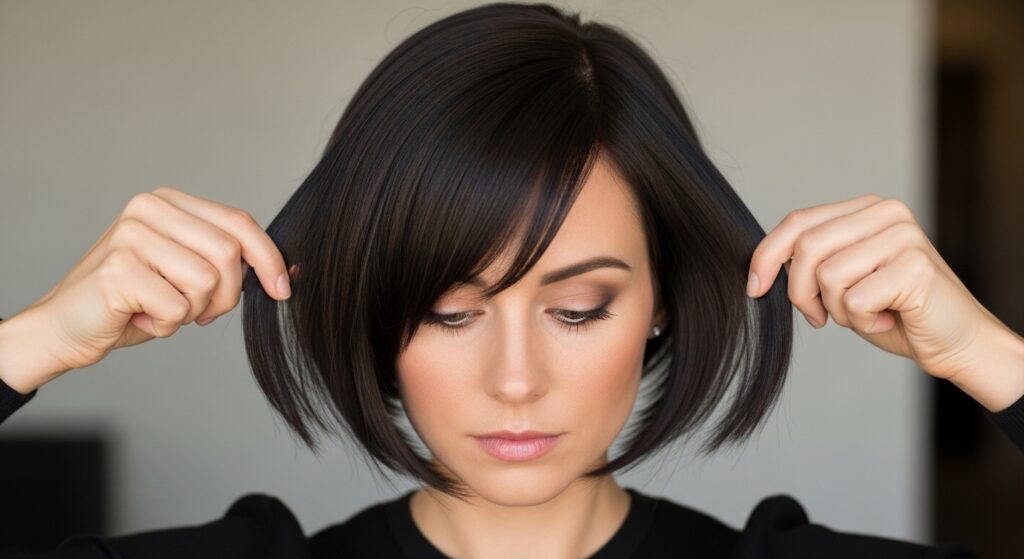
20. Final Check: The “Shake Out” & Balance Test
Once you think you’re done, shake your head vigorously! Run your fingers through your hair. This lets everything settle into its natural place.
Look in the mirror. Check for any uneven spots or pieces that stick out. Make small adjustments by point cutting those specific pieces. Balance is everything.
See? Giving yourself a little shape-up at home doesn’t have to be a horror story. With these techniques, you’re not just hacking away—you’re maintaining the beautiful style you already love. You’re saving time and money, and honestly, there’s a real pride in nailing it yourself.
Remember, the key is to go slow, cut less than you think, and use the right tools. Your hair will thank you with healthier ends and longer-lasting style. Now you’re equipped to keep everything from your asymmetrical lob to your romantic goth hairstyles inspiration looking fresh between appointments.
Save this post to Pinterest so you always have these techniques handy! Did you try one of these methods? Tell me which one in the comments below—I love hearing your success stories!